Your new gallery wall is just a paintbrush away.
This Is the BEST Way to Put Together a Gallery Wall on a Budget
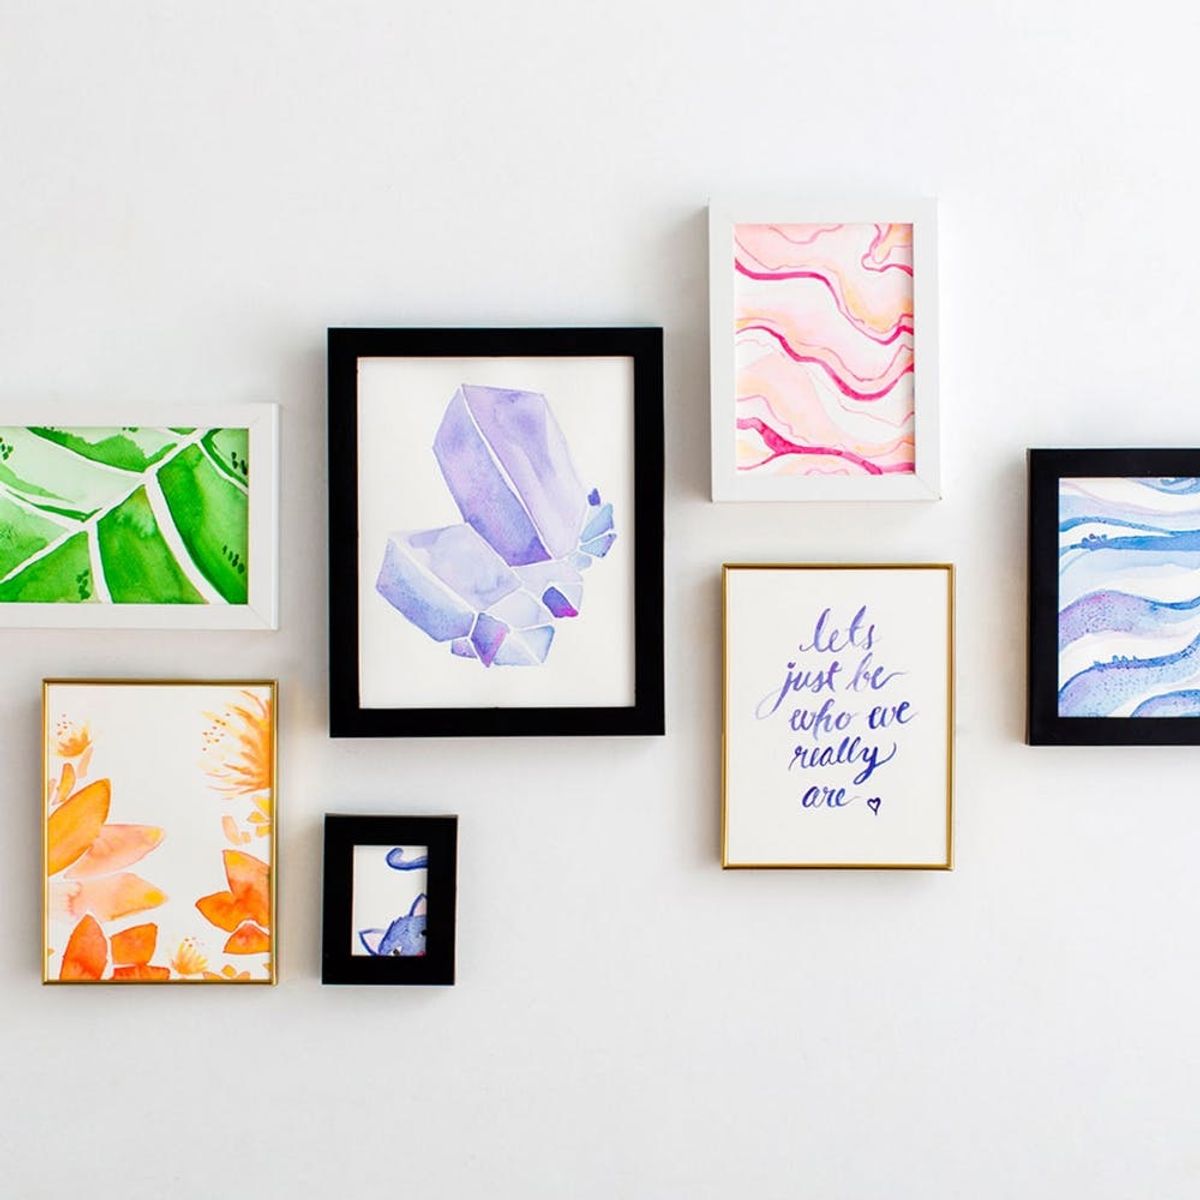
Every home needs a few pieces of wall art, but we all know not everyone’s budget includes art expenses. That’s where our handy wall art DIY comes in. We grabbed a few sheets of paper and some brushes and made an entire gallery wall out of watercolor in one sitting! As someone who’s never been a fan of painting with watercolors (I lean more towards the controlling side of the creative spectrum and this flowy watery business makes me nervous), I found it was surprisingly simple to put this together using a few tips and tricks as well as some online watercolor inspiration.
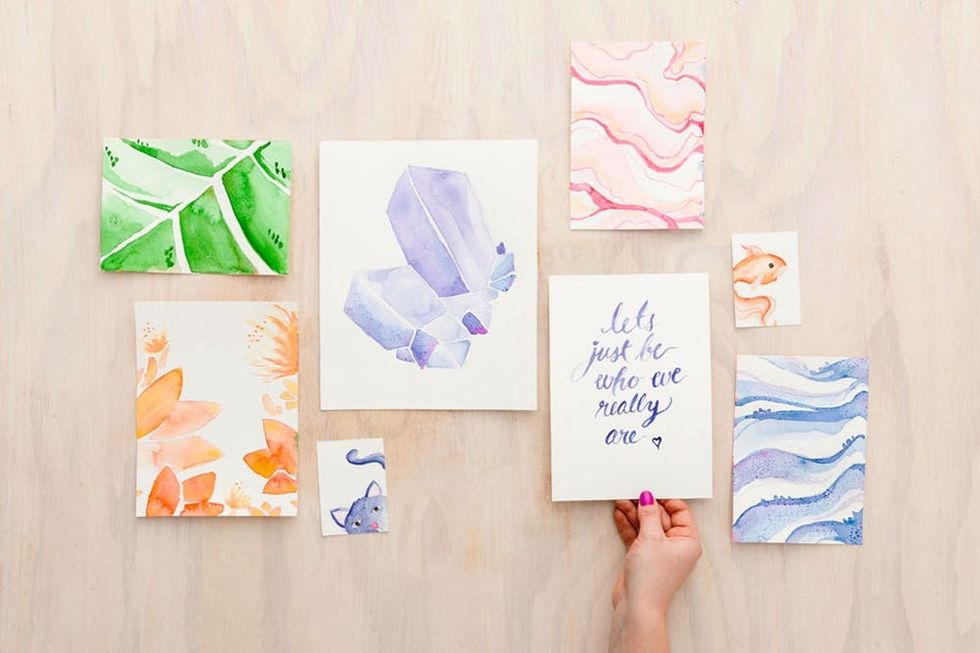
While you may be thinking, “pssh, how am I going to really make a whole gallery wall myself?” never fear. I’ll walk you through making your own versions of the eight watercolor designs pictured above. But if you want to really step up your game and explore other styles of watercolor, check out our Watercolor Painting and Illustration with Watercolor online classes.
Materials:
– watercolor paper
– watercolor paints
– paintbrushes
– paint palette
– painter’s tape
(included in our Watercolor Painting Kit)
Additional Supplies:
– ruler
– pencil
– scissors
– thin paintbrush
– assorted picture frames
(not included in the kit)
Instructions:
1. Tape down one piece of watercolor paper using your painter’s tape.
2. Measure out rectangles to fit the size of your frames.
3. Lightly draw in the basic outline of your design or pattern in pencil.
4. Paint a very light wash of watercolor onto your drawing, staying within the boundaries of your pencil lines.
5. Go back over your painted sections with a darker version of each color to add contrast.
6. Add any additional details or finishing touches and let your paintings dry completely.
7. Cut out your paintings using scissors, pop them into the right sized frames and hang them up.

Grab your watercolor supplies and a collection of frames in different sizes and colors and let’s get started!
Marble Pattern
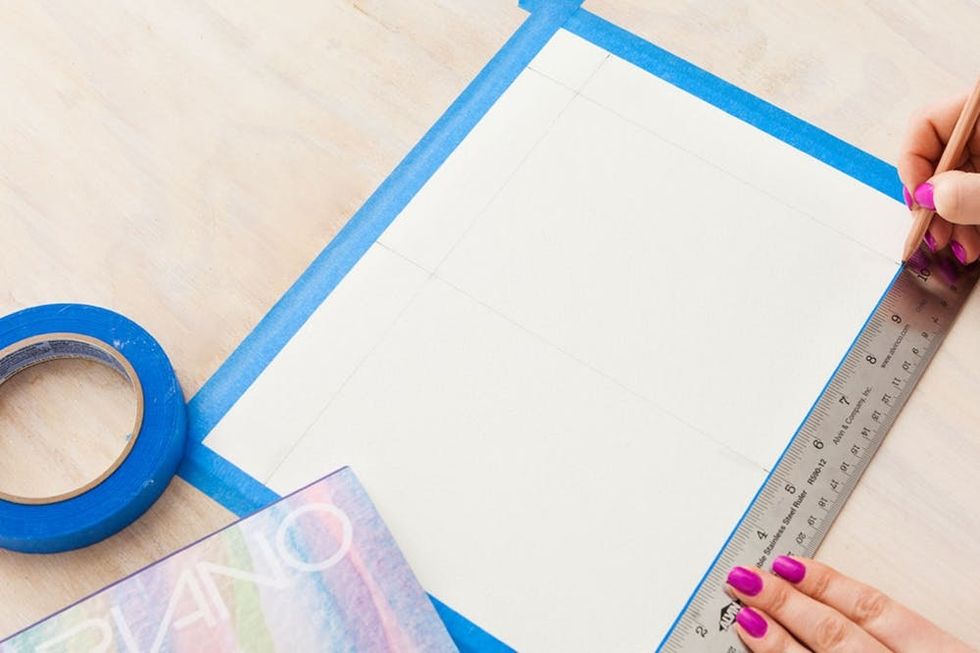
Set yourself up for success by taping down a sheet of watercolor paper to your table and measuring out two rectangles to fit the size of your frames.

Next you’ll want to lightly draw a wavy marble pattern in pencil. Let your pencil go with the flow and just put down some irregular curvy lines moving from left to right across the page. This is a good design to start with because its supposed to be really loose and random.
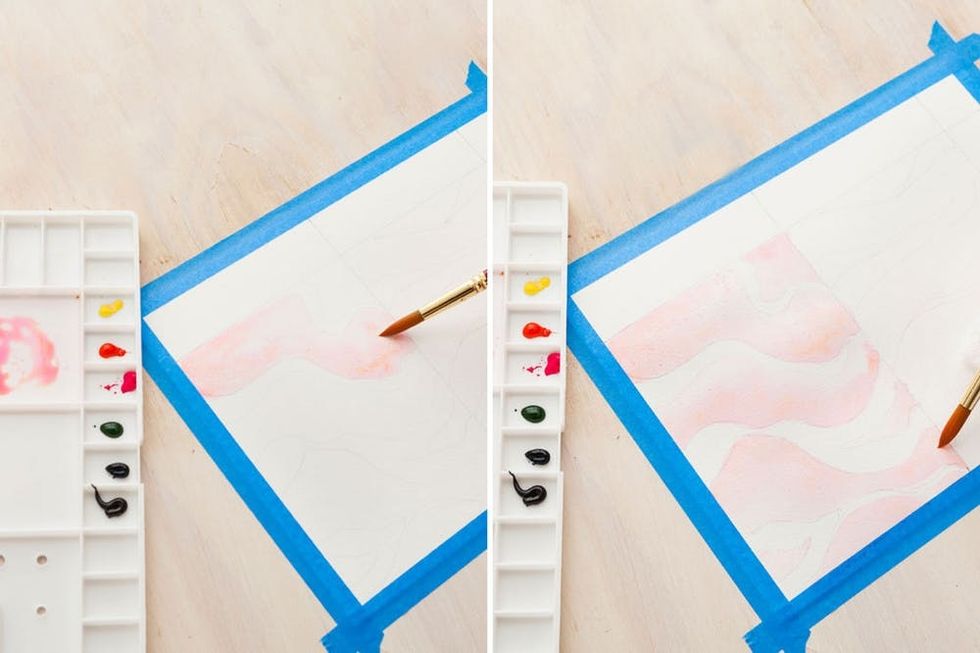
Now that you have a basic outline down it’s time to start coloring it in. Mix up a light peachy pink with your brush and a lot of water and fill in every other “stripe” of your marble outline.

While you wait for the pink side to dry, go ahead and paint in a light blue wash on the other side just like you did with the pink.
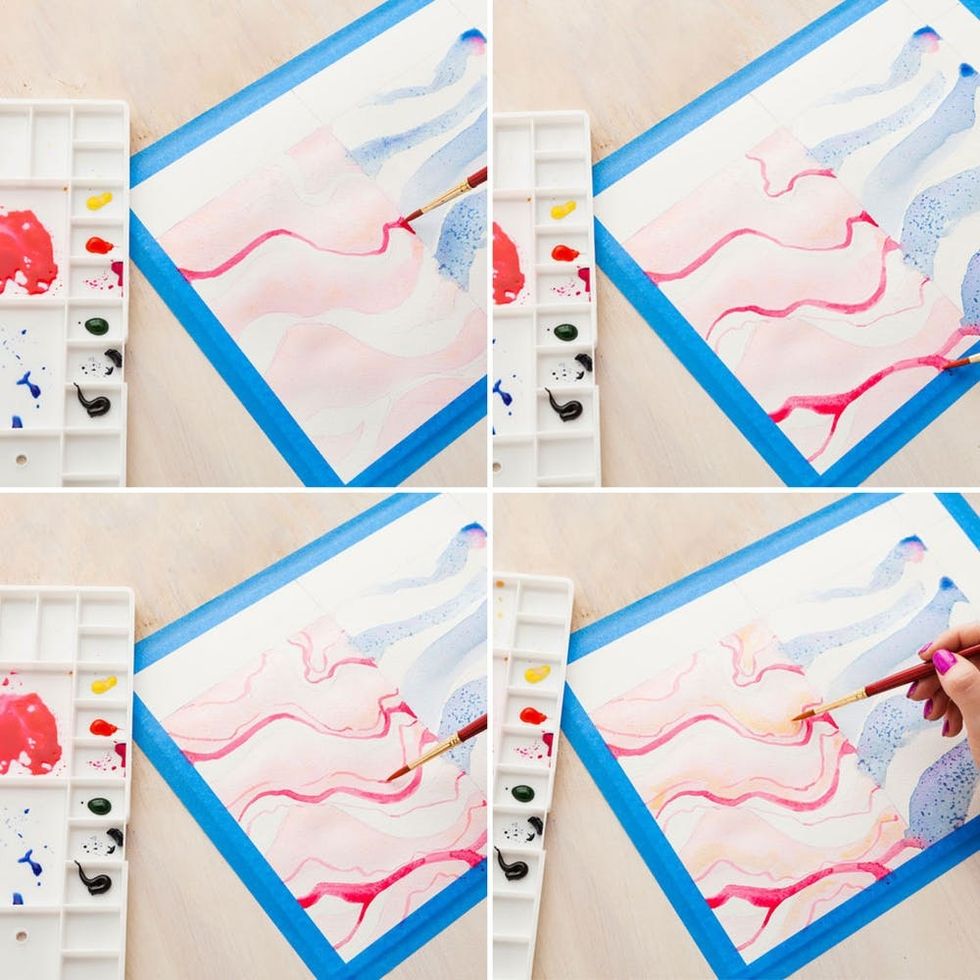
Once your pink side has dried a bit, go back over some of your lines in a darker pink here and there to add contrast. For a last finishing touch, add a bit of light orange or yellow to add more depth to your marbled pattern.

Now repeat this same technique on the blue side, adding your own flair with dots and lines if you’d like. If your first set of paintings don’t look quite right to you, the good news is its only paper. You can redo these paintings as many times as you like until you get something you’re happy with.
Gemstones
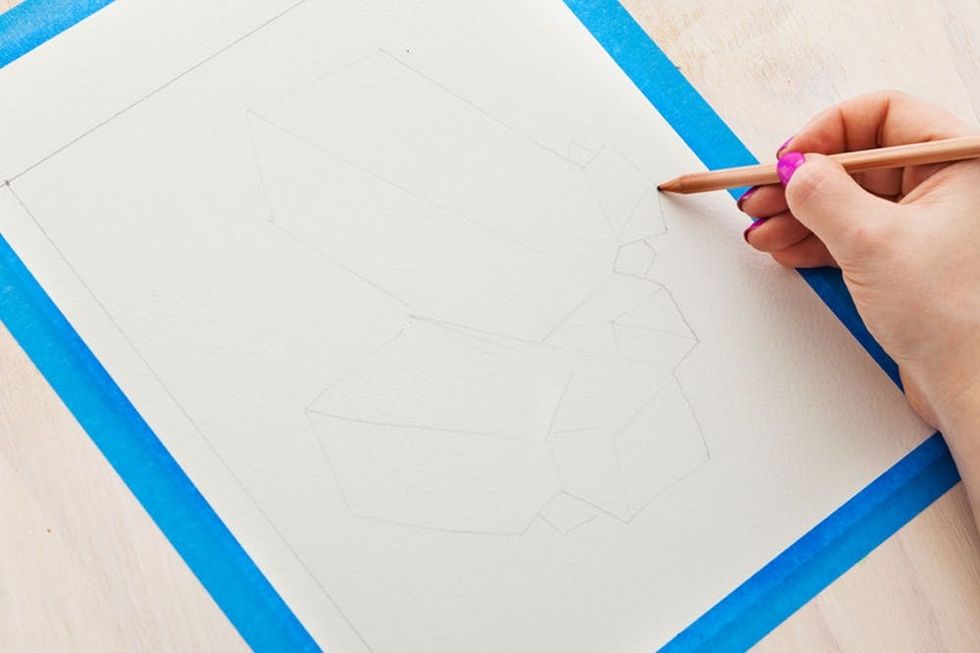
We’ve seen these watercolor gemstone prints all over the place lately and it turns out they’re CRAZY EASY to paint yourself. First lightly sketch out a quartz shape in pencil. This does not have to look exact at all, as long as you break your gemstone into facets. Kind of like how a soccer ball is covered in hexagons, this quartz design is covered in triangles and rectangles that connect and usually come to a point at the ends.
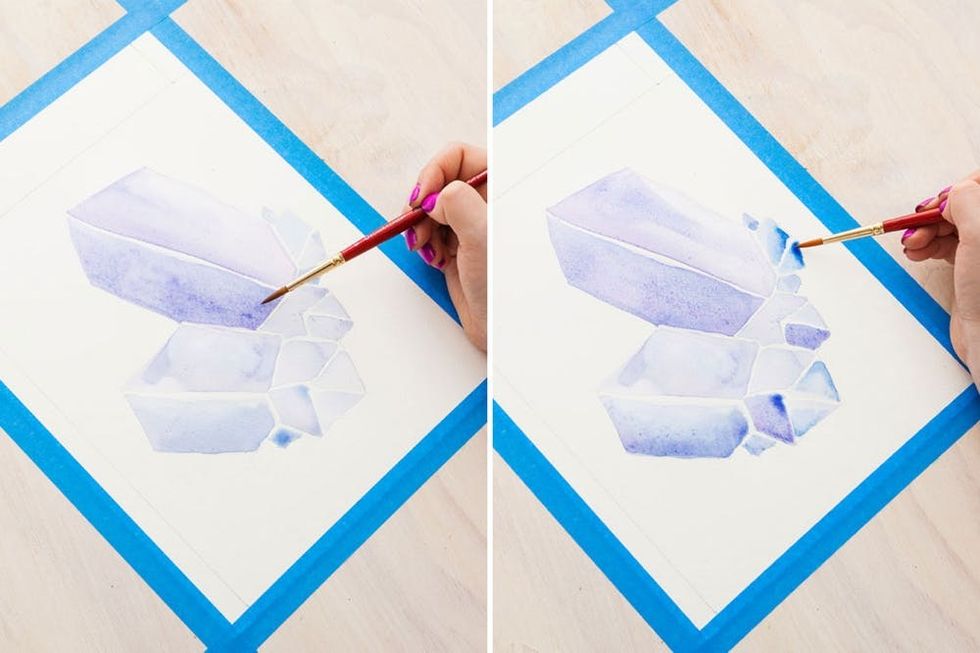
This painting technique is seriously a piece of cake. First wash a very very light watery purple over your segmented shapes, or “facets,” making sure to leave a thin gap of white between each shape. Before your painting has a chance to dry too much, wash a second layer of darker purples and blues over half of your facets to make them appear like they’re in shadow. Set your painting aside to dry and get started on the next set.
Florals
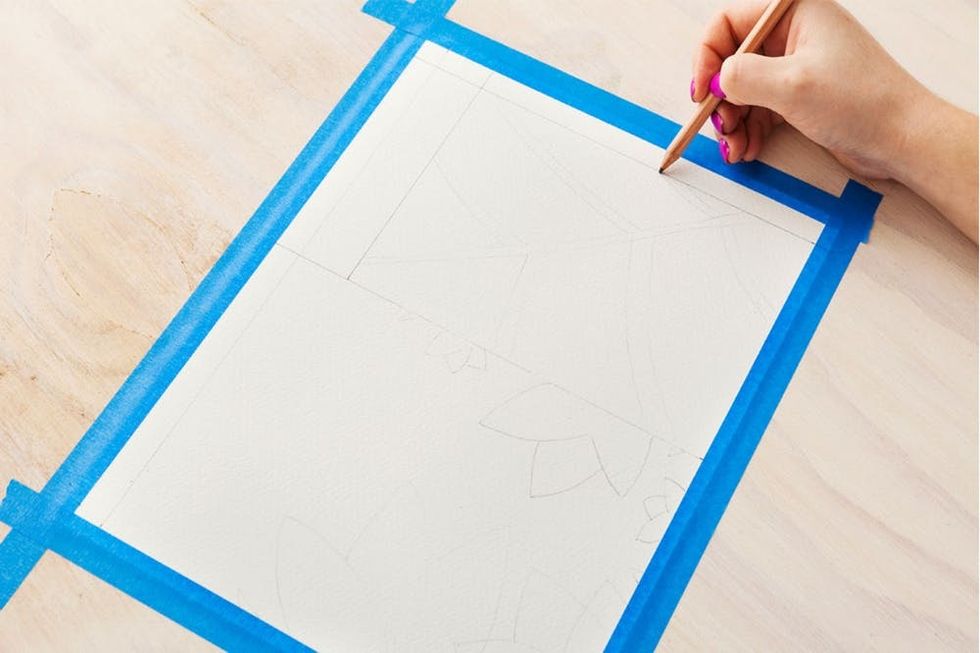
You know the drill by now. Lightly draw your design in pencil, staying within the dimensions of the frames you’ll eventually use. Here we drew a flower pattern on the left and a close-up of a single leaf on the right.

Start out with a light wash of orange (or the color of your choice) to fill in the flower petals and then add darker colors and small details as you go. If you want the light and dark colors to blend together paint them while the first layer is still wet. If you want colors to stand out by themselves, wait for the first layer to dry before you add the second layer.
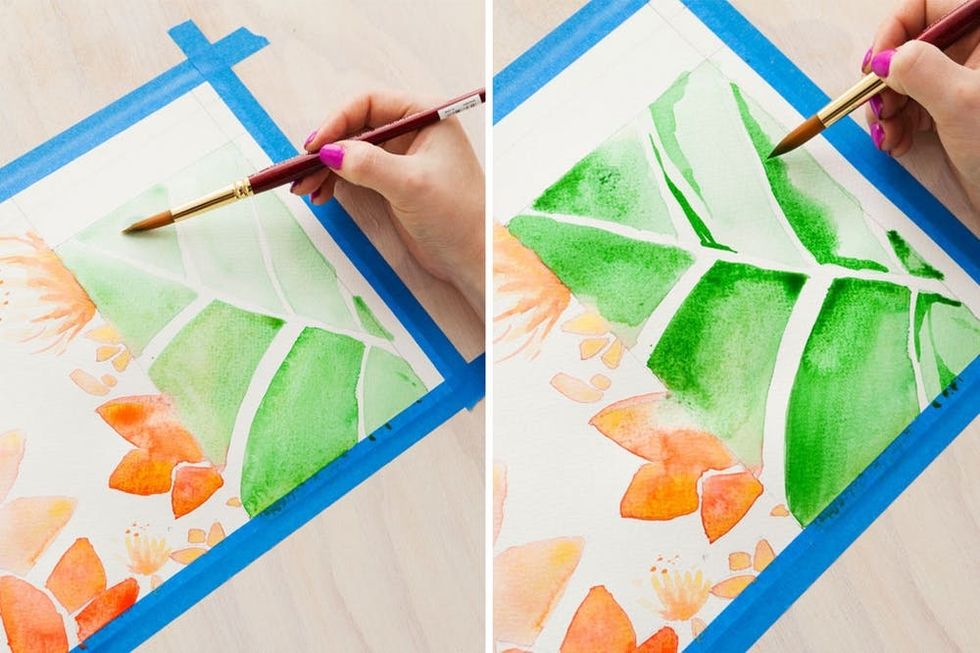
For this leaf closeup, we added a light wash of green and then immediately put down some darker green so the two colors blended together. Then we let it dry for a few minutes before adding some more defined dark green stripes on top.
Lettering + Animals
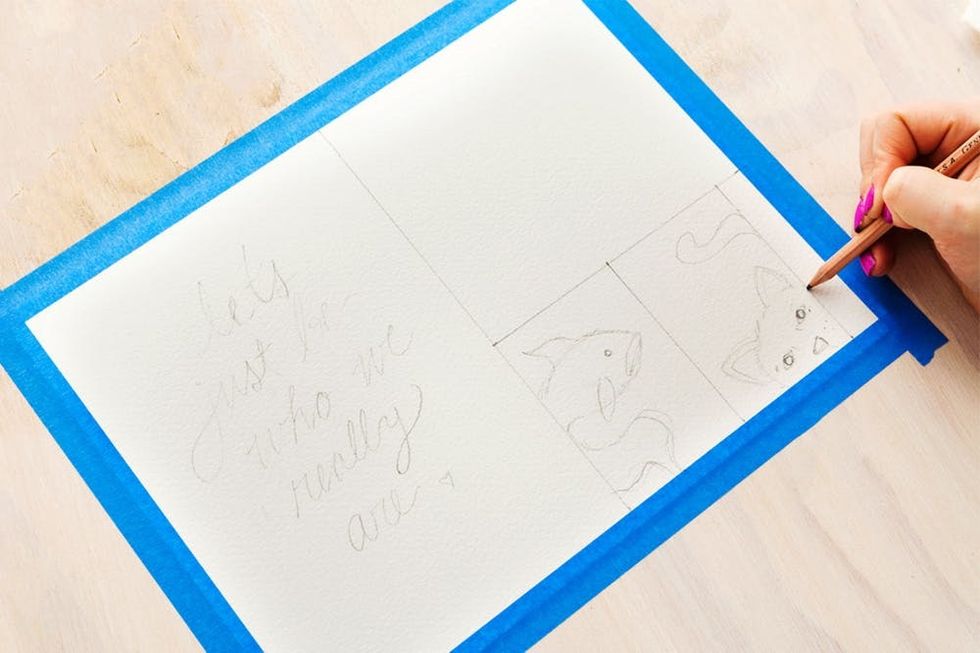
This next step is a two for one – brush lettering AND cute little animals.
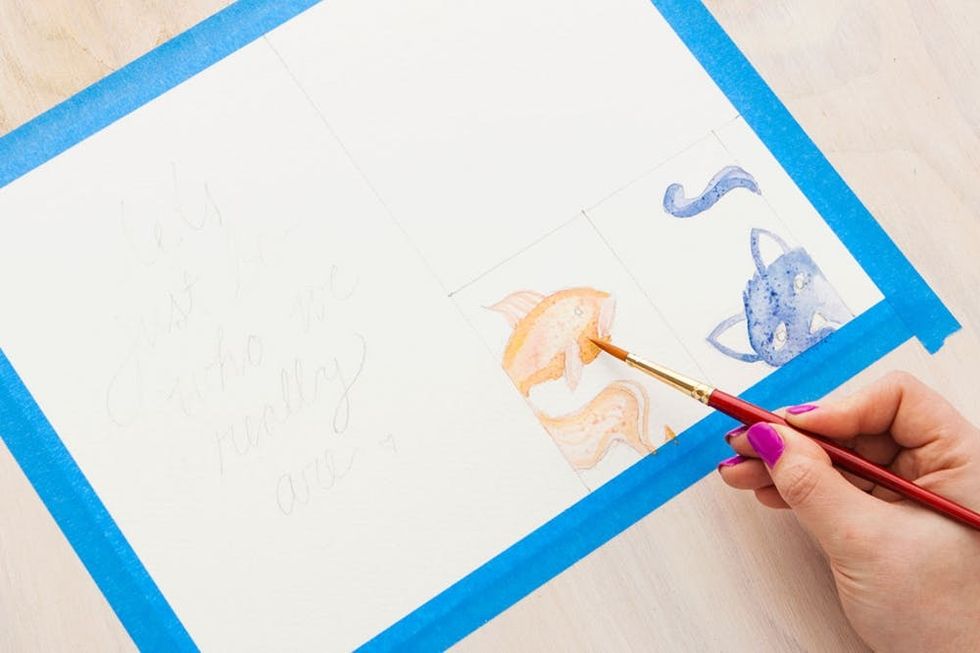
We decided to make little mini paintings of the family pets, using the same techniques as before. These may be a little more advanced so take some time to practice sketching before diving in with watercolor.
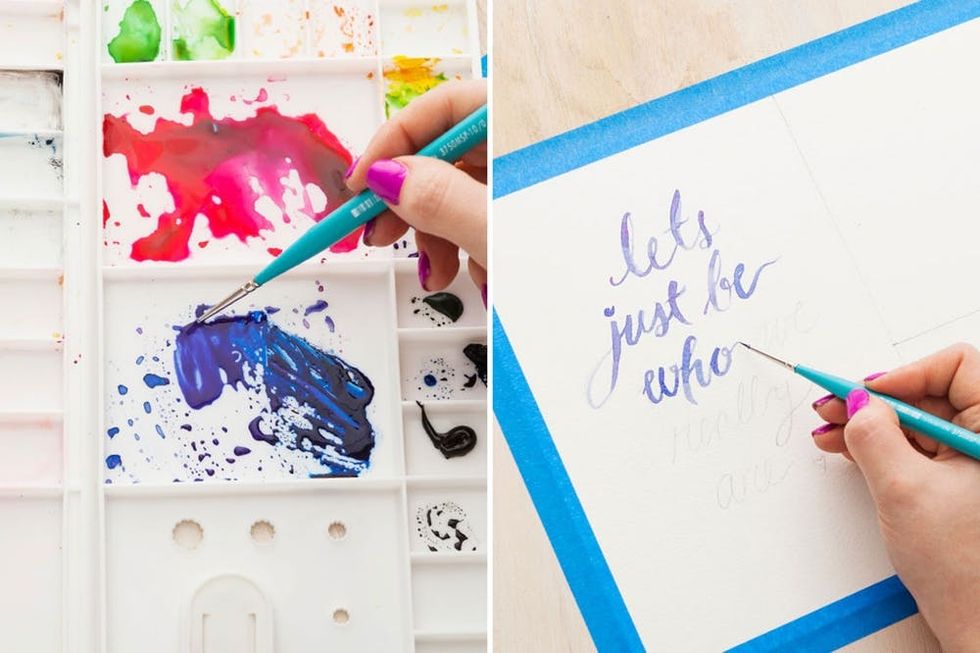
Dip your fine tip paintbrush into a more saturated color than you would usually start with and carefully write in your phrase. This part may look daunting, but keep practicing your lettering on a side piece of paper or take our Brush Calligraphy online class if you really want to build up your skills.
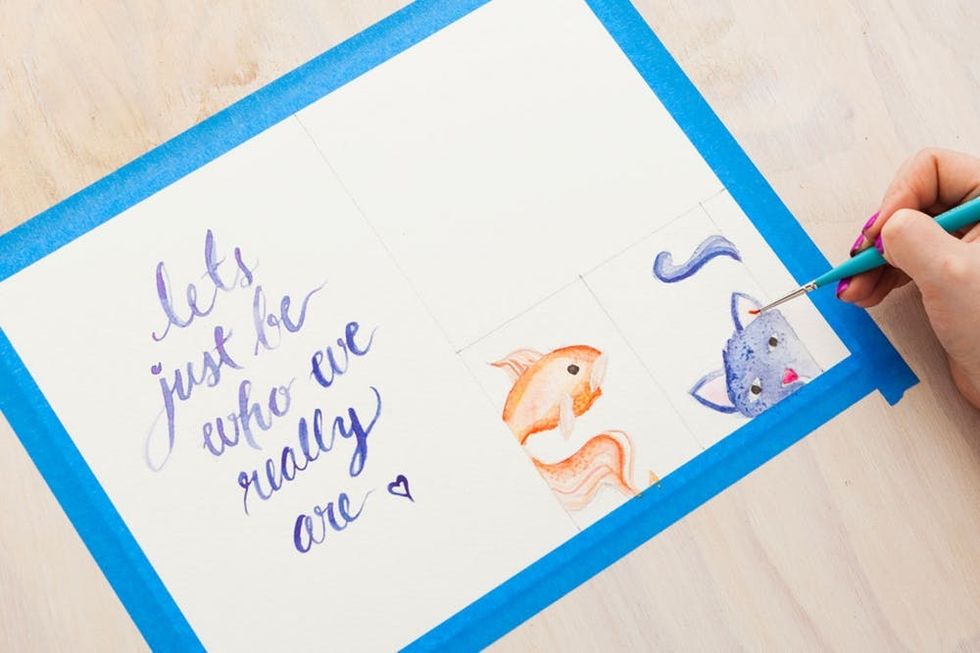
Add in a few more color details onto your animal watercolors and then let everything dry completely.

Once all of your pieces are dry, cut them out along your first pencil line.

Look at those pretty paintings! Play around with a few different arrangements until you get a layout that you like.

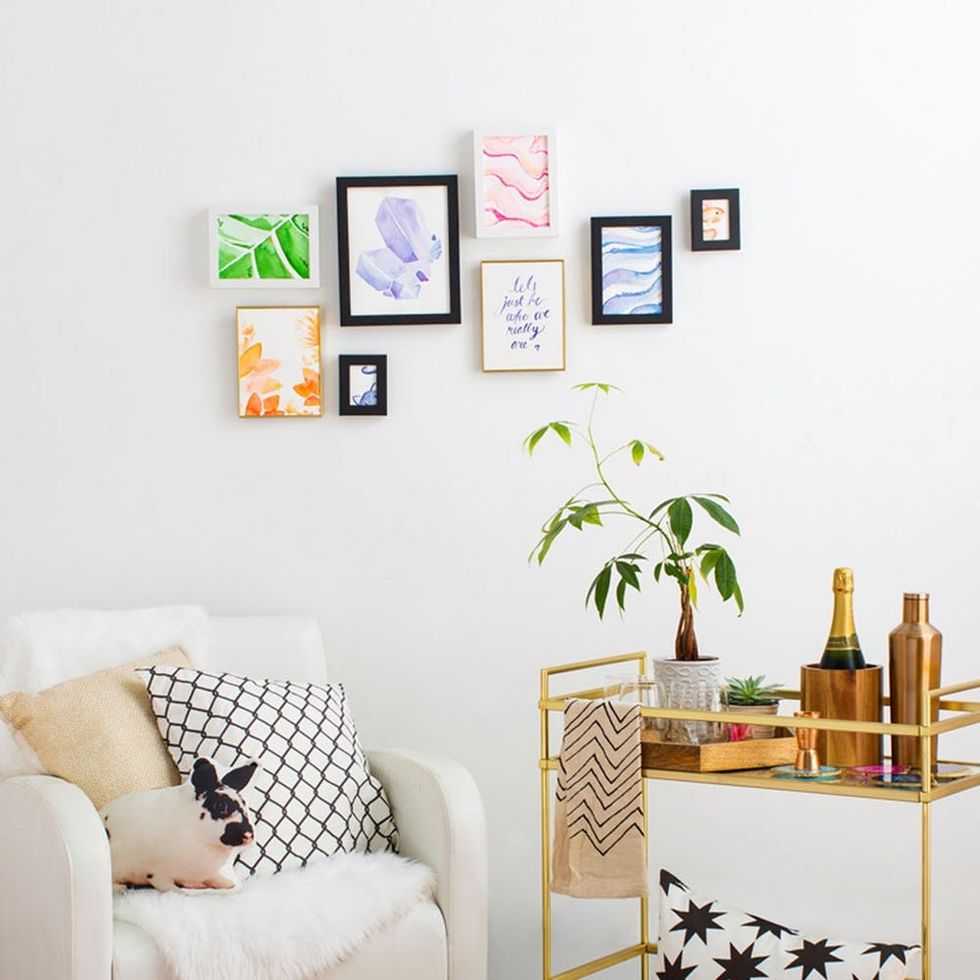
Pop your watercolor paintings into frames, making sure to mix up the colors, materials and thicknesses of your frames to give your gallery wall some added personality.
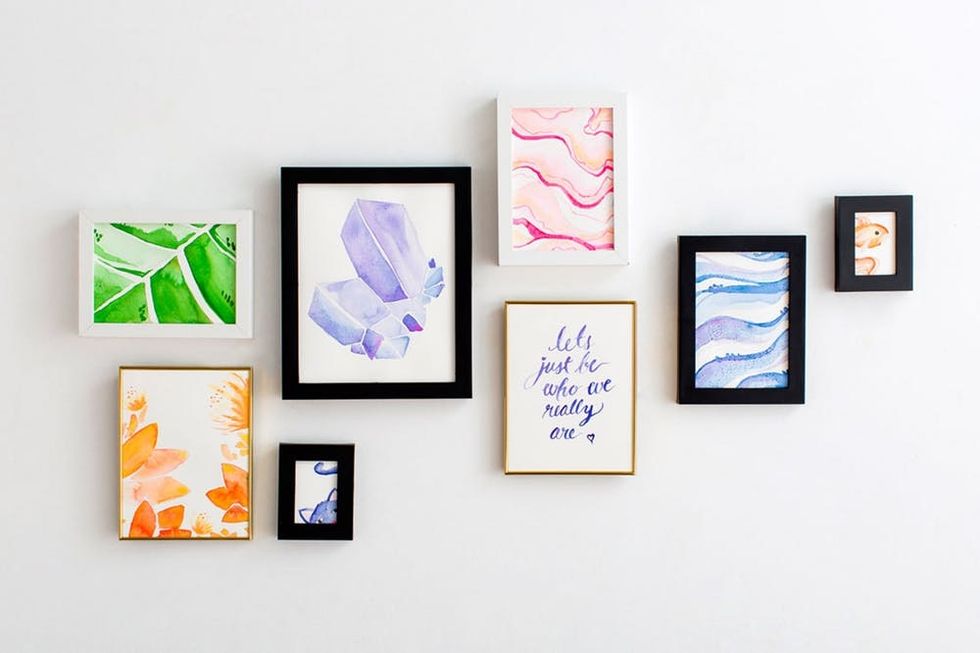
What designs would you add to your DIY gallery wall? Show us your project by tagging us on Instagram and using hashtag #iamcreative!


