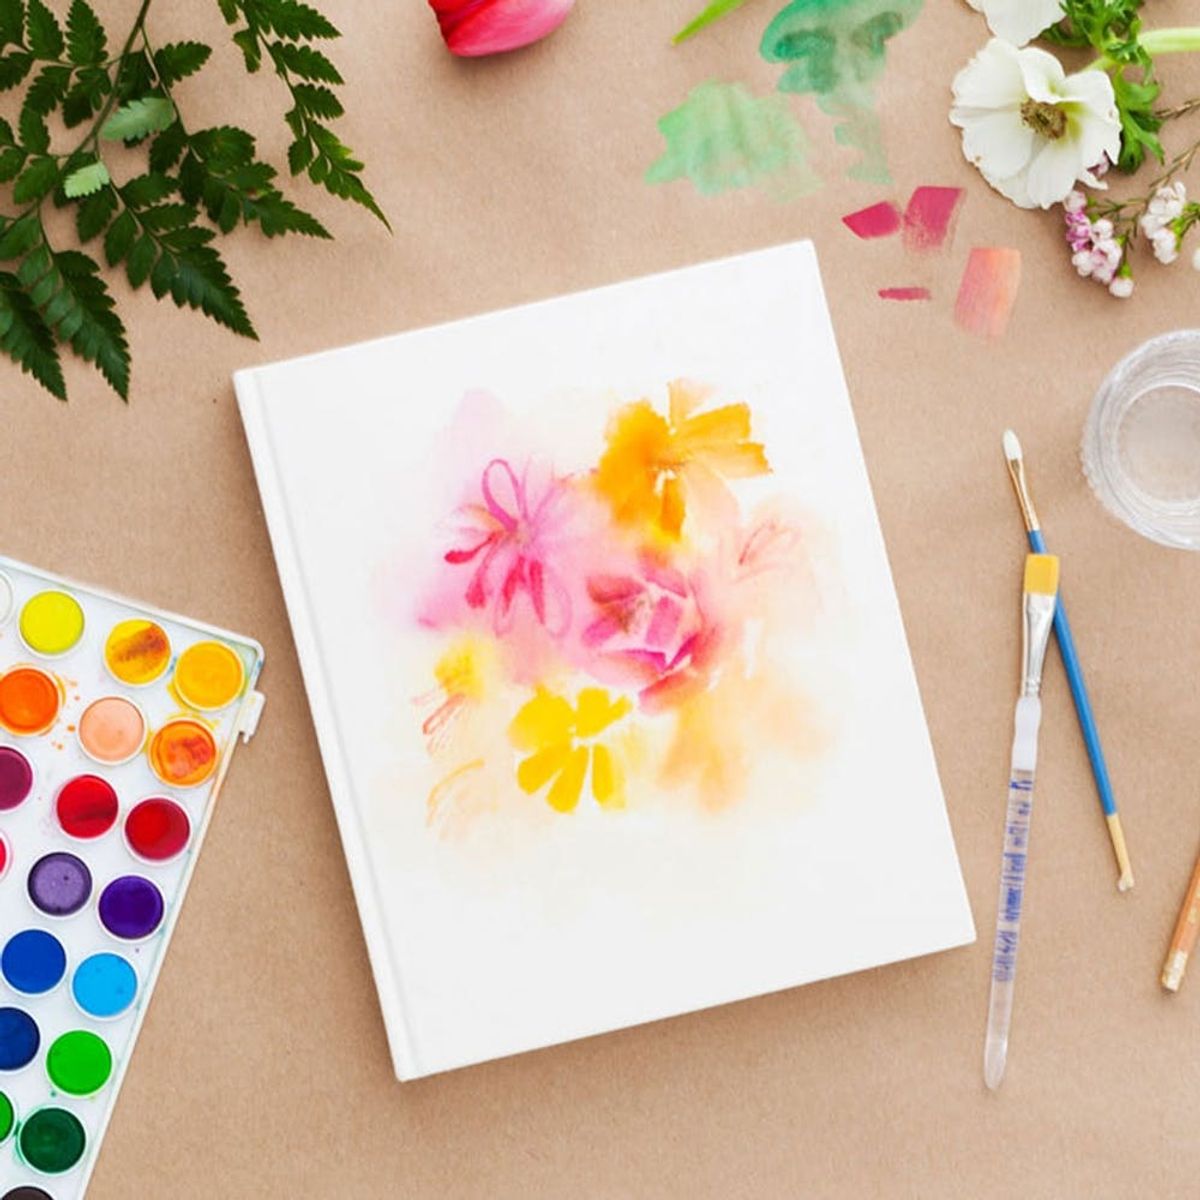
Showcase your artwork on the front and the inside.
Get Inspired With This DIY Watercolor Sketchbook

When we combine two of our favorite things — watercolor DIYs and sketchbooks — beautiful things happen. This simple DIY makes it super easy to customize your sketchbook to match your personal style. Those of you that came to Re:Make 2015 are no strangers to this awesome project. We invited attendees to watercolor their own sketchbook during the conference. Since it was such a hit, we decided to bring it back as a Watercolor Sketchbook Kit! We’ll show you three different ways to deck out a plain sketchbook so that it beckons you to open it up and be creative on each and every page.

I’m always frustrated with the sketchbook assortment available in local craft stores; they’re either too plain or suffer from pattern overload. Now I can reach a happy medium with my own personal touch.

Materials included in the kit:

— canvas notebook
— watercolor paint palette
— brushes (large and small)
Materials not included in the kit:
— water jar
— permanent marker
— pencil
— paper towels
Get your materials together (or buy the kit HERE), and let’s get started!
Instructions:
Rainbow Gradient
1. Mix a small amount of water to your first color. You want the paint to be as saturated as possible. Make your stroke about 1/3 of the width of the sketchbook.
2. For the second swatch, add a little more water to the paint and repeat. For the third swatch, dilute the paint even more.
3. Continue these steps with the remaining colors of the rainbow. Allow the paint to dry completely before handling.
Ombré Sunset
1. Wash the entire front of the notebook to help the canvas absorb the watercolor paint.
2. Apply the first color to the top 1/3 of the notebook, the second color to the middle and the third color to the bottom 1/3.
3. Once you’ve established where your colors will go, you can go back and fill in the blank spaces with colors of the same color family.
4. Allow the paint to dry completely before laying out your favorite quote in pencil. Go over the pencil with a permanent marker.
Painterly Florals
1. Wash the entire front of the notebook to help the canvas absorb the watercolor paint.
2. Paint large swatches of oranges, pinks and yellows. Allow the paint to completely dry before applying the second layer of paint.
3. To create the flowers, paint short strokes in a radial pattern. Blend some paint strokes with water to create a smudged look.
4. Mix in some fun daisy doodles to contrast with the painterly florals.
5. Allow the second layer of paint to dry, then dot the center of the flowers with brown paint.
You can’t go wrong with rainbows, and when you pair them with an ombré effect, it’s game over.
RAINBOW GRADIENT

Painting the stripes the exact width of your paintbrush makes it much easier to create consistent strokes. Mix a small amount of water to your first color. You want the paint to be as saturated as possible. Make your stroke about 1/3 of the width of the sketchbook. For the second swatch, add a little more water to the paint and repeat. For the third swatch, dilute the paint even more.

Continue these steps with the remaining colors of the rainbow. Allow the paint to dry completely before handling! This effect is so easy and impactful.

Are you riding the chill wave? Then this ombré sunset is the perfect design for you.
OMBRE SUNSET

Start by giving the entire front of the notebook a water wash to help the paint absorb into the canvas. Apply the first color to the top 1/3 of the notebook, the second color to the middle and the third color to the bottom 1/3.

Once you’ve established where your colors will go, you can go back and fill in the blank spaces with colors of the same family. For example, you can mix turquoises with blues and yellows with oranges. Play with the saturation of the paint to create texture and depth.

Allow the paint to dry completely before laying out your favorite quote in pencil. Go over the pencil with a permanent marker.

And there you have it! This notebook deserves to be taken out for a sketch session on the beach with a cold drink in hand.

The best part of watercoloring is playing with saturation and layering. In this watercolor floral design we’ll show you how to get a multi-textural look by layering paints.
PAINTERLY FLORALS

Give the entire front of the notebook a wash with water.

Paint large swatches of oranges, pinks and yellows. Allow the paint to completely dry before applying the second layer of paint.

To make flowers, paint short strokes in a radial pattern. These don’t need to be perfect — keep things abstract! Feel free to go back and smudge some of the strokes with water.

Mix in some fun daisy doodles to contrast with the painterly florals.

Finish by allowing the second layer of paint to dry and then dotting the center of the flowers with brown paint.

Any way you choose to paint your sketchbook, you’ll definitely want to show it off.


