This weaving wall hack will get your weaving done in half the time!
Update Your Wall Decor With This Weaving Hack
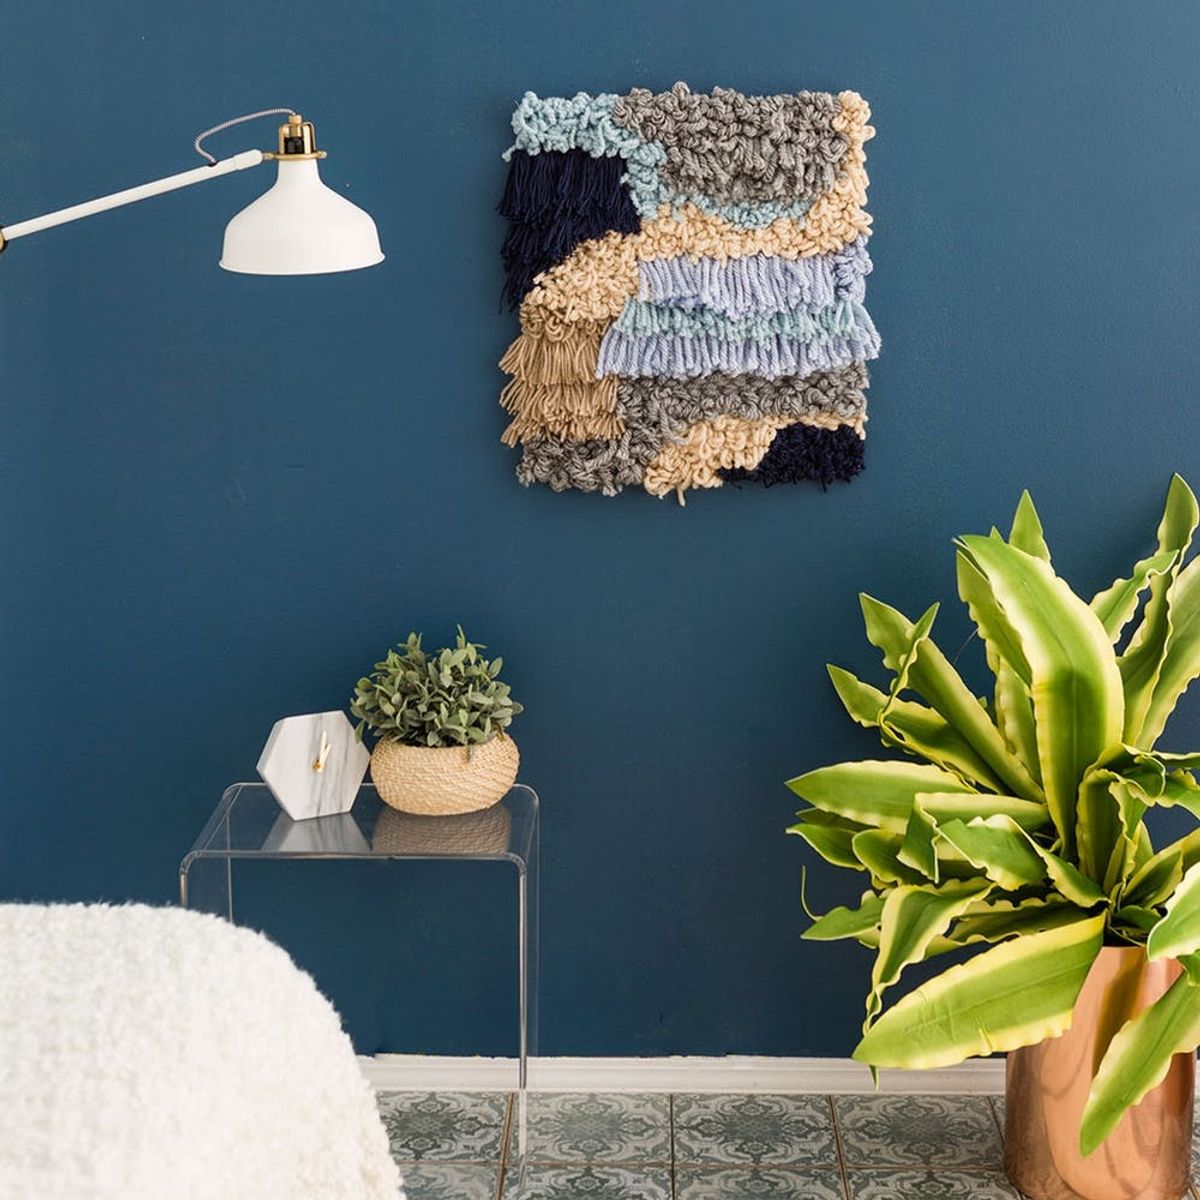
I’m sure you all know this — weavings take a long time to finish. When I moved into my new apartment in SF, I decided I was going to make a poster-sized (24 x 36-inch) weaving using this tutorial. Let’s just say it sat there for about two years, unfinished, and then I finally turned what I had woven into a makeup bag. This weaving hack builds your wall textile off of a fence! Now this weaving will still take you some time, but not two years. It’s the perfect project to take on during a movie marathon or a rainy weekend inside.

Materials and Tools:
- 1/2-inch hardware cloth
- chunky yarns
- scissors
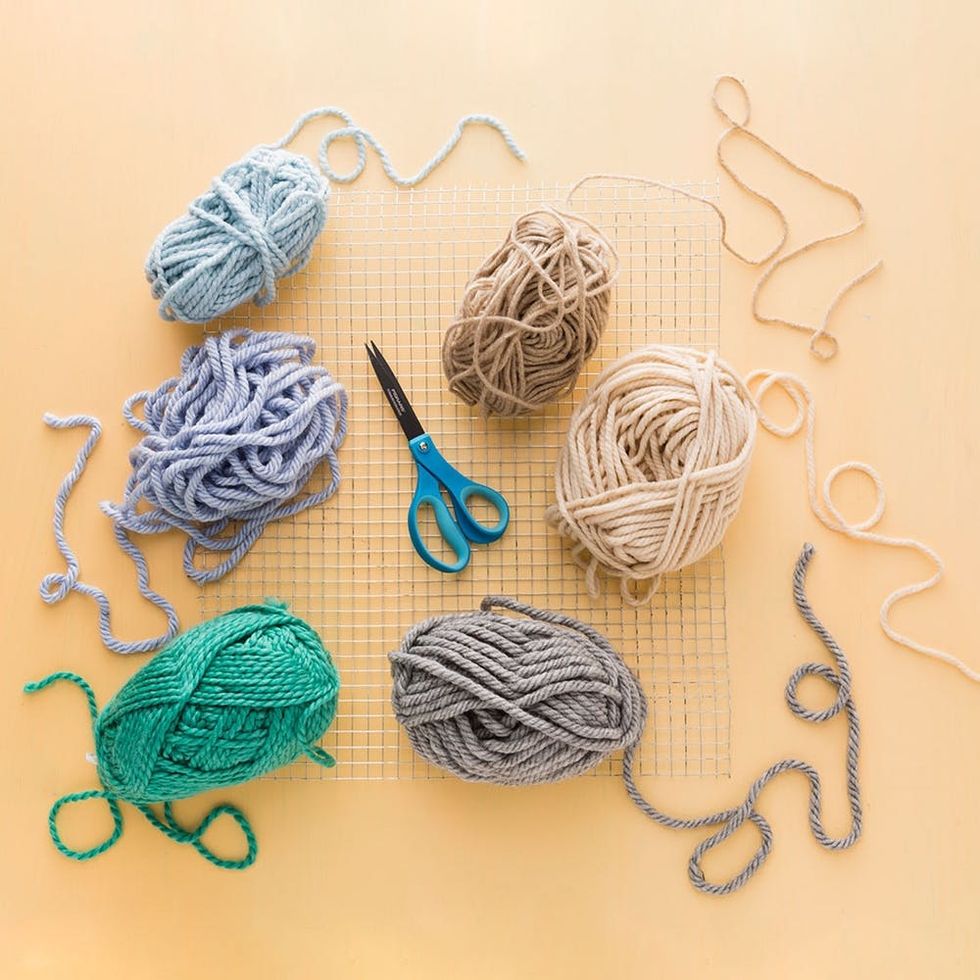
Instructions:
- To create a basic stitch, wrap your yarn around your four fingers about 10 times. Slide the ends through two squares that are right next to each other. Fluff the ends.
- For creating tassels, grab two 4-inch strands of yarn and weave through the grid. Send the ends of the yarn through the loop of the yarn and then pull tight.
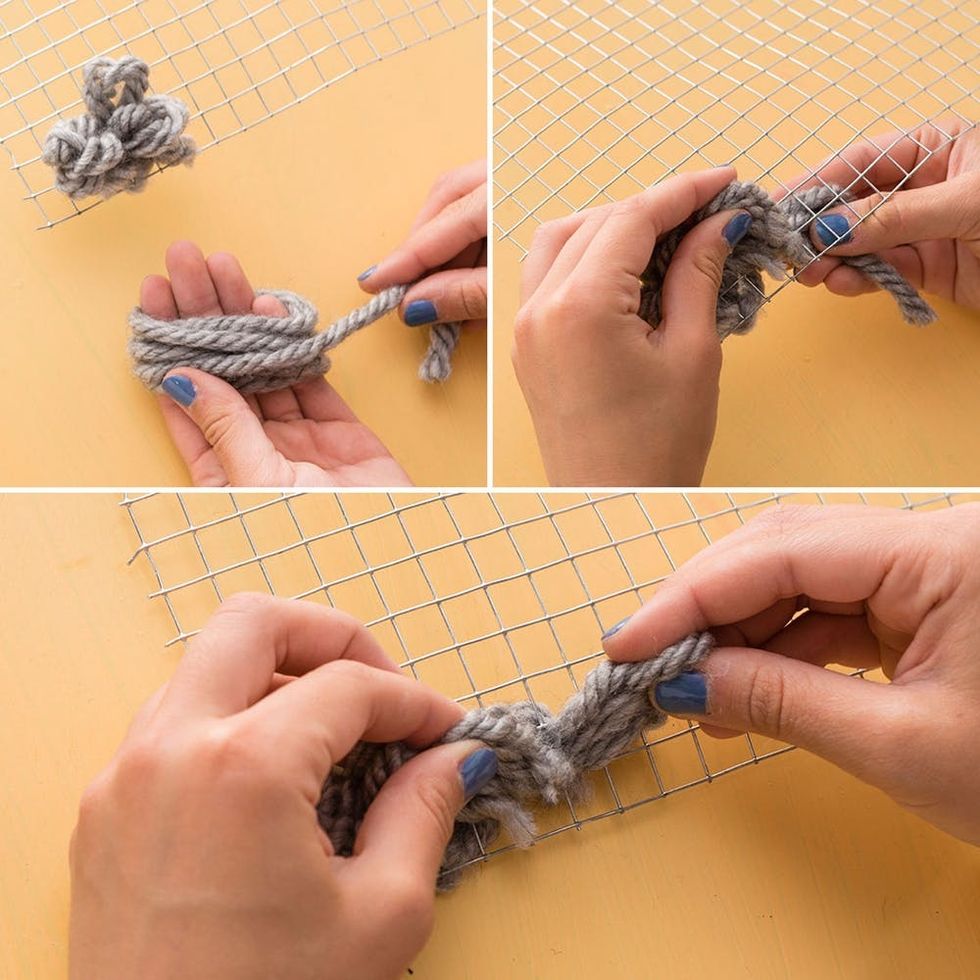
This stitch is basically a big pom-pom. Wrap the yarn around your hand about 10 times, and then send each end through grid squares that are side by side.
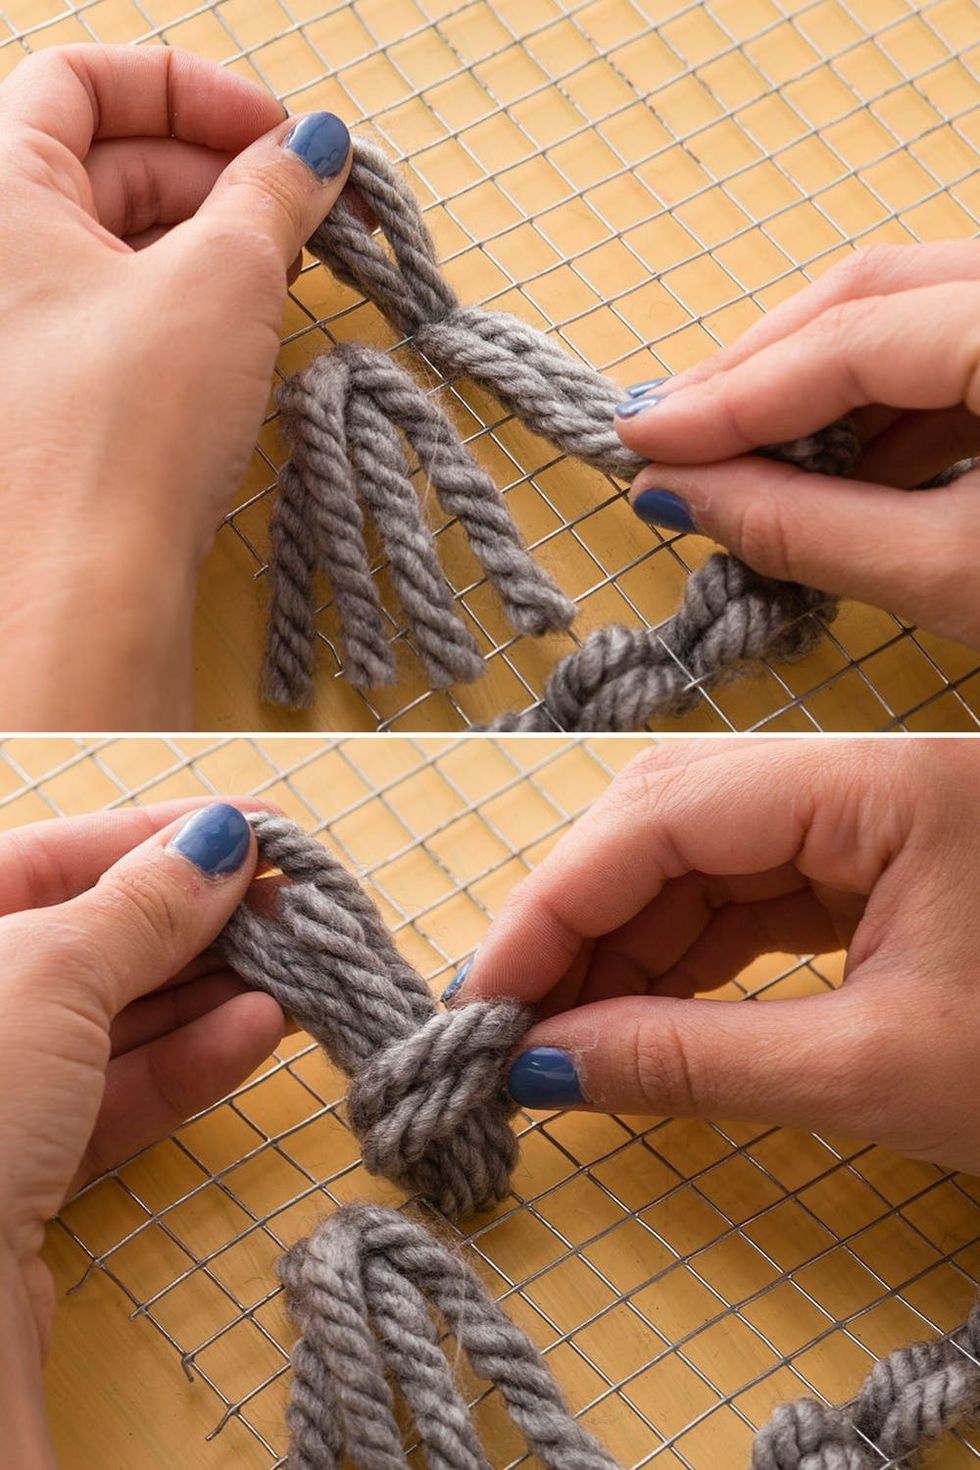
Tassels are a great way to take up space on the weaving. Grab two strands of yarn and loop them through the grid. Send the ends of the yarn through the loop of the yarn and then pull tight.
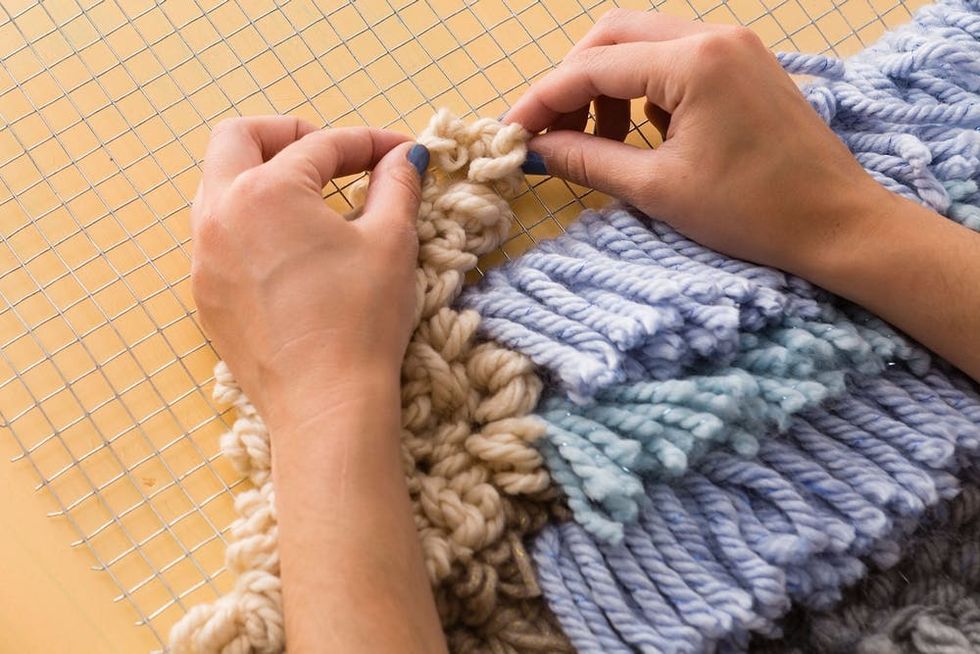
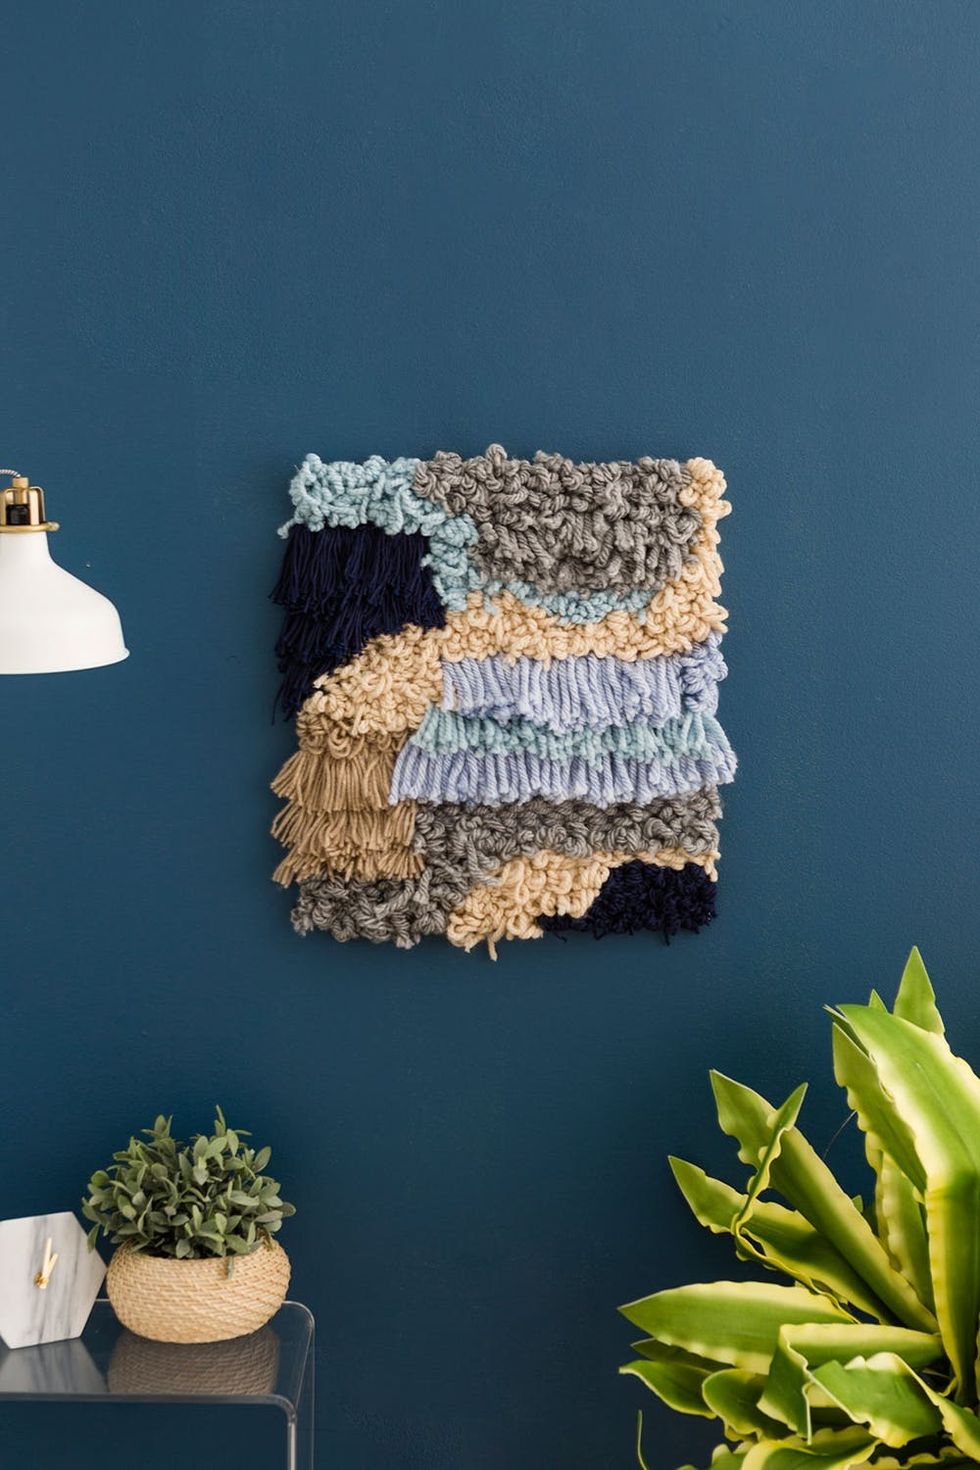
Create organic shapes to give this rugged weaving more warmth. Let the separate colors grow up the edges of the weaving.
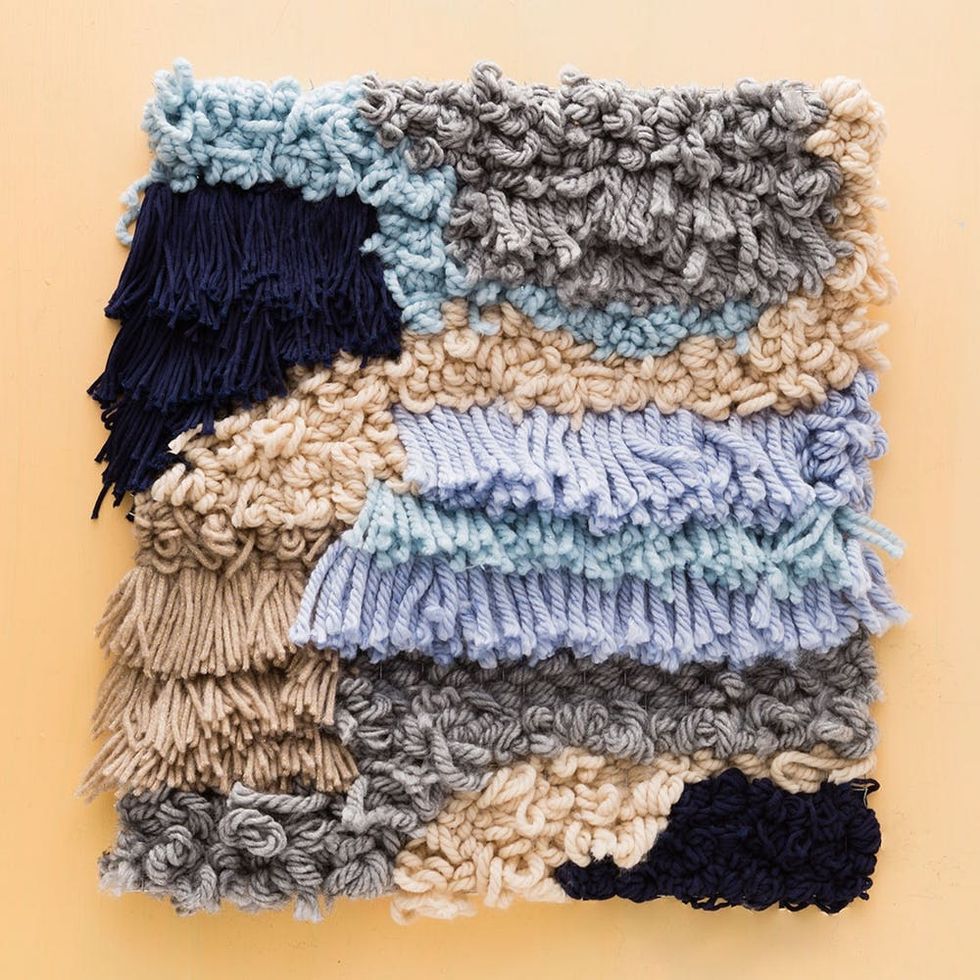
Ta-da! Now this did take about three hours, but a normal 18 x 24 weaving would take you a lot longer than that ;)
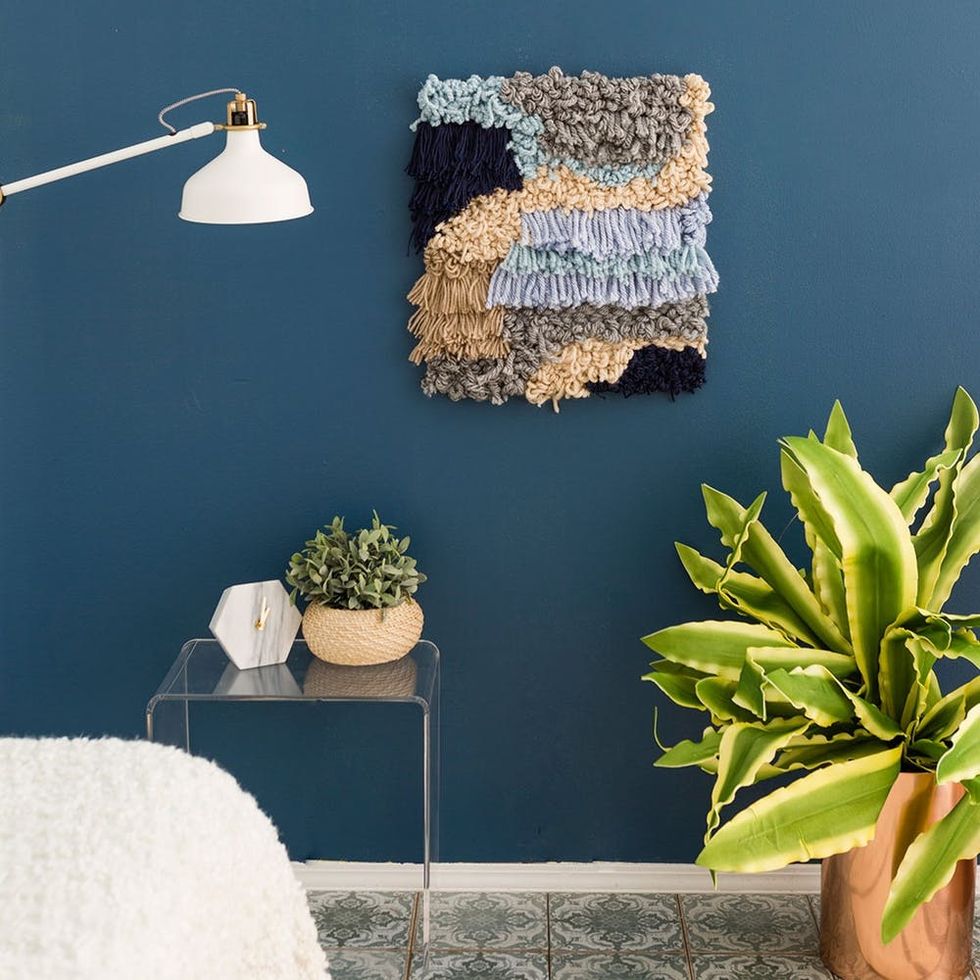
Weavings are a great piece to spice up a lone wall or a gallery wall that needs new love.
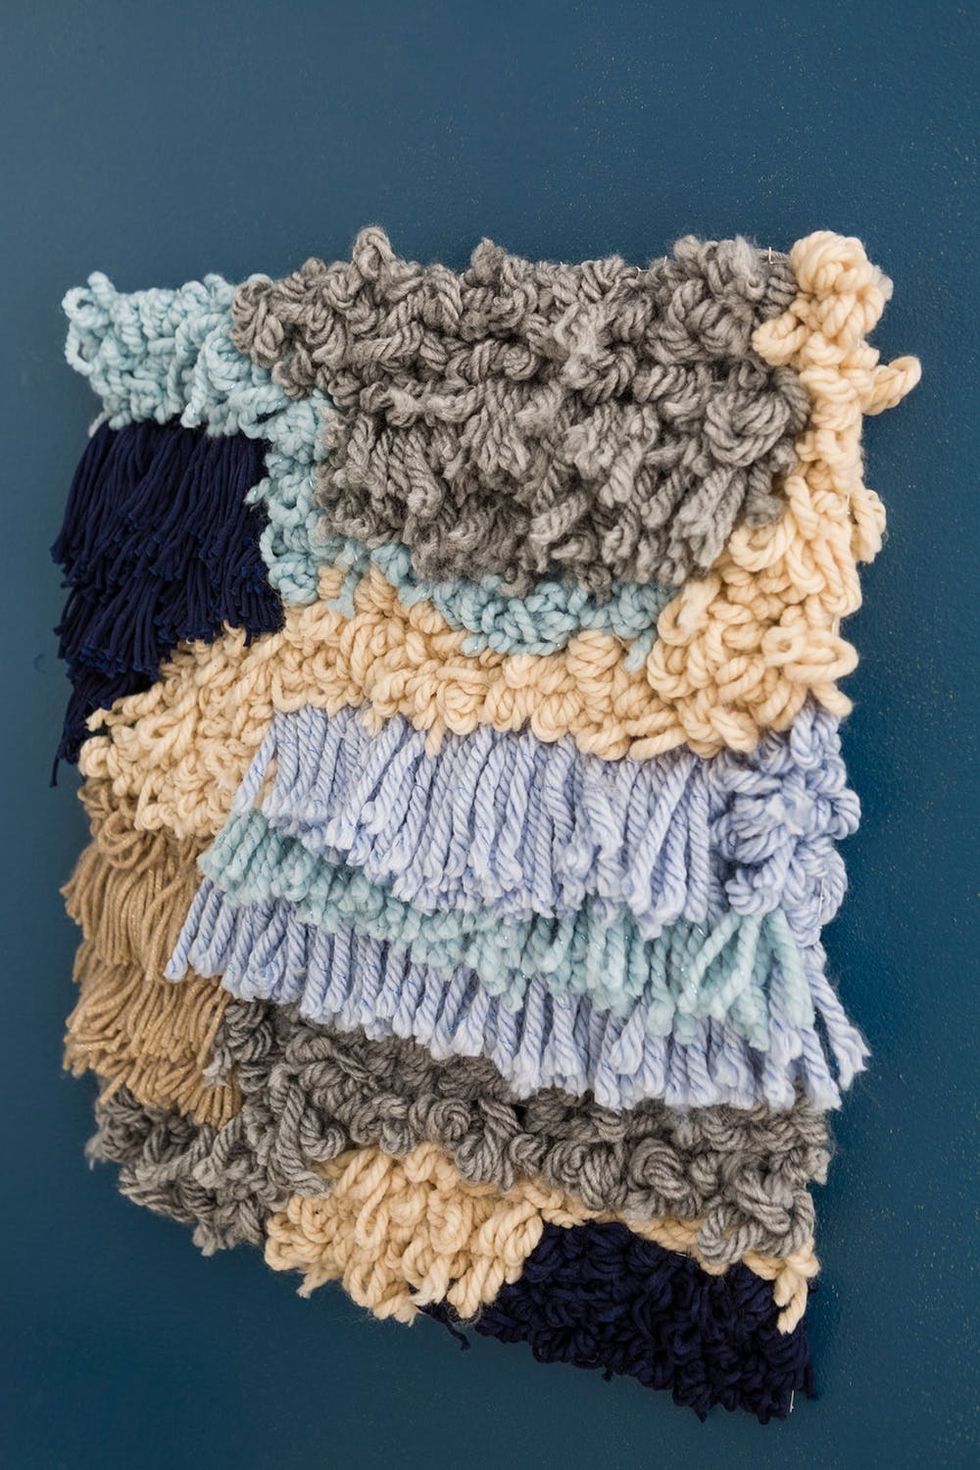
Check out that texture! Sorry that you can’t feel it — lemme tell you; it’s nice :)
Show us your project by tagging us on Instagram + using hashtag #iamcreative, and check out our Pinterest for more DIY hacks and inspo!
DIY Production and Styling: Kelly Bryden
Photography: Brittany Griffin
Brit + Co may at times use affiliate links to promote products sold by others, but always offers genuine editorial recommendations.


