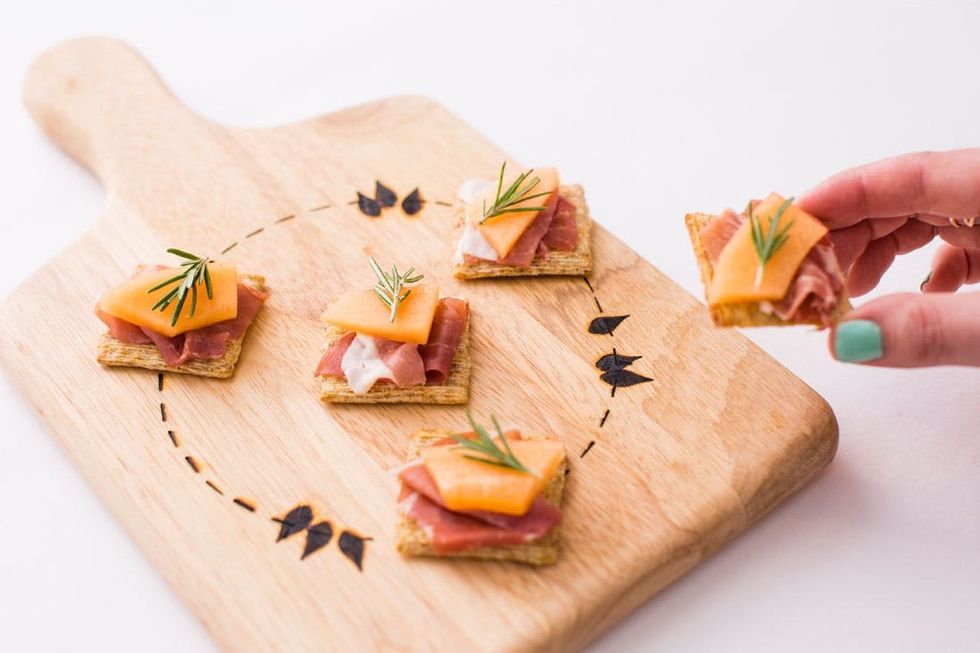
Start your burners and personalize a wood serving board.
3 Creative Ways to Make a Wood-Burnt Serving Board
Show off your DIY skills at your next dinner party with these wood-burnt serving boards. We’ve teamed up with Triscuit to share three fun ways to customize these boards using a wood-burning tool.
With interchangeable wood burning attachments and a beautiful hardwood board as your canvas, the possibilities are endless. And did you hear the news? Our amazing army of Brit Co-Opers will receive kits for themselves and 5 friends, with everything they need to make their very own wood-burnt serving board. Stay tuned to see what our awesome participants come up with.
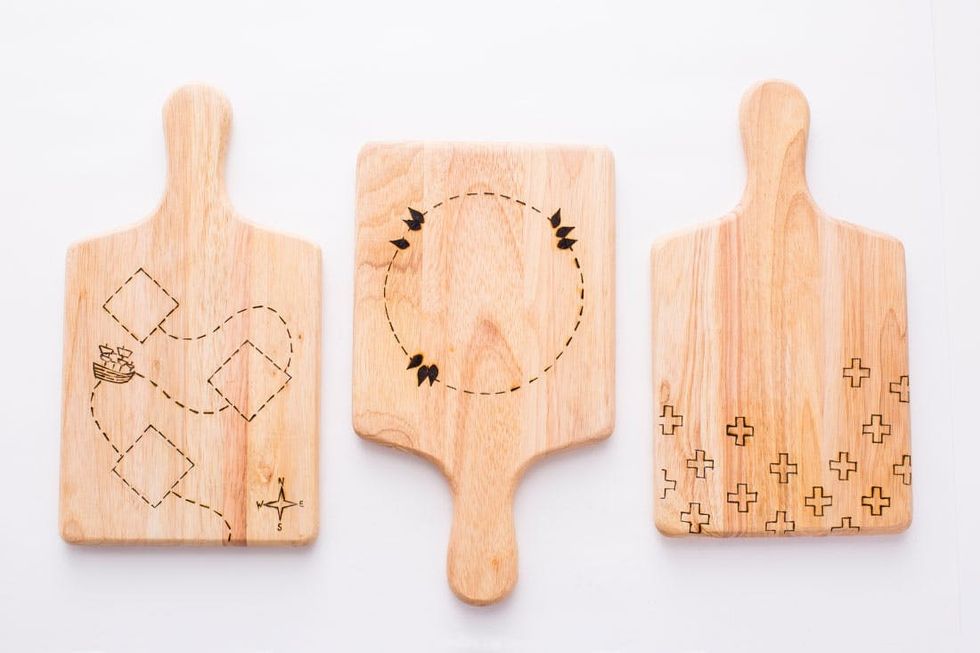
Materials:
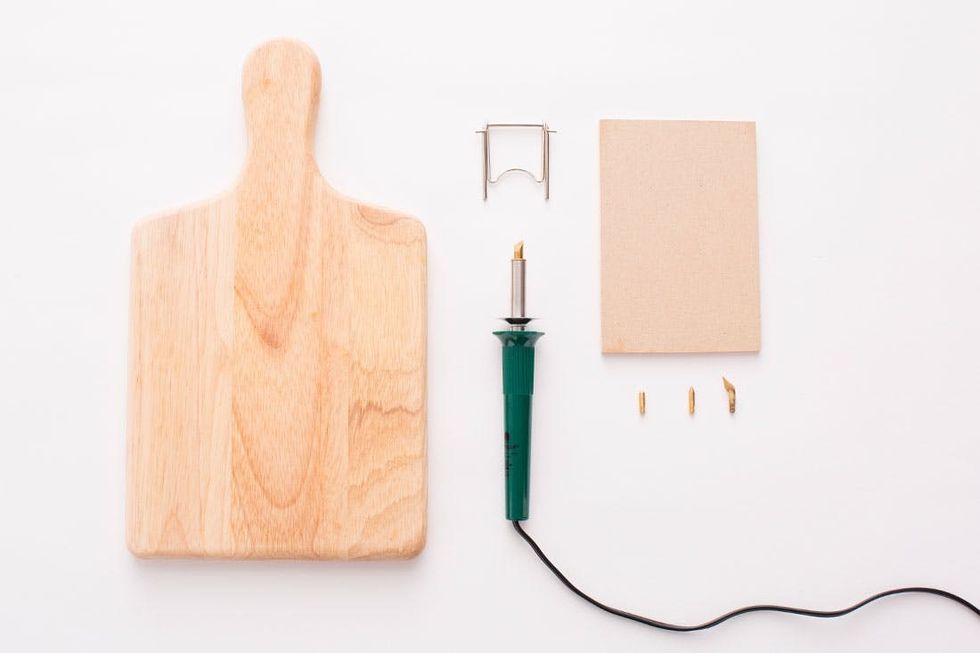
– wood cutting board
– practice board
Tools:
– wood burning tool with 4 standard bit attachments
Additional tools (not included):
– pencil
– eraser
Instructions:
1. Choose your first bit and attach it to your wood burning tool before turning it on and resting it on its metal stand.
2. While your wood burning tool heats up, plan out your design in pencil on your wood board.
3. Test out your shapes on the provided practice piece.
4. Slowly follow along your pencil design using your wood burning tool.
5. To switch bit attachments, turn off your burning tool and let it cool down completely before unscrewing and replacing bits.
6. Remove your pencil lines with a good eraser.
7. Load up your board with these yummy Triscuit snacks!
8. Hand wash in between uses and treat with mineral oil.
Grab a board and let’s get started! You can also buy a kit of your own to create this same awesome project at home.
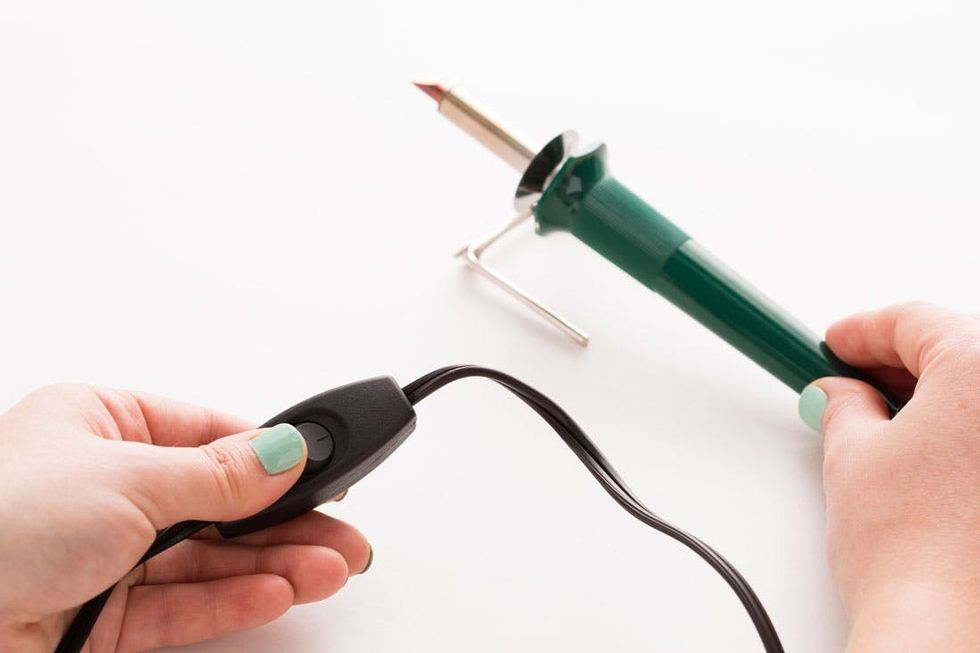
Before we get into designs, choose your first bit attachment (we went with this standard chisel bit), and screw it onto your wood burning tool. Plug it in, turn on the switch, and set your tool on its metal stand while it heats up.
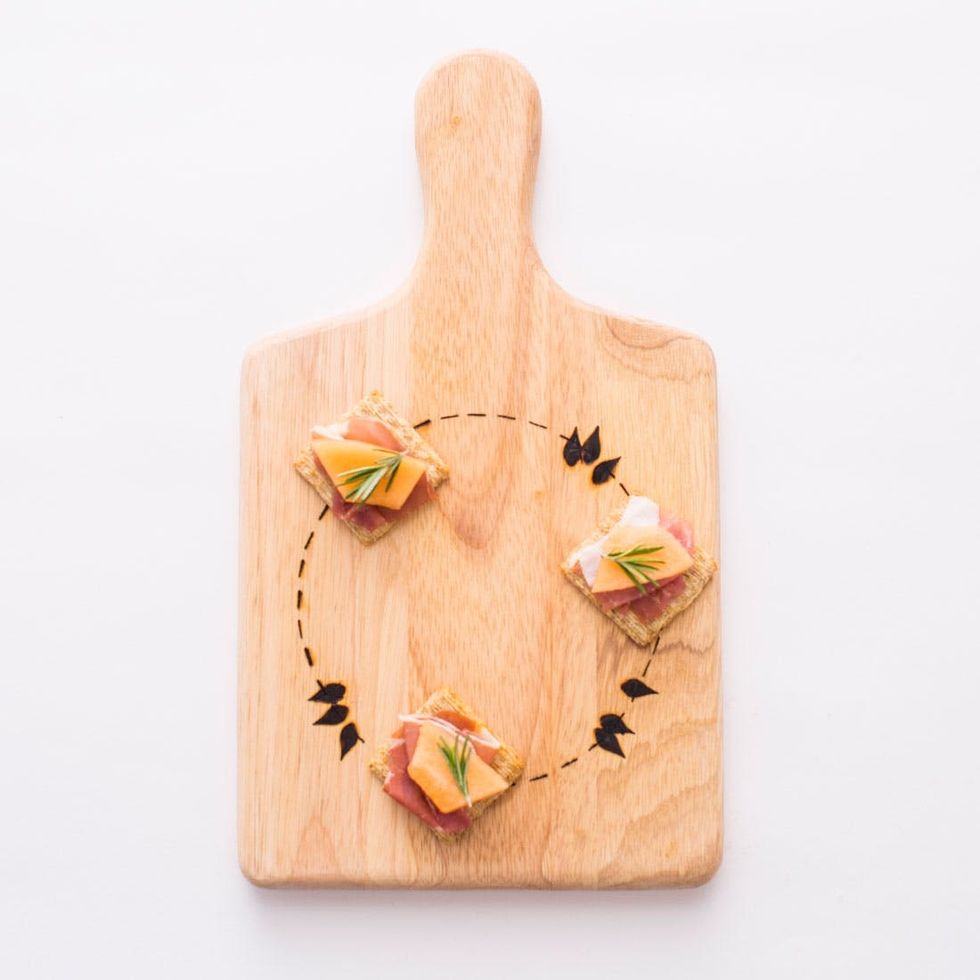
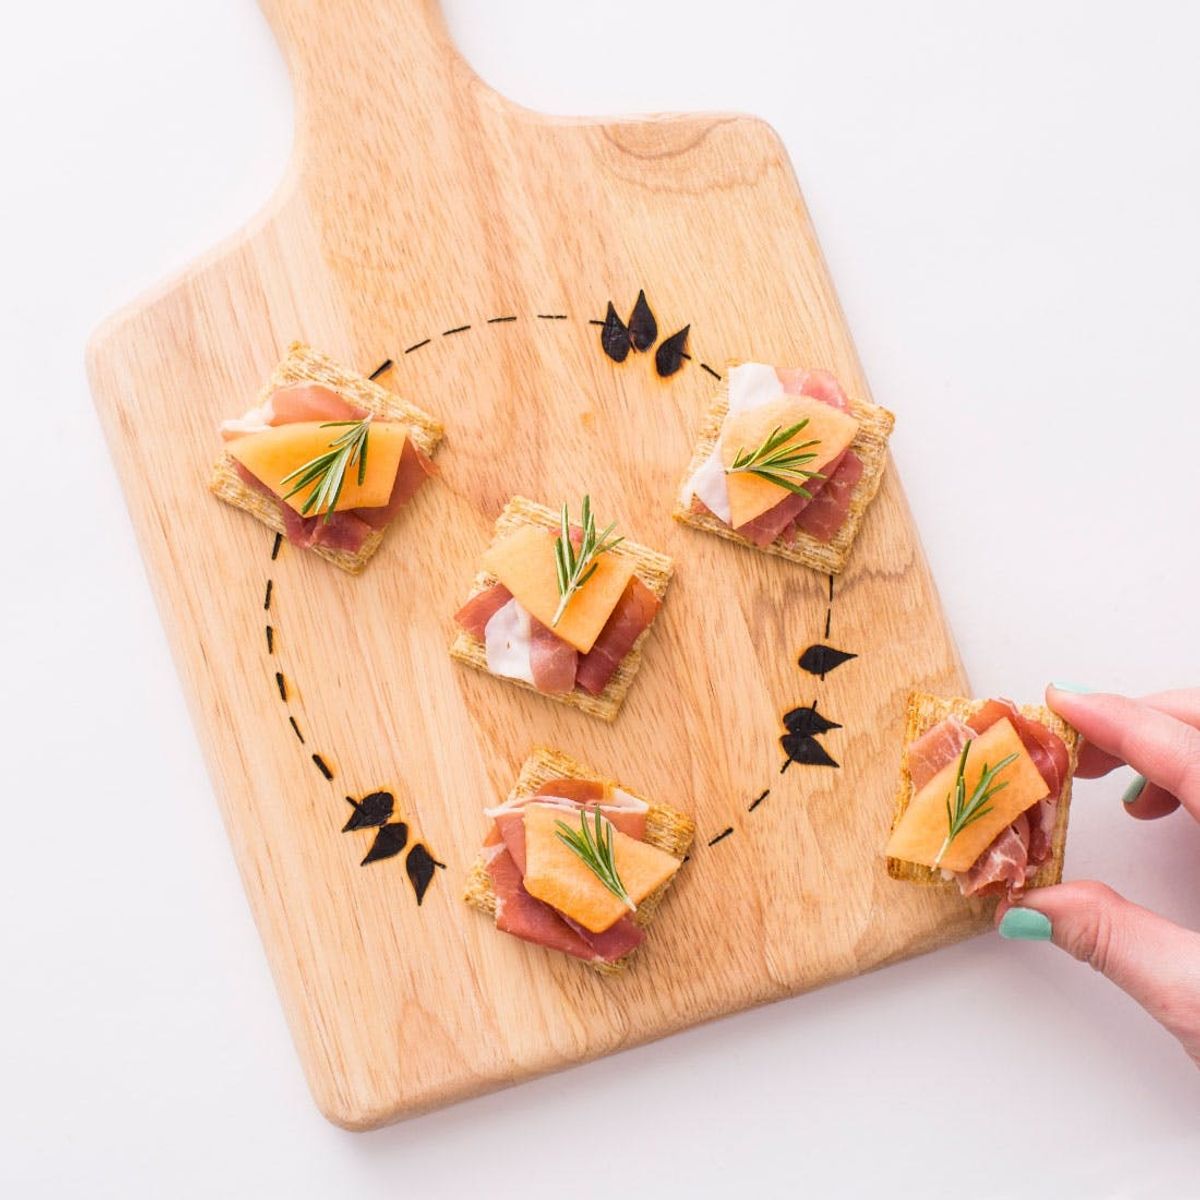
For this first board we created a simple, beginner-friendly outline that will frame all our delicious snacks — and earn a few extra hostess points ;)
CIRCLE OF SNACKS
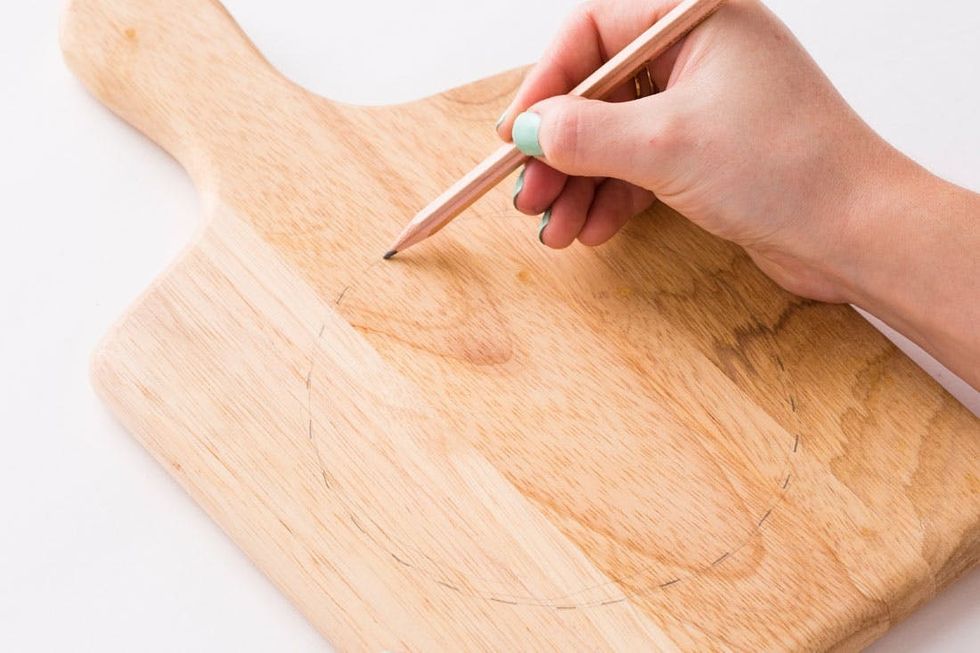
First things first: Plan out your design lightly in pencil on your wood board. Because of the grain of the wood, curved lines can be tricky to make with a wood burning tool, so we opted for a dotted line that is much easier to control.
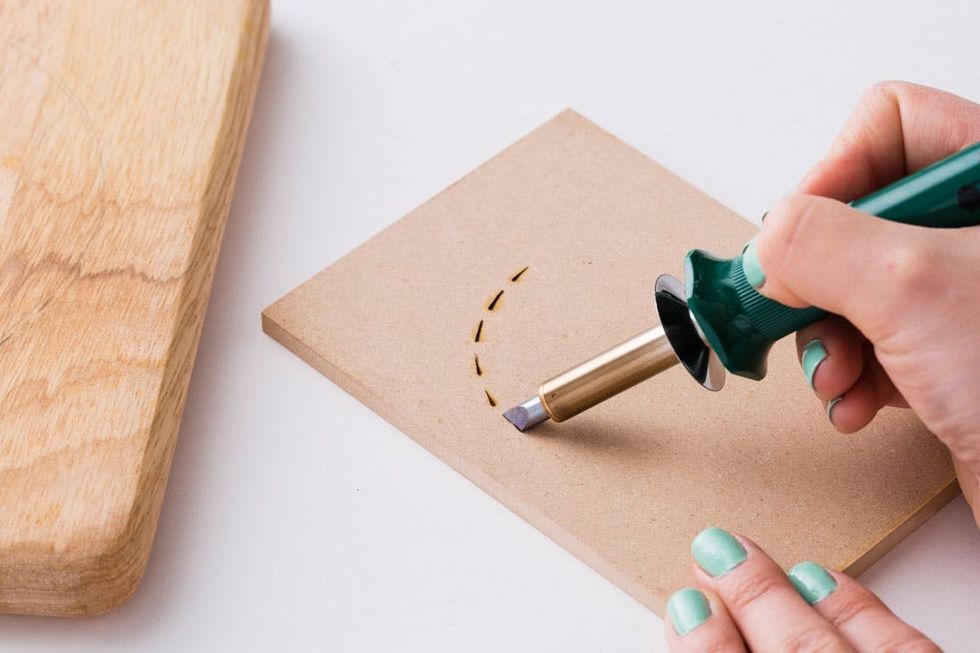
Once the tool is hot, test out your shapes and lines on the provided practice piece. Get a feel for how long you need to hold down the chisel point to get your desired line.
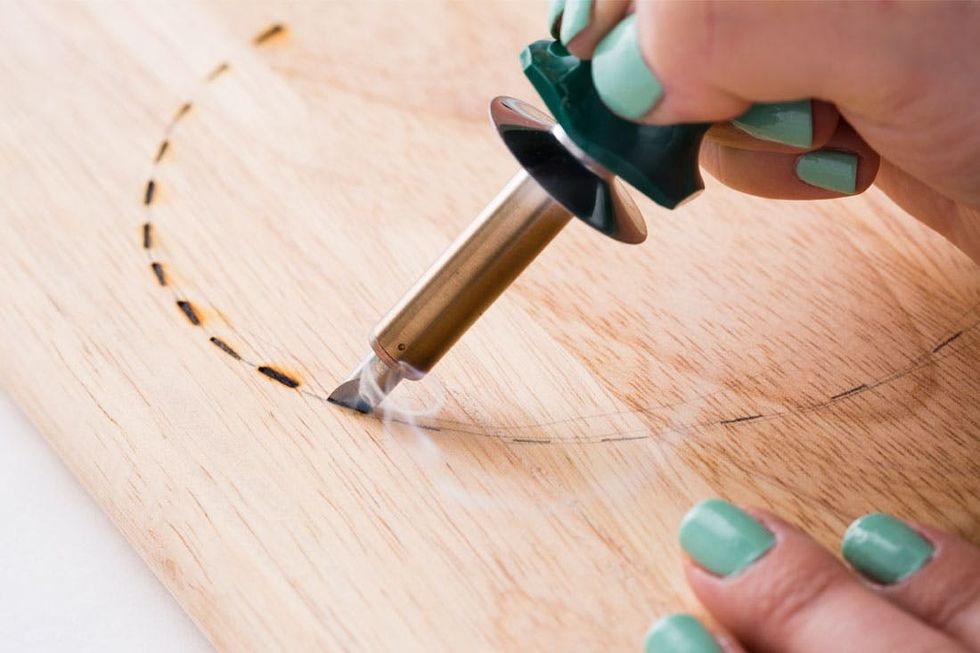
To make these dotted lines, simply stamp the sharp edge of the chisel bit straight down onto the board and continue along your line.
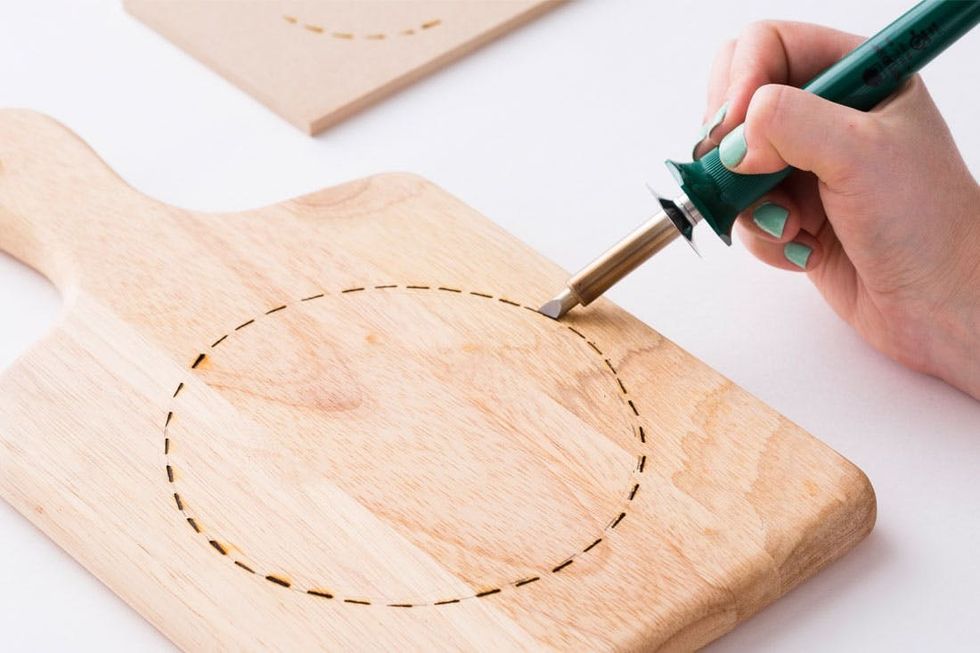
Keep following that pencil line! Remember these don’t have to match up perfectly, your pencil line is just a guide that will be erased later.

Now take the time to remove all pencil marks with a good eraser.
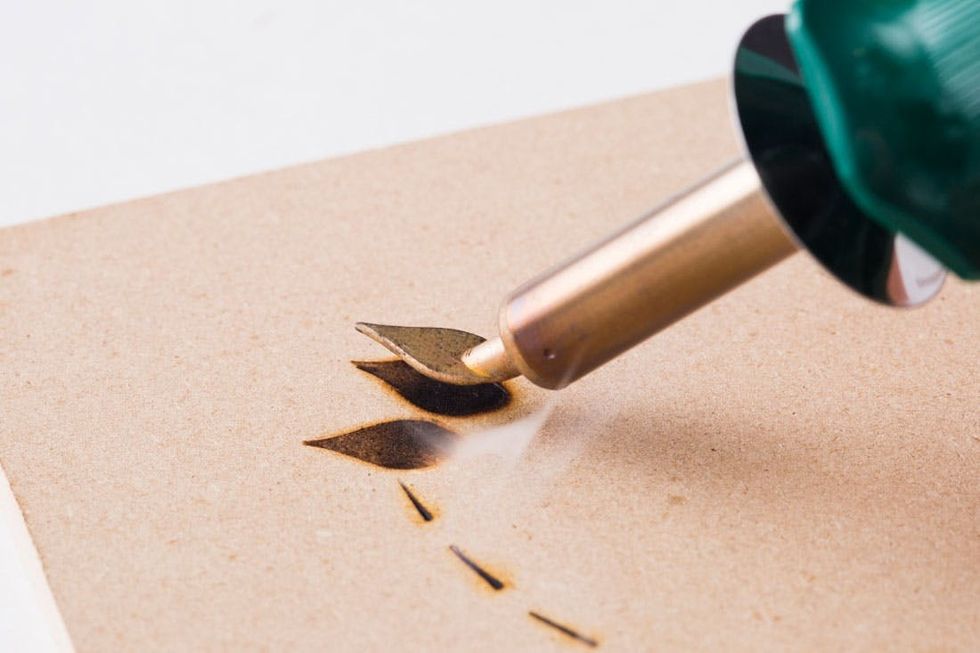
To add a natural element to this design, we switched out the chisel bit for this leaf shaped bit. Make sure to let the wood burning tool completely cool down before switching bit attachments and letting it heat back up on its stand.
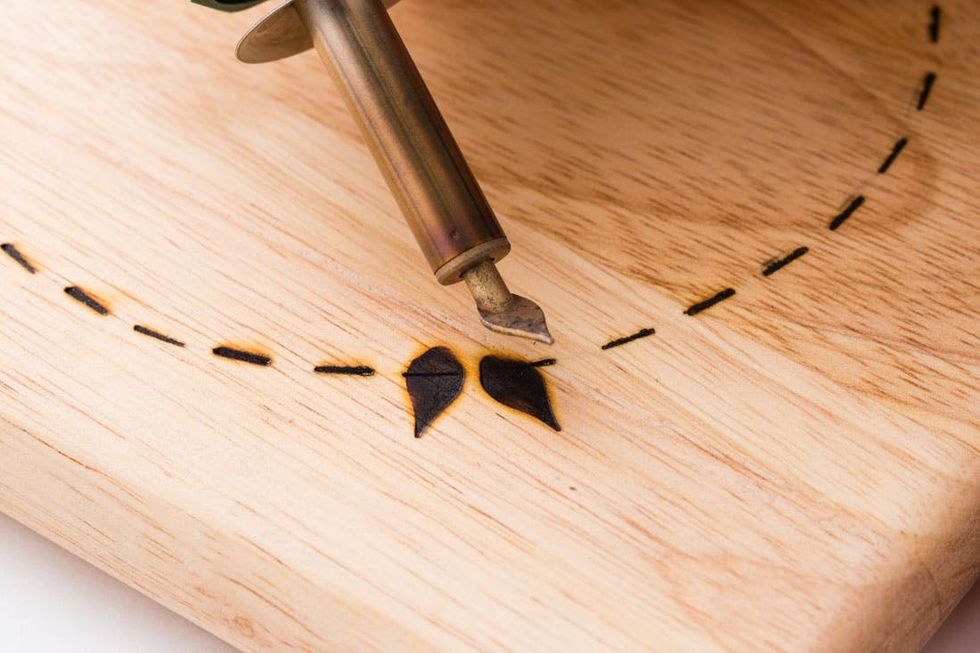
Add a few leaves here and there overlapping your dotted lines. Note that the longer you hold down the leaf bit, the darker of a burn mark you will make.
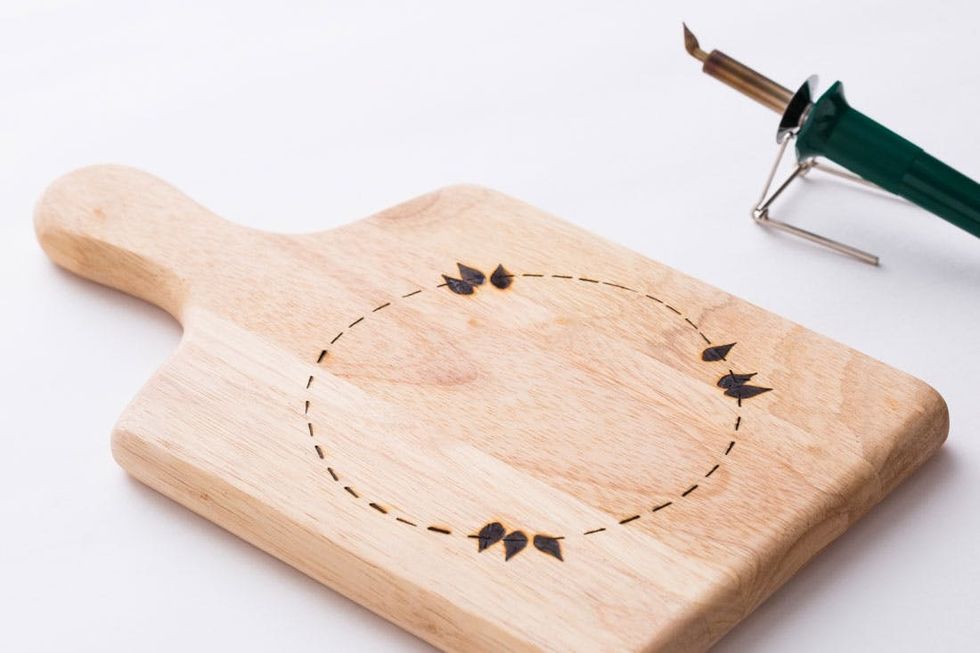
Take a look at that beautiful board! Play around with other shapes and leafy accents for a similar snack-framing design.
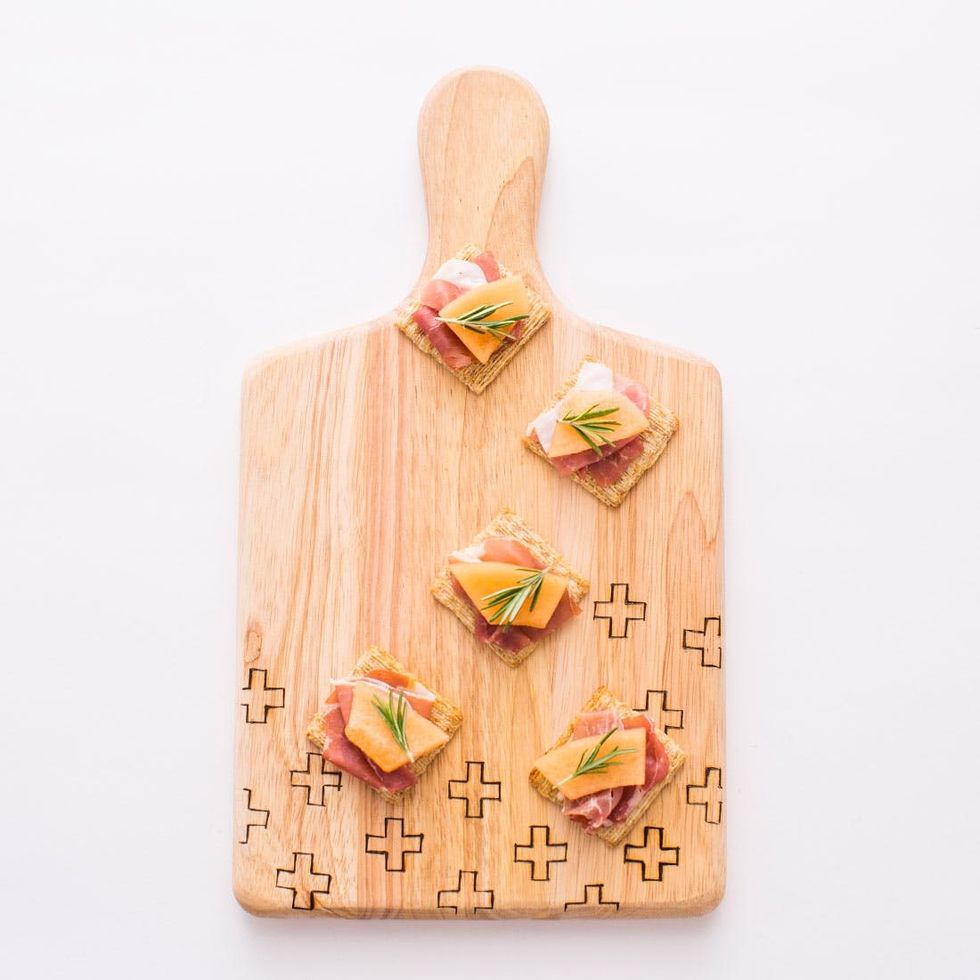
For this next design, we used the chisel bit to create little plus signs all over the bottom half of the board.
PLUS SIGN PATTERN
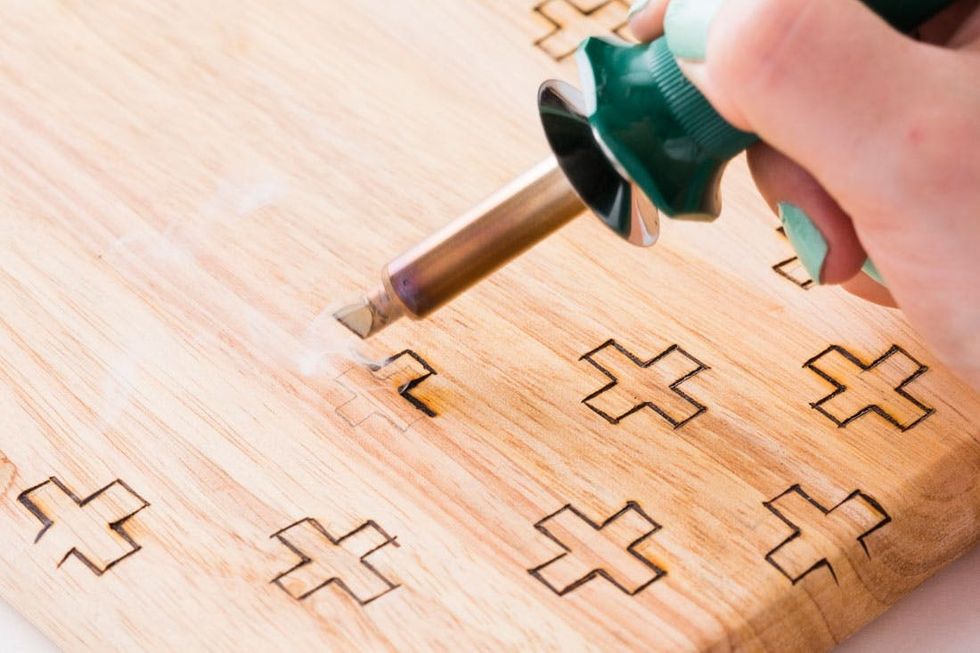
Give yourselves some guidelines in pencil and then follow along with the sharp edge of the chisel bit.
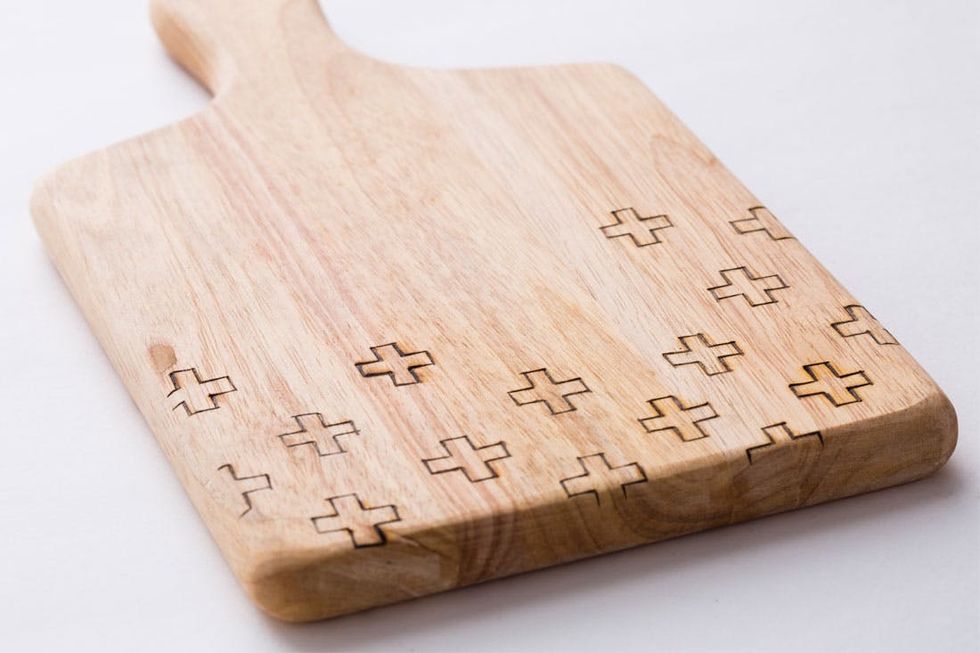
How easy was that? We’re getting tech-y Tetris vibes from this falling geometric pattern.
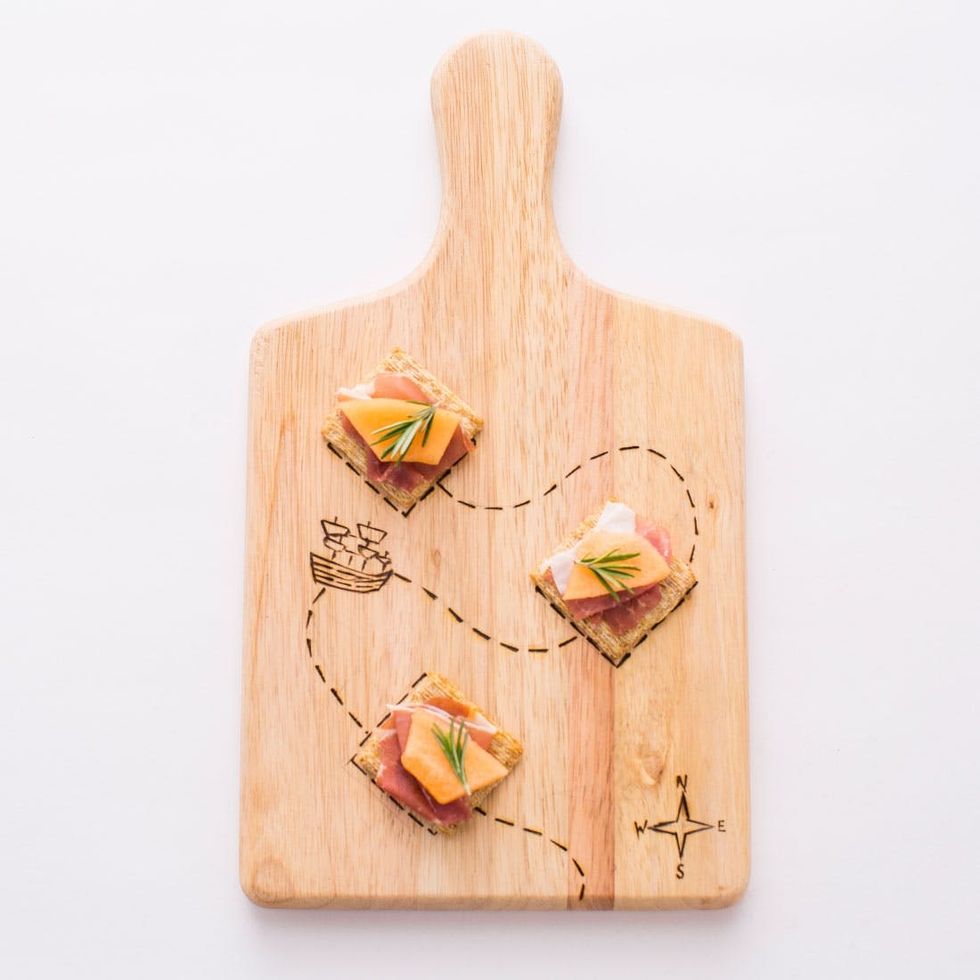
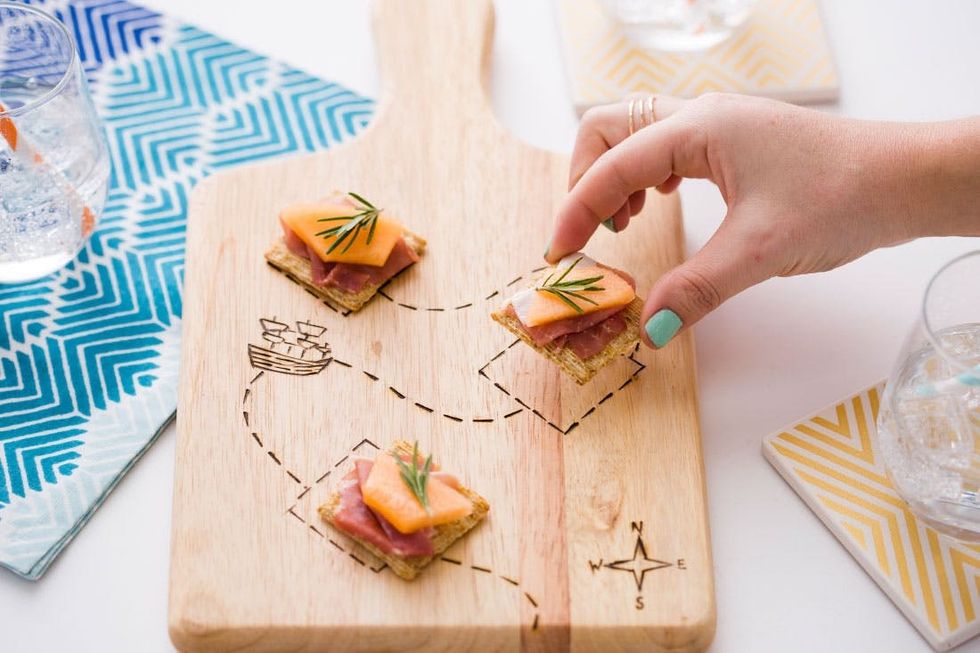
Because our serving boards will soon be loaded up with delicious snacks, we decided to make this third board into a treasure map, where Triscuit marks the spot!
TREASURE MAP
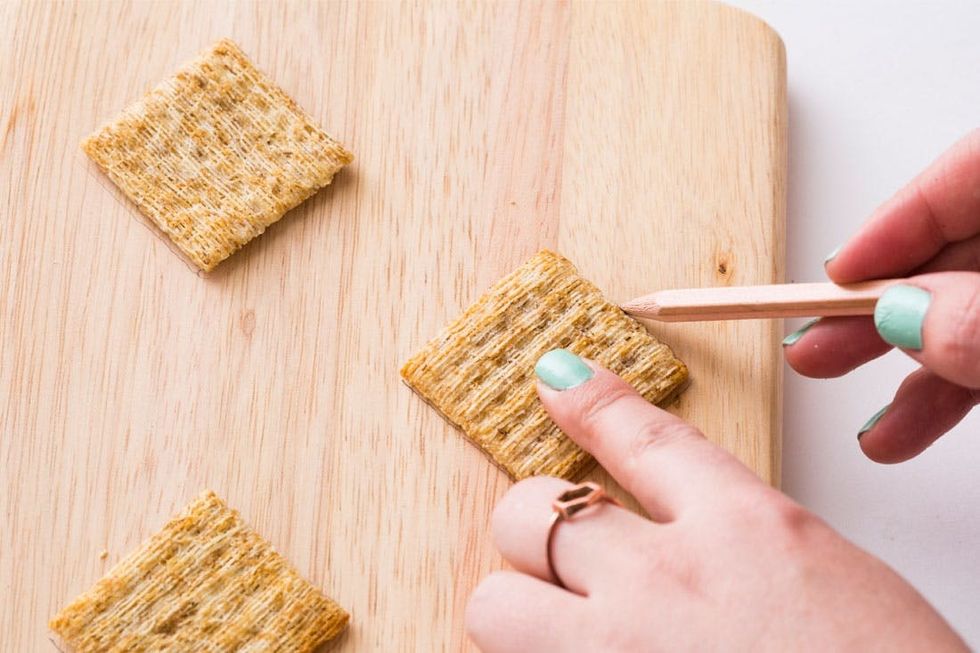
Trace around a few Triscuit crackers to start off this adventurous serving board.
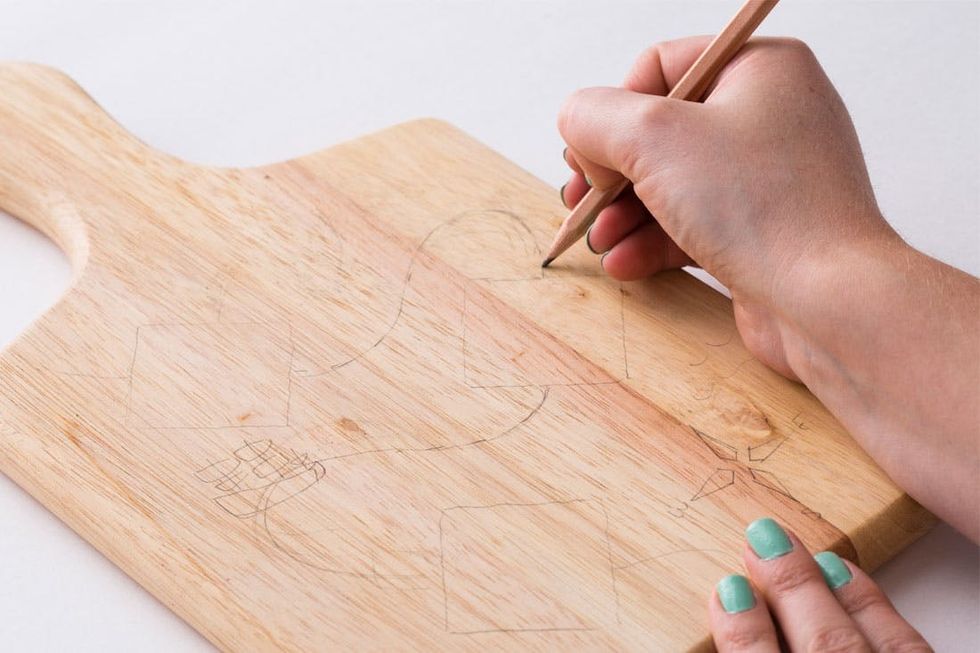
Next, we connected these three squares with dotted lines and drew in a little ship and compass rose.
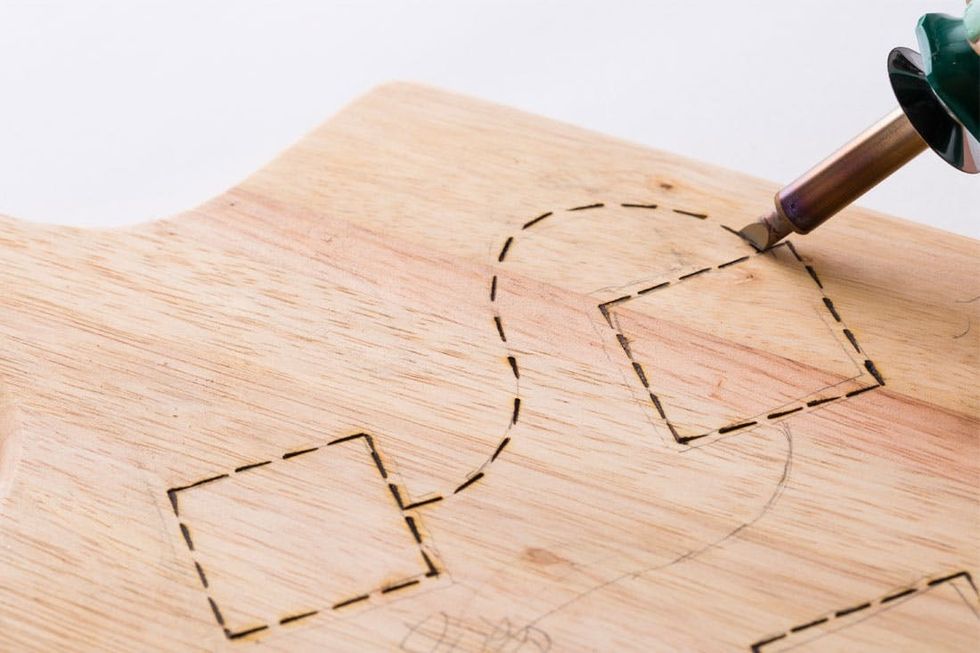
You know what to do! Follow along the dotted lines, using your chisel bit, for the base of your design.
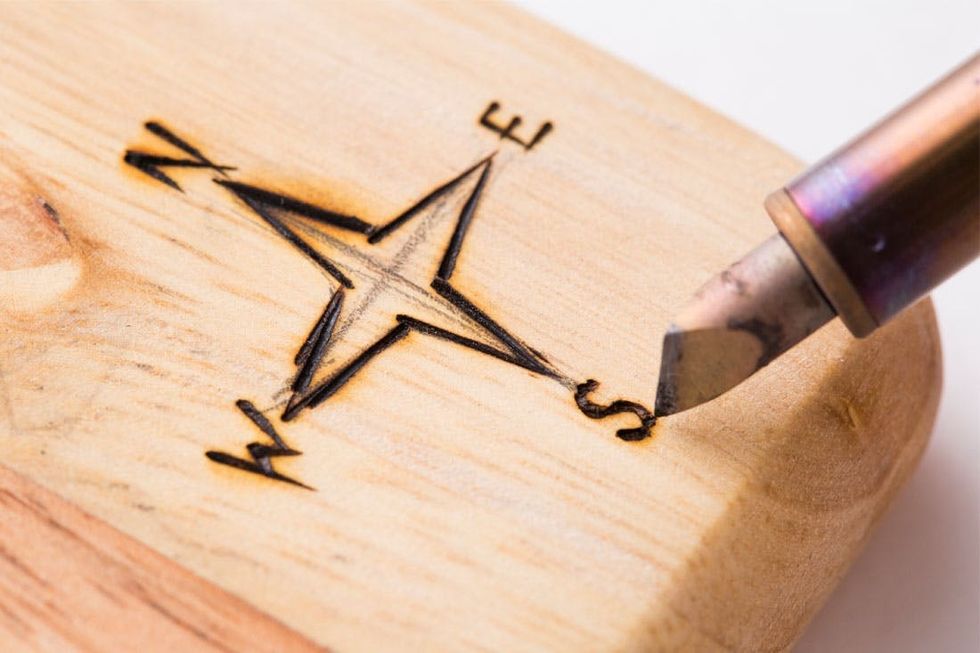
Then use the sharp tip of the chisel to get into the little details.
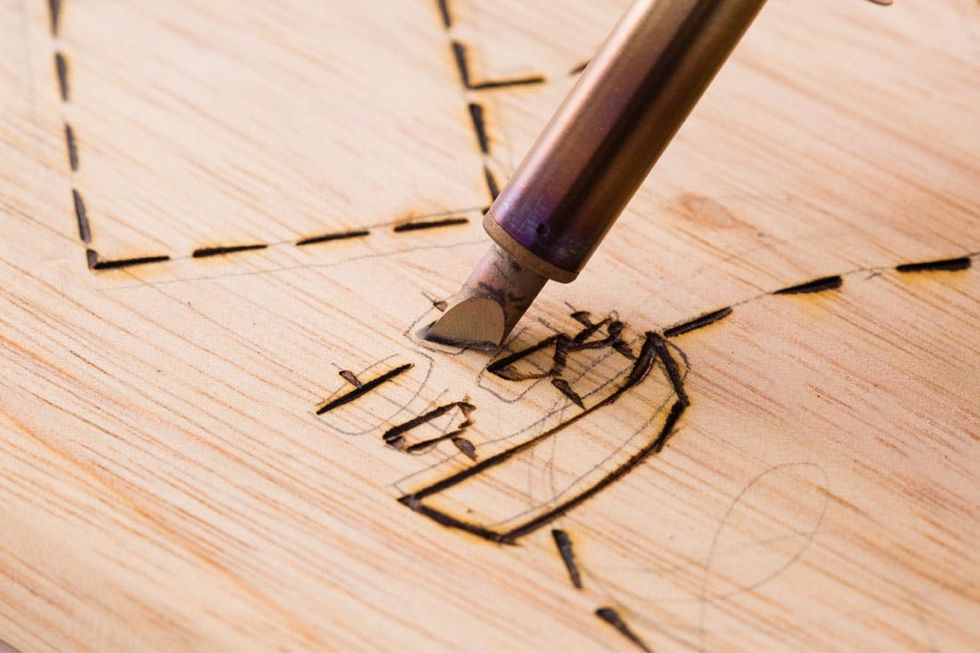
See how we first made the base of the boat, and then drew in little masts and sails? Take your time here and remember to utilize that sharp point!
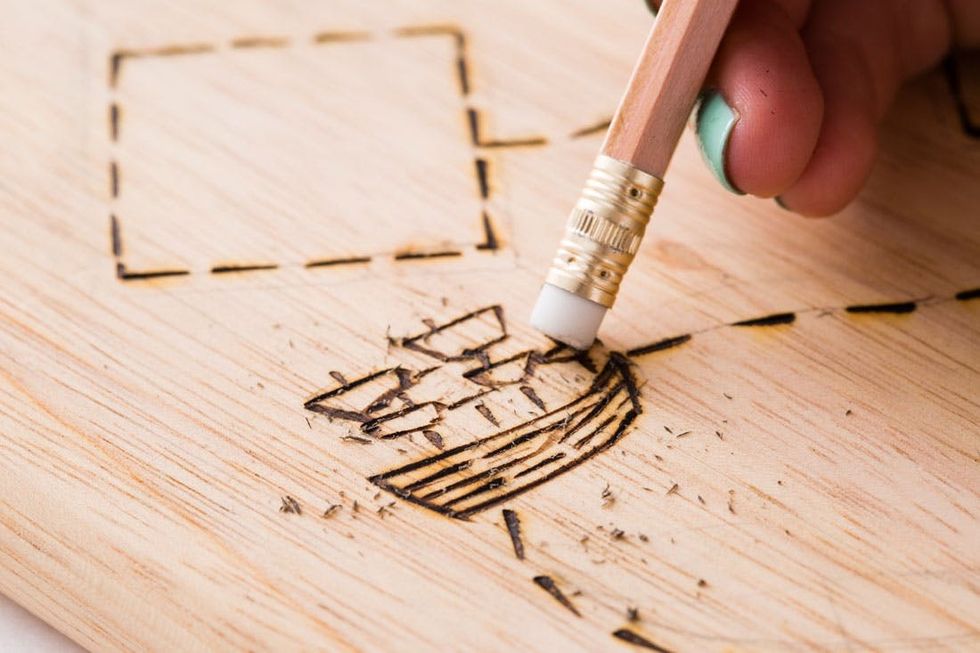
Remove those pencil marks to reveal your burned-in design.

How cute is that? We guarantee both kids and adults will eat up anything and everything that is placed on this treasure map.
Cantaloupe, Prosciutto and Rosemary on Triscuit crackers
 Don’t they look great on our newly customized wood boards?


