We’ve teamed up with MotoX to personalize some simple wooden trays. We’re taking them from humdrum to handsome, from tame to titillating.
Get Organized with DIY Wooden Catch-All Trays
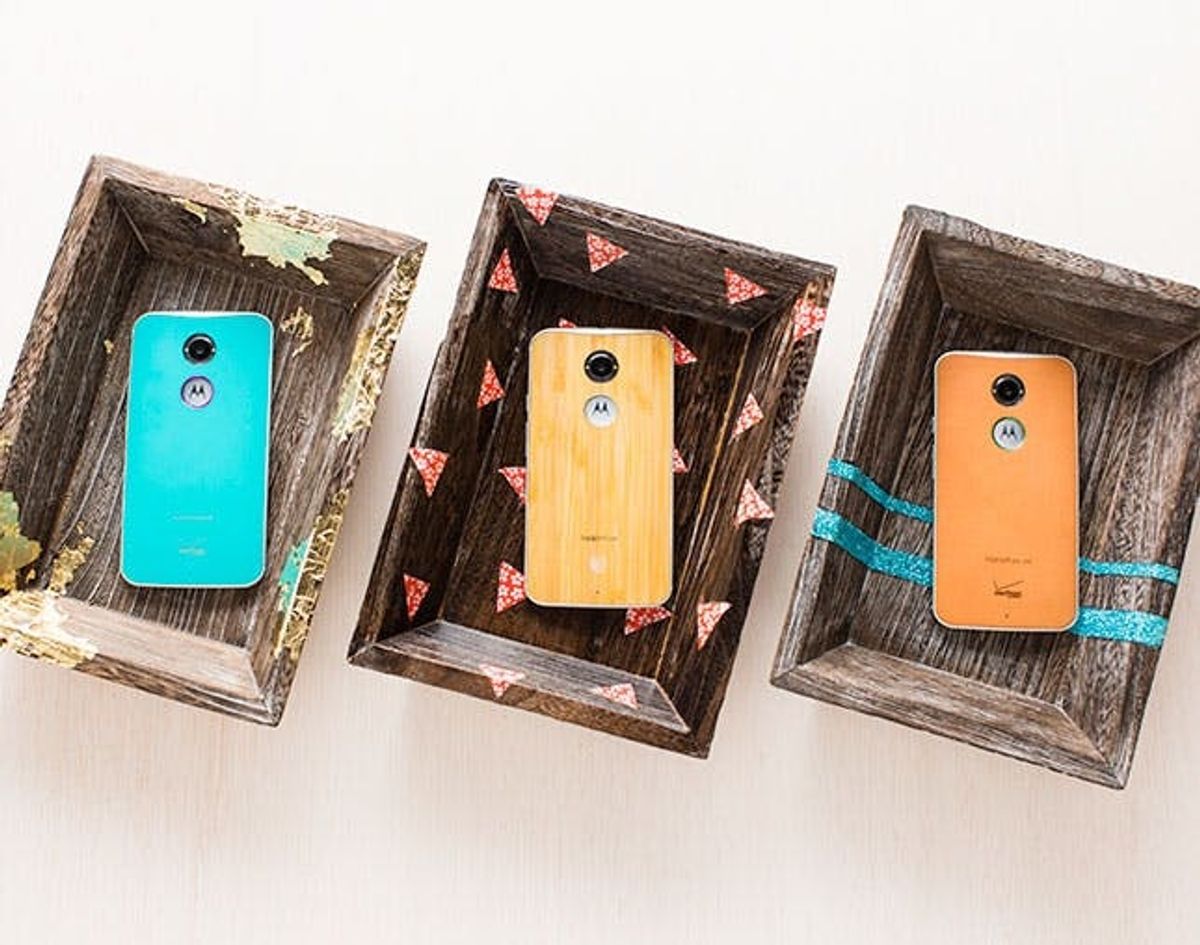
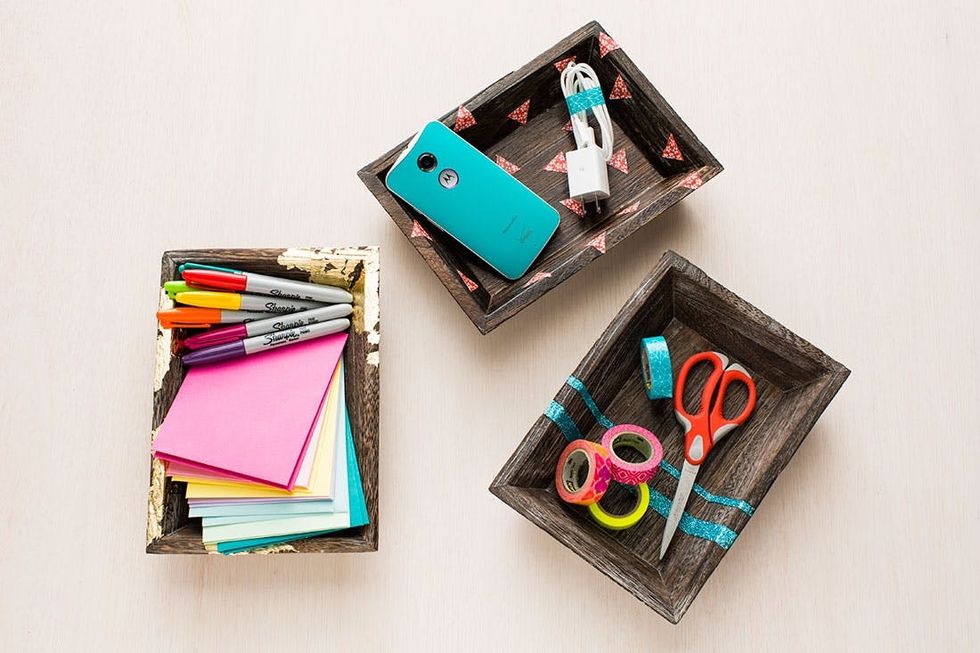
Let’s face it. You can never have enough trays in your house. From your desk drawers to your mantle, there are about a million places they function and look good. Today we’ve teamed up with MotoX to personalize some simple wooden trays. We’re taking them from humdrum to handsome, from tame to titillating. Here are three easy embellishments to get you there.
<br/>
 – wooden tray
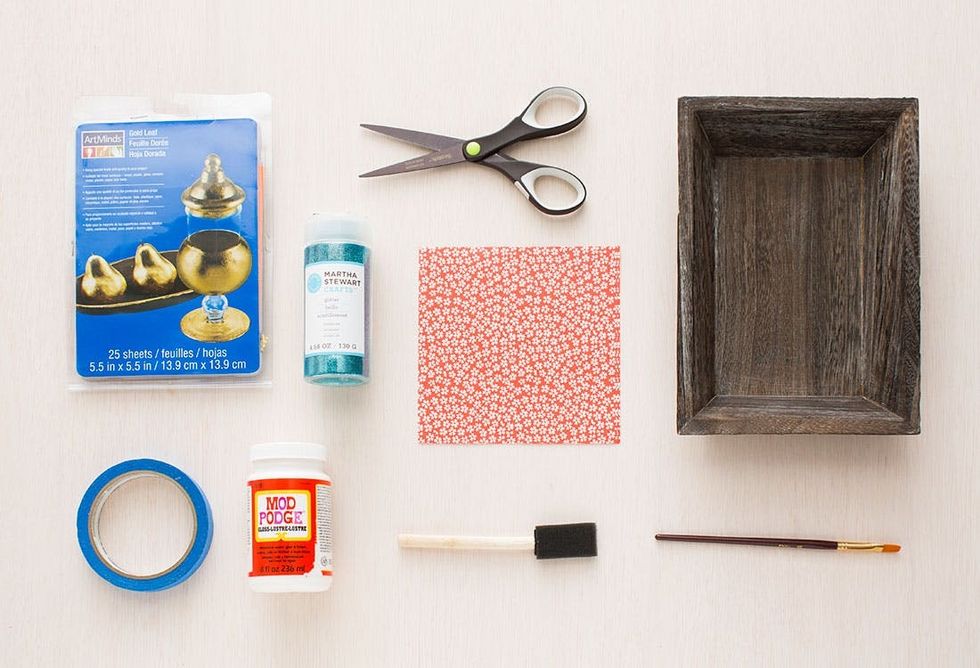
– glitter
– gold leaf
– origami paper
Tools:
– scissors
– Mod Podge
– foam brush
– paint brush
– painter’s tape
Decoupage
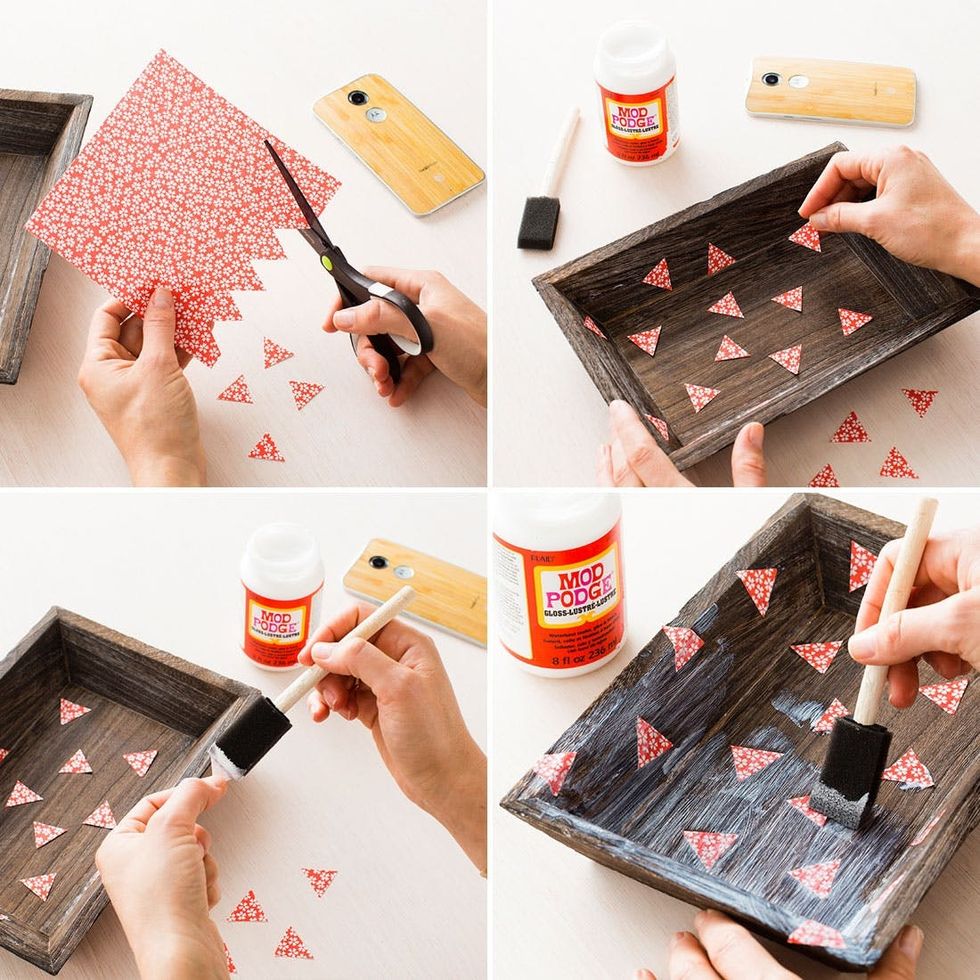
Who doesn’t love a good decoupage project?! Get out your Mod Podge.
Cut small triangles (or other shapes) from your origami paper. Lay them out on your tray creating a pattern. Then paint the backs with Mod Podge and set them in place. Gently paint over the entire tray with Mod Podge and let it dry. You’ll know it’s ready when the Mod Podge is no longer white.
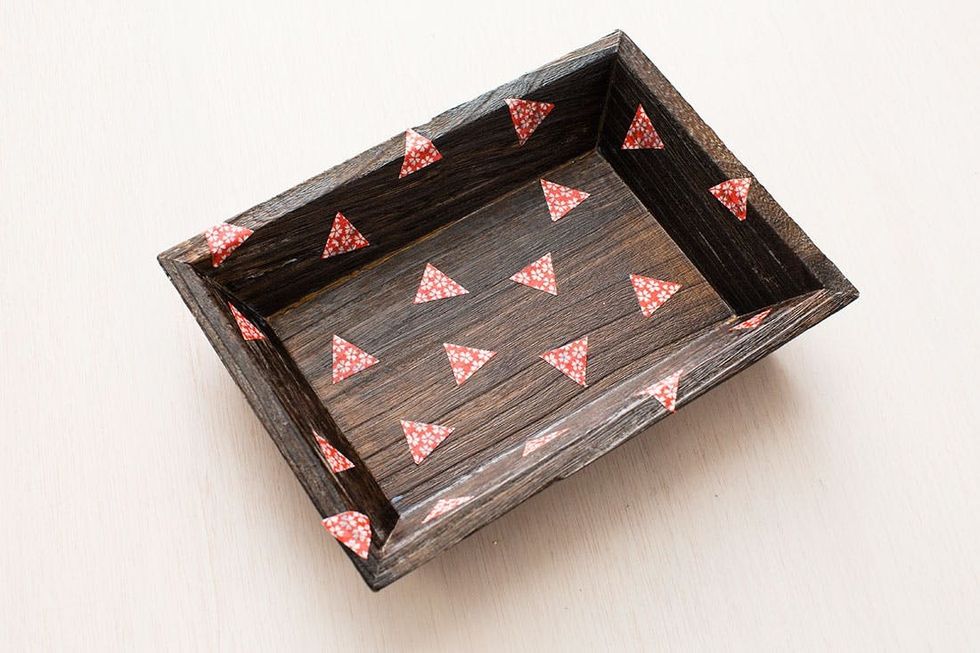
Gold Leaf
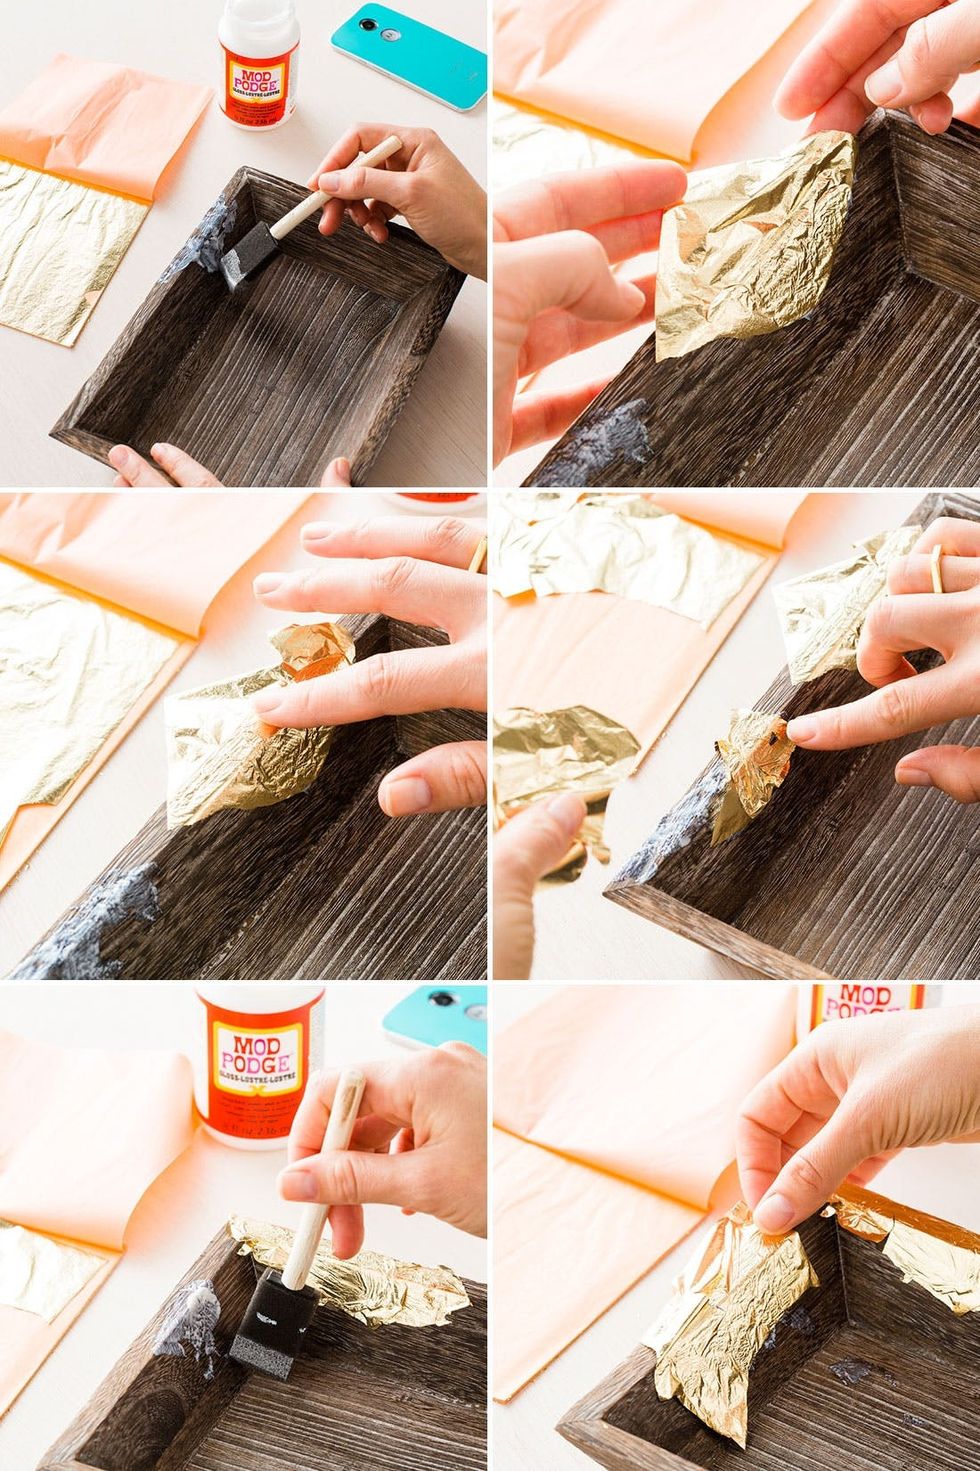
Add a little weathered shimmer to your next tray with gold leaf.
Dab Mod Podge onto your tray making uneven marks with the glue. Add a layer of gold leaf to the tray gingerly pressing it down, and let it dry.
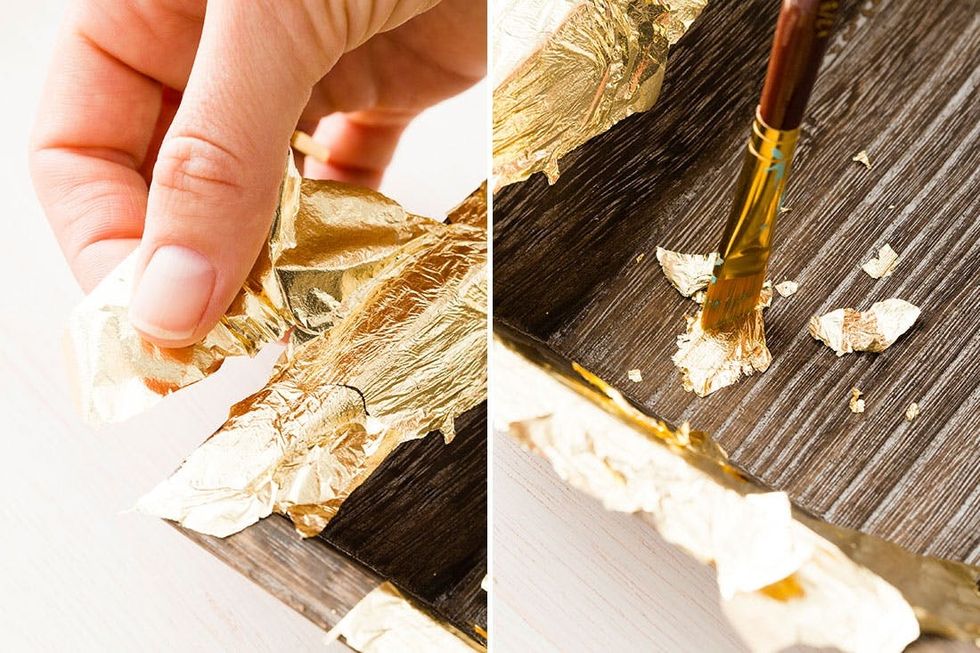
Peel off the excess gold leaf and then take a dry paint brush to the gold leaf to smooth it out. If you want, add a layer of sealant on top.
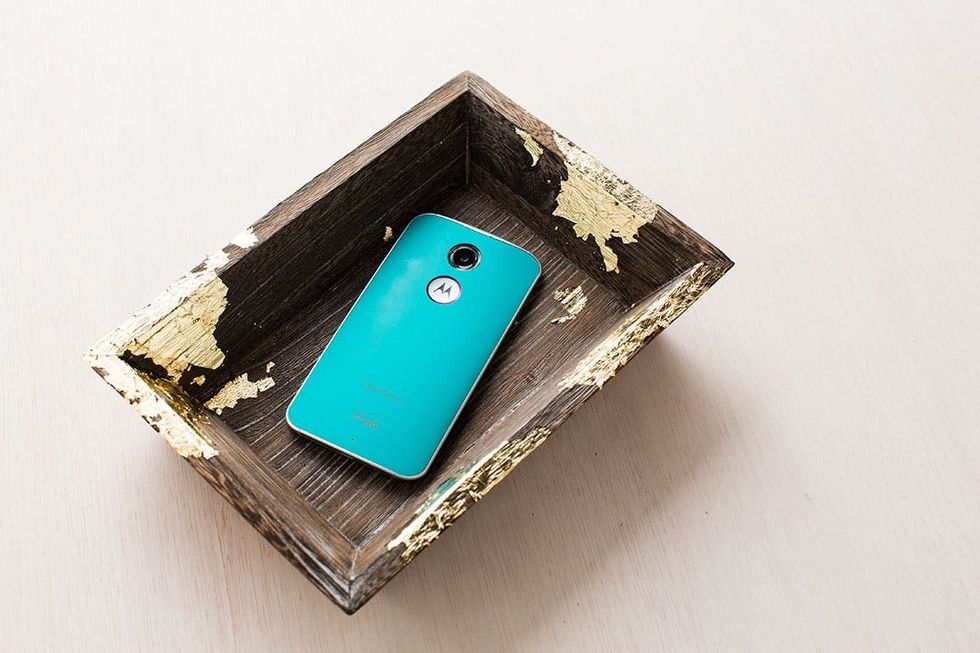
So cool!
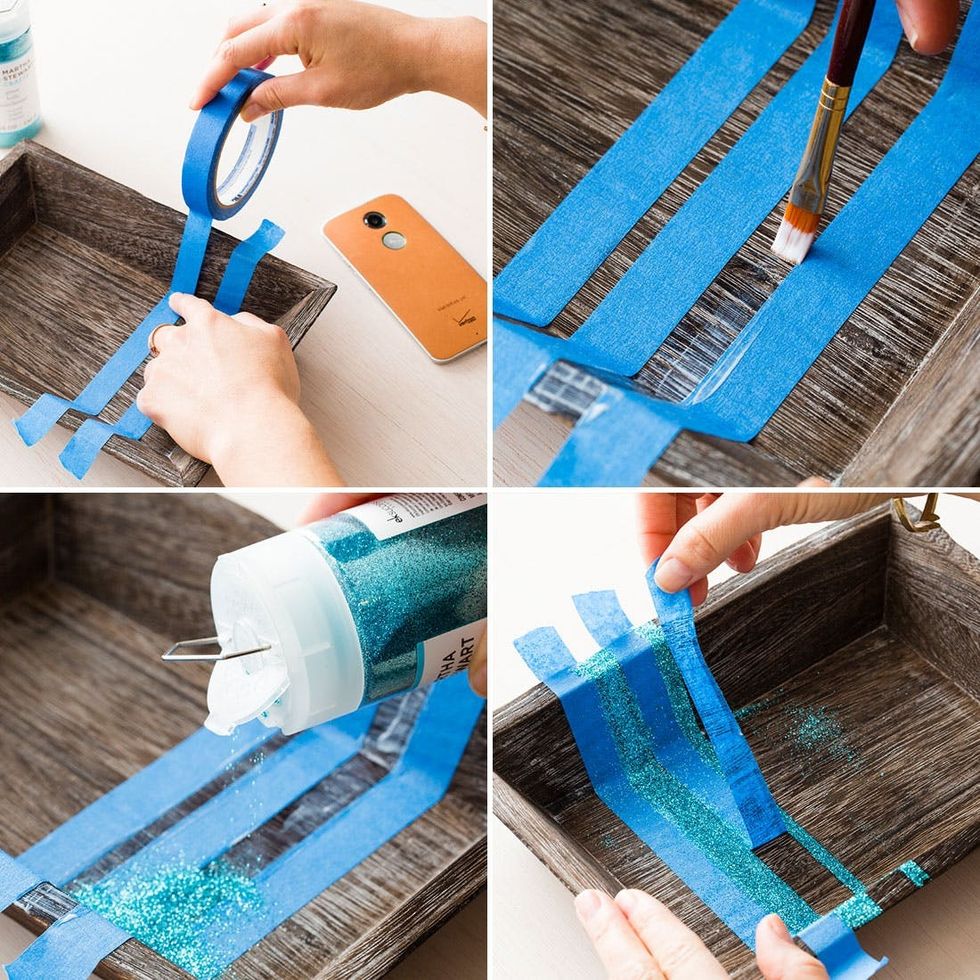
Of course we couldn’t resist adding some glittery shine to our caddy.
Create a design with your painter’s tape. Then paint Mod Podge in the areas you want to cover with glitter. Pour your glitter on top, let it dry and then remove the tape and excess glitter.
Glitter
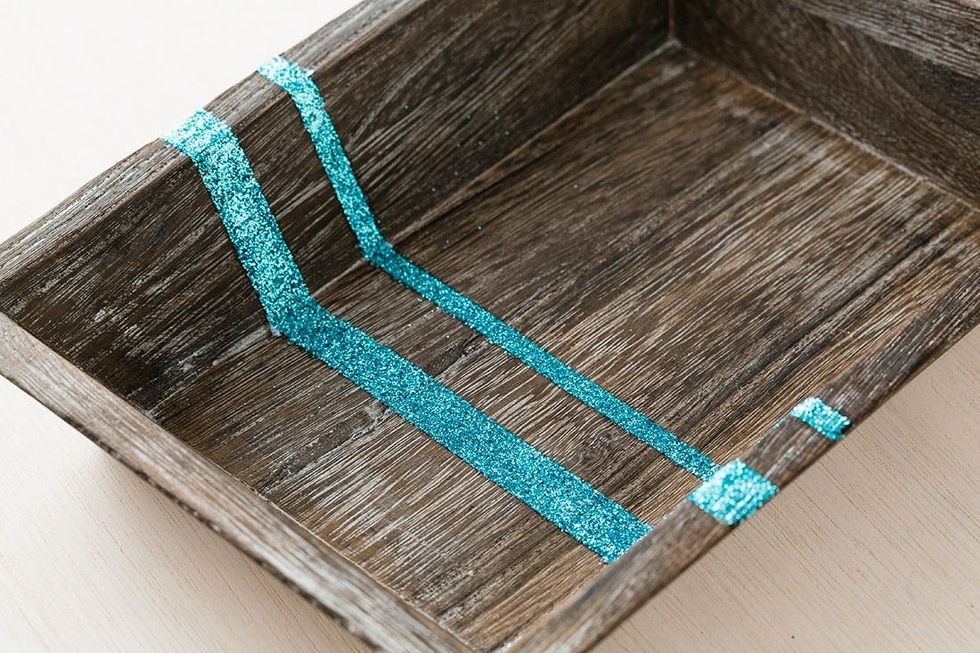
Sparkle magic.

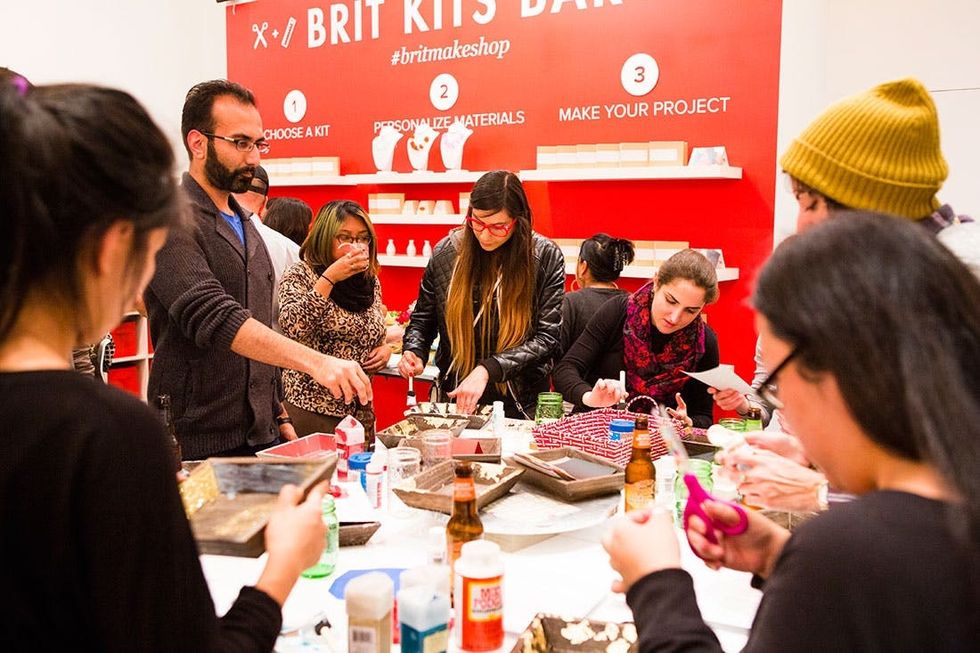
We shared this project at an event with MotoX, hosted at Brit + Co SF, and boy did the creativity flow. Check out all of the amazing trays the attendees fancied up.
We had a photobooth (duh!).

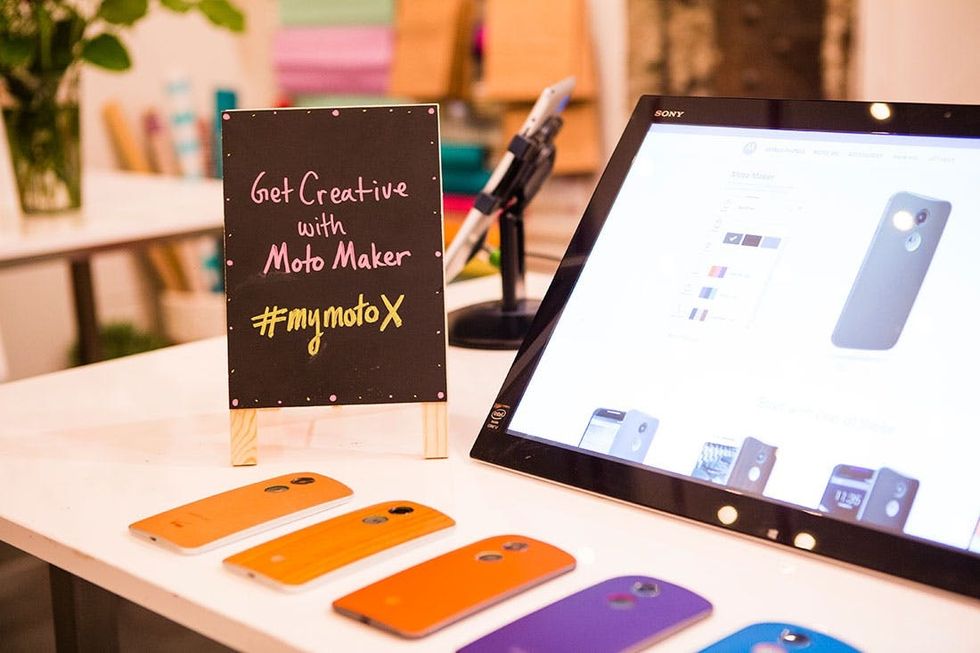
And a station where you could personalize your MotoX phones. How cool is that?!
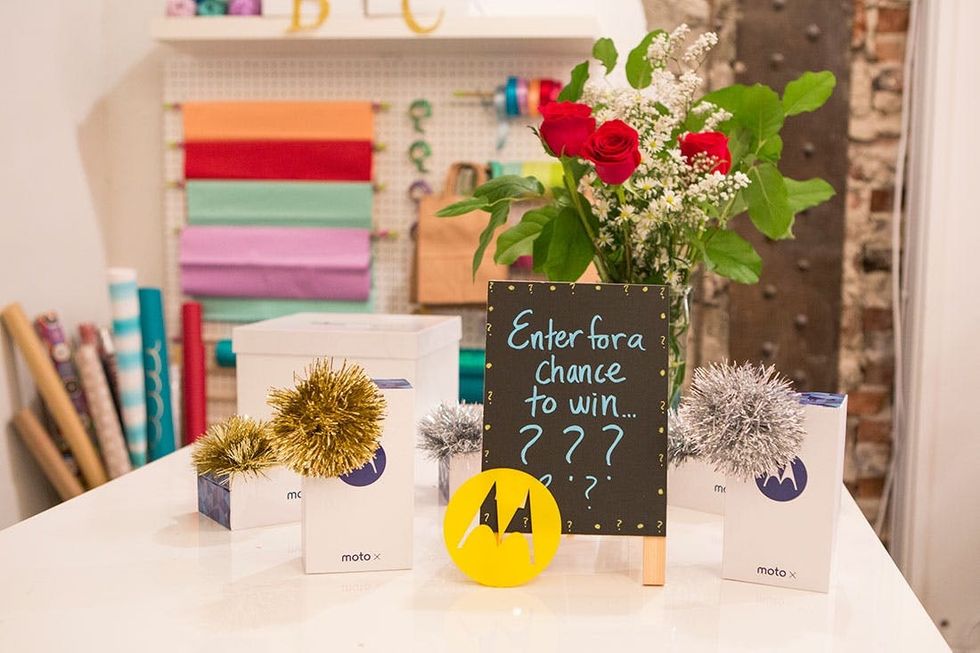
And finally, you could win your very own MotoX!
Not a bad way to spend the evening :)


