DIY Origami Decor is Way Easier Than You’d Think

We have mad respect for makers who have mastered the art of origami. Those careful folds, that exhausting geometry… we know from experience that it can be a total chore to create a statement piece with nothing but delicate paper and your bare hands. And while all the hard work DOES pay off (remember our cool origami lamp shades?) it doesn’t always have to be so difficult! So we’ve decided to hack origami and pass up the paper for wood. Super thin birch wood sheets, that is. This heartier material will guarantee that every angle is super straight and every edge perfectly pointy when we go to make our geometric centerpiece. Better yet, it requires NO intricate folding — just use our triangle template to get started. What did we tell you? Way easy!
Materials:
– printable triangle template
– super thin birch wood (We got ours at Michael’s)
– spray paint
Tools:
– glue gun + glue
– scissors
– tape
– box cutter or switch blade
Instructions:
1. Print and cut out the triangle template.
2. Trace three triangles on the birch wood alongside each other to form a side-by-side set — see the photos below to emulate the point to point pattern. the tip of the first should face down. You should trace a total of eight sets.
3. Cut out the sets along their perimeters with scissors.
4. Using a box cutter, score along the inside lines of each triangle. Bend where you scored to form a pyramid shape.
5. Tape the triangle edges together to form a pyramid out of each set.
6. Tape four pyramids together on the inside so that the bottom of each structure forms a square. You might want to reinforce the structure with another layer of tape.
7. Tape and glue the two pieces together.
8. Spray paint your origami piece and let it dry completely
Alright, your triangle template is printed, time to start tracing it onto the wood in sets of threes, each side-by-side. You can see the pattern here: a point down/point up/point down formation that results in a trapezoid shape. Trace out eight of these sets, then cut them out.
Using your box cutter, carefully score along the lines of your triangle sets and bend them to form a pyramid shape. Tape the edges together to actually build your pyramid — do this for all eight sets, yo!
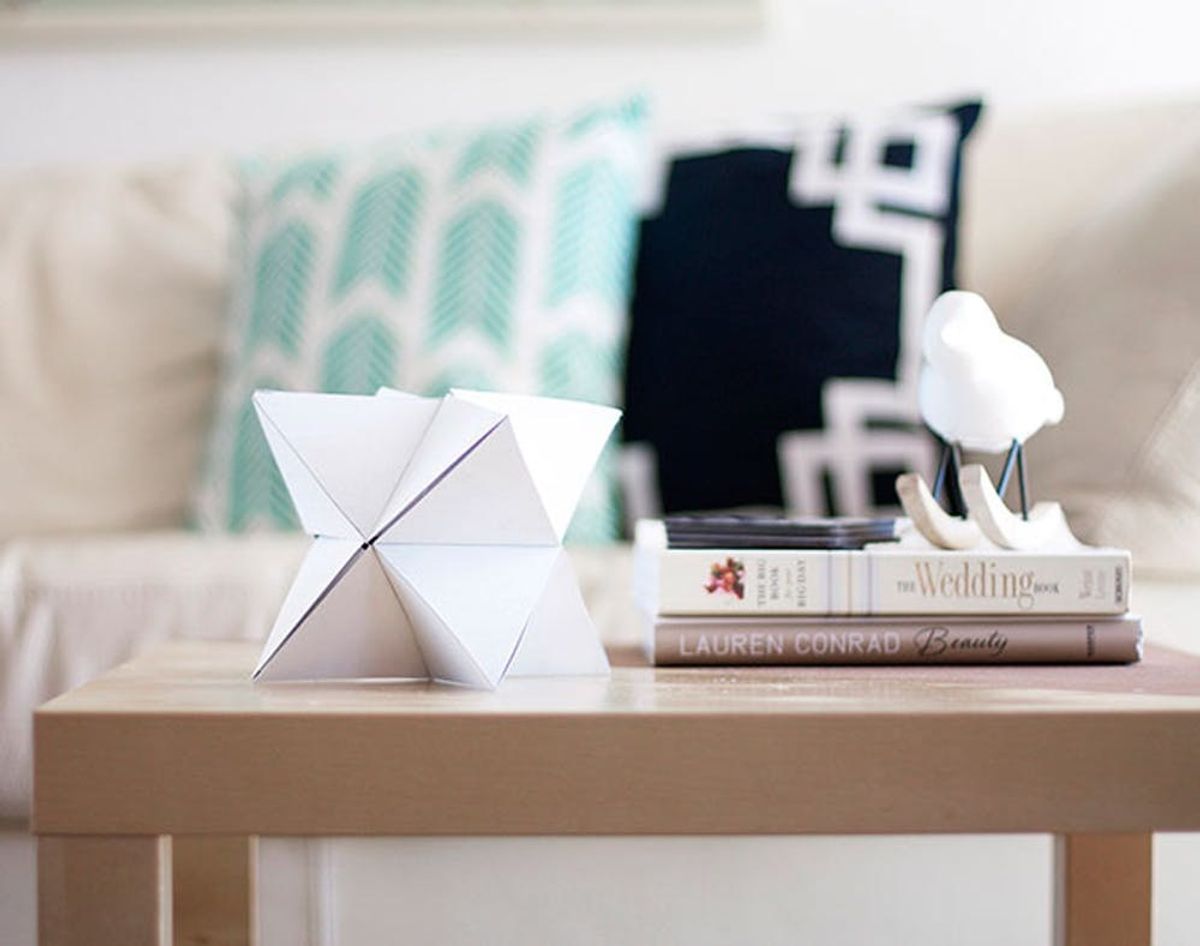
Tape four pyramids together on the inside so that the bottom of each structure forms a square (see?), and reinforce each structure with another layer of tape. Then, align the square ends and glue these two pieces together — make sure to scrape off any excess glue so that your edges look super clean. To finish, spray paint your sculpture! We went with white so that the piece can work in ANY room. Once it’s dry, put it on display.
SUCH a chic piece of decor! Plus, it’s hefty enough to hold its own next to your collection of coffee table books. Conversation piece? We think so!
Usually we can’t resist giving our decor pieces a gold dip or a bright pop of color, but this time, we kept it classic with a white coat of spray paint so that the piece could be extra versatile. We love it front and center on weekdays, but what happens when you need to clear the table for cocktails or dinner party hors d’oeuvres on a Saturday night? You can just about plop this piece down anywhere, on any bookshelf, windowsill or side table. The transition is seamless.
What ways have you hacked your DIY home decor? Tell us in the comments below.


