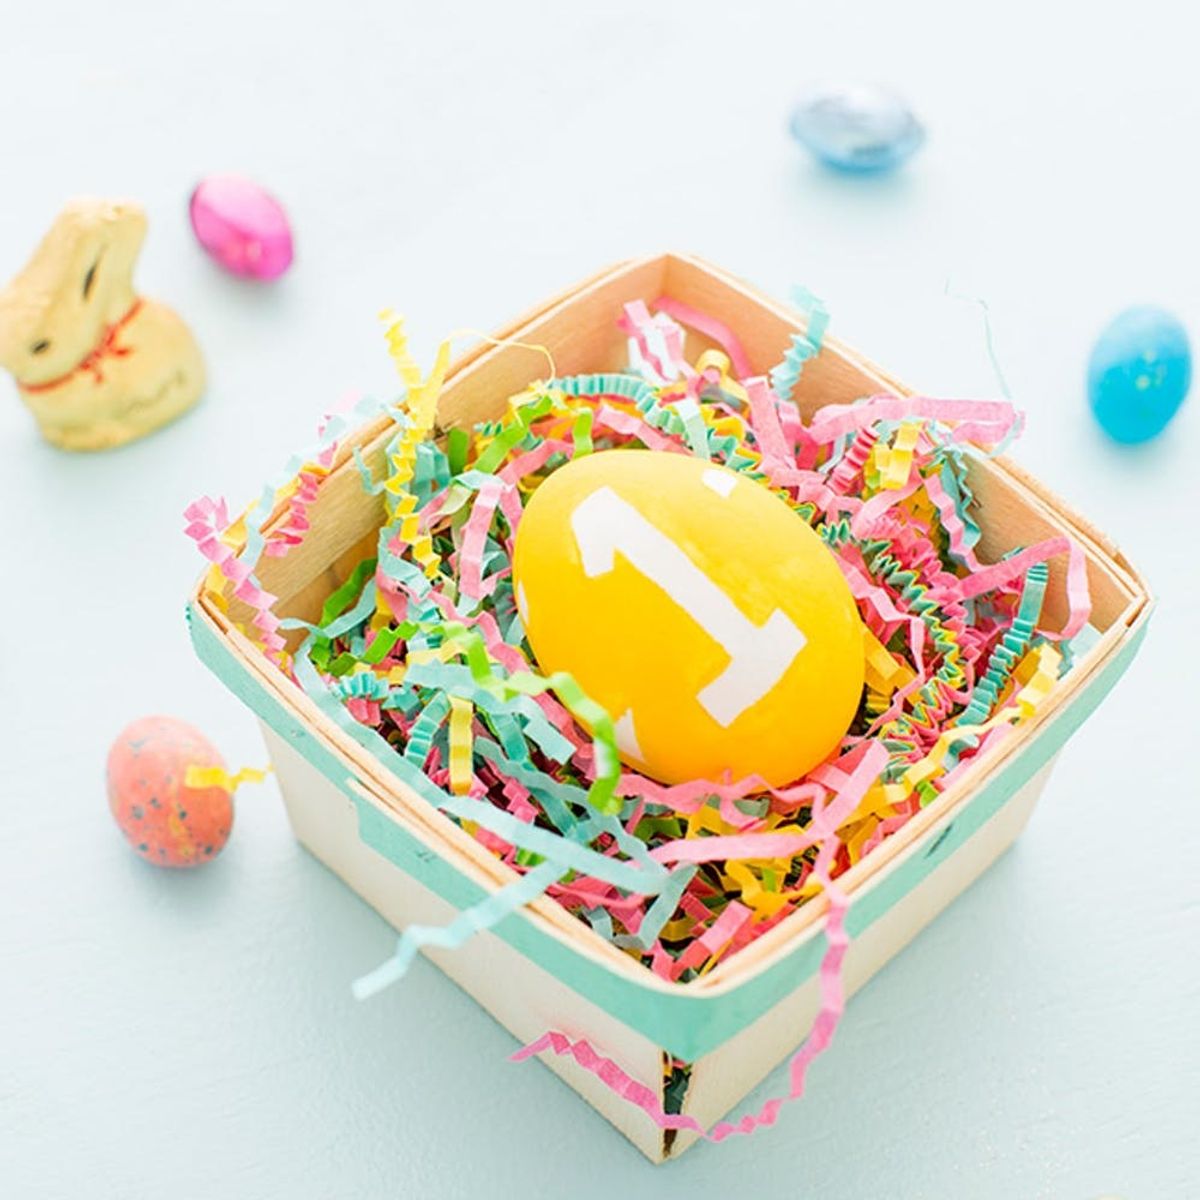
Let the adults in on the Easter fun too!
Make This DIY Easter Egg Scavenger Hunt for the Grownups at Your Party

Egg hunts were so fun when we were younger. Running around in the yard, squealing when we found a colorful egg filled with treats — those were the times. Just because we’re adults now doesn’t mean we can’t still indulge in Easter fun, so we created a DIY Easter egg scavenger hunt for grownups. In our tutorial, we’ll show you how to make “stamped” eggs with just paint, tape and scissors. Then we’ll glitter bomb the inside of the shell and add a hand-written clue that leads to the next egg on the hunt. We loved this festive game so much that we kicked it off with an Easter brunch! You can even DIY an Easter tote bag for your friends to collect their goodies throughout the hunt.
If that doesn’t make you want to crack eggs, we don’t know what will.
Materials:
— eggs (white or brown work — this will be the shade of your shapes and numbers)
— safety pin (larger size works best)
— acrylic paint
— paintbrushes
— bowl for your egg whites/yolks
— blue tape
— tape
— glitter (we used Martha Stewart)
— half a sheet of standard 8 x 11-inch paper rolled up into a cone (to funnel your glitter)
— paper to write your clues on
— pen
— paper towels
Start by poking a small hole in one end of your egg with your safety pin. For sturdiness, hold it in the carton. Flip the egg and poke a slightly bigger hole on the other end — this is where you’ll funnel your glitter and insert your clues. Hold the egg, bigger hole side down, over a bowl and blow with a little pressure into the top hole. Your egg white and yolk will come out through the bottom. Careful not to clutch or blow too hard — you may crack the egg!
Draw various geometric designs onto your blue tape with your pen. Also draw your numbers, making sure they’re block numbers to give them depth. Cut them out, then securely press the tape onto the egg to prevent paint from seeping through. Use your carton or an egg cup to stand the bigger hole side of your egg up to insert your paper funnel. Pour about one tablespoon of glitter inside. We coordinated colors with the paint.
Write out your clue (perfect time to practice your hand lettering like we are in our 50 days of lettering challenge!), fold up your paper and roll it so that it can slide through the hole and into the egg. Once inside, cover the hole with a small piece of tape.
Give it a good shake so that the glitter will stick to the insides of the egg. Time to paint!
Paint over your pieces of tape with a paintbrush in the color of your choice. Pro Tip: a great way to dry eggs that you’re dyeing or painting for Easter is to DIY an egg-drying rack! Take a wood board, and add nails one inch apart. Rest your eggs on the nails until all the paint has dried.
Once dried, take your safety pin or an X-ACTO knife and gently peel off your blue tape. This should leave you with white (or brown if you used brown eggs) shapes and numbers.
Take a paintbrush to the edges of your numbers and shapes if you feel they need a bit of touching up.
You’re done! Every person in the scavenger hunt gets a designated color, and each egg has a number so they know if they’re opening the right clue!
Aren’t these so cute?!
Everyone starts out with the number one. The clue inside will lead them to number two!
We love that the glitter sticks to the wall of the egg, giving it that pop of color and shine.
Show us your scavenger hunt Easter eggs by tagging us on Instagram + using hashtag #iamcreative!
DIY Production and Styling: Anita Yung
Photography: Chris Andre


