DIY Easter Decor: Tissue Paper Eggs
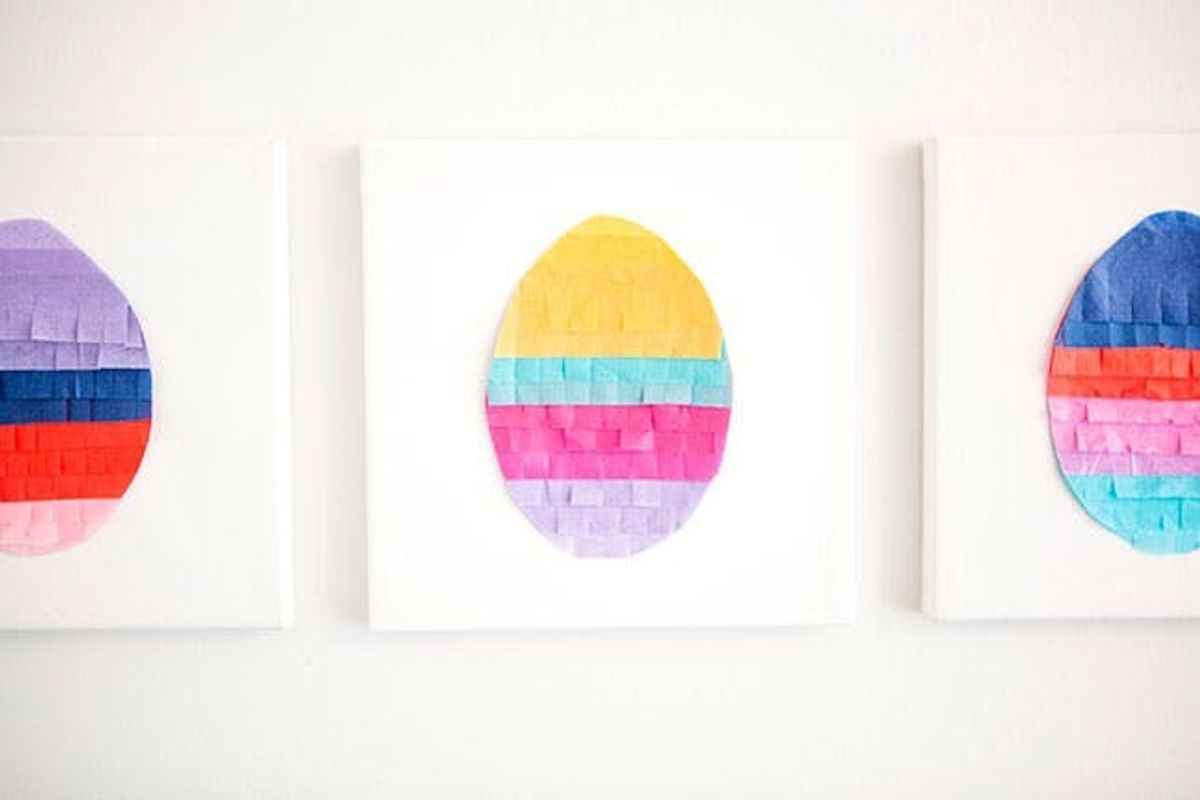
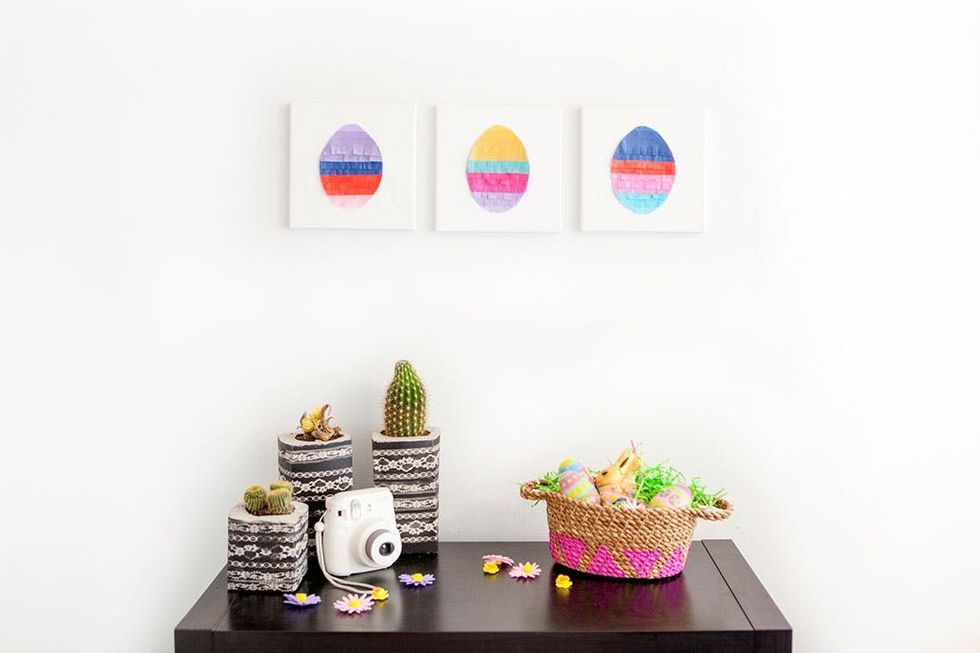
Egg-stra, egg-stra, read all about our Easter egg wall art! Here is an egg-cellent and quick way to create some last-minute Easter decor for your home. Had enough of our egg puns yet? Don’t worry, we’ve got plenty more ;)
Materials:
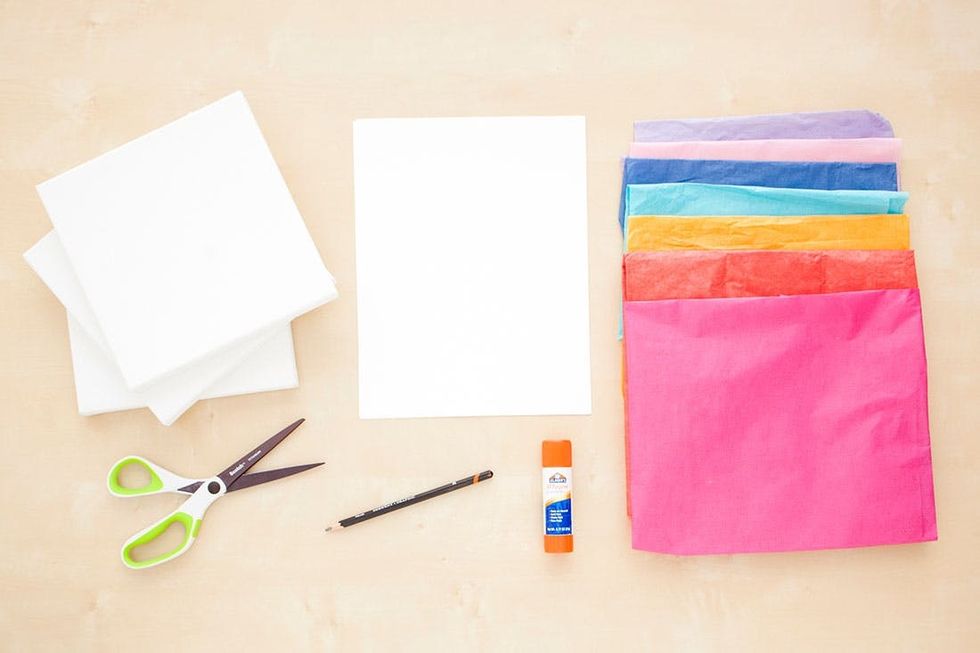
– various colors of tissue paper
– canvas (we used three 8 x 8 inch canvases)
– white cardstock
Tools:
– scissors
– glue stick
– pencil
Instructions:
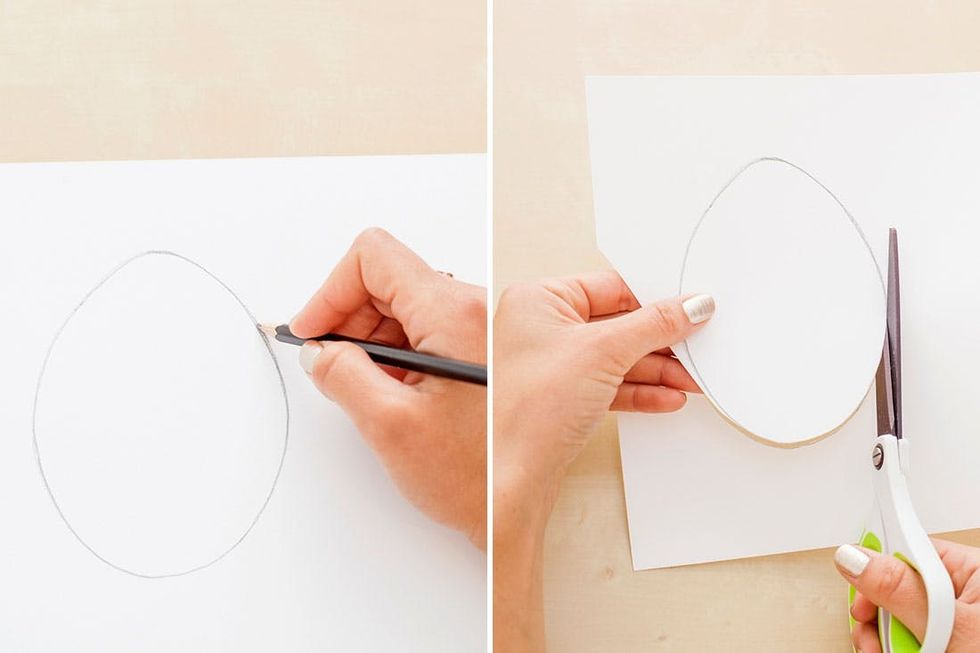
1. Draw an egg on the cardstock and as Joey from Full House says, “Cut. It. Out!” Repeat for the number of eggs you want to make.
2. Lay out your tissue paper to determine the color scheme for each egg.
3. Cut rectangles out of your tissue paper that are just longer than the width of your egg and fringe the bottom edge.
4. Stack the fringed rectangles on the egg until it’s completely covered. Then, paste each piece of tissue paper to the egg. It will hang off the edges, but that’s okay.
5. Flip the egg over, then trim the excess tissue, leaving a small margin of about a half inch.
6. Mount the egg to the center of the canvas with glue and hang up your wall art!
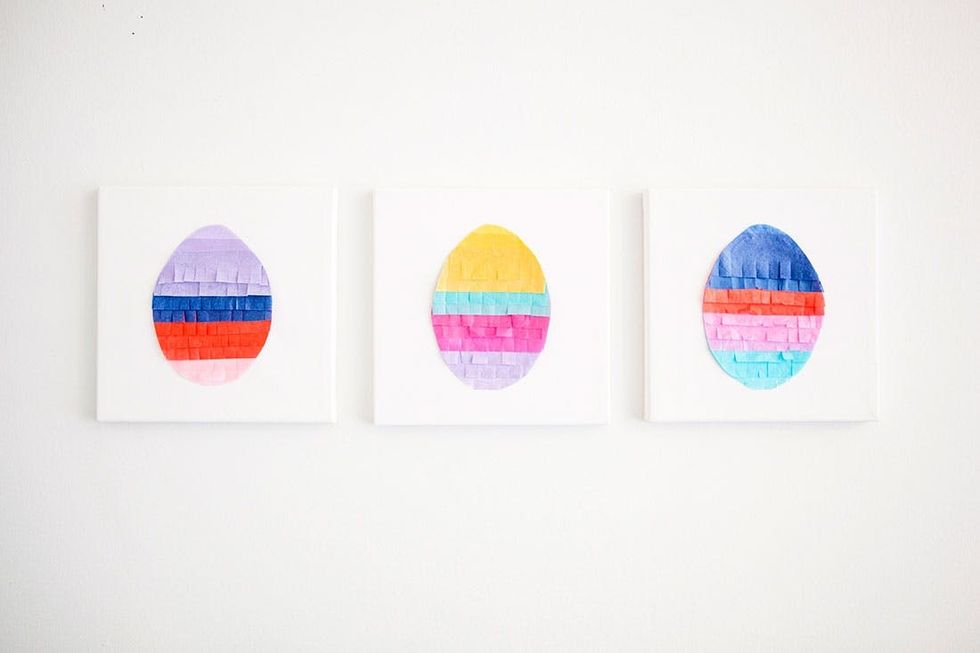
We free-handed our egg drawing, but if you struggle with shapes, feel free to find something around your house to trace. Take your scissors to your paper and cut out your egg. Once you have one egg, you can use it as a template for the others. Since we had three canvases, we cut out three eggs.
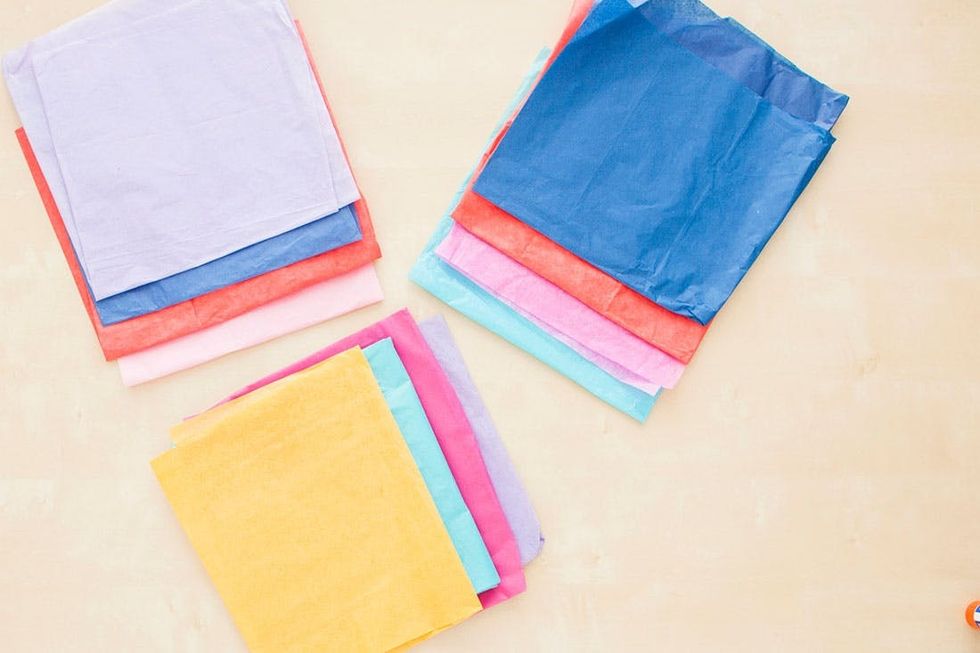
Next, lay out your tissue paper. We chose three different color schemes with four colors in each. You could go with pastels for a classic Easter look or mix it up and make some bright little guys that pop.
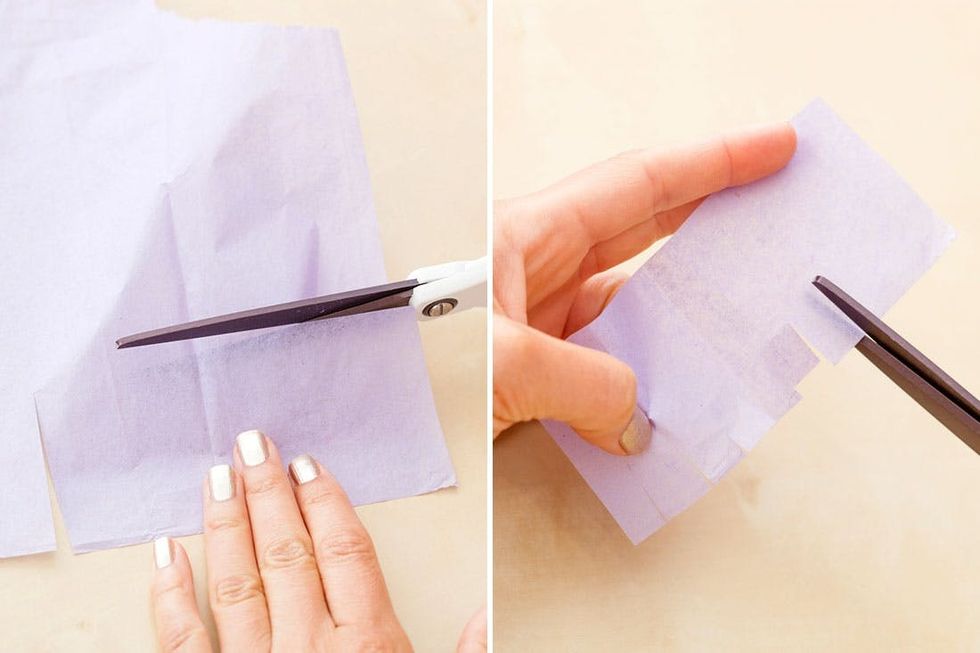
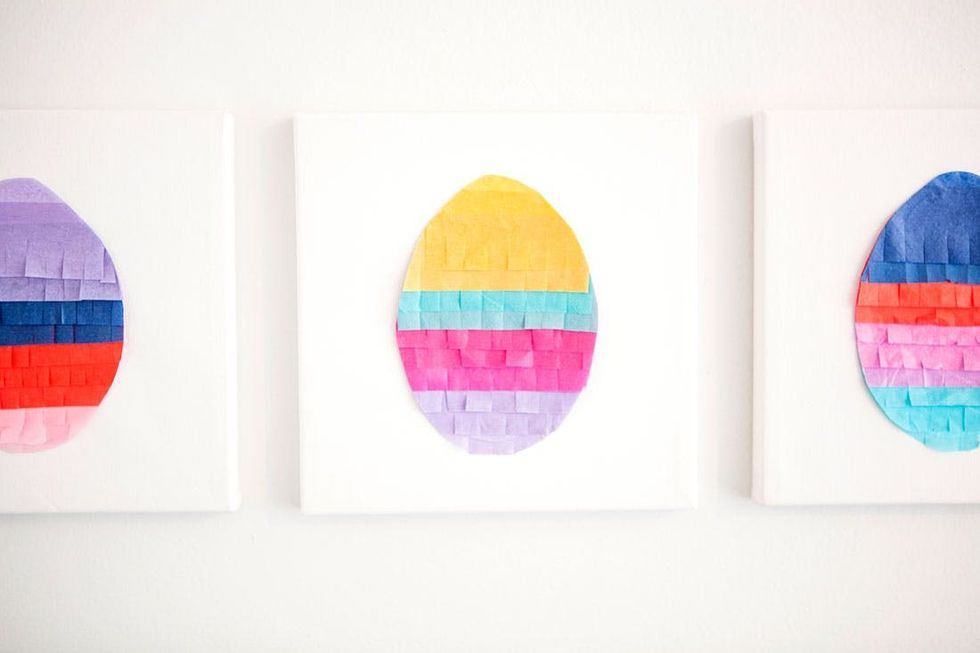
Now cut out a small rectangle in your tissue paper that is longer than the width of the egg (it should hang over the sides slightly) and fringe the bottom with small snips along the edge of the paper. Then, move onto the next tissue paper rectangle and cut out enough rectangles to cover the egg.
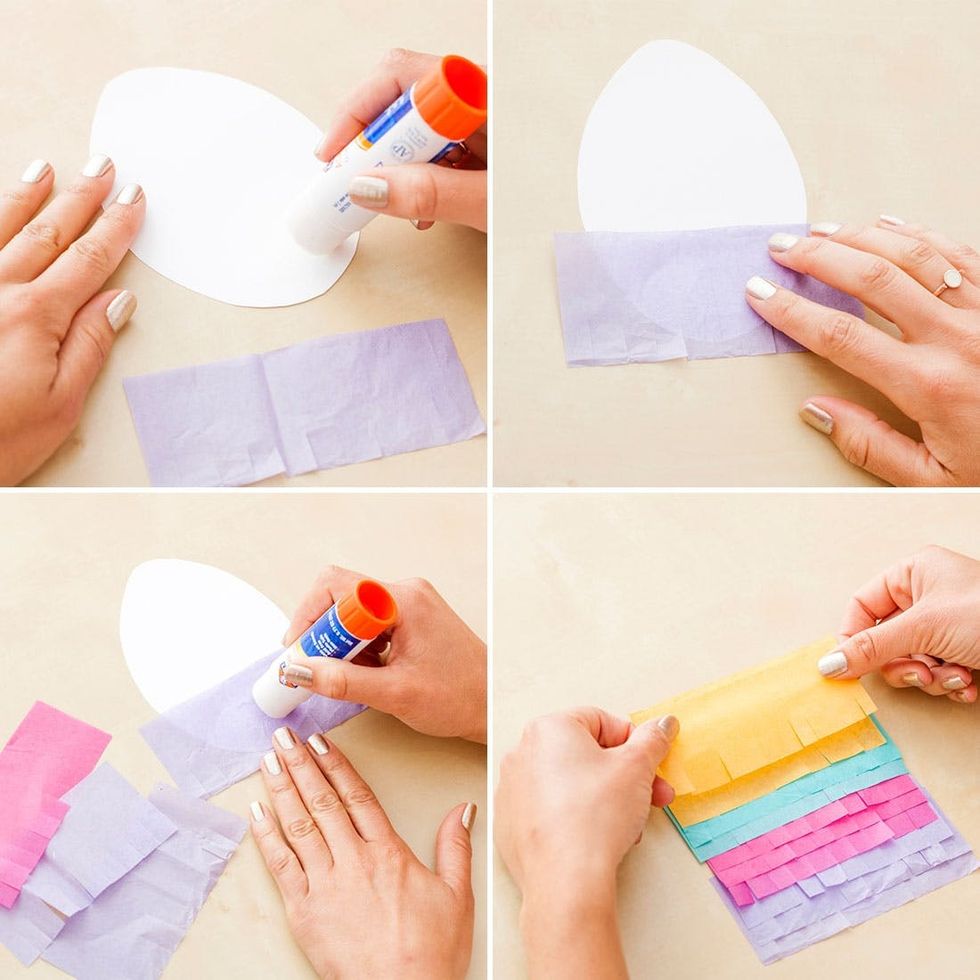
Time to glue. This part will bring you back to elementary school. Take your paste (don’t eat it) and add a layer to the bottom section of the egg. Add your first strip of tissue paper to the glue-y egg and press it down, then, move onto the next, making sure the fringe is visible on each layer until the egg is covered. Or shall we say, until it is egg-stremely covered (there we go again!).

You’re almost done! Flip over the egg so that you can see the cardstock and trim the egg-cess tissue around it (it’s the last one, we promise!). Just leave a narrow margin of tissue paper around the cardstock egg — about a half inch — so that the cardstock doesn’t show on your canvas. Add a thick layer of glue to the back of the egg and press it onto the center of the canvas.
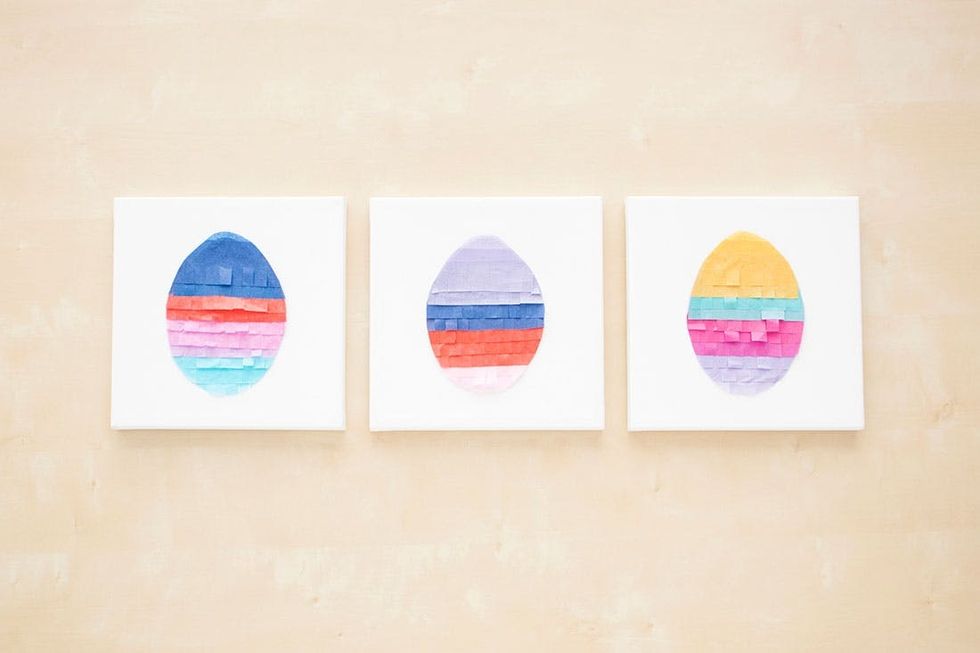
We’d call them three peas in a pod, but maybe instead, we should call them three eggs in a carton? Ok, before we crack another egg joke, take down that Ansel Adams tree photo and throw some eggs on your wall. Well, don’t literally throw eggs at your wall. Duh.

How cute are these? If you’re over eggs, a bunny or a chick would also be cute for spring. Or, you could easily do this with another shape that would work into your decor year-round, like geometric shapes, monogram letters, or even a fun silhouette like sunglasses! How about one last eggs-treme close up?
How are you decorating your house for Easter? Will you add these to the mix?


