When in doubt, temp tat it.
Temporary Tattoos + Easter Eggs = The Easiest Egg Decorating Hack Ever

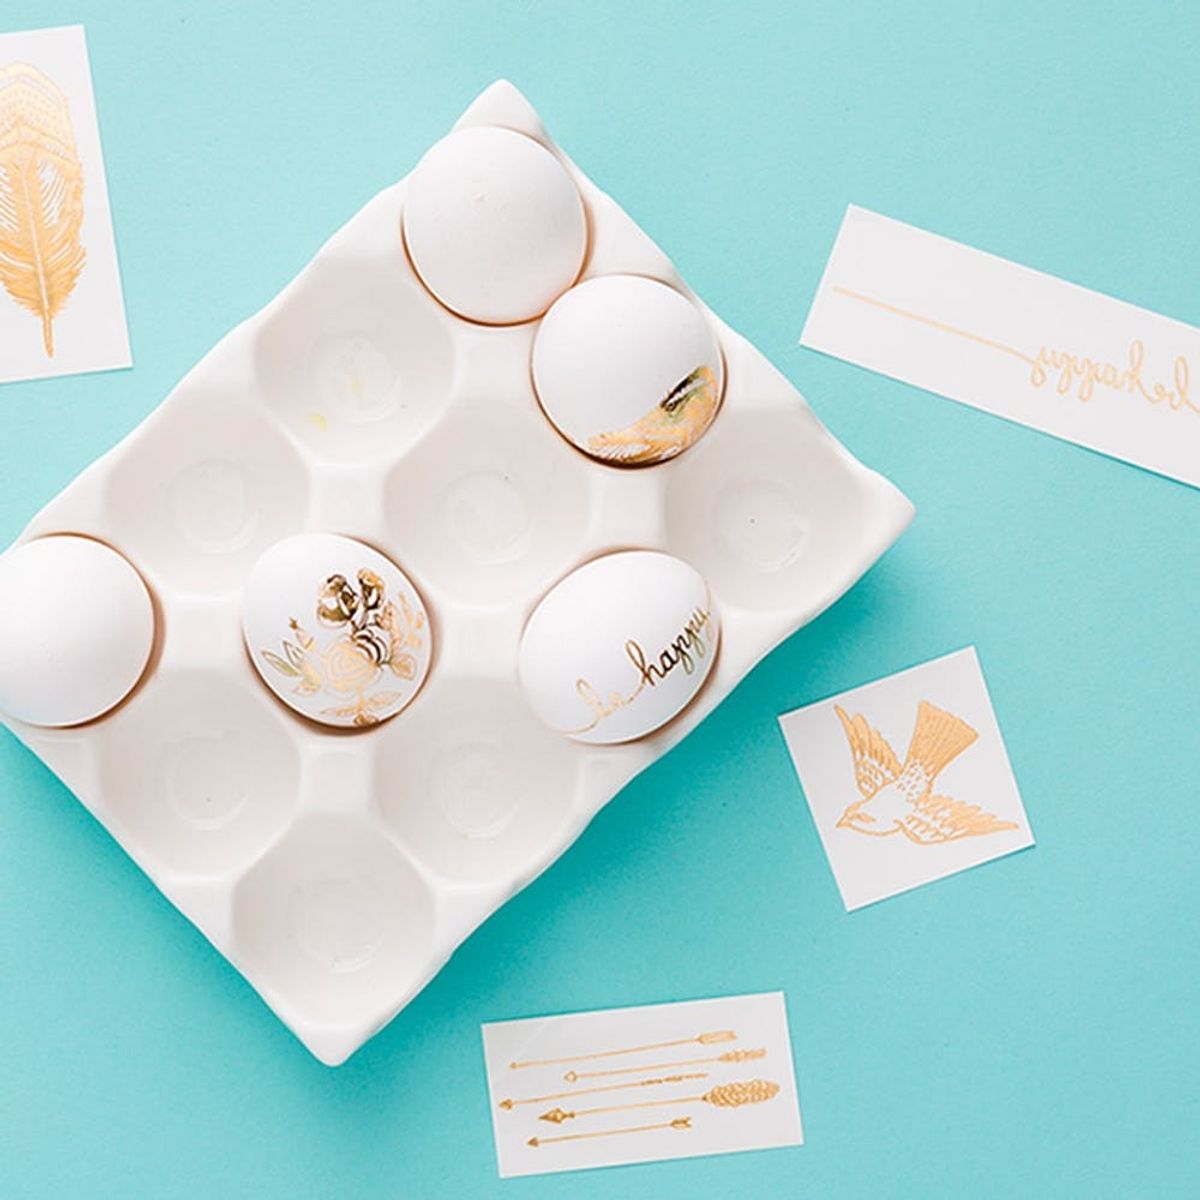
From custom wedding temp tats to badass knuckle ink to glow-in-the-dark tattoos, it’s safe to say we’ve got a sweet spot for the wearable art that is temporary tattoos. That’s probably why you weren’t the least bit surprised when we temp-tatted eggs a few years ago, huh? Well folks, we’re back with more tatted eggs for your DIYing pleasure. And this time, we’re going for the gold :) Scroll on for some beautifully blinged out eggs, thanks to Tattly’s line of gold temporary tattoos.
Materials
– gold Tattly temporary tattoos
– water
– paper towel
– eggs, boiled or blown (learn egg prep 101 here)
Instructions
1. Remove the clear plastic sheet from the temporary tattoo and carefully press the exposed tattoo to your egg.
2. Slowly cover the tattoo sheet with a wet paper towel, and hold firmly in place for 30 to 60 seconds.
3. Carefully take off both the paper towel and tattoo sheet — the tattoo should be fully transferred to the egg. Let dry.
We went with a non-dyed egg for a crisp, clean feeling, but this DIY should work just as well with a dyed egg.
Remove the clear plastic sheet from the temporary tattoo and carefully press the exposed tattoo to your egg. Slowly cover the tattoo sheet with a wet paper towel, and hold firmly in place for 30 to 60 seconds. Carefully take off both the paper towel and tattoo sheet — the tattoo should be fully transferred to the egg. Let dry.
How beautiful are these eggs? We’d like to take all the credit, but Tattly did most of the heavy lifting on this one :)
We think this DIY establishes that gold temporary tattoos should always, always be on hand.
Have you ever used temp tats on eggs? Would you? Share with us in the comments below!


