A little paint can go a long, geometric way.
10 Easy Ways to Upgrade Your Kitchen (+ How to Paint a Pin-Worthy Statement Wall)
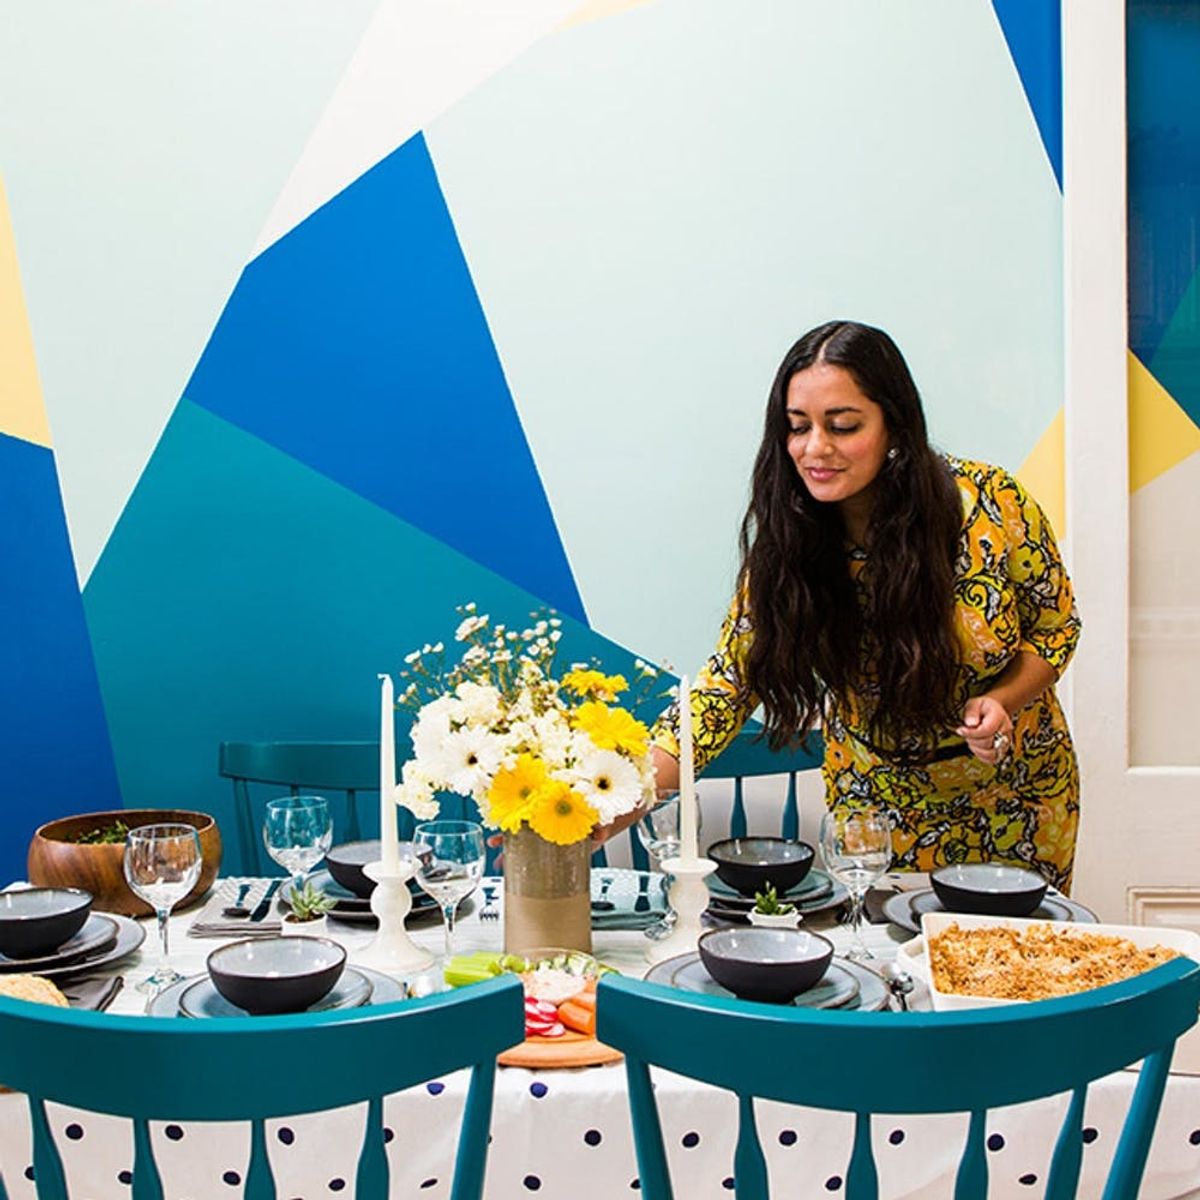
We’ve all pinned them. Those beautifully simple geometric painted walls that ensure that every single photo you take in front of them is the most photogenic thing ever. Well, it’s time to take action people! And what better place to make a statement than the most popular room in the house? The kitchen. Today we’re cranking up the tunes, saying goodbye to beige walls and turning my kitchen into a straight up work of art.
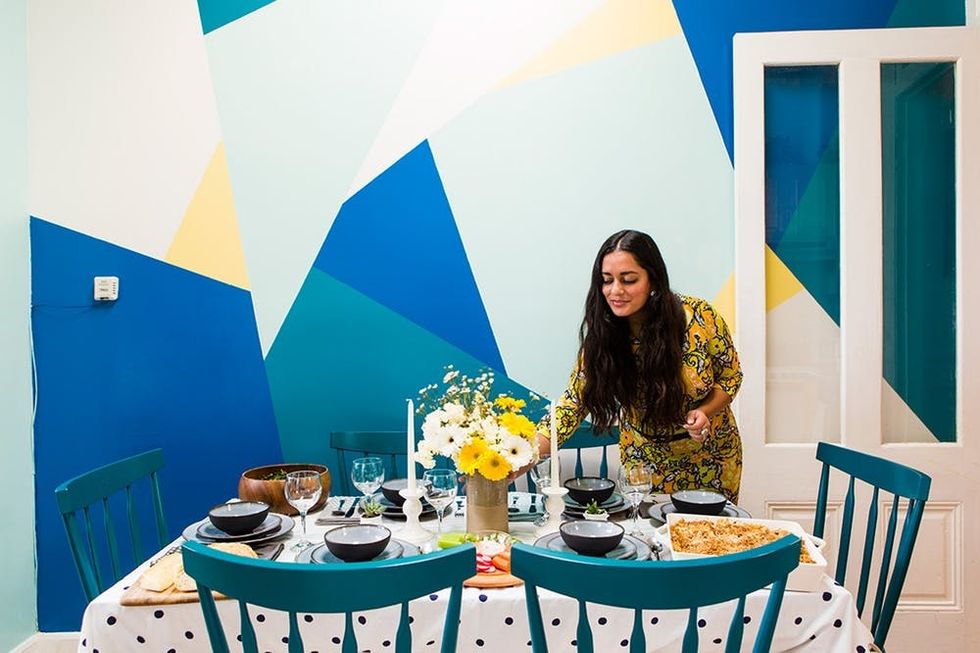
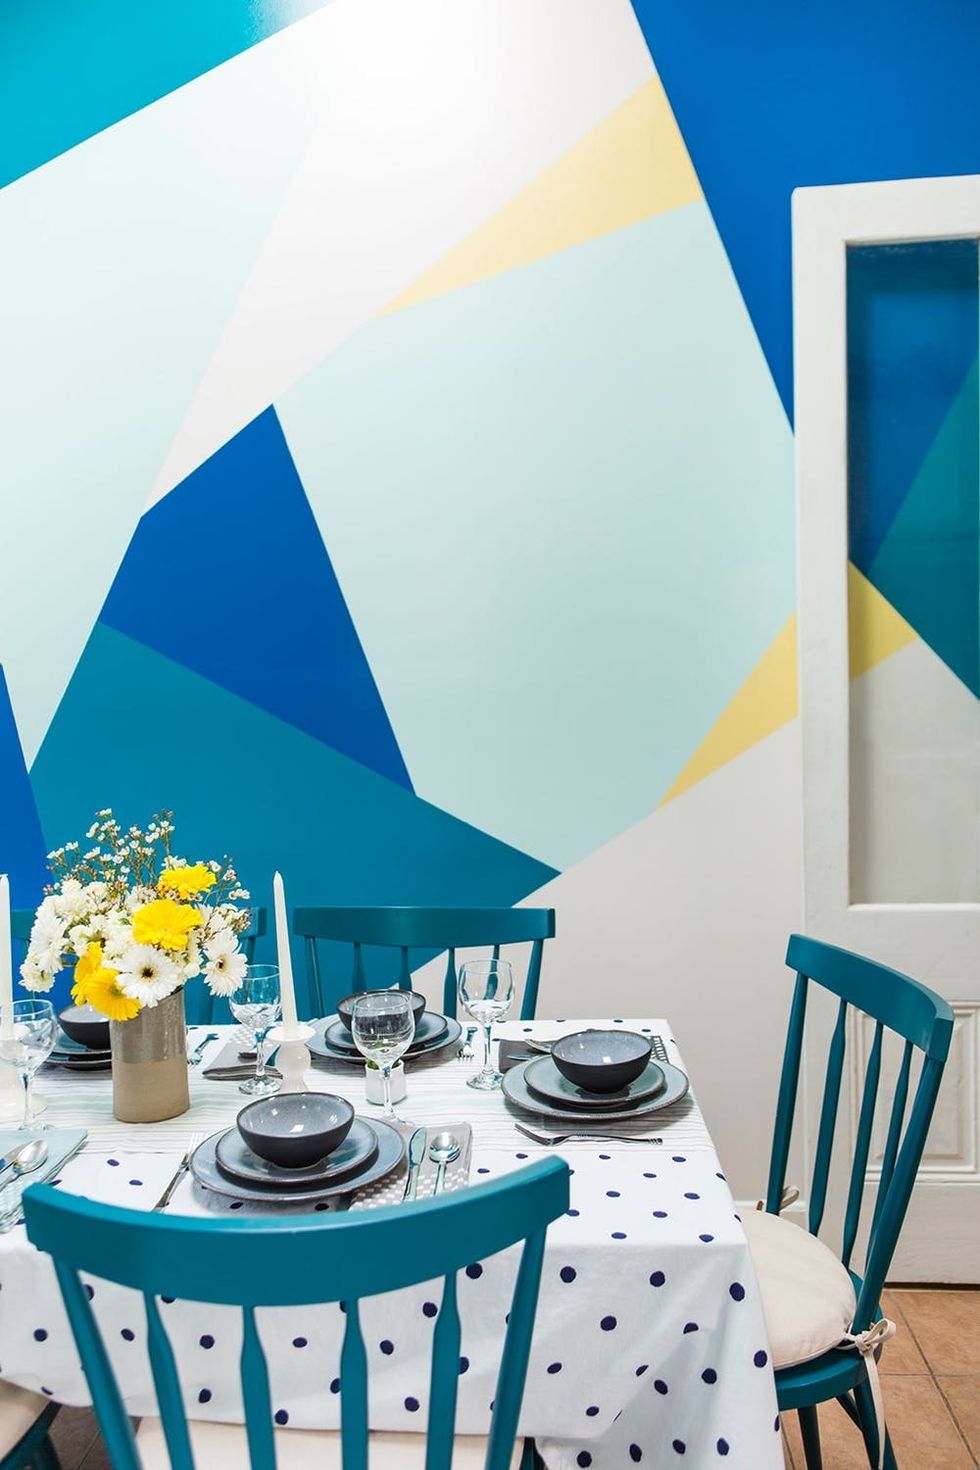
Over the years, my husband and I have come close to looking like actual adults in the kitchen department. We received a collection of amazing gifts from our wedding (12 place settings that match, what?! Those peacock blue chairs? YES!), but still hadn’t gone the extra mile to coordinate the entire space.
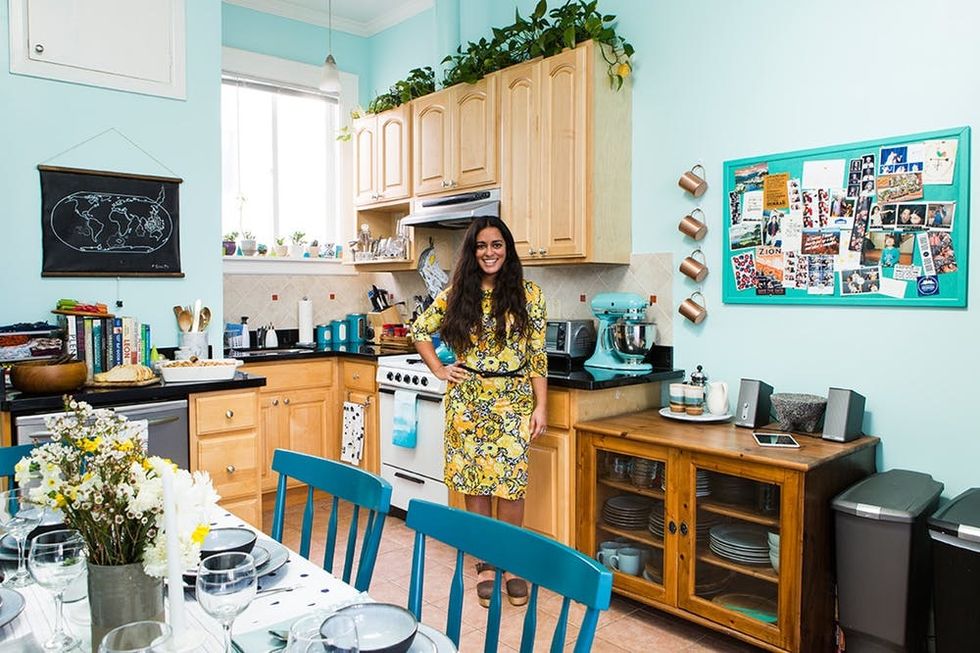

As you may have seen here on Brit + Co, we’ve been tackling a major makeover of my apartment room by room, in partnership with Lowe’s. It’s a series that centers around the fact that, for the past five years, my husband and I have lived in a dull, un-decorated apartment, with piles of art under the bed instead of on the walls. Until now! It’s finally time for us to design the space around us — coordinating styles old and new, odds and ends we’ve picked up along the way and considering the realities of life as renters.
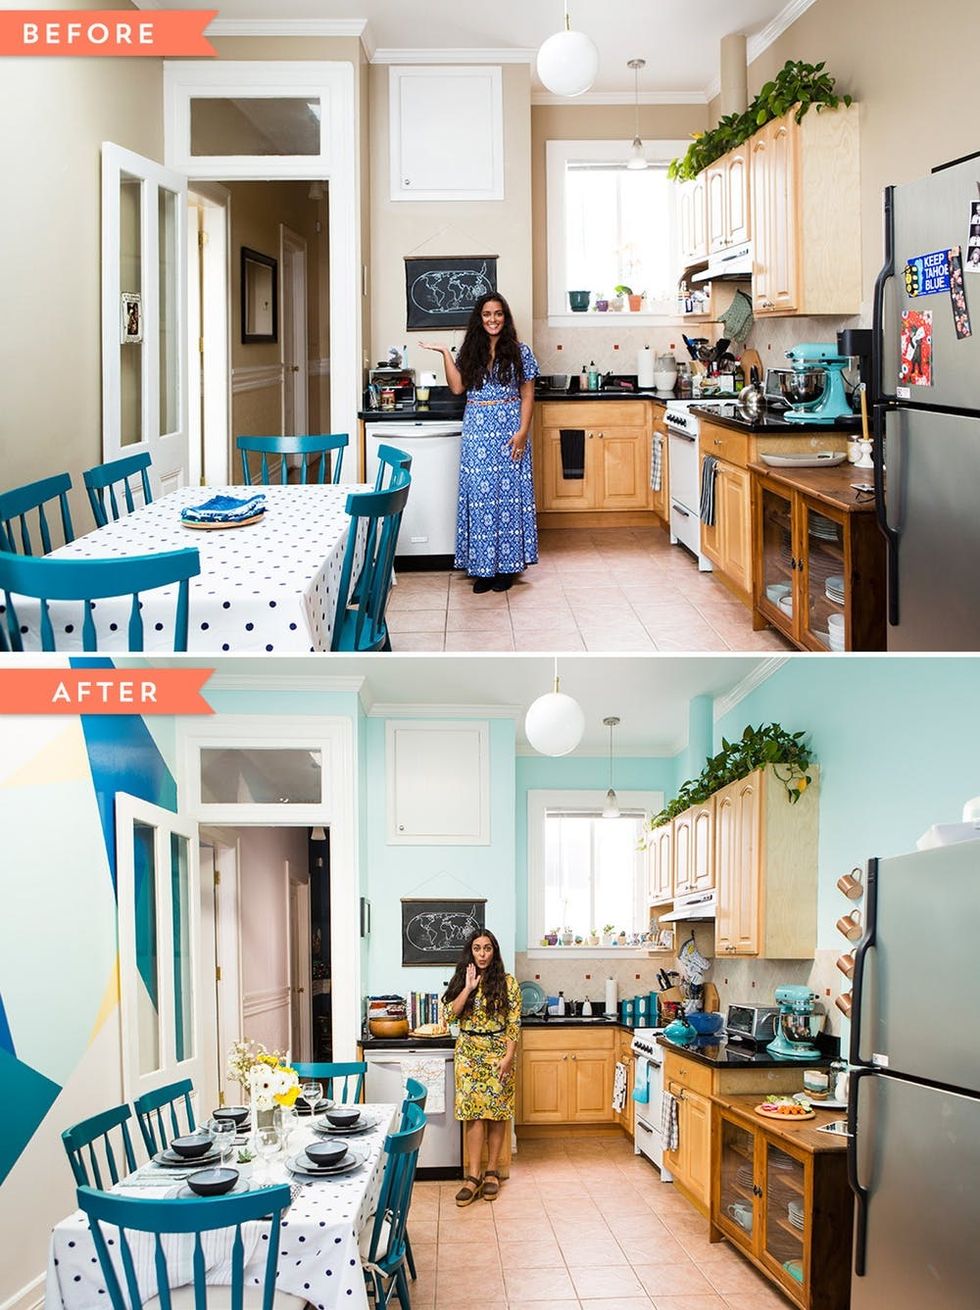
Follow along as we share 10 easy ways for renters (and first-time home owners) to give their kitchen a major makeover without breaking the bank… or any walls ;)

1. Design and paint a geometric statement wall. First thing’s first: I spent a good amount of time trolling Pinterest for inspiration and collecting my favorite designs on my Apartment Makeover Board. I knew I didn’t want to create the mosaic look that happens when you use painter’s tape to create white lines throughout the design. I wanted seamless color blocks that echoed the color palette of my entire apartment. This meant I had to actually plan out each step of the painting process.

Materials:
— HGTV HOME™ by Sherwin-Williams Paints
— paint roller frame + paint roller cover
— paint tray liners
— angled paint brush variety pack
— step stool (for us shorties!)
— painter’s tape
— artist paint brushes
— patience, for real though
Instructions:
1. Paint your wall a base color (we used white).
2. Sketch out your design plan, including using the actual paint.
3. Tape off the wall.
4. Paint your first color. Ideally the color with the largest swatches. Let dry overnight.
5. Move the tape accordingly so that you can create a seamless line between colors (aka no white space).
6. Paint the next section. Let dry, and then move the tape again. Continue doing this until all sections are painted.
7. Remove the final tape. Voila!
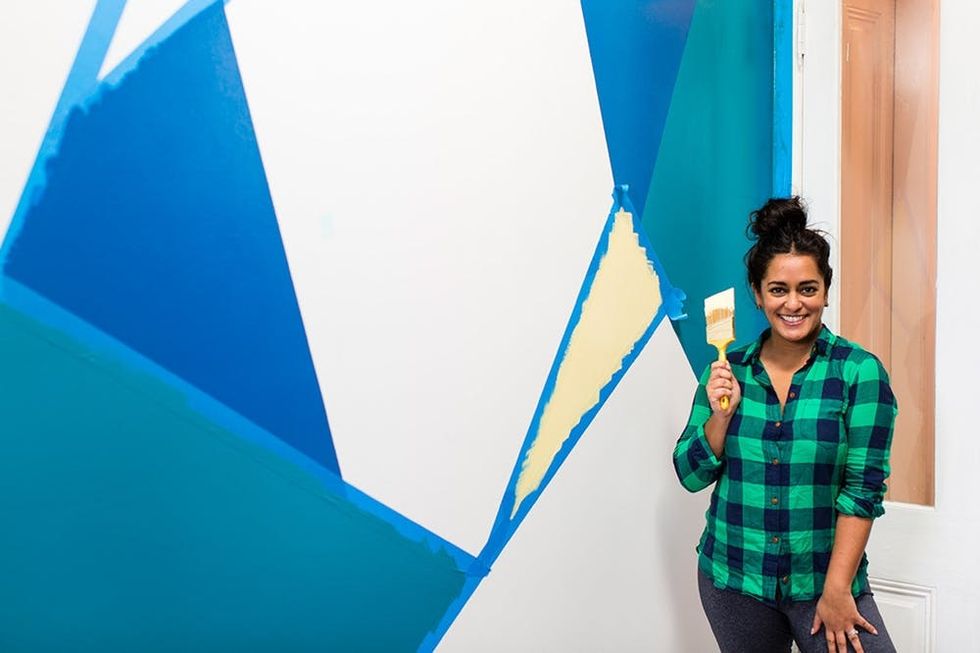
Alright, let’s DO THIS. I drew up a sketch of the wall and used the actual paint to block out each color.
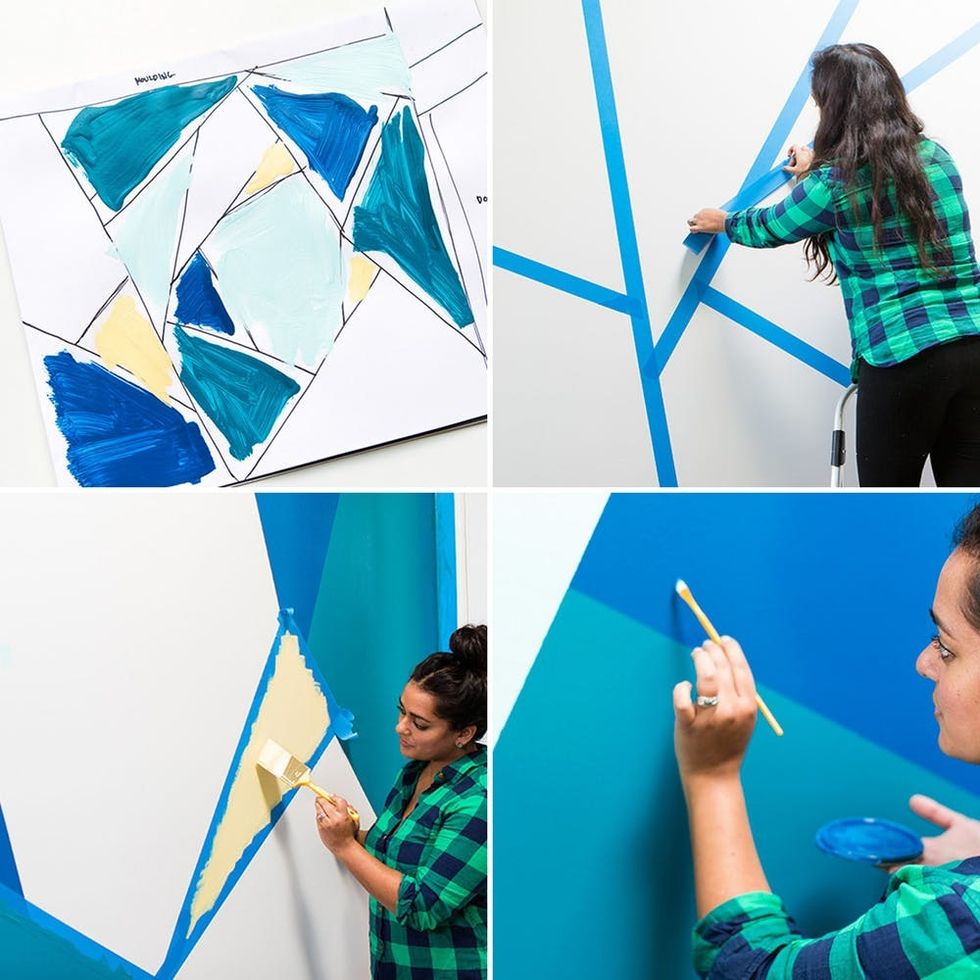
In terms of exact colors, I used five hues (including white) from Lowe’s HGTV HOME™ by Sherwin-Williams paint collection.
— FF 07 Tame Teal SW 6757 (This is what the rest of the kitchen is painted.)
— FF 08 Solaria SW 6688 (Yellow!)
— FF 16 Jay Blue
— GS 20 Intense Teal SW 6943
— FF 17 Ibis White SW 7000
If your wall isn’t white to start out, I recommend painting it white, gray or a light color that you’d like to use in the final design. It’s best to stay away from anything too yellow, as it has a tendency to dull the other colors when you paint over it. Then, tape off your design. Think about the fact that you’re going to need to paint this in stages — so the bigger shapes, the better. Paint your first color — ideally the color with the largest swatches. We started with the deepest blue, because it covered the largest surface area. You want to give each color ample time to dry, because you’ll need to place tape ON the painted section and don’t want the paint to peel off.
Once the first section is dry, move the tape accordingly so that you can create a seamless line between colors (aka no white space). Then paint the next section. Let dry, and then move the tape again. Continue doing this until all sections are painted.
Remove that final piece of tape. We’re almost there! Use artist paint brushes to touch up areas you may have missed or little spots the paint may have peeled off (it happens to the best of us!).
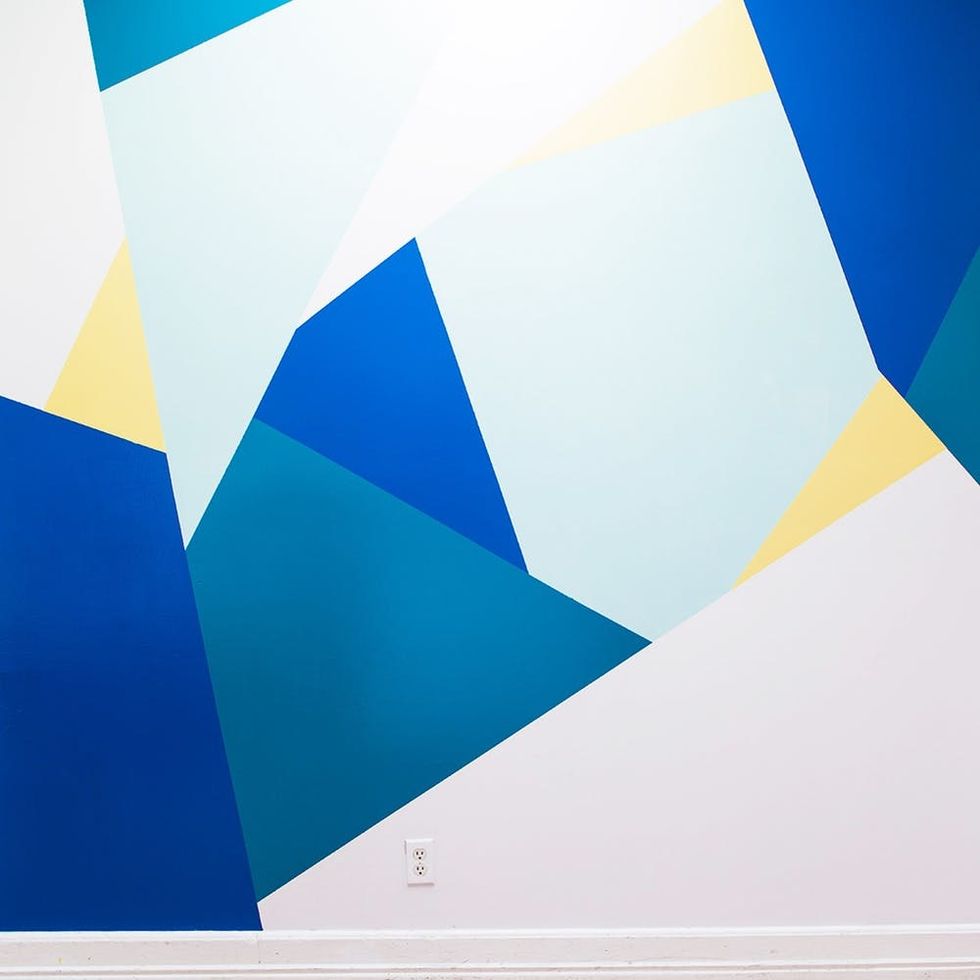
Done, and done.
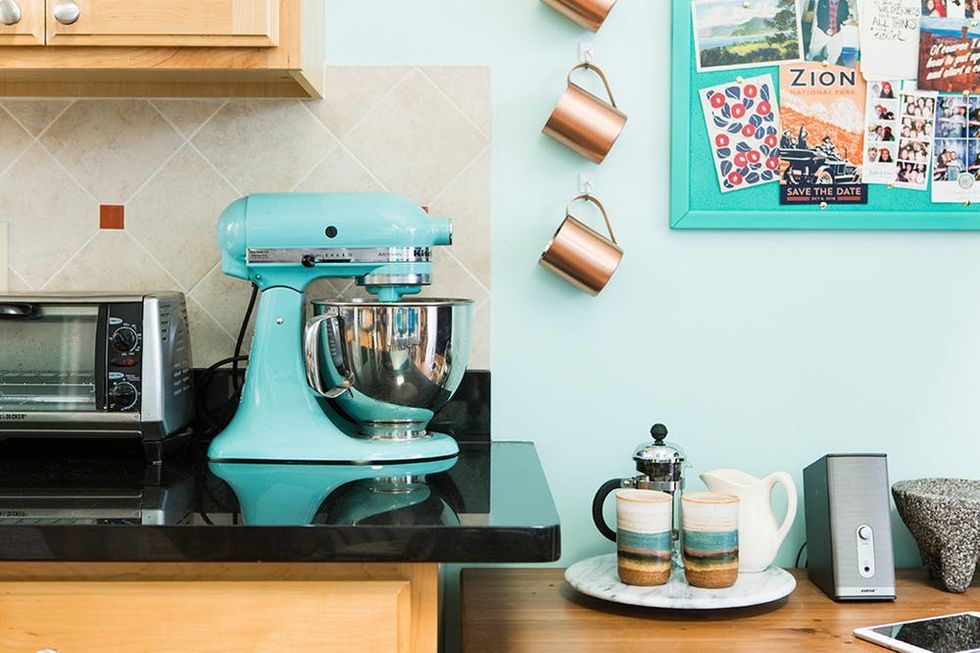
2. Invest in kitchenware that lasts. Cue up the Miss America music — there she is, Miss KitchenAid Stand Mixer… ;) This kitchen counter emblem is completely worth the hype. Now that you’re a grown-up, it’s okay to spend more than $20 on appliances in your apartment. Not only is it okay, but it’s encouraged! An investment piece like a KitchenAid Stand Mixer is like the final cherry on top of your adulthood. But let’s be real — it is a MAJOR investment, especially in your kitchen. And admittedly, doesn’t really fit an “on the budget” guide. That being said, this type of appliance will last beyond your lifetime.
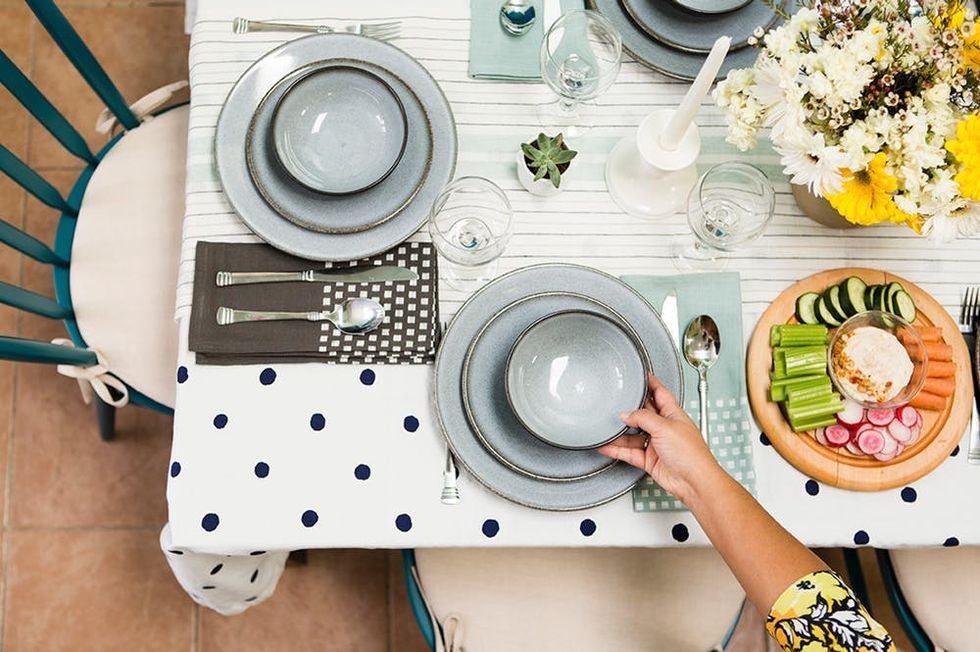
3. Coordinate your Dishes + linens. I love mixing colors and textures, so creating a look for our dining table was a ton of fun. We have a fairly skinny dining table, and there isn’t a ton of room for style moments, so it’s all about those layers.
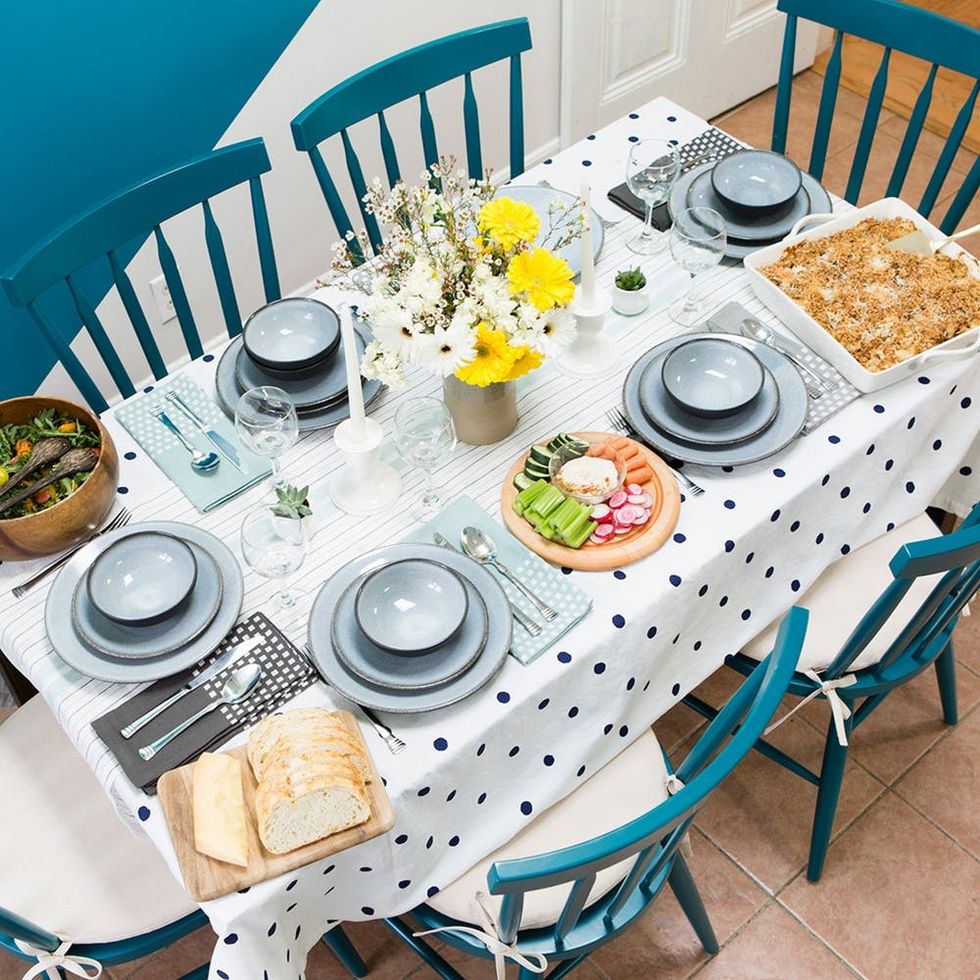
I started with a white and blue polka dot table cloth, then layered on a striped runner. I skipped the place mats (they make the table look teeny!) and went for larger fabric napkins to ground each place setting. Then I stacked up those dishes, and we were good to go.
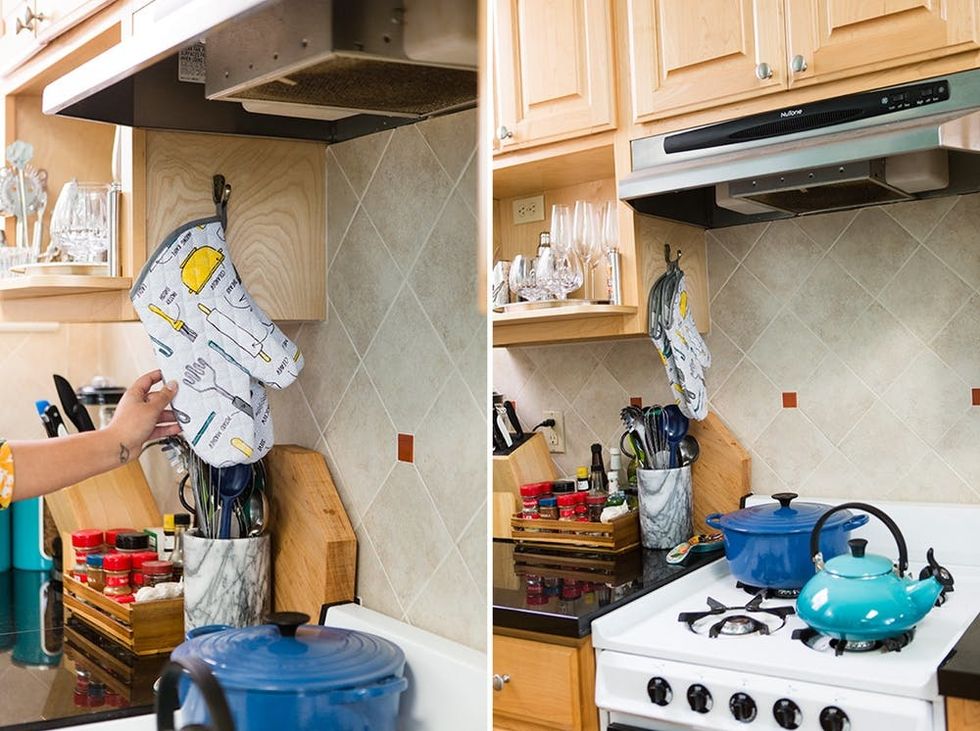
4. Find a home for every little thing. If there are things you use on the reg, find a home for each of them that actually makes sense with the way your kitchen flows. We installed a nickel robe hook above the stove to hang oven mitts — and now I don’t make the mistake of using tea towels to pull things out of the oven. As you’ll see in the next snap, we also used adhesive hooks to put our set of Moscow Mule mugs on display. Dishes as decor for the win!
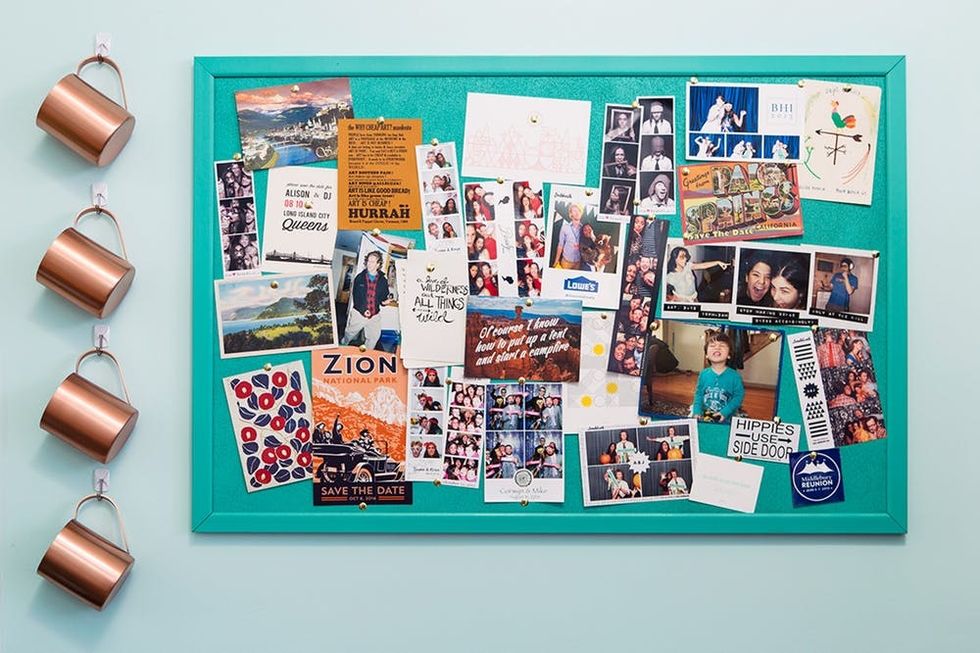
5. Hang up a catch-all memo board. I love having a spot for wedding invitations, postcards and photo strips from parties, but the fridge isn’t my favorite venue for these things. It gets messy and crowded quickly, and I can never find a magnet that will actually hold what I want to hang up. So we decided to hang up a good old fashioned bulletin board. I actually haven’t had a bulletin board in my life since high school, and I was hesitant about how it would look in the space.
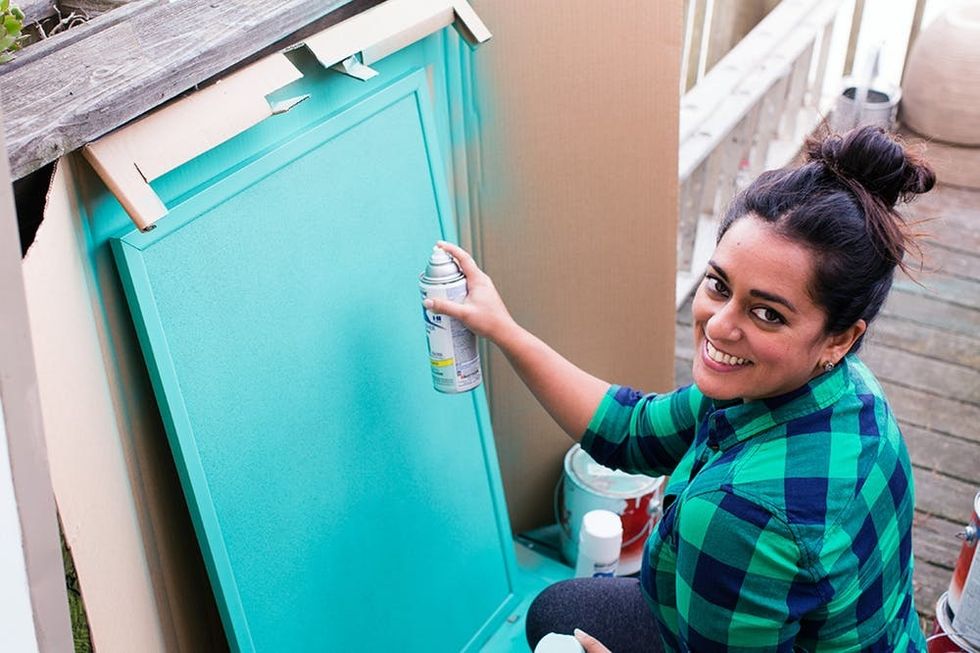
To make it pop and feel more intentional in terms of design than your usual cork situation, I spray-painted it teal using Rust-Oleum Spray Paint.
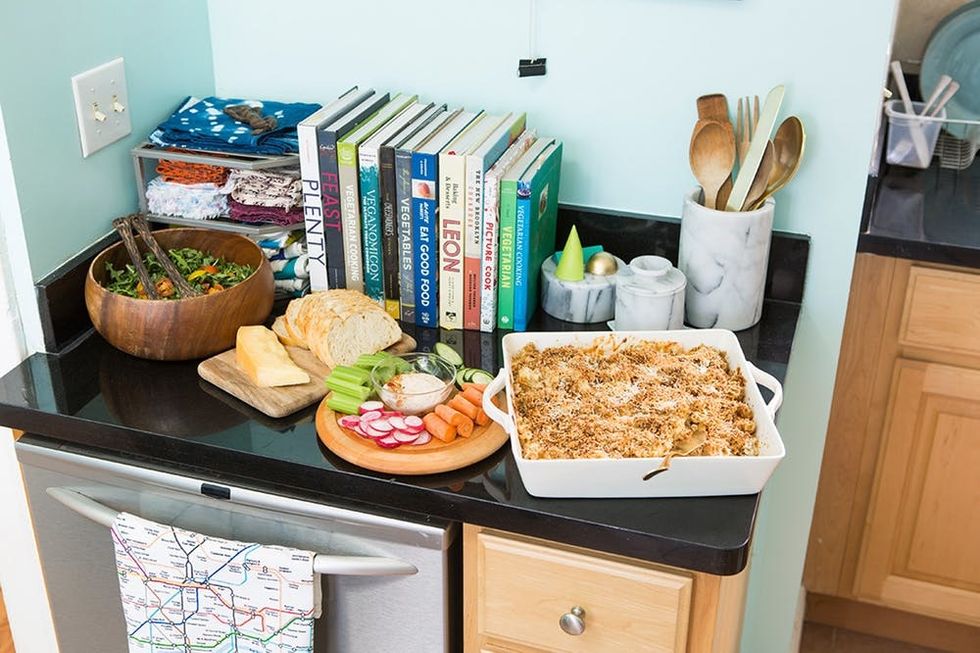
6. Keep your cookbooks within reach. Up until this revamp, I made the mistake of keeping my cookbooks in my regular bookshelf. And you know what happened — I completely forgot they existed! Cookbooks may feel old school, but they’re awesome. And most importantly, they’re meant to live in your kitchen! They also add warmth and personality to your room, and will likely inspire a spread like this. And yes, that *is* four-cheese truffle mac and cheese.
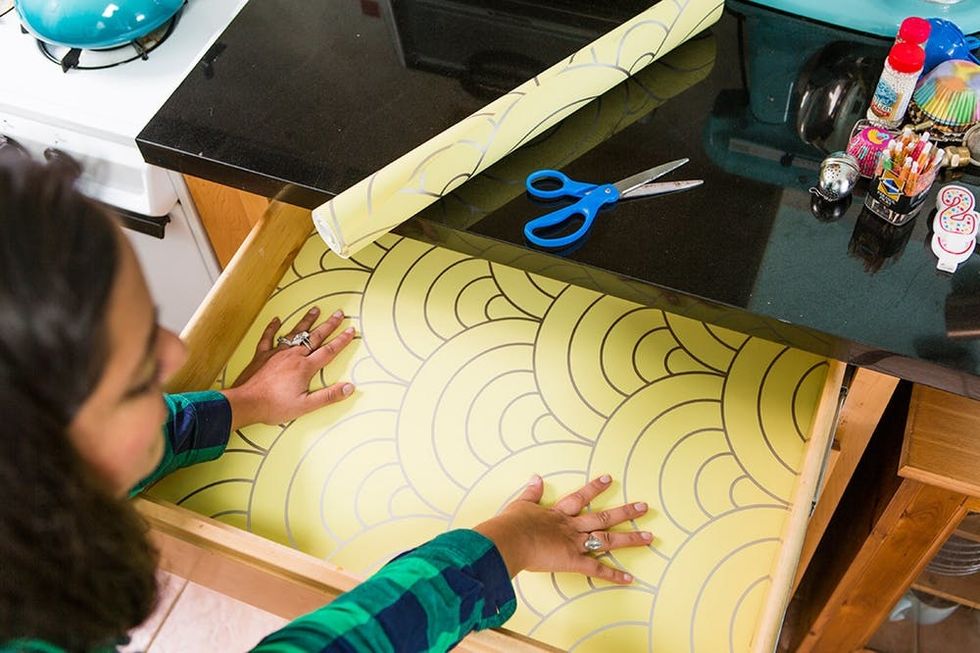
7. Organize (and de-clutter) your drawers. Confession: All my drawers end up looking like junk drawers! I don’t know what it is, but it’s true. I tend to keep a lot of things “just in case” and never end up using them. To get this puppy organized, I started by adding color and pattern to the bottom. I took this fun yellow scalloped wallpaper, cut it down to size and adhered it to the bottom of the drawer. If you’re nervous about attaching wallpaper to your drawer because you’re a renter, you can use double-stick tape instead!
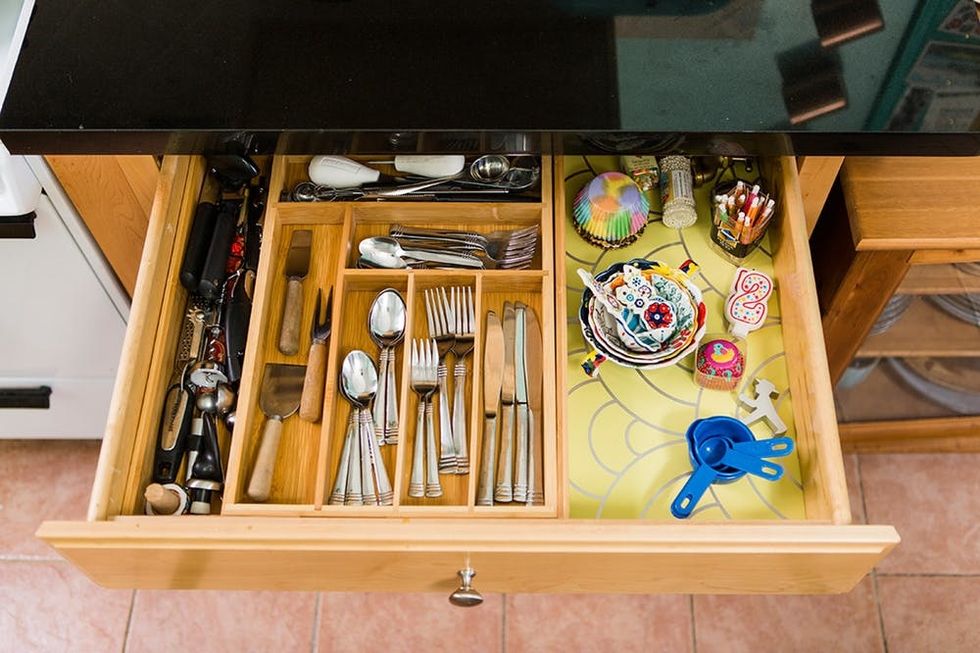
Then, to get things really organized, I added a bamboo drawer organizer that legit has a section for everything you need — which, in my case, includes a dedicated section for cheese knives.
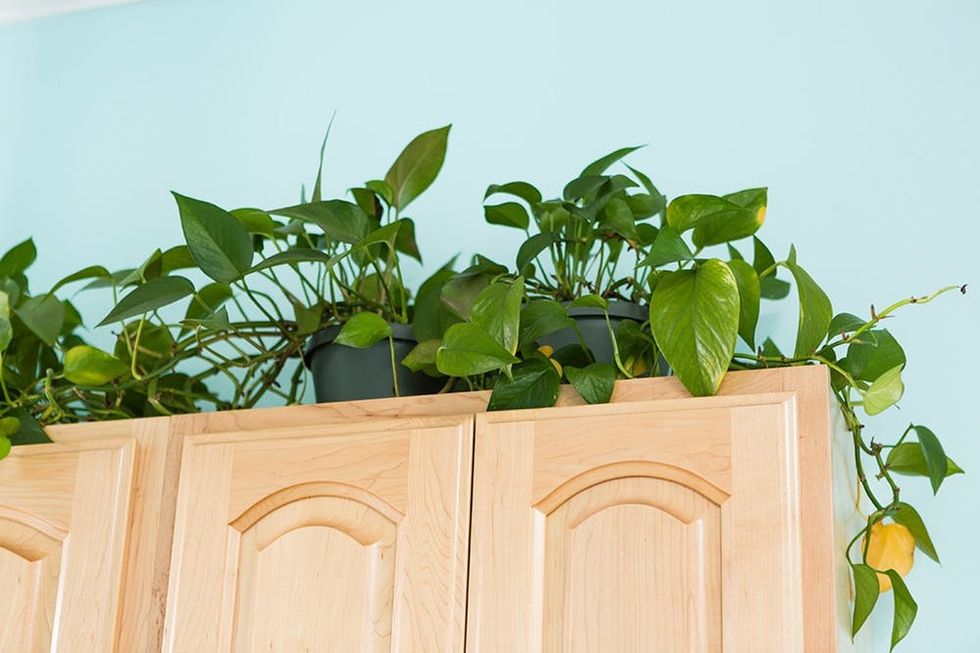
8. Add a dose of greenery. By now, you probably know how I feel about plants. I want them anywhere and everywhere, so long as they’ll survive. These leafy lovelies have actually been in our apartment for years — they’re hearty and we love them. If you’re not sure what plants will work in your space, talk to the folks at Lowe’s in the nursery, and they should be able to give you advice on your options.
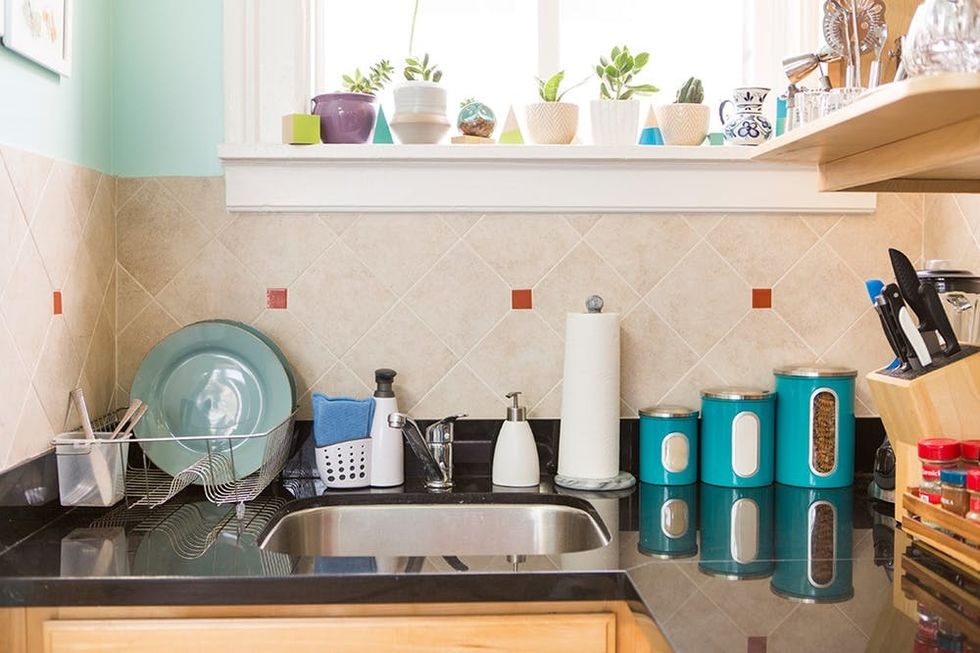
9. Keep your sink space organized. You want to make sure to avoid storing anything in cardboard boxes (pasta, cereal, etc.) or paper or plastic bags (flour, sugar) near the sink. It will immediately lead to a mess, not to mention rendering the contents unusable. If you need to store foodstuffs near the sink, be sure to use hard plastic or glass canisters. On the actual sink, we’ve got two soap dispensers (one for dish soap and one for hand soap) and a dish rack. Keep it simple and clean. Oh, and we’ve even got a few succulents dotting the window sill.
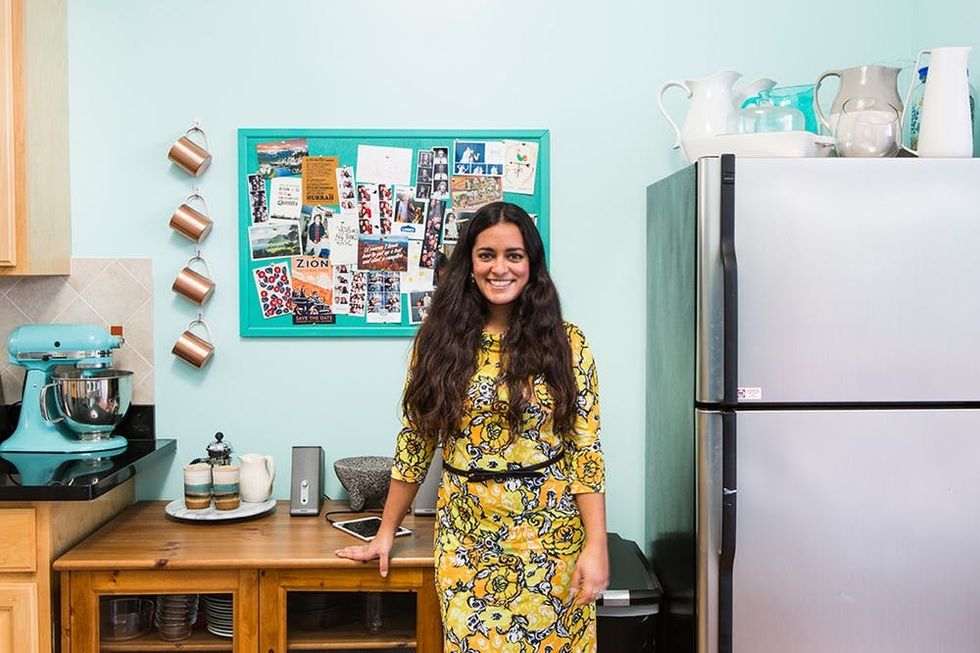
10. Don’t forget to use the top of the fridge: If you’re five feet tall like me, the top of the fridge isn’t exactly your best friend. But, it’s still a huge surface area to use. I recommend using it to store serving dishes, pretty pitchers and vases that you only use for special occasions. It keeps it functional and looks nice, to boot.
Dang, this kitchen is looking good! Scroll on for a for more snaps of how the final space came together.
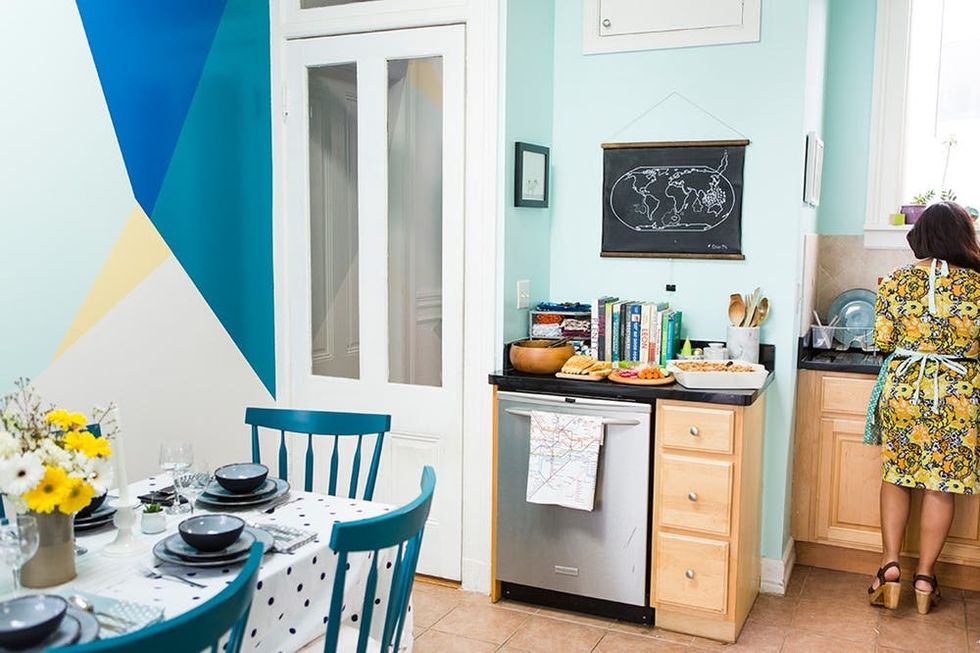
Someone’s in the kitchen with Anjie, someone’s in the kitchen I know… ;)
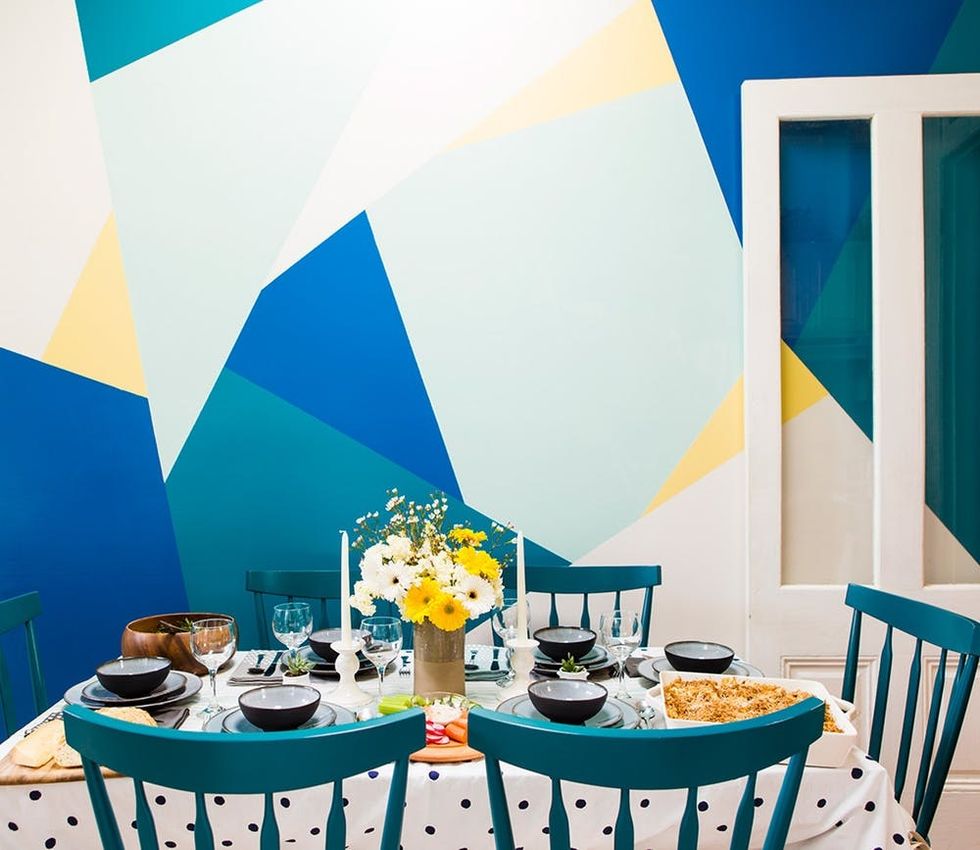
And there you have it! Stay tuned — we’ve got one more room to tackle!
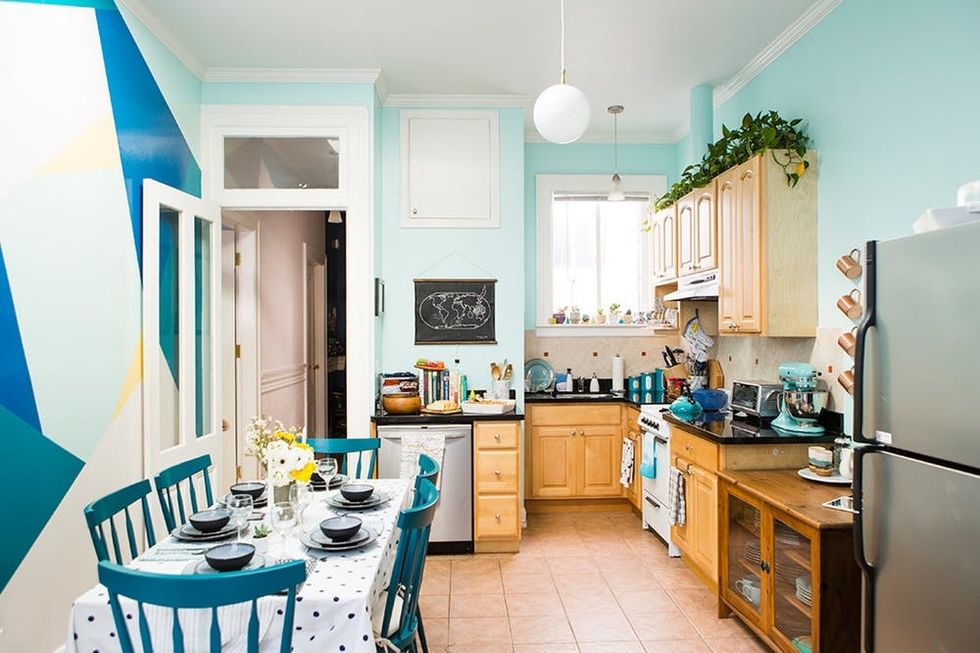
This post is a collaboration with Lowe’s.
Styling, Painting and DIY Production: Anjelika Temple, Kelly Bryden, Brittany Griffin, Chris Andre
Photography: Chris Andre


