3 of the Easiest No-Heat Hairstyles to Wear Right Now
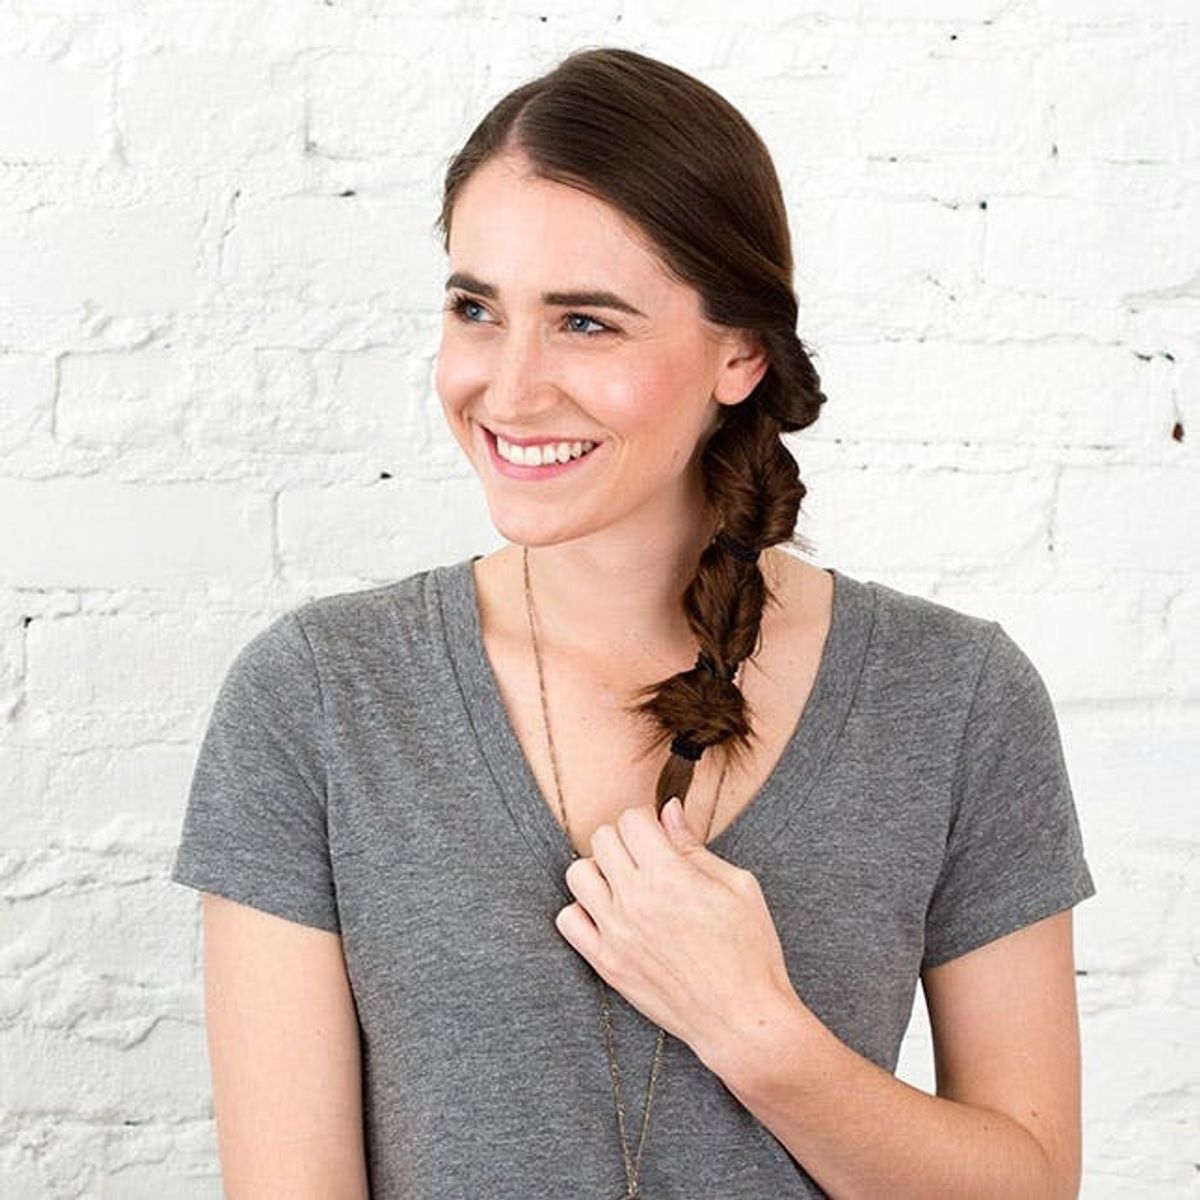
If you’re anything like most of the ladies here at Brit + Co, the last thing you want to do when it’s scorching outside is grab your hot tools to style your hair. So to make your bathroom feel less like a sauna (not a cute feature in August) and to protect your hair from further damage, we’ve been showing you how to DIY easy no-heat hairstyles all summer long. We shared our favorite ways to make your just-outta-the-shower ‘do work for you all day, no blow drier required, then let you in on how to get the summer’s most covetable style — beach waves — without a curling iron. Now, we’re showing you three no-heat updos sleek enough to rock to work or round out your favorite summer makeup look and easy enough to add into your morning beauty routine (you know, in the time you’d wait for your tools to heat up anyway) or any time you have an extra five minutes to spare. Scroll through to see the no-fuss hairstyles you can DIY to wear now + through the rest of summer.
Topsy Tail Drop
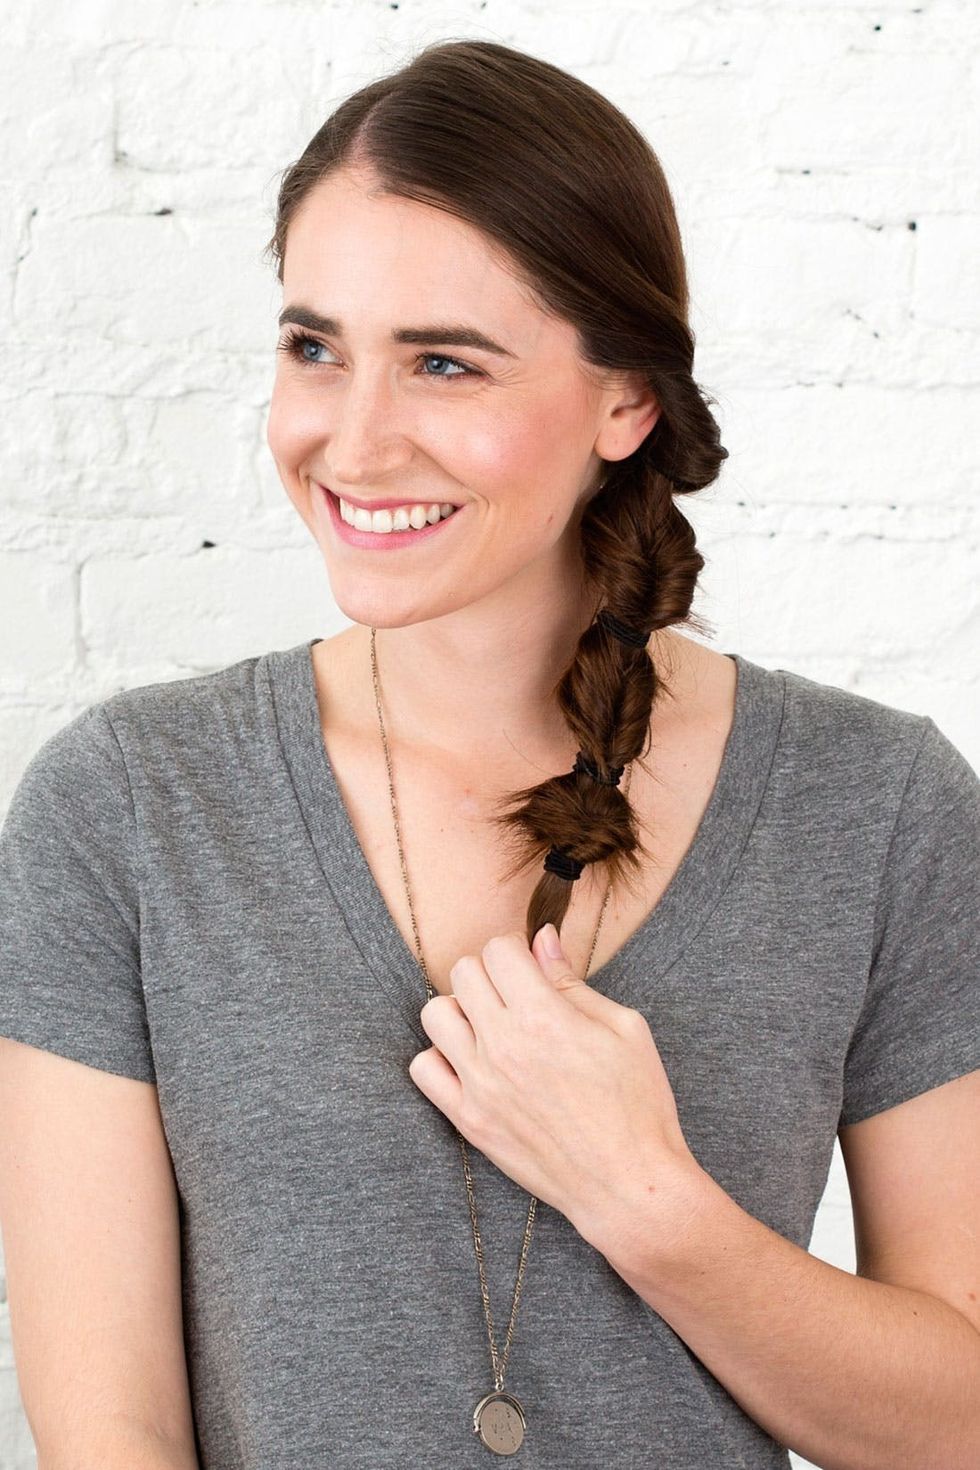
Let’s talk pro tips before we begin! With no-heat hairstyles, if you have fine hair that is challenging to style, then add a little dry shampoo before styling. If you have thick hair, put some smoothing serum on your locks before styling.
On we go! For a chicer take on your favorite ’90s pony, we’re using the signature looping technique to create a multi-layered low ponytail with a prickly-pretty finish.
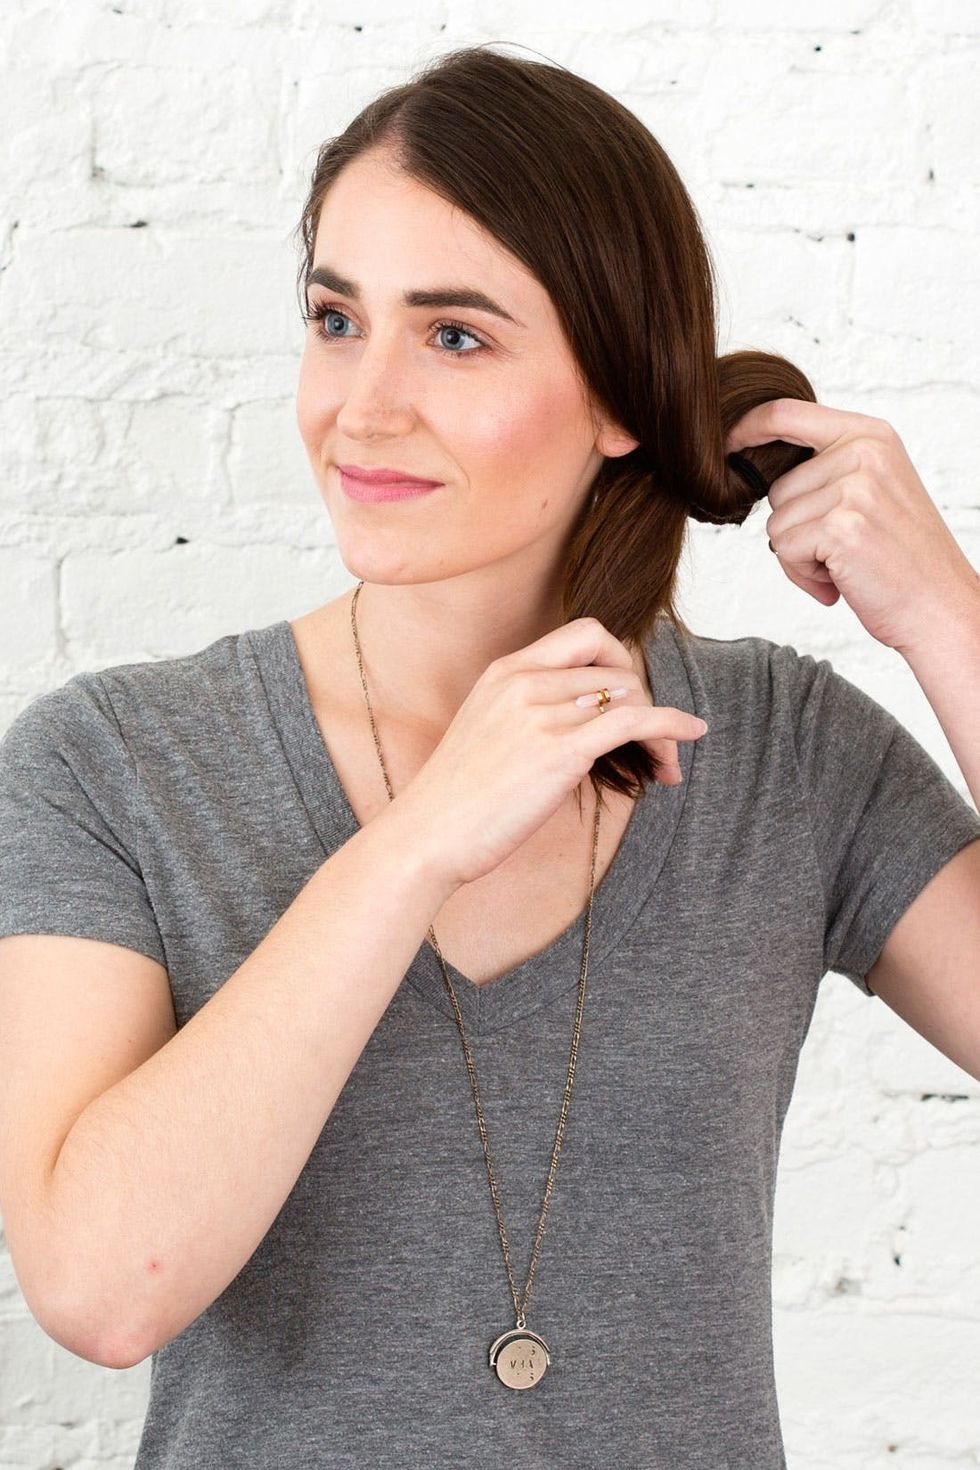
Pull your hair into a low side ponytail and secure with an elastic. Gently slide the elastic down a couple inches so you can split the section of hair right above it into two sections. From there, take the end of the ponytail and wrap it up and through the section you just split into two. Pull it all the way through.
Step 1: Side Pony + Topsy Tail
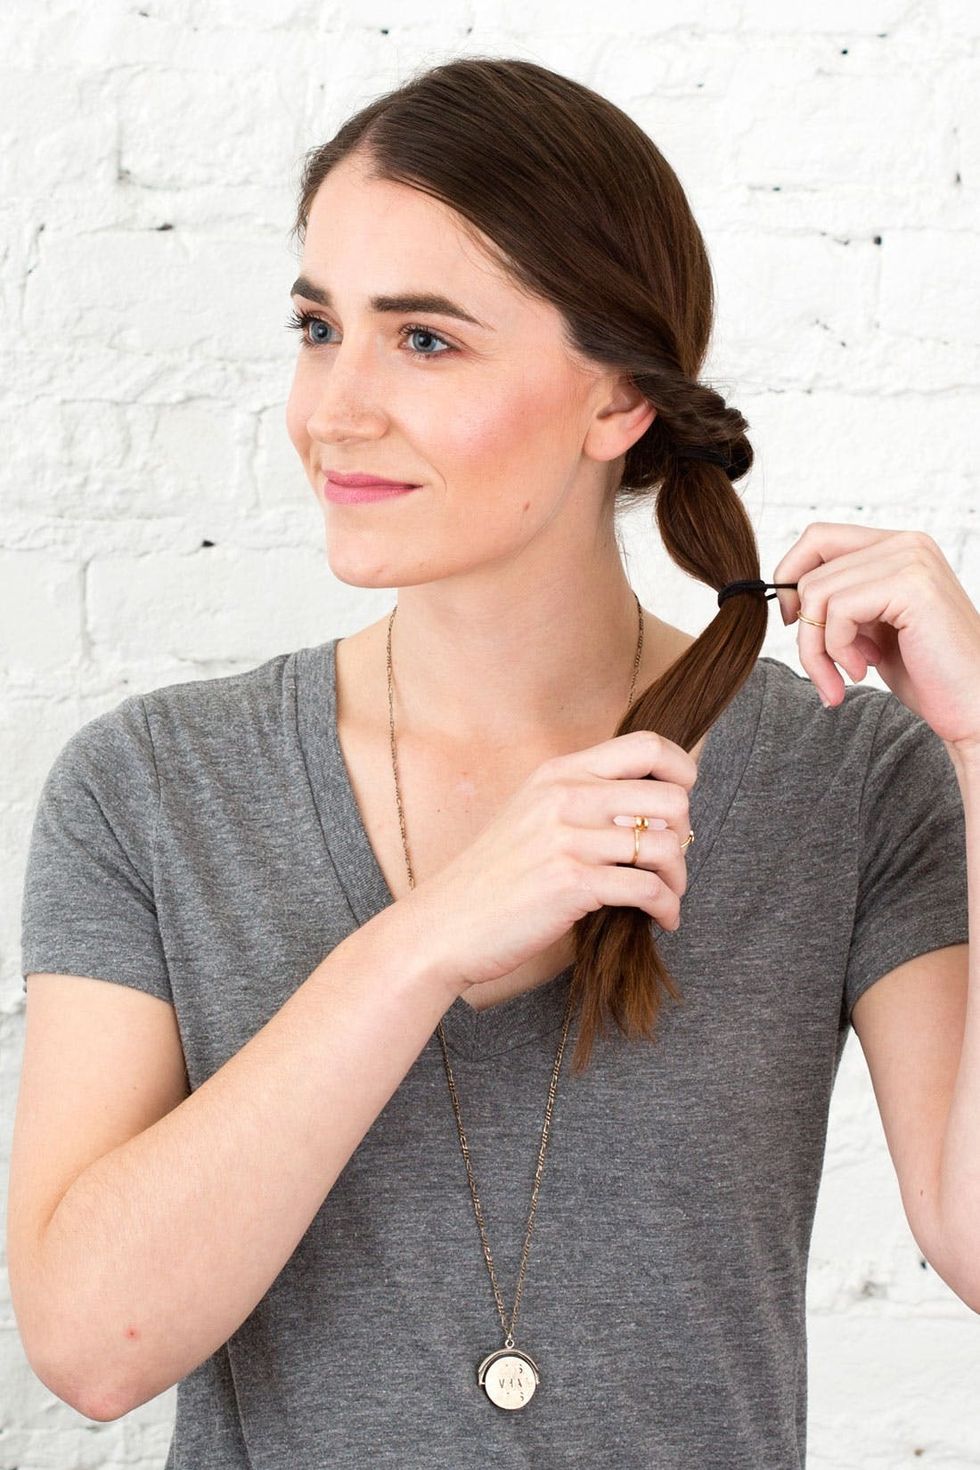
Place another elastic a few inches below the first topsy tail knot.
Step 2: Add Another Elastic
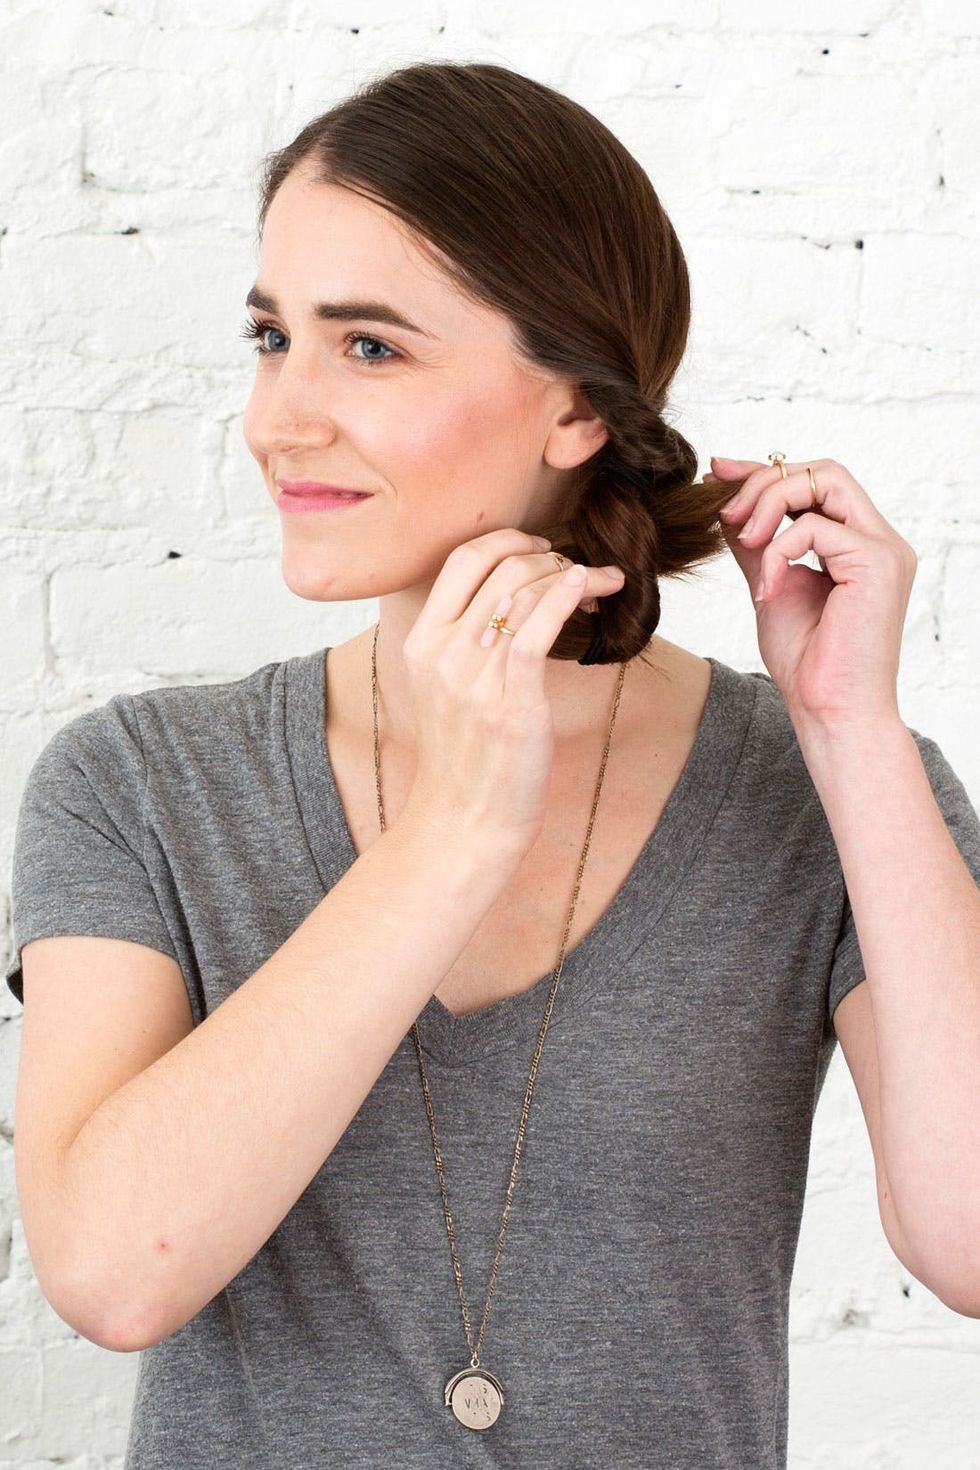
Split the hair above your new elastic (and below the first knot) into two sections, then pull the ends of your ponytail up and all the way through just like you did the first time.
Step 3: Split + Pull Through
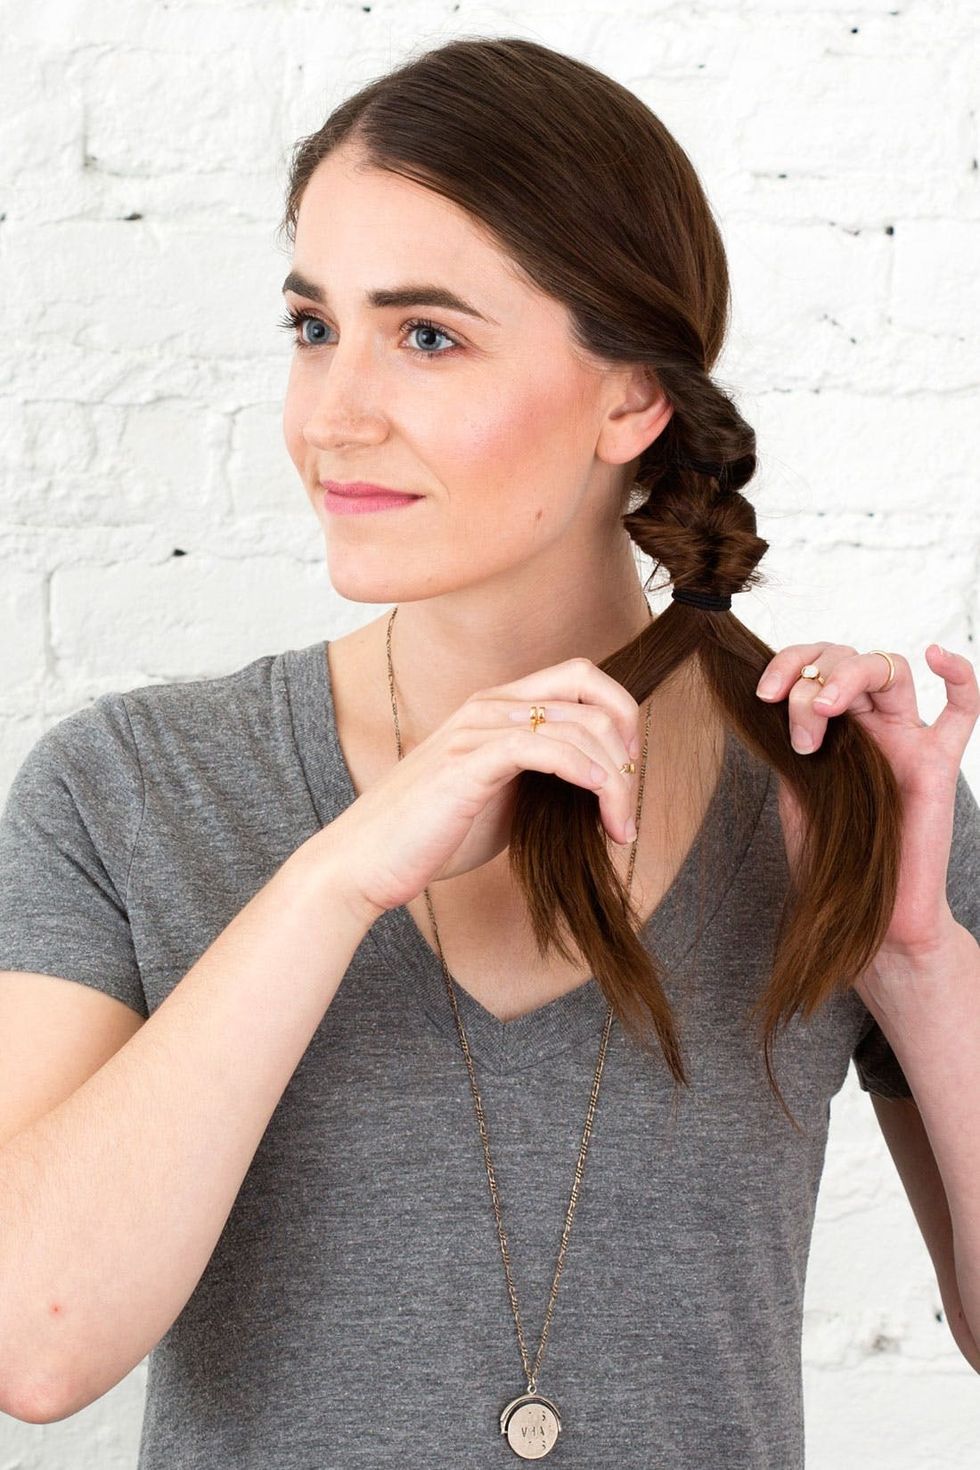
Continue this process until you reach the end of your ponytail.
Step 4: Repeat
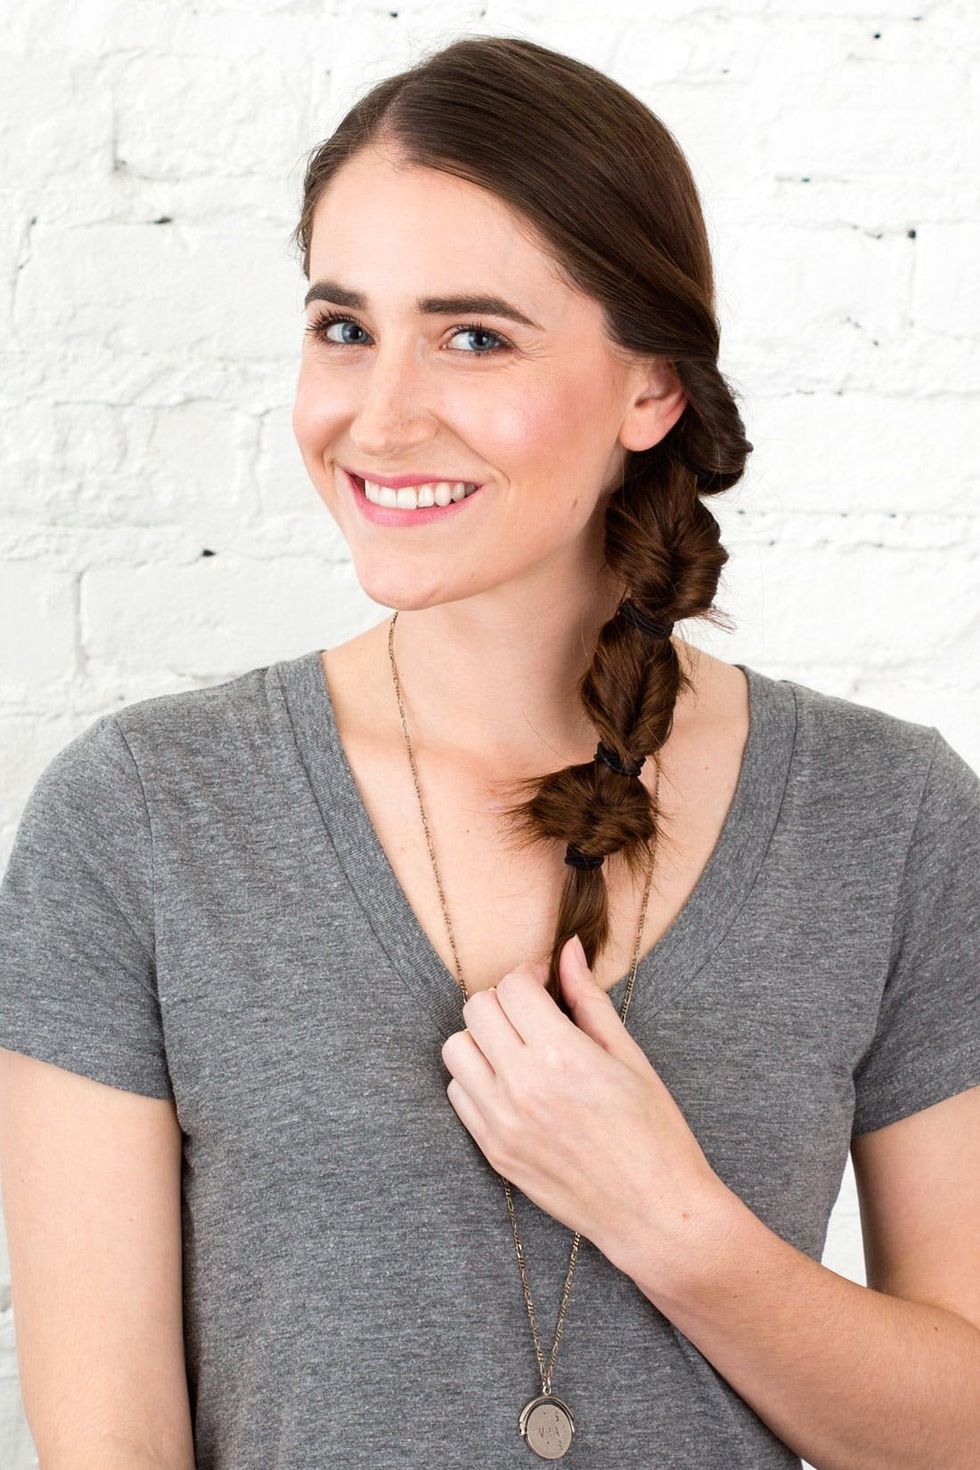
It’s got the same impact as a fishtail braid, but without any of the braiding — that makes this look a must-try in our book.

The quickest way to give yourself a beyond-dreamy ‘do? Tease and twist!
Teased Out + Twisted Ponytail

Pull your hair back into a low ponytail in two sections. Twist the hair back until the twist reaches the nape of your neck (make sure it’s centered!) then secure both twisted ponytails into one low ponytail with an elastic. Grab a strand of hair from your ponytail and wrap it around the elastic to disguise it. Pin in place with bobby pins.
Step 1: Section, Twist + Pin
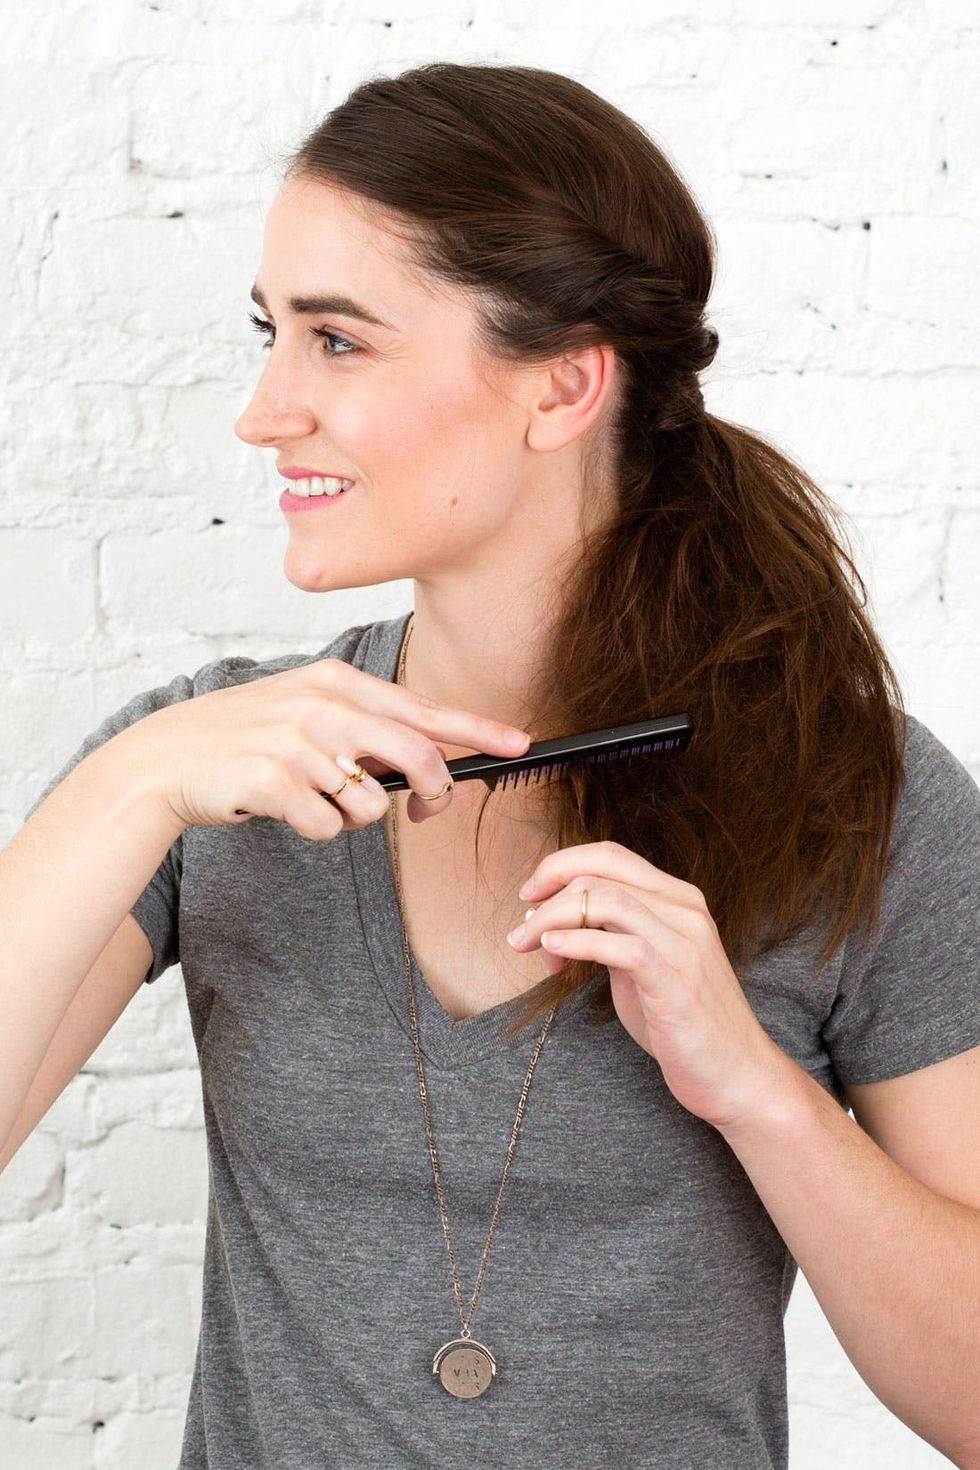
Grab a rat tail comb or teasing brush and back comb small sections of hair throughout your ponytail to give it texture — like, a lot of texture.
Step 2: Mess It Up
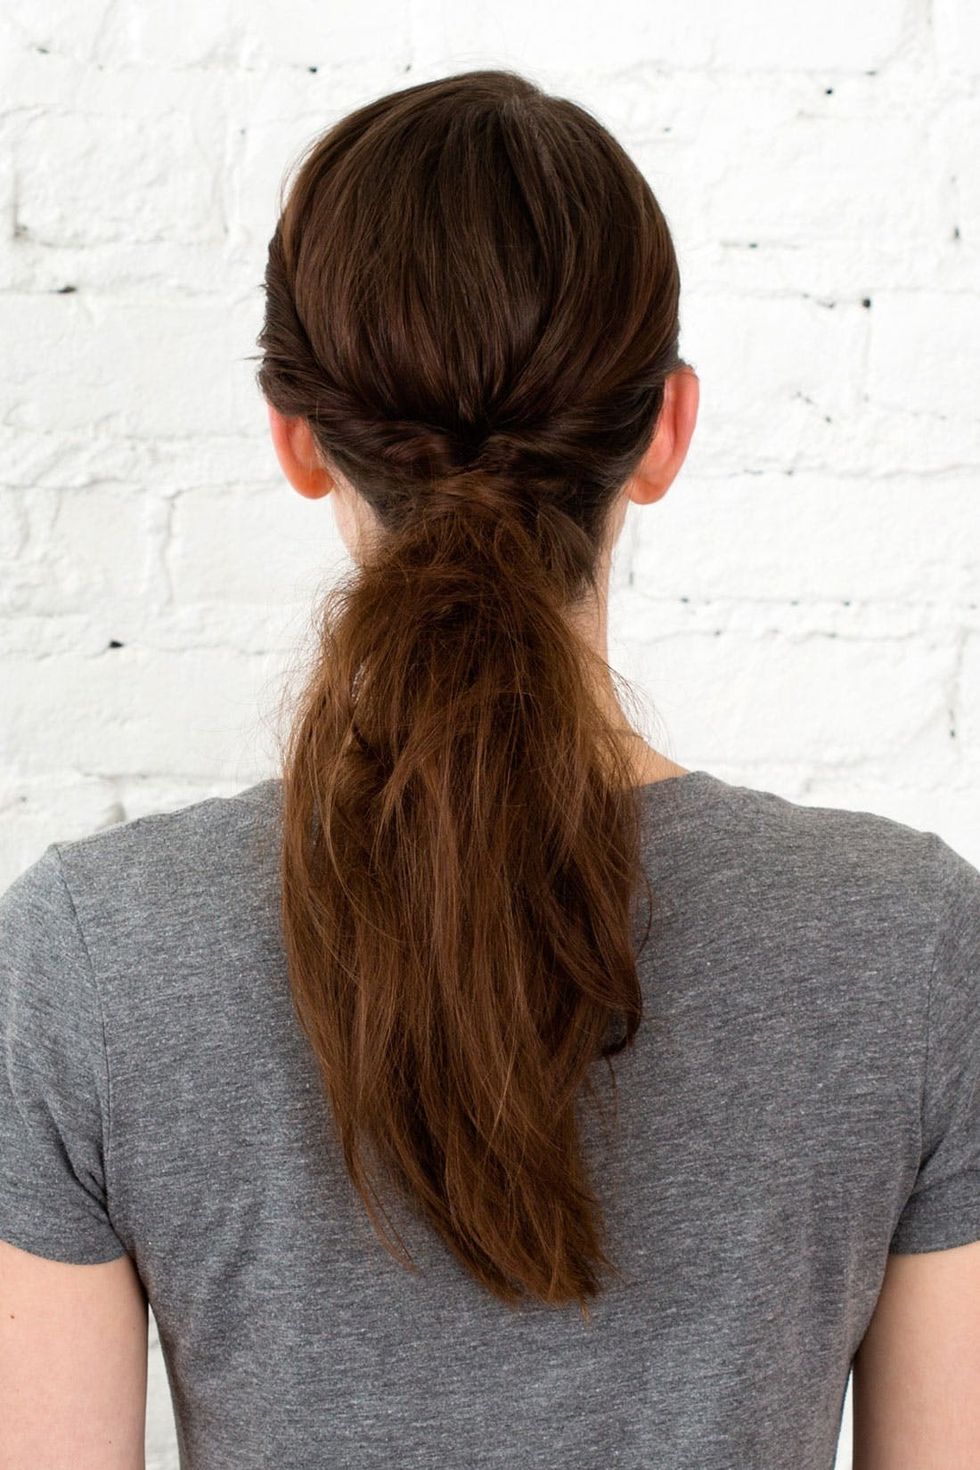
Once your hair has blown up, gently smooth over it with a comb to tame the volume, add dimension and give it that overall bohemian babe look.
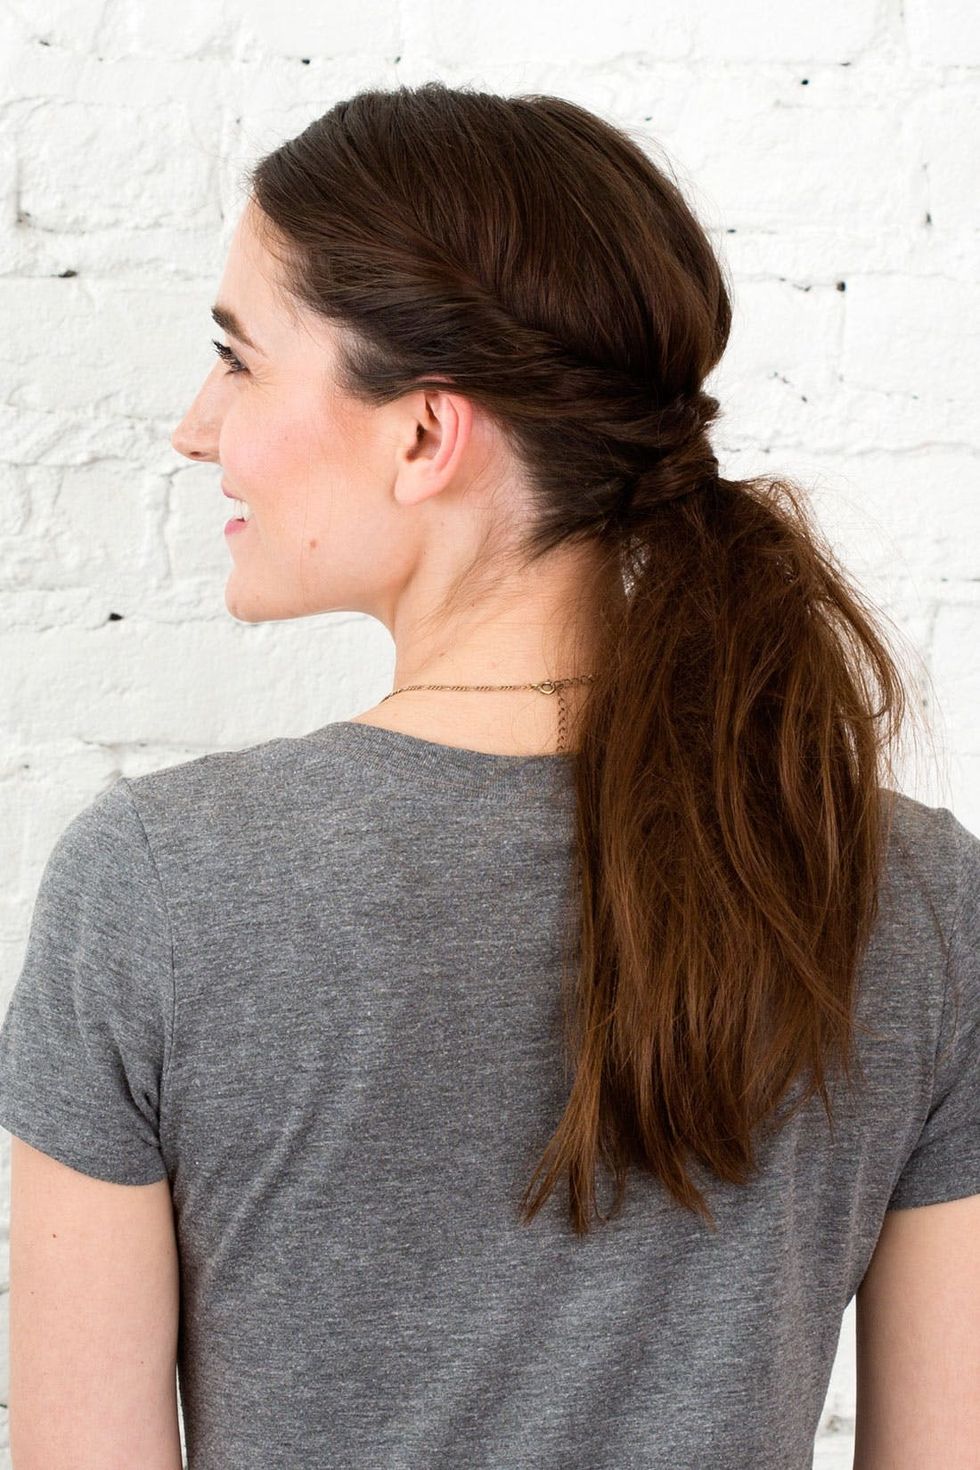
We love this look for summer date nights.
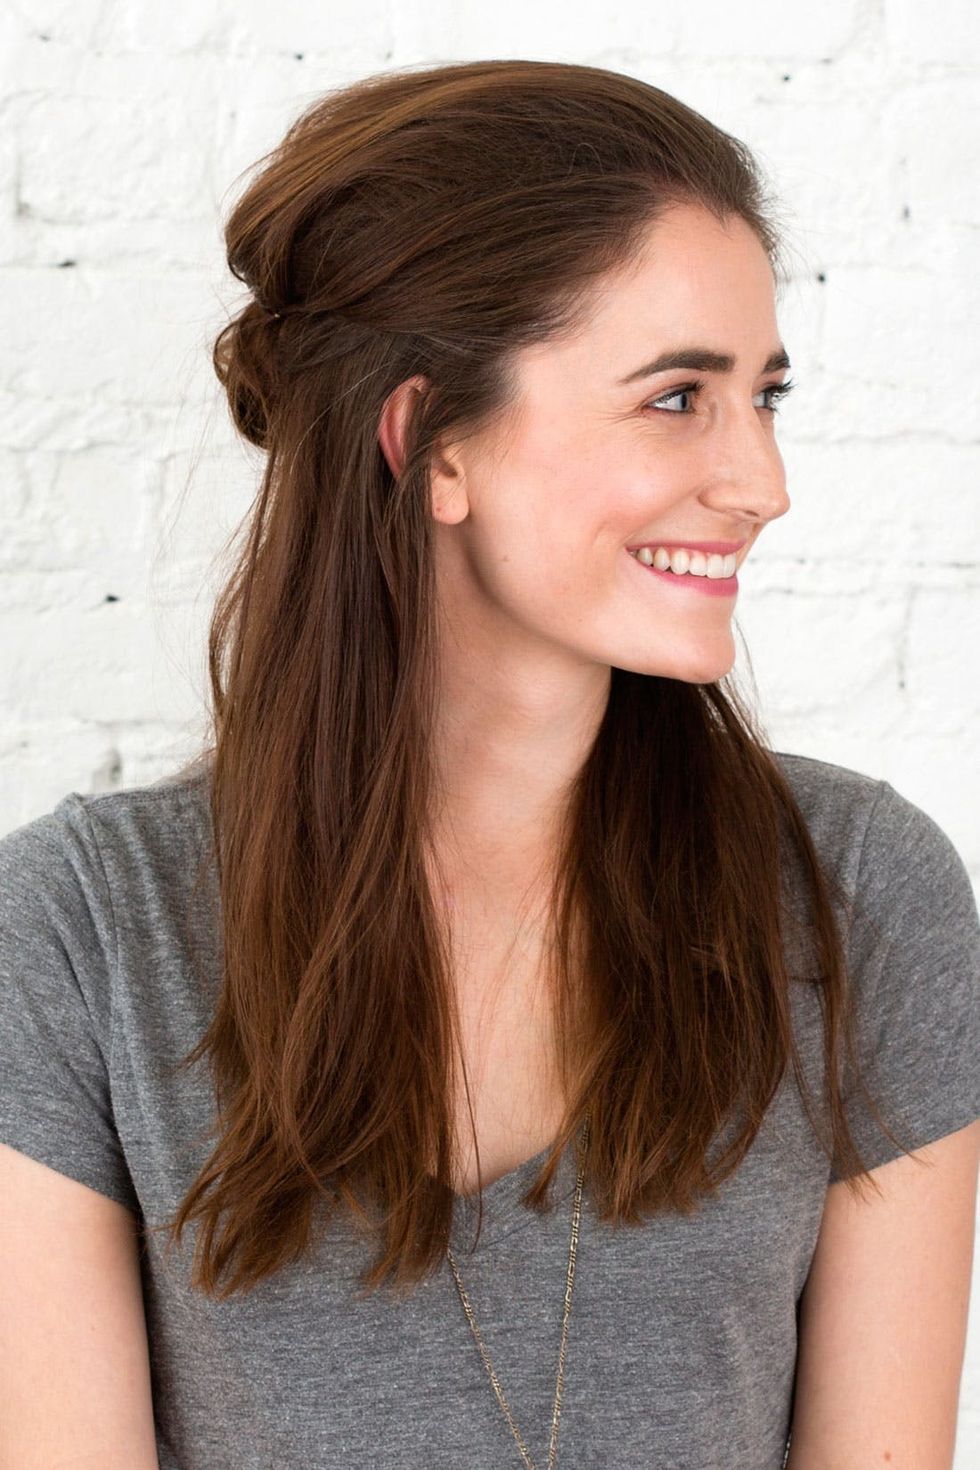
Okay, so this isn’t a full updo, but it’s a great way to switch up a pony-heavy week without much fuss, and it still looks super stylish.
Twisted + Teased Half Ponytail
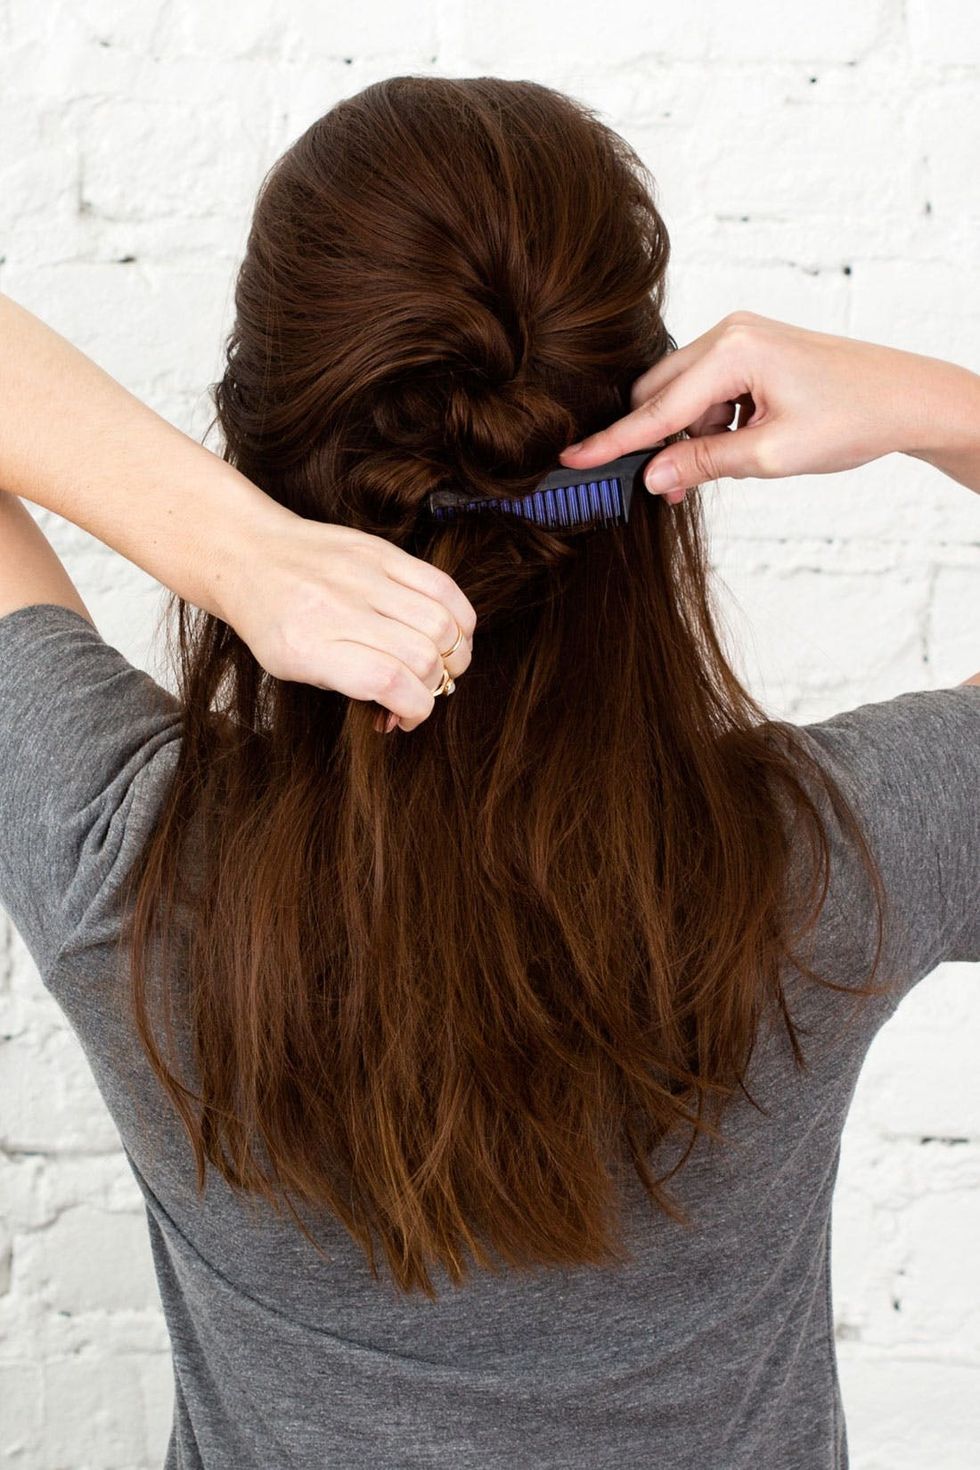
Backcomb the top section of your hair for extra body and volume, then pull half of your hair up into a ponytail that hits the center of your head and secure with an elastic. Twist your hair around your fingers and then use your rat tail comb to backcomb the twisted hair into a messy twist. Be sure to keep that shape as you backcomb; you want to end up with a bun-like look.
Step 1: Tease, Tease, Tease
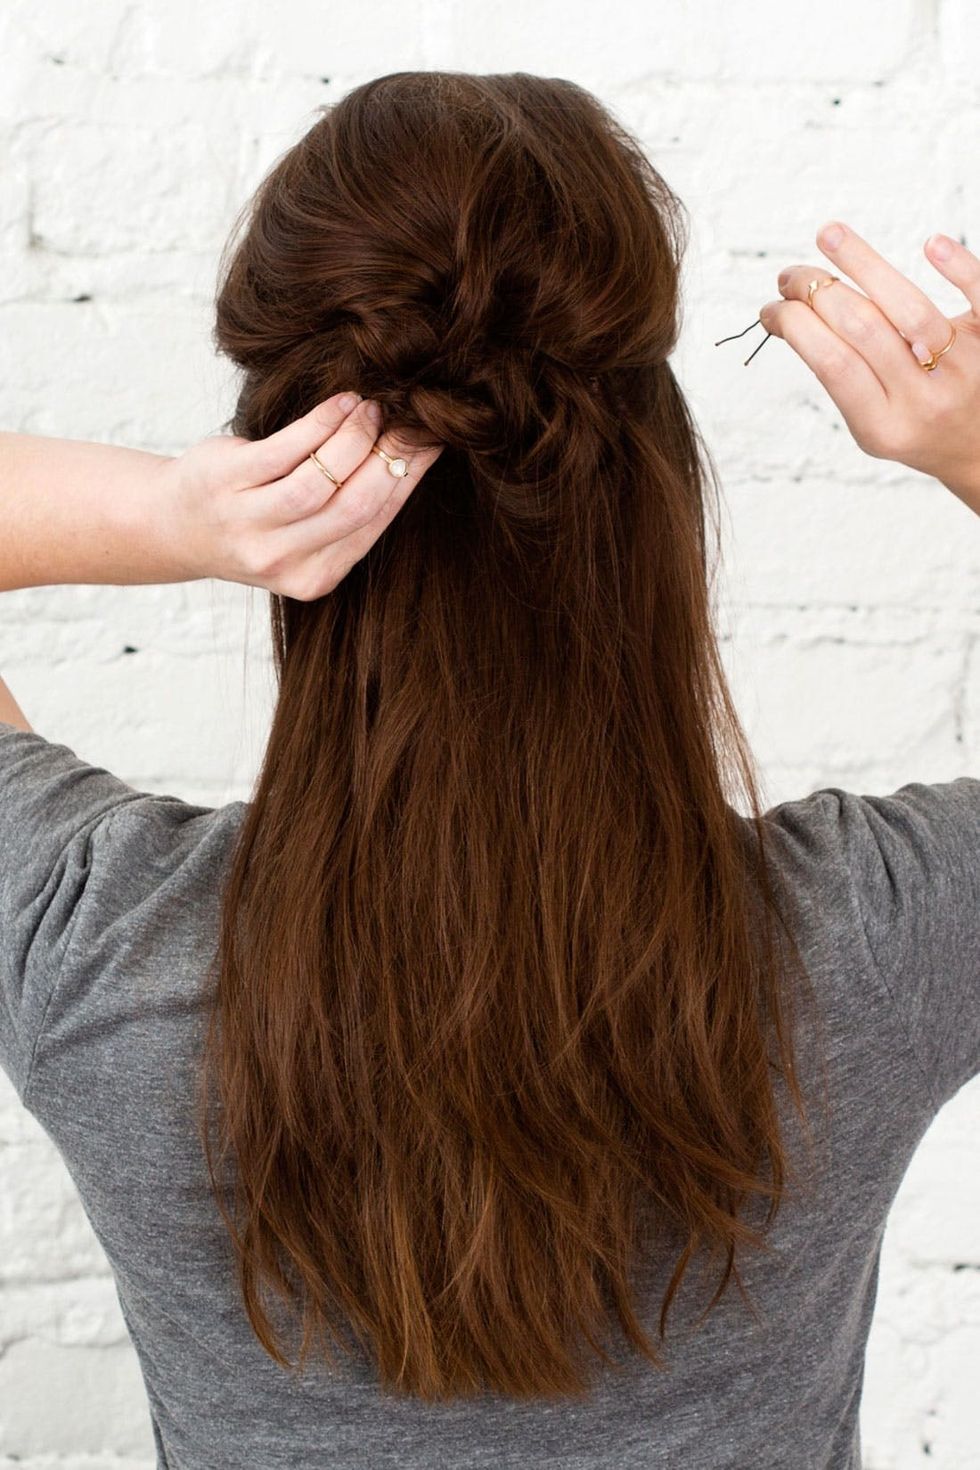
To keep that faux bun, tuck the ends of the twisted hair up, around and under your elastic and pin in place with bobby pins.
Step 2: Tuck Hairs + Pin in Place
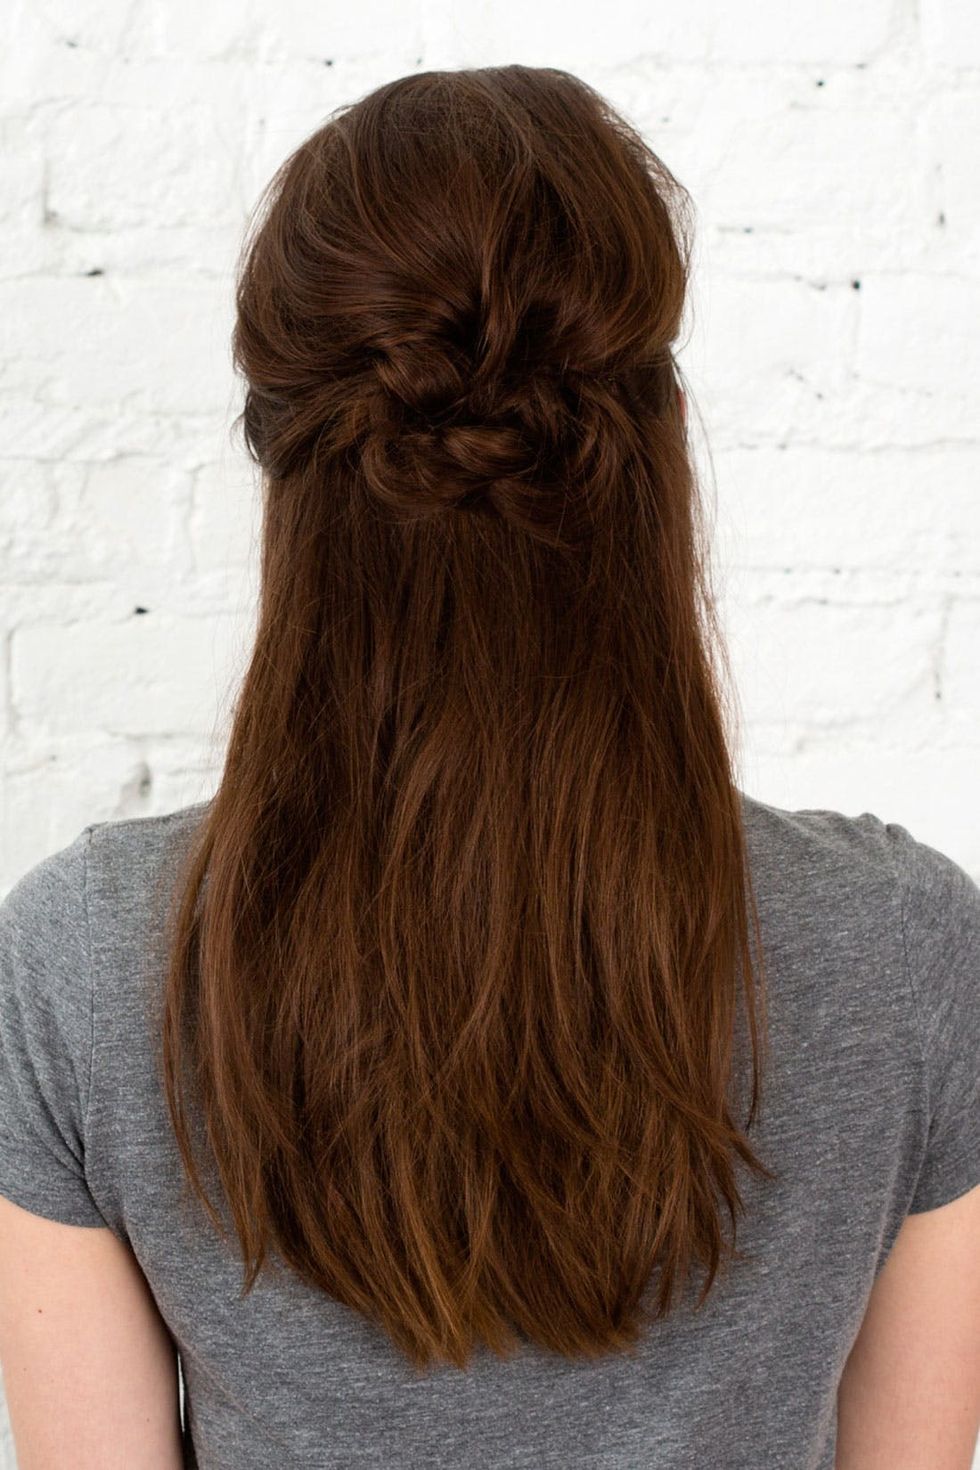
A perfect day-two hair look when your hair isn’t suuuper greasy, but you might need to give your roots some TLC.

The best thing about these looks is their simplicity — there’s plenty of room for you to make them your own. Sometimes it’s fun to take these tutorials as guidelines and let your hair sort of go in the direction it wants to. You may be surprised by your own creations!


