Beach babe alert!
These 2 Easy Swimwear DIYs Make for a Perfect Retro Beach Day
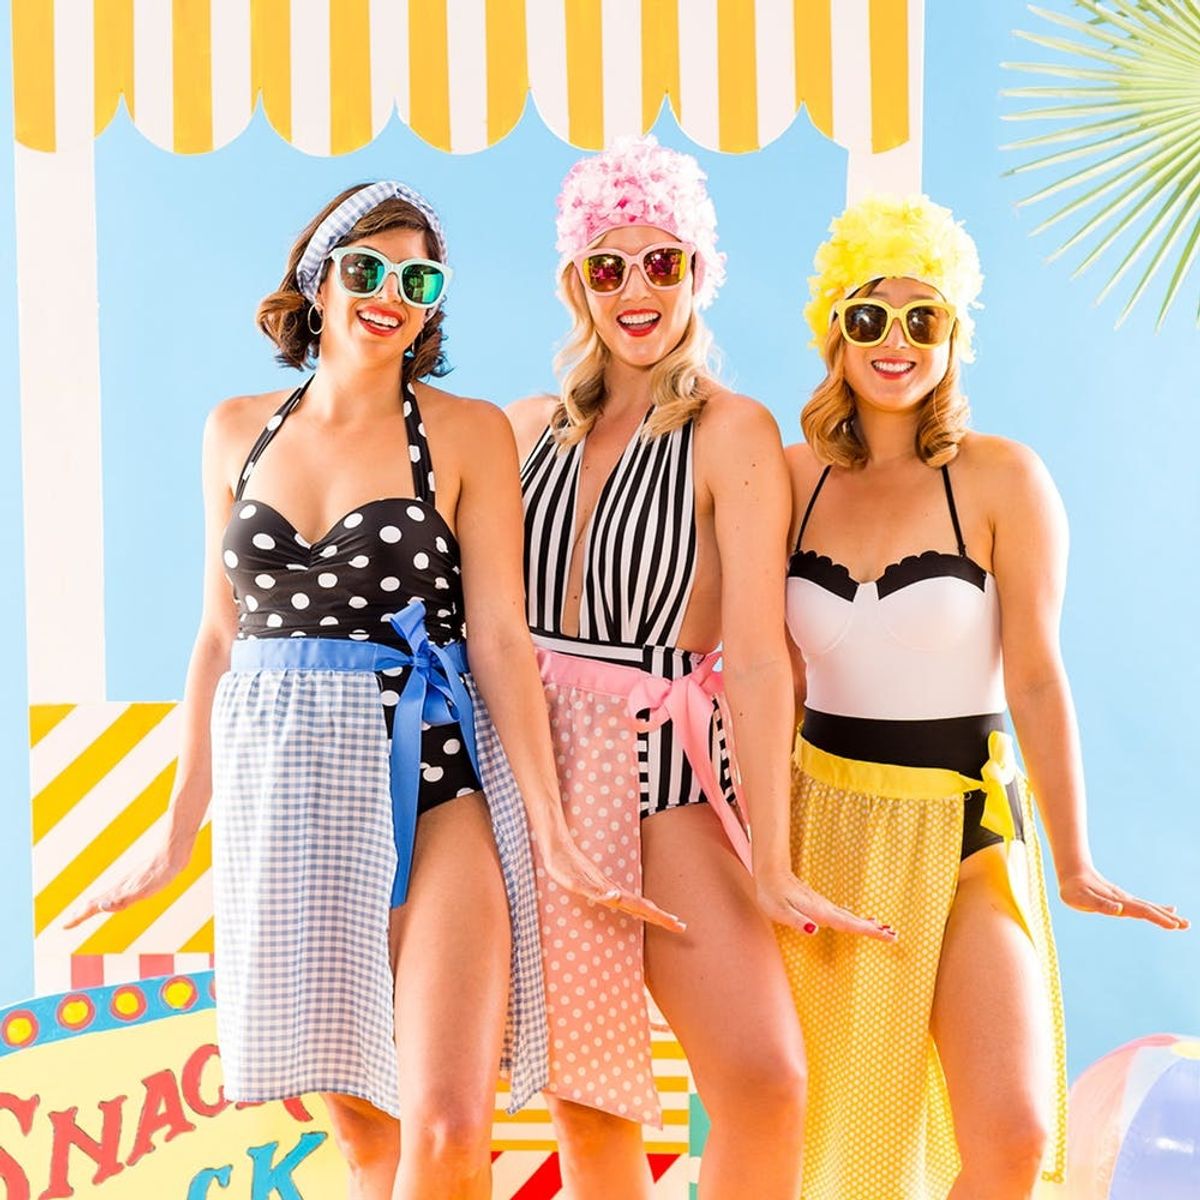

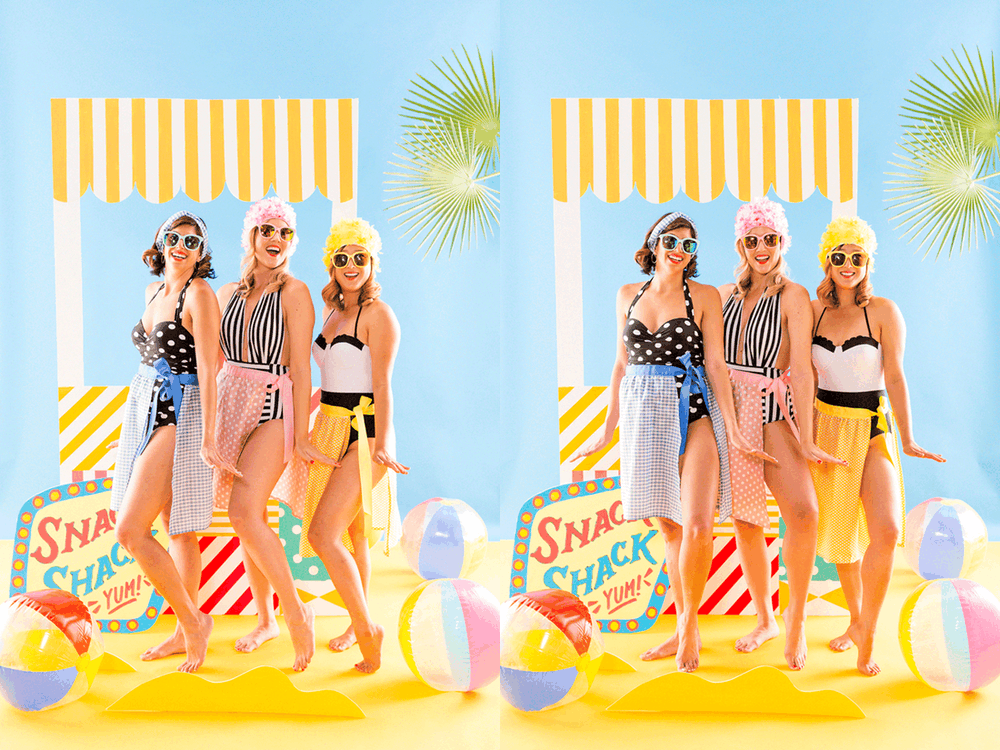
If you could live in another decade, which would you choose? For me, it’s always the 1950s — I can’t help but daydream of diners, Mad Men-esque design, and drive-in movies. Most of all, I love the fashion of the ’50s, and how clothes of that era celebrated curves and bright colors and patterns. Now that summer is here (yay!), it’s officially time to think about swimwear. Vintage swimsuits are adorable by themselves, but ’50s ladies paired their suits with cover-ups and swim caps. So today, Creative Content Producer Lindsay and I are showing you two easy retro DIYs to accessorize for your next beach trip.

Check out those threads. Read on!
Cowabunga!
DIY 1: Retro Floral Swimcaps
More for cuteness than functionality, these retro swim caps will take you back in time.

Materials and Tools:
- swimcap
- floral leis
- needle and thread
- scissors
Instructions:
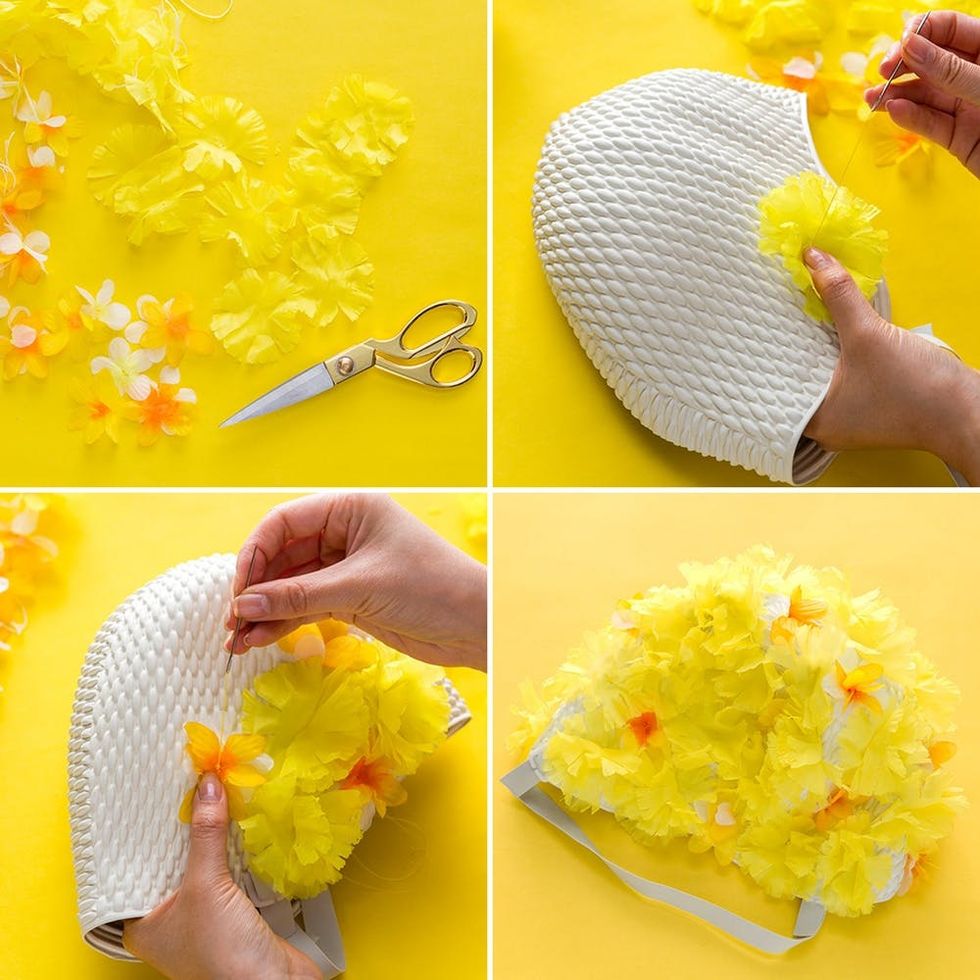
Cut the lei so you can tug the flowers loose. With a needle and thread, stitch flowers on the swim cap using just a couple of stitches. Continue until the entire cap is covered. We liked to stitch pairs of flowers together to give it an extra full look.
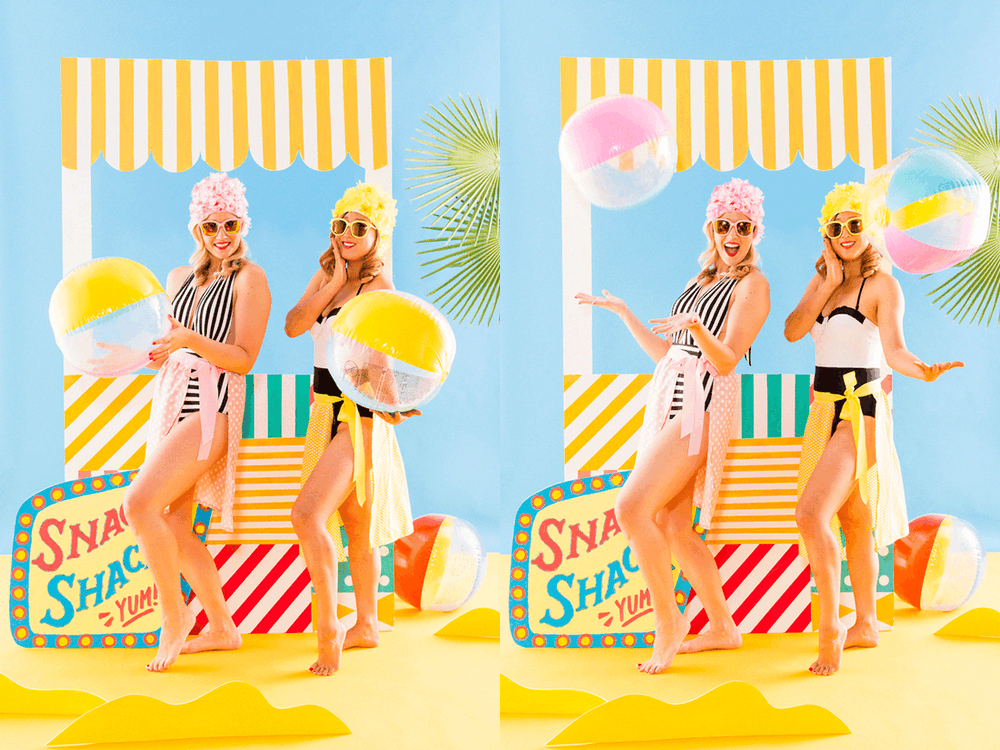
Cuties!
DIY 2: Beach Cover-Ups
When it’s time to take a break from the waves and hit up the beach snack shack, tie this breezy cover-up over your suit.
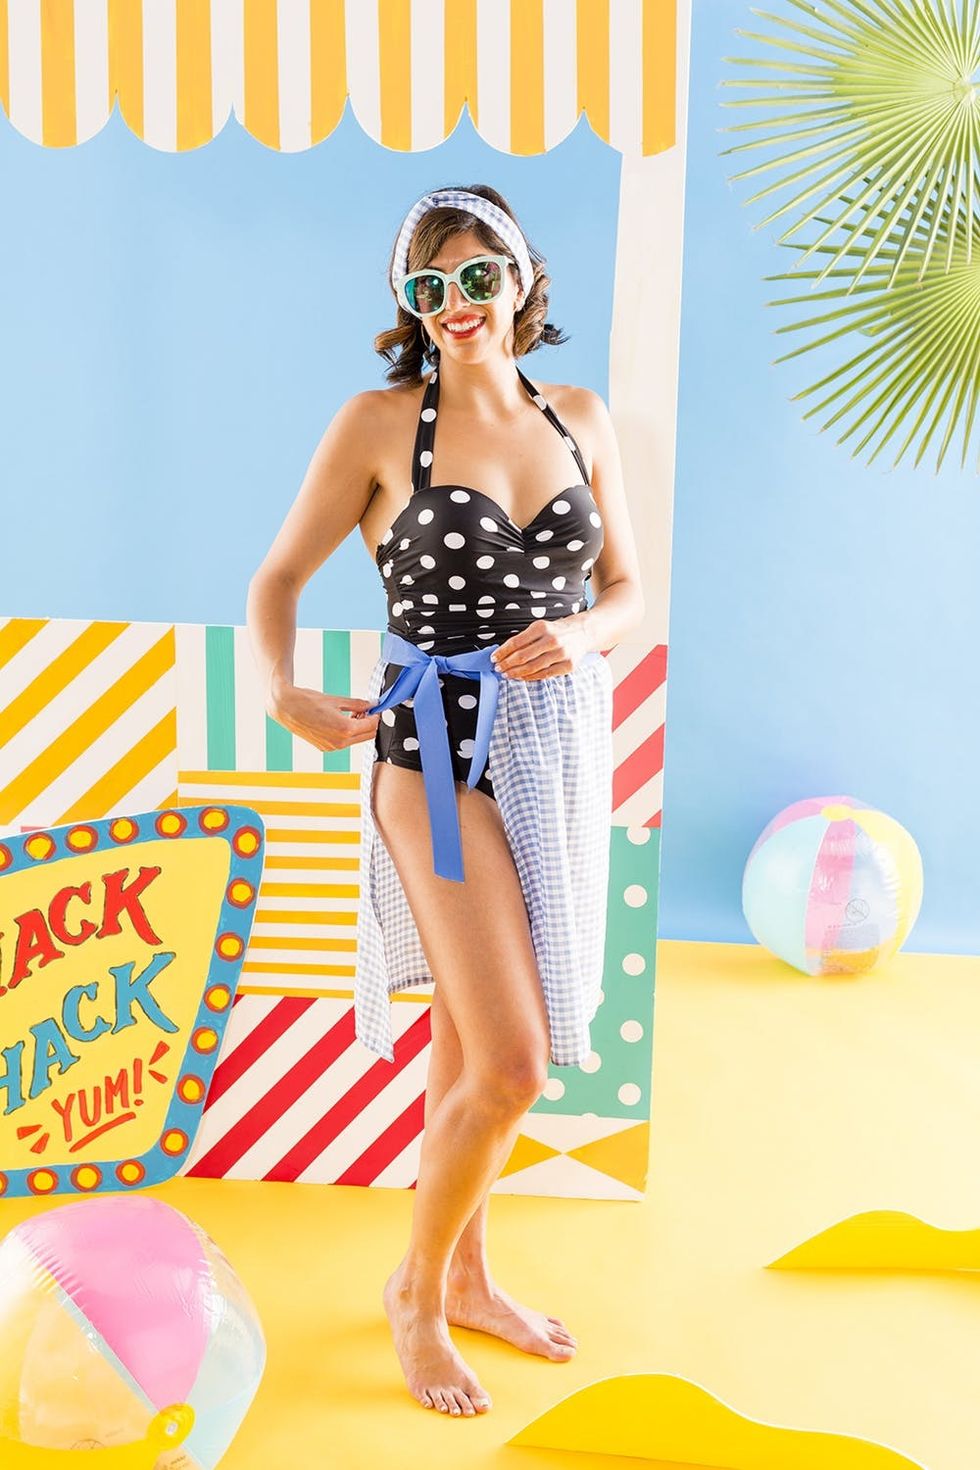
Materials and Tools:
- 1 yard of fabric
- 1 ½-inch wide ribbon
- sewing machine, threaded
- pins
- iron
- measuring tape
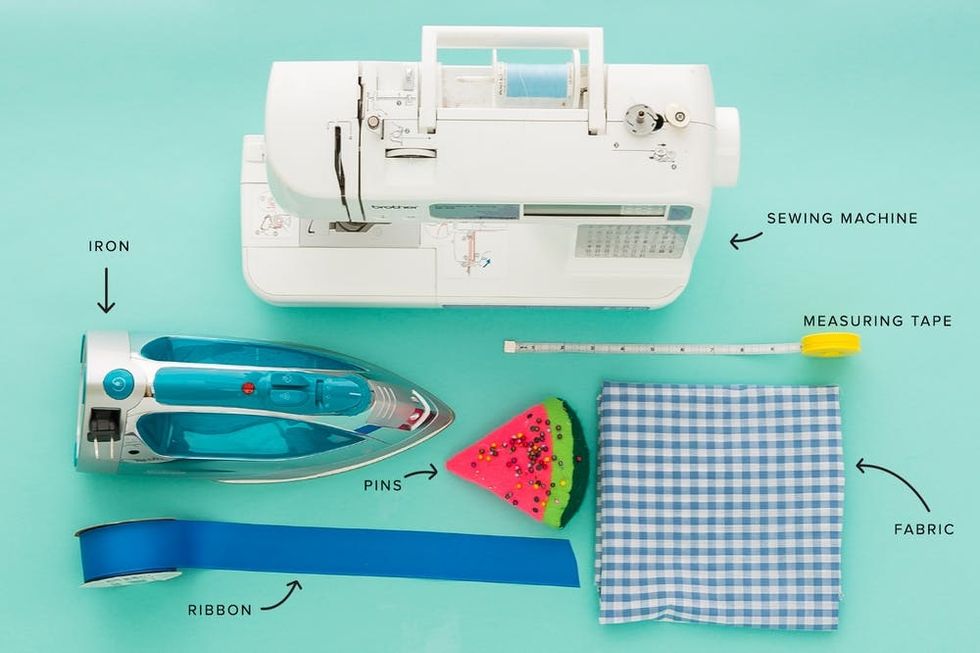
Instructions:
1. Cut a fabric piece 22-inches long by 35- to 40-inches wide. The width will depend on your waist size. Cut the ends at an angle, so that it tapers at the top.
2. Iron a hem around the 22-inch sides and longer bottom of the fabric.
3. Sew the hem down.
4. Use a running stitch at the unhemmed, top of the fabric.
5. Pull one of the threads from the running stitch to scrunch up the fabric, until it’s the length of your waist.
6. Pin the ribbon to the scrunched end, so the running stitch is covered by the ribbon. Sew together.
7. Trim the ribbon ends, so you can tie a bow around your waist.
8. Throw on your favorite suit and you’re ready to go!
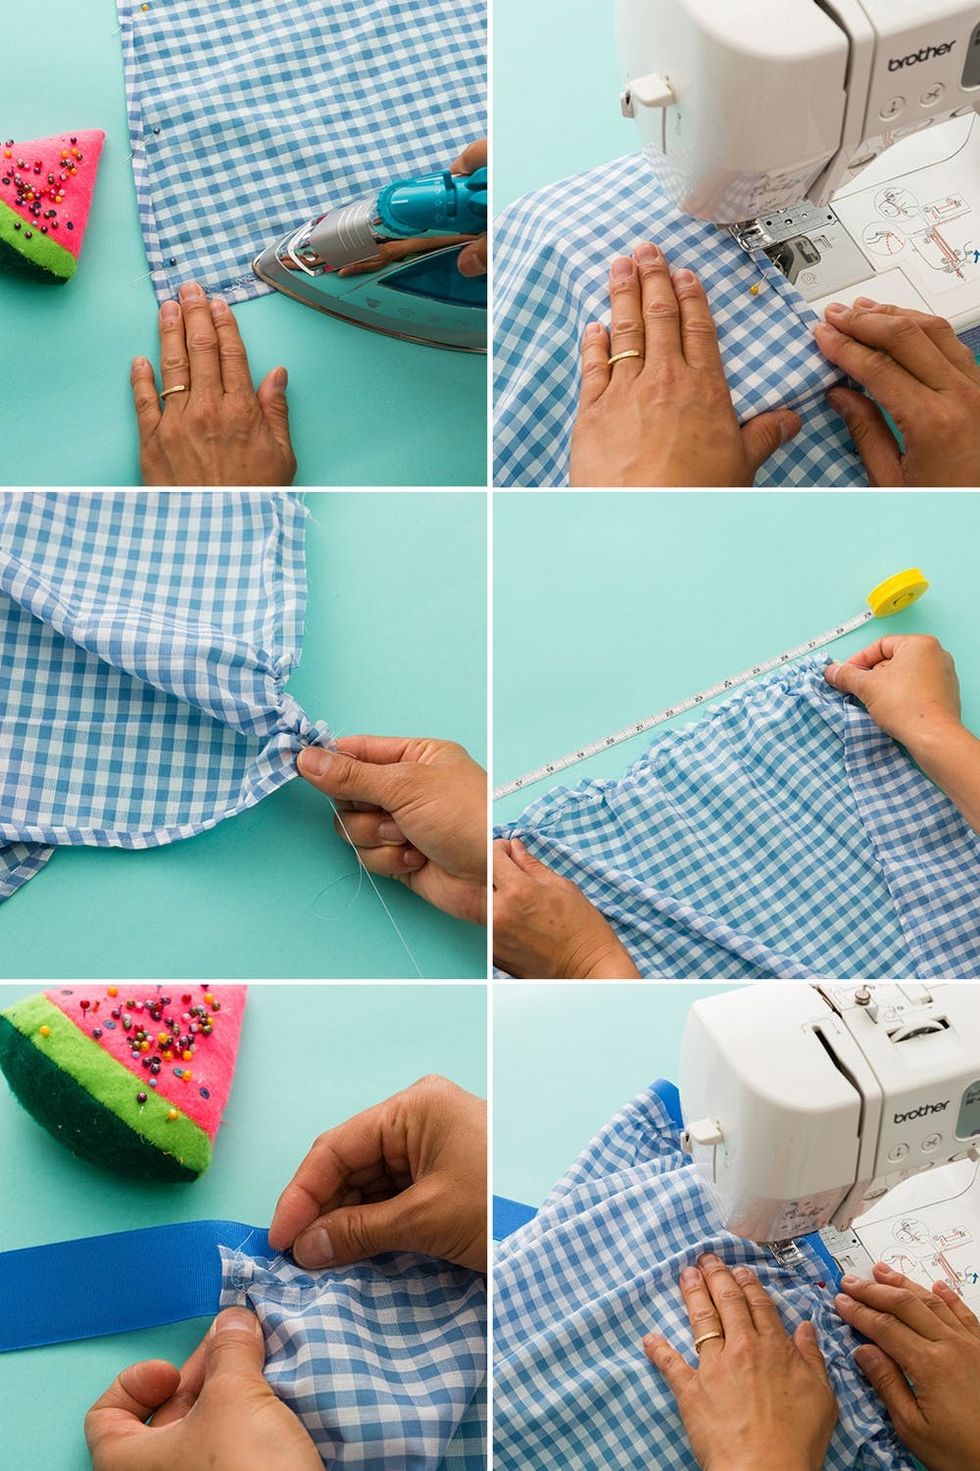
Summer better look out, because you’re about to be super stylin’! To really stick to the mid-century look, we cut the fabric 22-inches long, but you can always adjust based on your height and desired length. Then cut the fabric, 35 to 40 inches long depending on the model’s waist size. You’ll also be cutting the ends at an angle, which is why the extra width is necessary. Hem, iron, and pin the two angled sides and the longer bottom. Finish with the sewing machine. Next up, do a running stitch at the top, unhemmed portion of the fabric. Pull one of the threads so the top scrunches up. You’ll want to scrunch the fabric to match your waist size. Pin the ribbon to the top of the fabric, so the end covers your running stitch. Sew the ribbon to the fabric, trim the ribbon ends, and you’re ready to go!
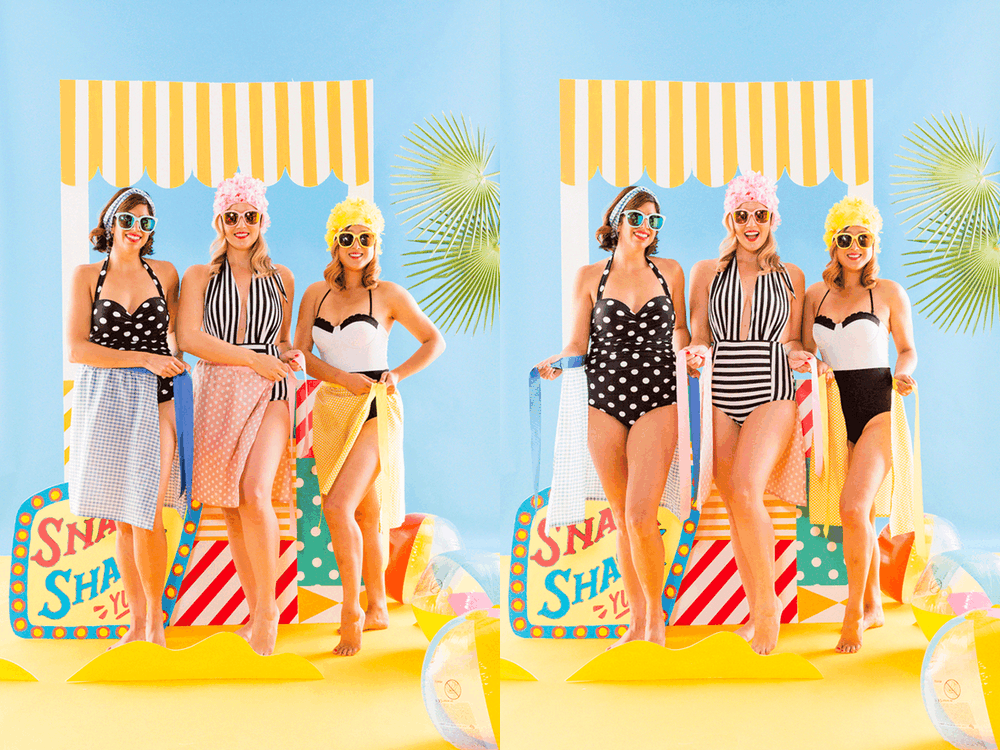
Ladies, let’s take a dip!
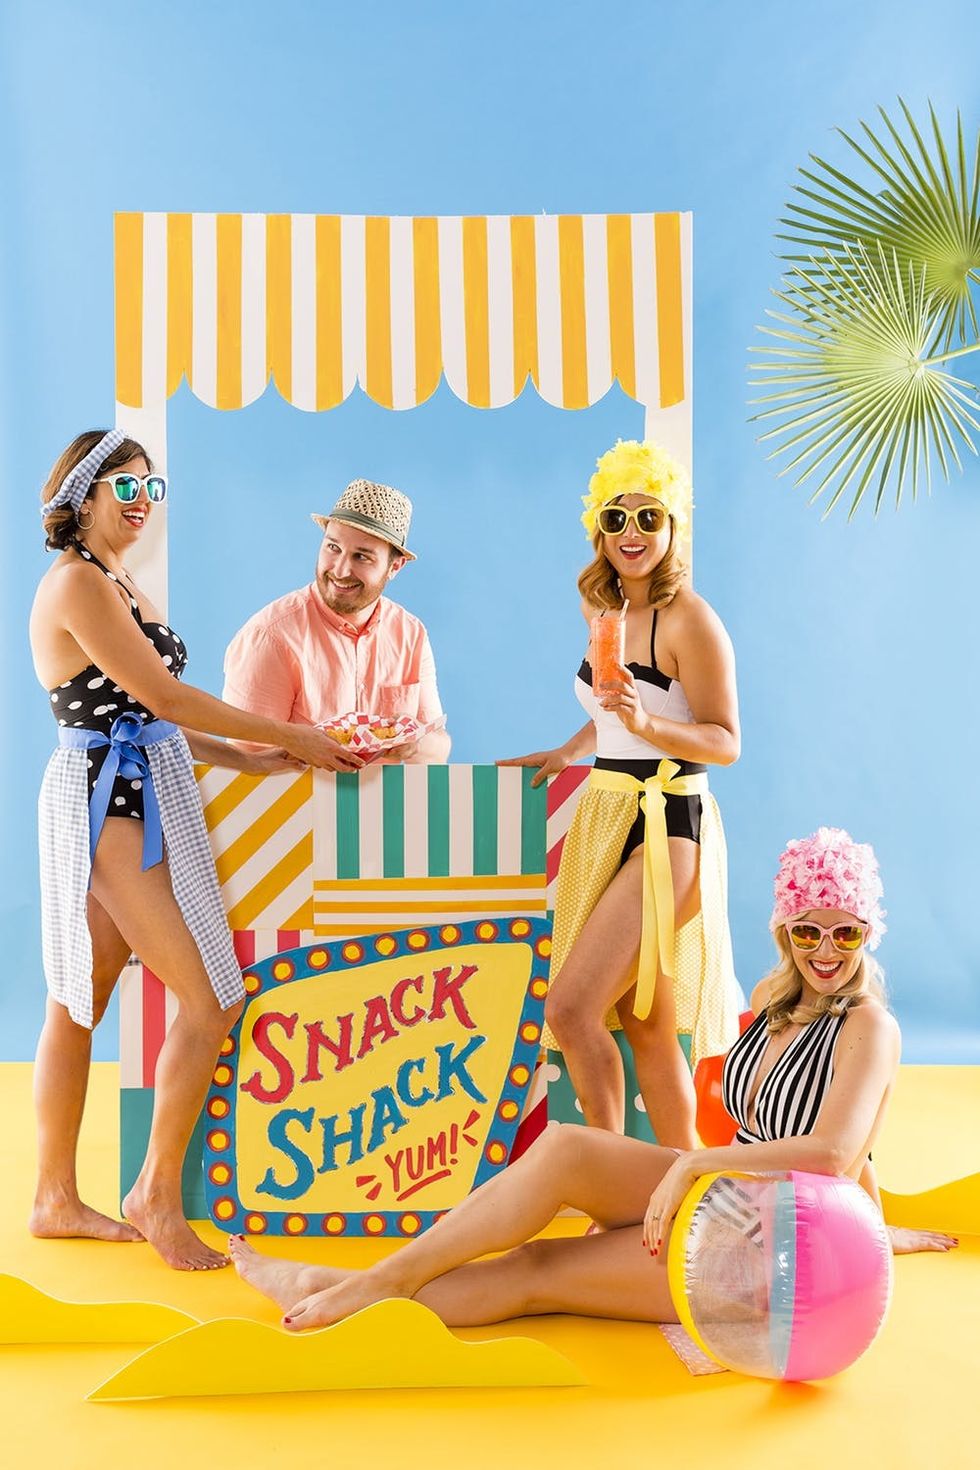
I’ll take an order of curly fries, please!

Oh hey there, Snack Man!

Checkin’ out the cute lifeguards!
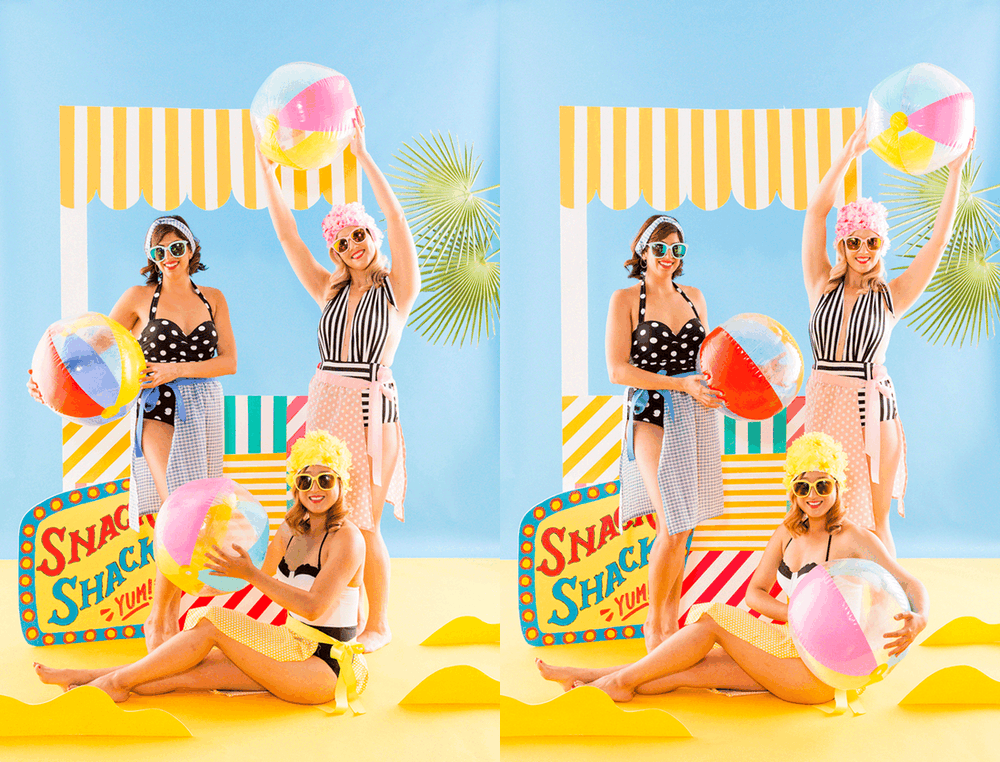
Beach babes!
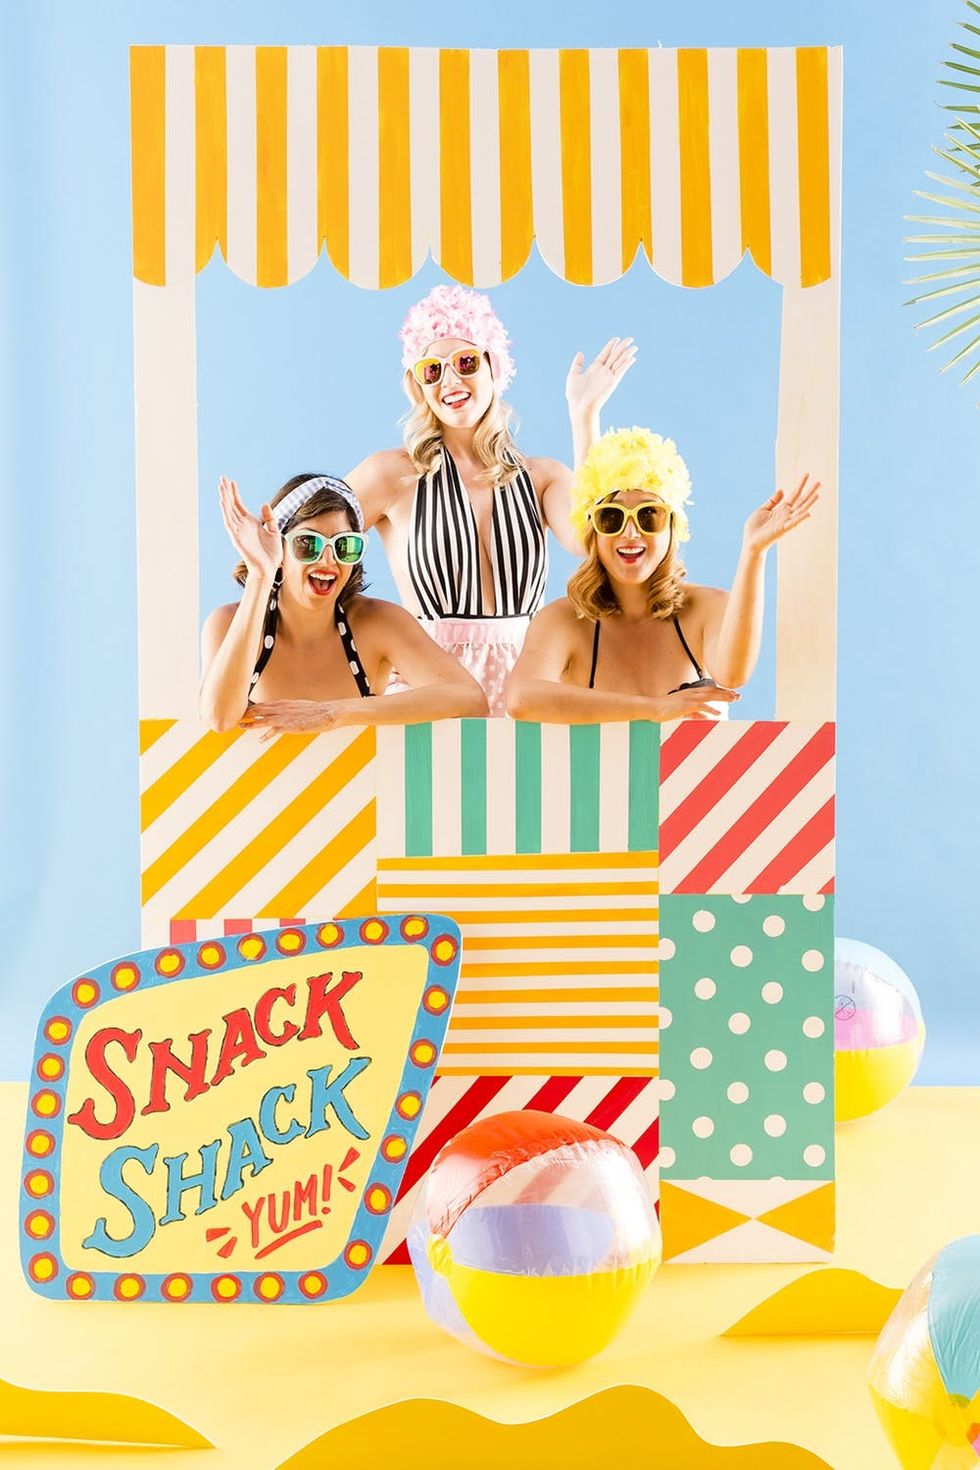
See you next time!
Which retro swimwear item will you DIY? Share your photos on Instagram using #britstagram, and follow us on Pinterest for more summer DIYs.
Brit + Co may at times use affiliate links to promote products sold by others, but always offers genuine editorial recommendations.
DIY Production + Styling: Irene Lee and Lindsay Saito
Model: Lexy Kelley, Michelle Lee, Sonya Sachdeva, and Jeff Kneis
Photography: Brittany Griffin and Chris Andre


