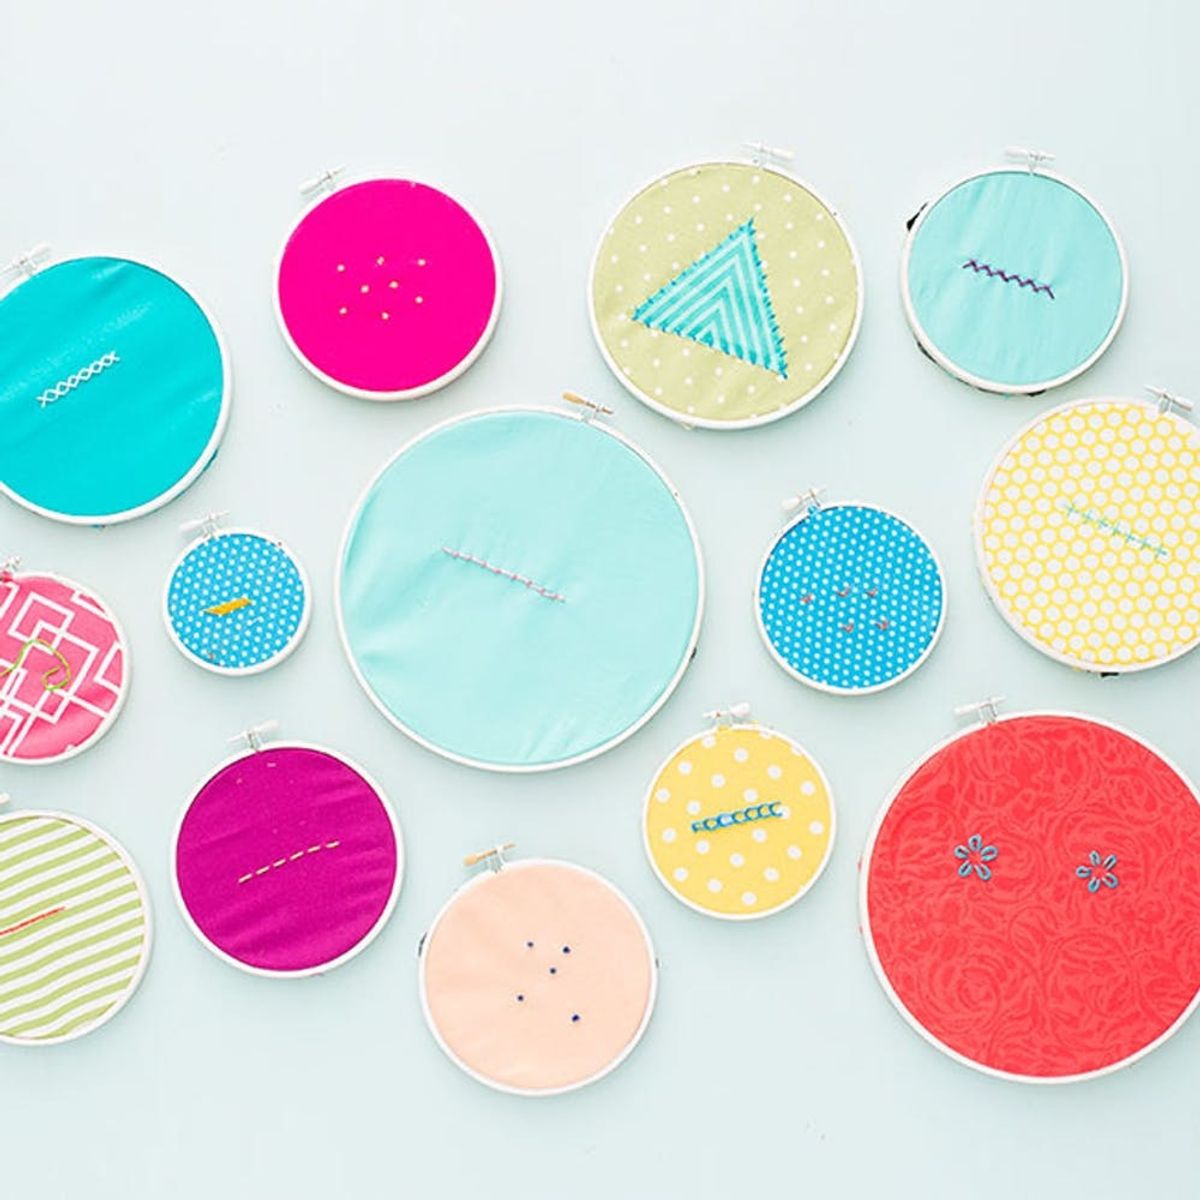
Ever wanted to know how to make the most common stitches?
Your Handy Dandy Pocket Book of Stitches


With the emergence of sites like Pinterest, YouTube and of course, Brit + Co, aspiring makers from around the world have been able to search for any project they want to make and learn the basics. Here at Brit + Co HQ we are excited about the idea of sharing comprehensive guides for different crafts, like 20 Anthropologie Hacks or 20 Ikea Lighting Hacks. Aside from roundups, we are dipping our toe in the water creating illustrated guides. Have you seen our gem guide?! Today we’ve got a printable guide for all you endeavoring embroidery masters. It even folds up into a perfect little booklet! Check out 14 of the most common stitches below.


1. Running Stitch: Working from right to left, make stitches in a straight line, with small spaces between each stitch.


2. Split Stitch: Working from left to right, start each stitch by splitting the center of the previous stitch.


3. Whip Stitch: Lay two pieces of fabric flush with each other. Bring the needle up through both pieces of fabric, then down and through at a diagonal on the opposite side.

4. Couching: Make one long stitch along your line with thick thread. Using thinner thread, make a tiny stitch over the thick thread and end close to the entry hole to anchor the thick thread in place. Repeat at even distances.

5. Chain Stitch: Working from right to left, make a loose loop with your thread, stitching back down right next to where you started. Make another loose loop, starting and ending inside the top of the first loop.


6. Stem Stitch: Working from left to right, make a stitch at a deep angle. Start each stitch slightly above the previous stitch. Make sure there are no spaces in between.

7. Herringbone Stitch: Moving from left to right, stitch up at a 45 degree angle. Move your needle slightly to the left and stitch down at another 45 degree angle to make an elongated cross stitch.


8. Upright Cross Stitch: From left to right, make a horizontal stitch. Then make a vertical stitch over the center of your first stitch. Repeat with no spaces in between each cross.

9. Cross Stitch: Working from left to right, stitch up at a 45 degree angle. Repeat with spaces between each stitch. When you reach the end of the seam, stitch back from right to left, making perpendicular crosses.


10. Coral Stitch: Working right to left, thread the needle at a perpendicular angle to your seam and bring its tip back through just below. Wrap the thread around the needle from left to right and pull the needle through the resulting loop.

11. French Knot: Bring your needle and thread through the fabric. Wrap your thread tightly around the end of the needle twice, then insert the needle close to your first stitch and pull through.

12. Seed Stitch: Make two small, straight stitches side by side. Repeat at random to fill an area.

13. Fly Stitch: Make a loose stitch, then tack down the base of the stitch to make a “V” shape.


14. Lazy Daisy Stitch: Create petals by making a loose stitch, then tack down the top of the petal with a small stitch. Repeat for each petal.


Now that you’ve seen these stitches in photo form, we’ve got the booklet to share with you.

First you need to print out the Brit + Co printable.

To create the booklet, cut it out. Then slice along the dotted lines using an X-acto knife and cutting mat. Accordion fold the booklet lengthwise with the graphics facing in. Push the outer pieces together creating a fold that stands up in the middle. Fold over one side to the right and the other to the left. Then fold the booklet in half and in half a second time to create a book. Repeat this with your second page.

Lay one booklet inside the other making sure the cover and back are on the outside of the booklet. Then stitch in place!

There you have it! A little pocket stitch book with everything you need to start your new embroidery hobby :)
What other illustrated guides would you like to see? Let us know in the comments.


