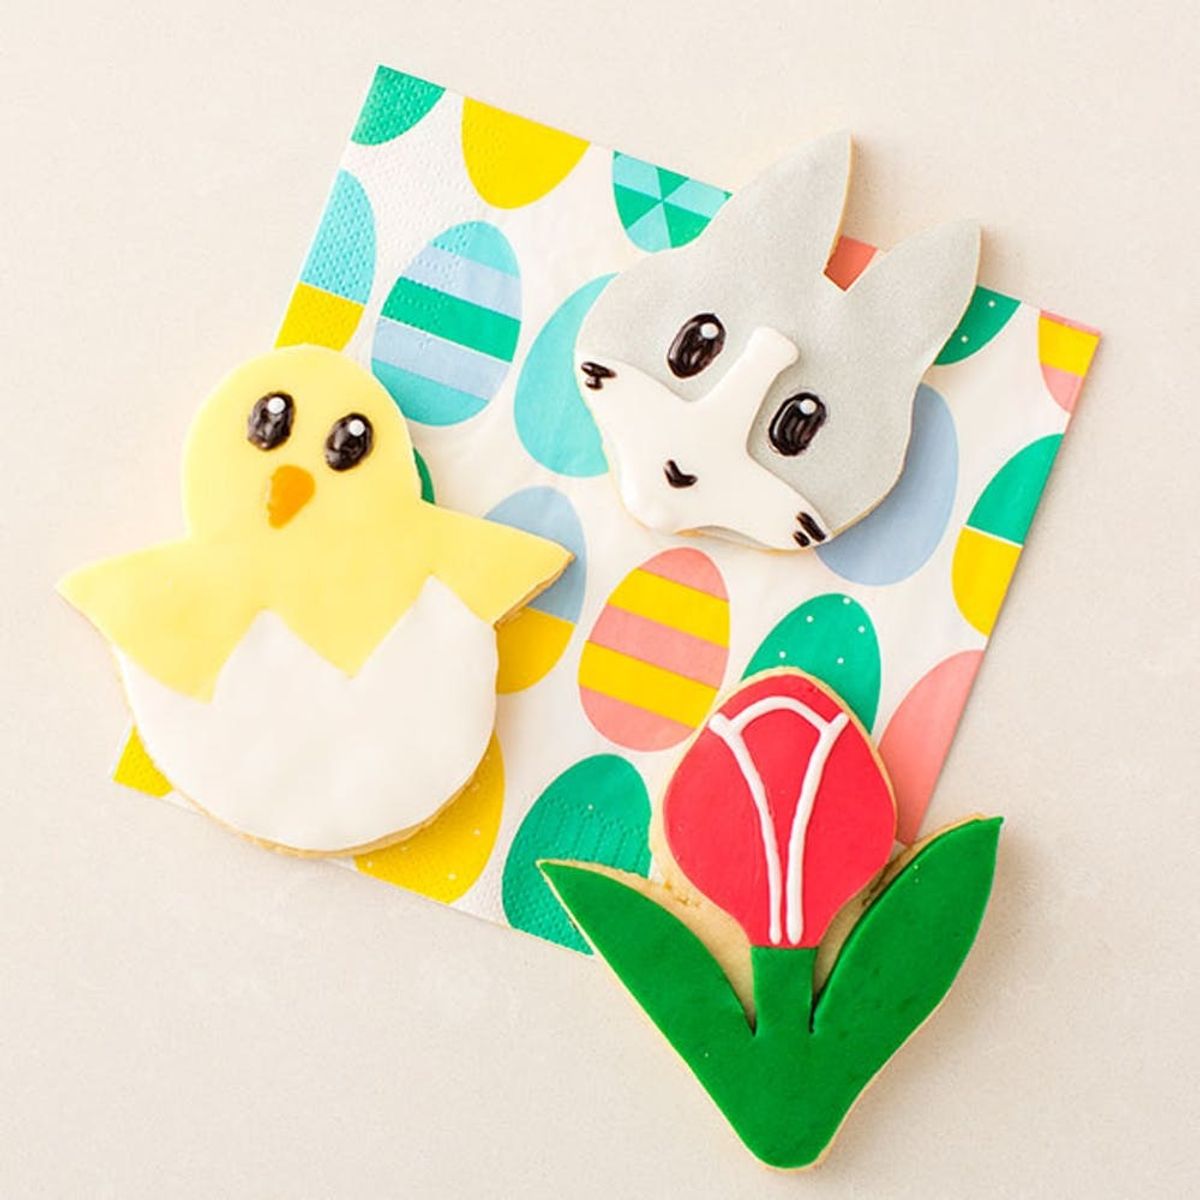
Step aside, royal icing — we’re using fondant.
Make This Emoji Cookies Recipe for Easter

Emojis are not only a top communication method, but they’re also appearing all over the place in fashion, home goods and baking — especially in sugar cookies. It’s hard to find an emoji cookie that Baked Ideas hasn’t already tried! Since most emoji cookies are created by piping royal icing onto a sugar cookie, today we thought we’d try a different technique: fondant. We know, fondant gets a bad rap for being difficult to use, but when it comes to topping cookies, it’s easy as pie. So, in honor of the upcoming Easter holiday, we’re making a chick, a bunny and a tulip for a photo-worthy Easter dessert.
<br/>
 — sugar cookie dough (recipe of your choice)

— white, magenta, green and yellow fondant
— silver edible decorating paper
— white, black and orange decorating gel
— skewer
— Q-tips
— clean X-ACTO knife
— rolling pin
— scissors
Find your favorite sugar cookie recipe, and make the dough.

When it’s ready, roll it out on a floured surface and then grab a skewer. Though cookie cutters are much easier to use, we decided to draw the shapes of our emojis to get them just right. Either print out your emojis or look at your computer screen while you draw the outline. You can practice on paper first to get the feel of it, but that’s also why we’re starting with the skewer. Lightly draw on the dough so that you can “erase” any marks you don’t like by smoothing the dough with your finger. Once you’re happy with your designs, slice them with a clean X-ACTO knife. Bake your cookies according to the directions from your recipe.

When the cookies are baked and cooled, bring them back over to your work area. Now, it’s time to get out the fondant. Warm it up by kneading it in your hands. Then place it on a clean, flat surface and roll it out to approximately a quarter-inch thickness.

For the chick, start with the yellow fondant. Place the cookie on top, and outline the head and arms of the chick using your X-ACTO knife. Lift the cookie, and then free hand the zig zag that will serve as the top of the cracked shell. Roll out your white fondant, and place the cookie on top. Outline the bottom of the arms and the egg shell. Remove the cookie, and then place the yellow fondant on top of the white. Cut along the zig zag to create a perfect fit. Set both pieces of fondant on top of your cookie. You can adhere them with a bit of water or — even better — a bit of decorating gel.
For the flower, we’ll follow a similar process. Roll out your green and magenta fondant. Place the cookie on top of the magenta fondant, and outline the bloom. Approximate the neck of the bloom, and cut it where you see fit. Next, outline the leaves on top of the green fondant. Our cookie was a little bit bulky in this section (which was necessary so that the cookie wouldn’t break), so we cut the fondant to look more like the actual emoji than the outline of the cookie. When we placed it on top, we could see some additional cookie poking through, but we think that’s what looks best!

For the gray part of the bunny, we’re using silver edible decorating paper. This stuff is crazy! You can simply cut it into any shape with scissors. Trace your bunny using the skewer (to make an indentation you can follow), then cut it out and adhere it to the cookie with decorating gel. Eyeball the muzzle of the bunny, and cut it out of white fondant with your X-ACTO knife.

Time for the details! Using decorating gel, add faces to your bunny and chick and a few lines on your flower to make the petals pop. Again, keep peeking at the emoji on your screen (or paper) to help you get it right. This part is a little tricky, but don’t worry — if you mess up, just wet a Q-tip and erase your mistakes. Keep at it until you’re satisfied with your cookies.

And now presenting…
The emoji chick…

The emoji flower…

And last but not least, the emoji bunny!

These guys sure do look great in an Easter basket, though :)


