Never forget your essential items again with this entryway organizer!
This Easy IKEA Hack Is Your Next Organizational Update
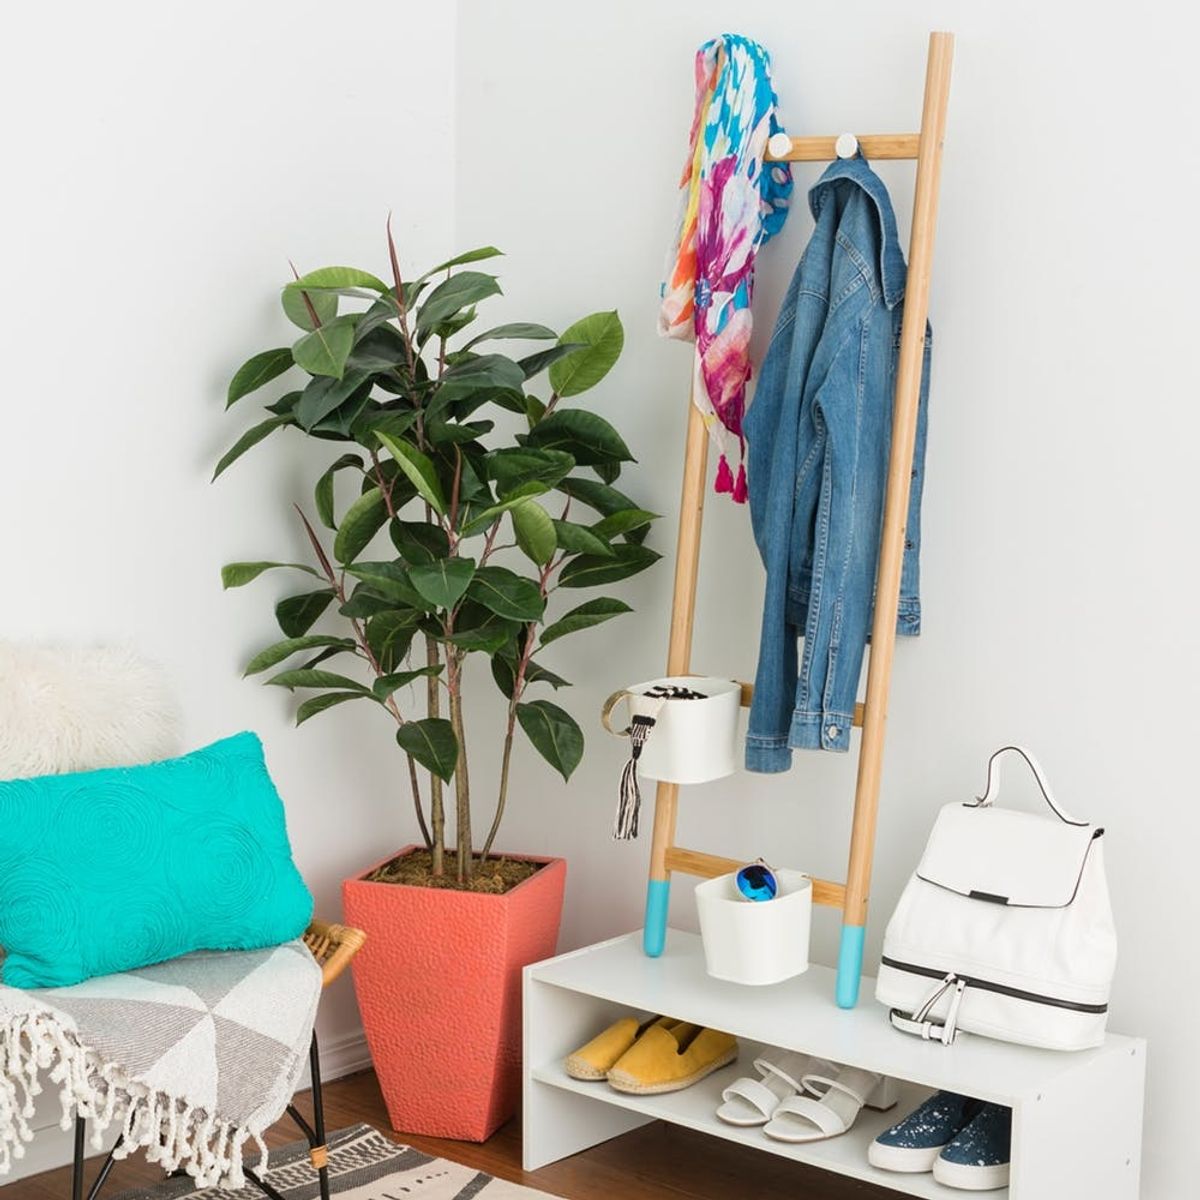
We all know this feeling… you’re heading out the door, walking to the car or down two blocks, having this *gnawing* sensation that you’re missing something but can’t exactly pinpoint what that something actually is. Then suddenly, the sun hits your face and you realize it’s a pair of sunglasses, or your arm feels lighter and you realize it’s your gym bag.
If you’re like me, this happens to you maybe once a week. But today it ends, with the perfect IKEA hack: a simple entryway organizer! Follow along to see how I turned the SATSUMAS Plant Stand ($40) into a life-saving organizer for my apartment.
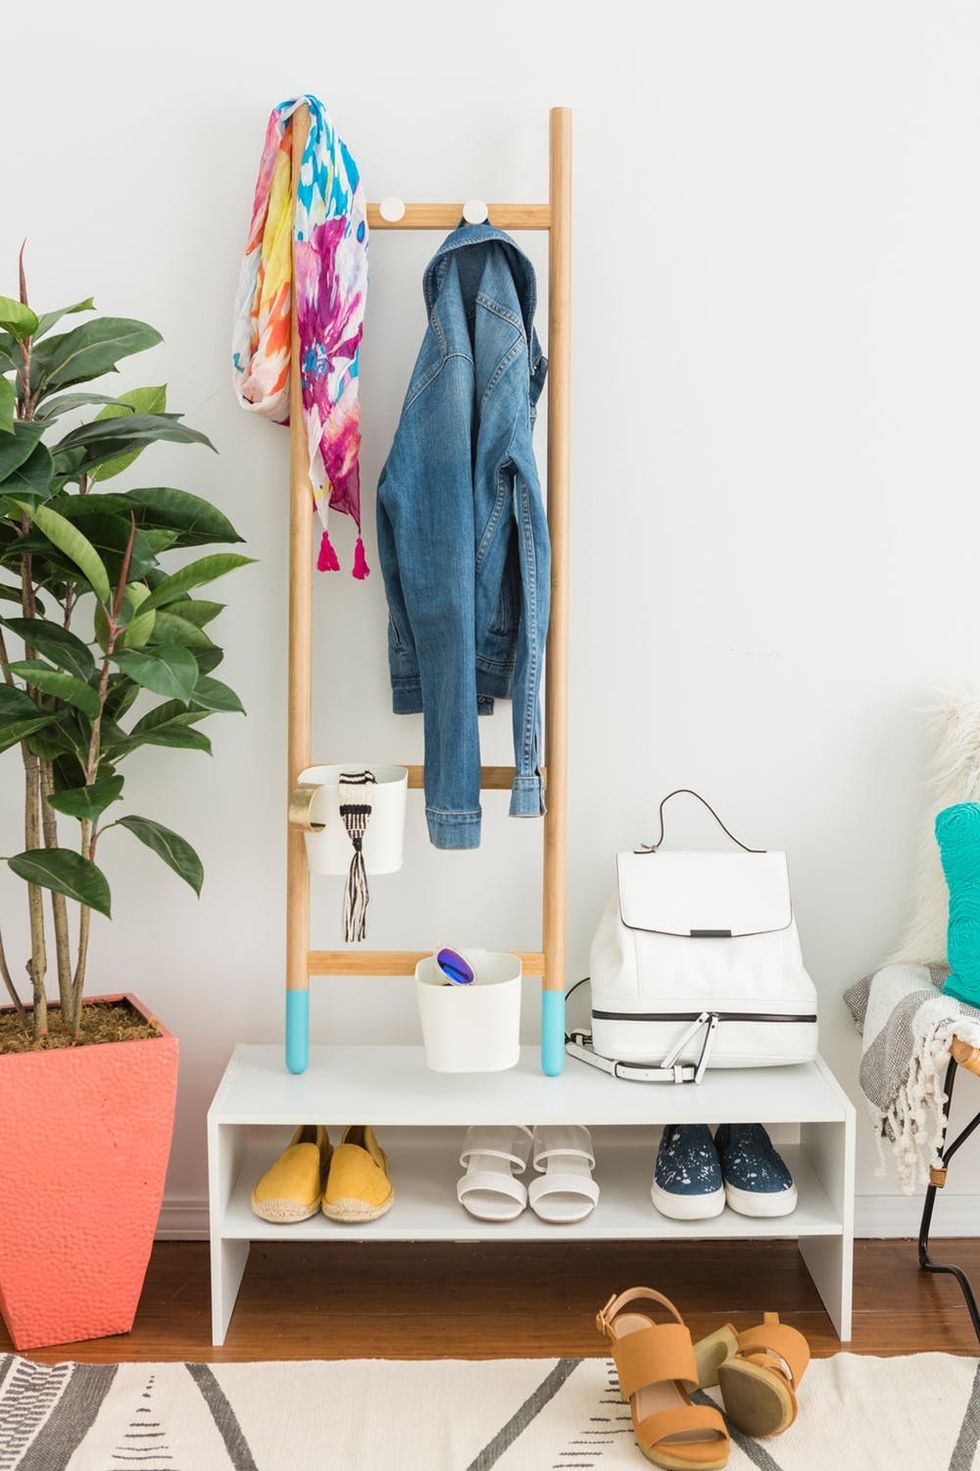
Trust me: You’ll be walking out the door with confidence every time!
Materials and Tools:
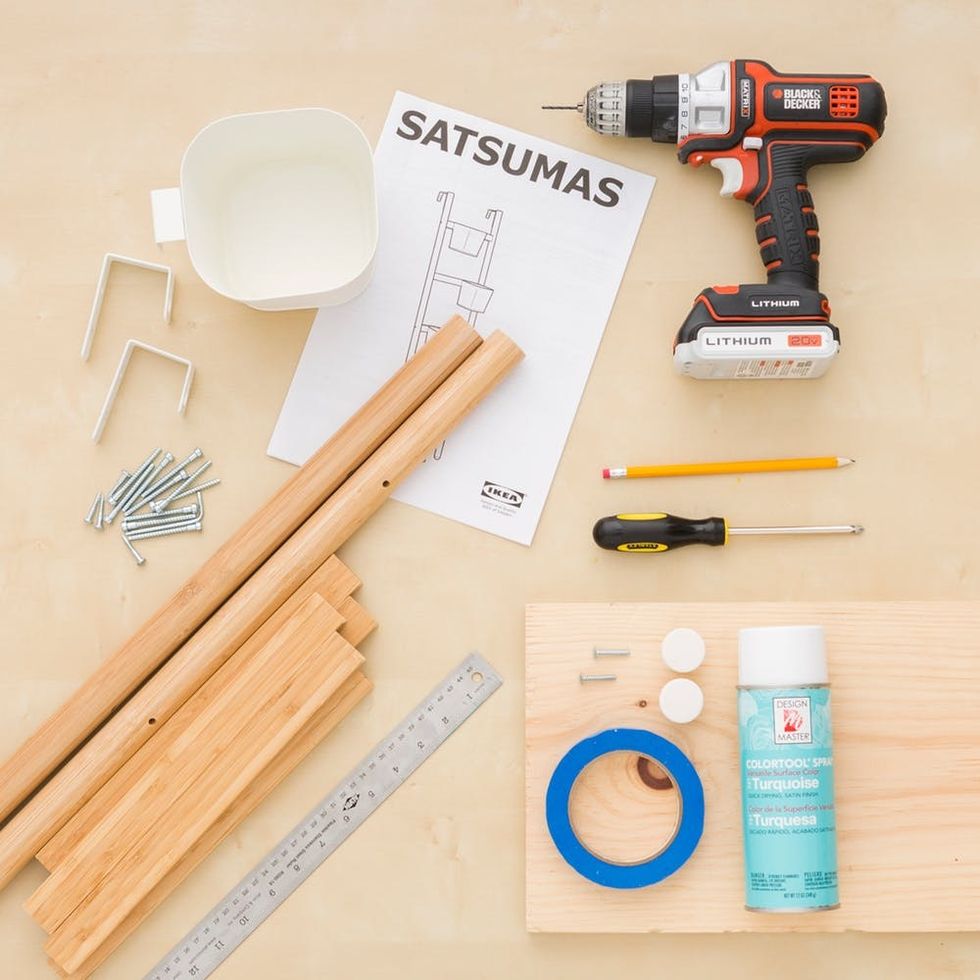
Instructions:
- Measure 4 inches and 8 inches down one of the horizontal ladder pieces.
- Carefully drill holes at those marks.
- Insert the knobs with the screws provided in the packaging.
- Continue building out the ladder by following the booklet instructions.
- Make sure the piece with the knobs is at the top of the ladder. Attach 2 more bars at the bottom of the ladder.
- Add a pop of color with the turquoise spray paint. Tape off the ladder legs with painter’s tape for a dipped-dyed look. Let dry for 1-2 hours.
- Prop the ladder up and add on two of the plant pots for some organizational bins.
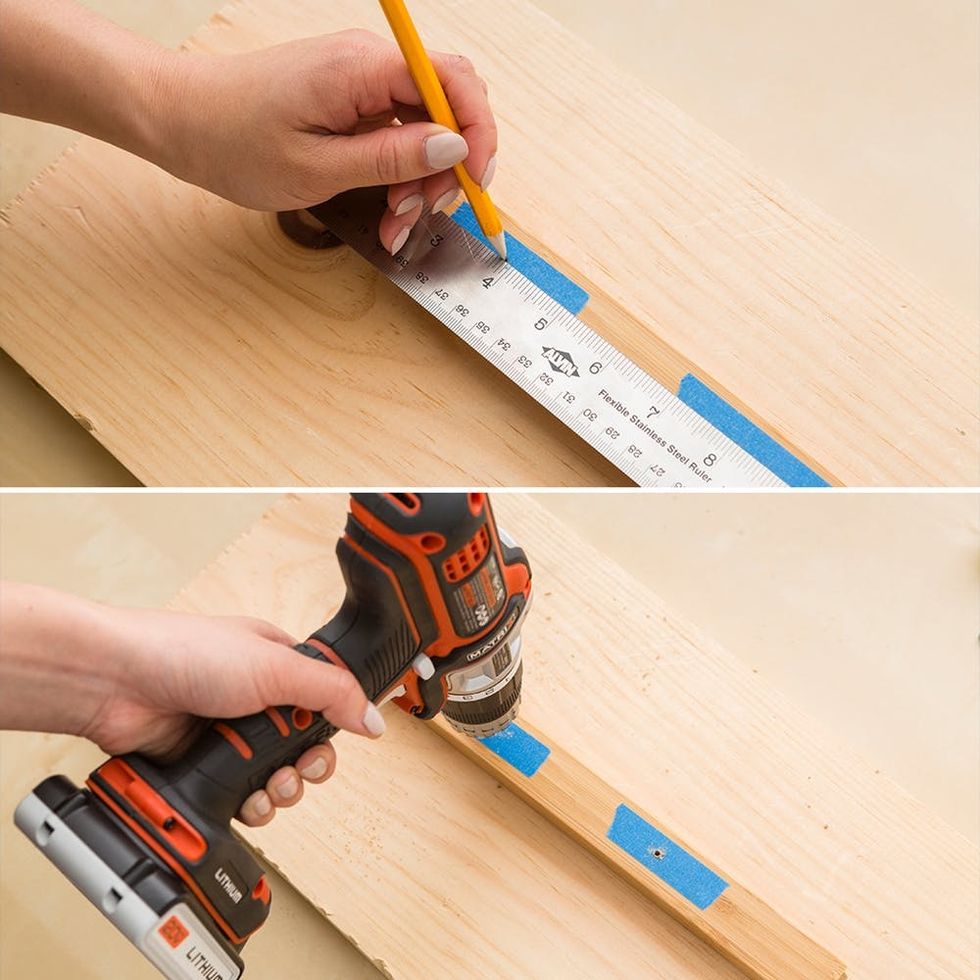
Start off with the ladder piece that your knobs will insert into. Tape down the piece to prevent drill damage and place it on top of the wood plank. Measure four inches and eight inches down the piece, and carefully drill holes at those marks.
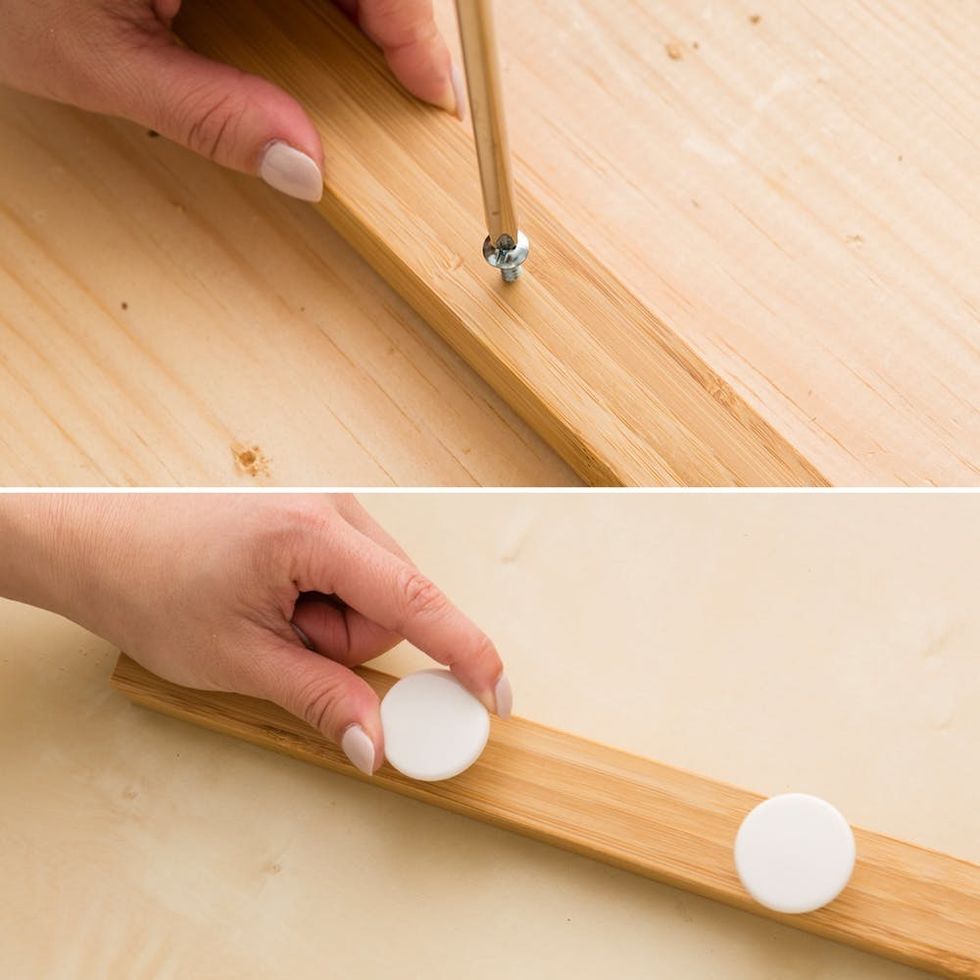
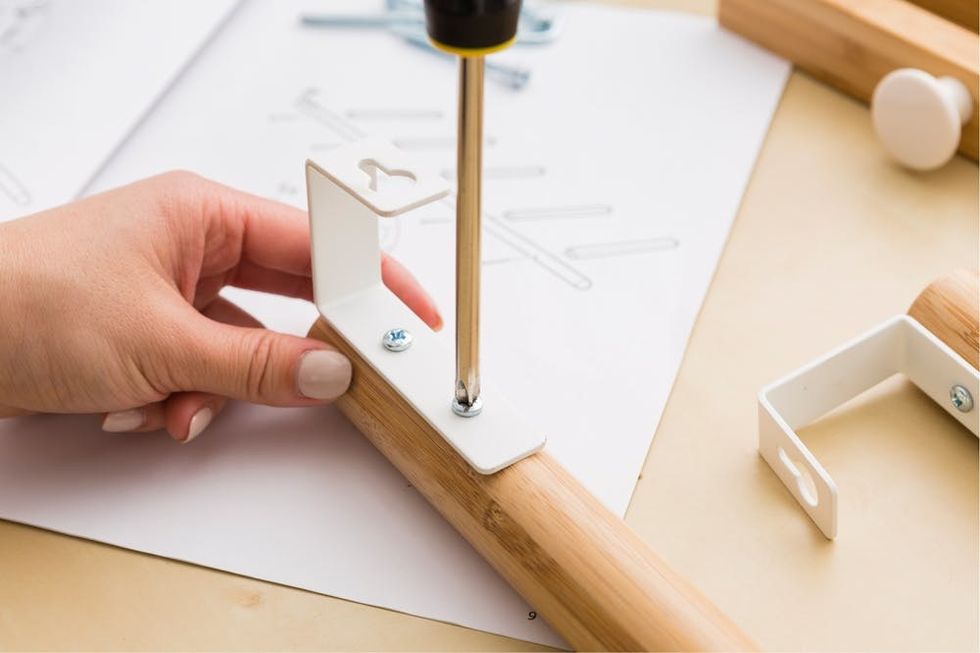
Insert the knobs with the screws provided in the packaging.
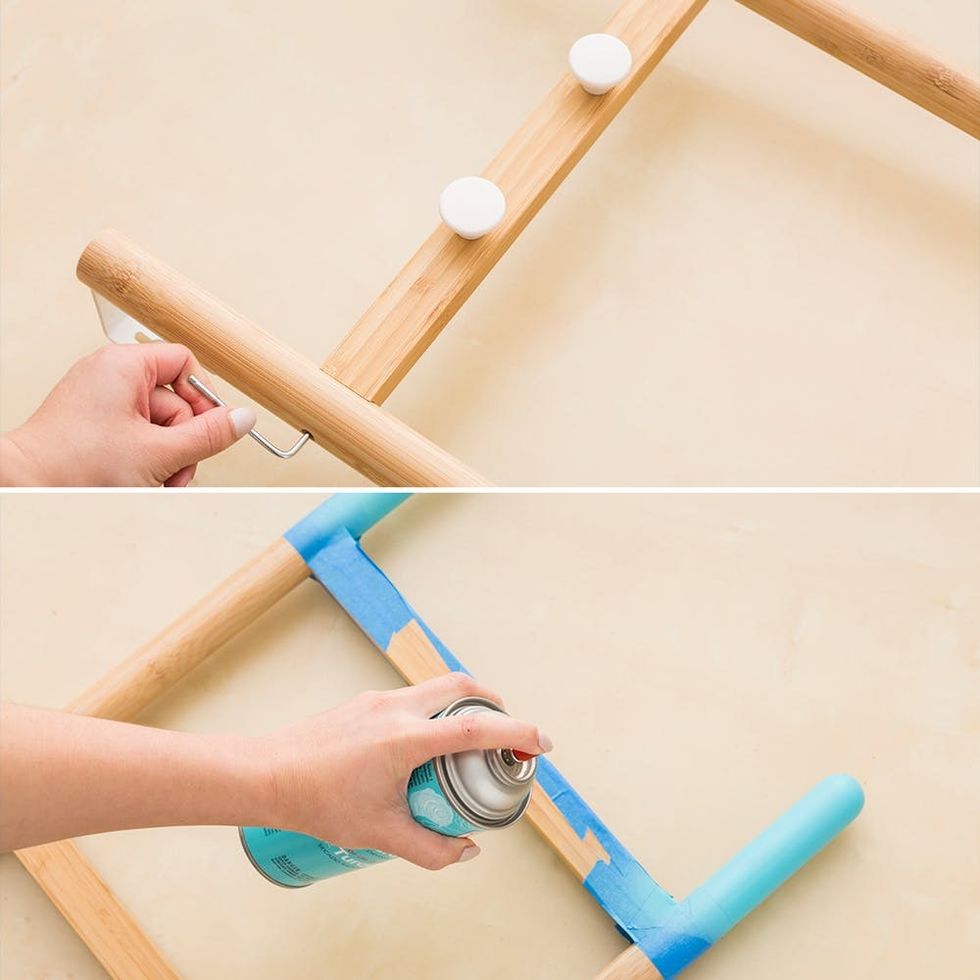
Make sure the piece with the knobs is at the top of the ladder. Attach two more bars at the bottom of the ladder. I only used three of the five horizontal bars provided, but feel free to do your own combination.
When you’ve finished building the ladder, add a pop of color with the turquoise spray paint. We taped off the edges with painter’s tape and sprayed the ladder ends for a dipped-dyed look. Let dry for 1-2 hours.
Pro Tip: IKEA furniture sometimes comes with faulty pieces. Make sure your side holes are deep enough for the screws to enter. If not, just use your handy dandy drill to make the screw holes deeper :)
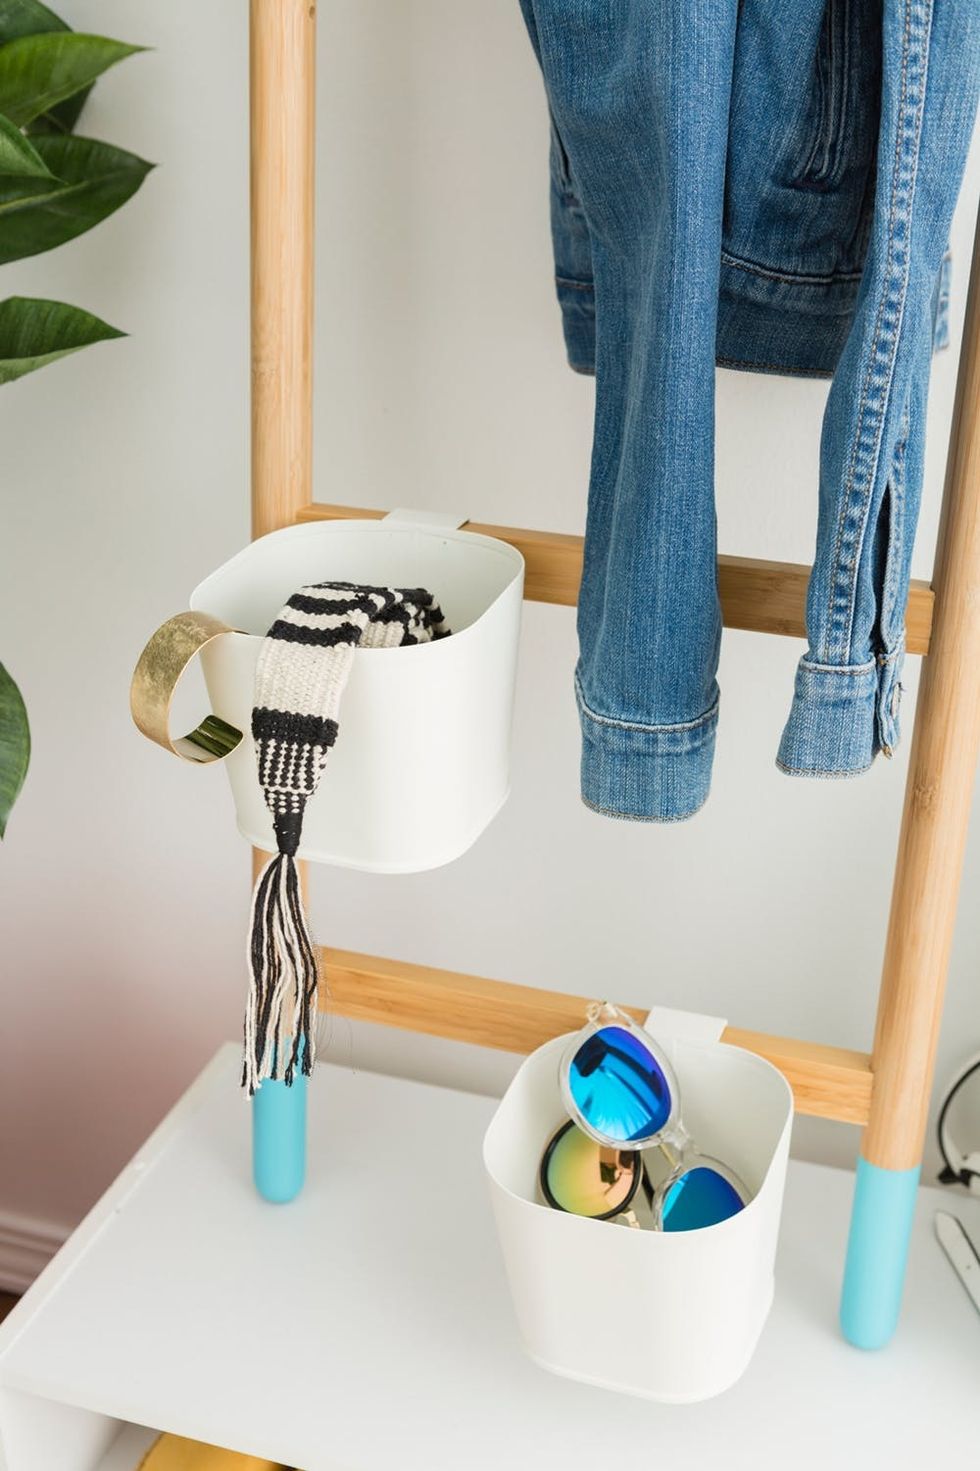
Prop up the ladder and attach two of those plant pots for some organizational bins. Use them to store your essential accessories. I don’t know about y’all, but I’m always forgetting sunglasses.
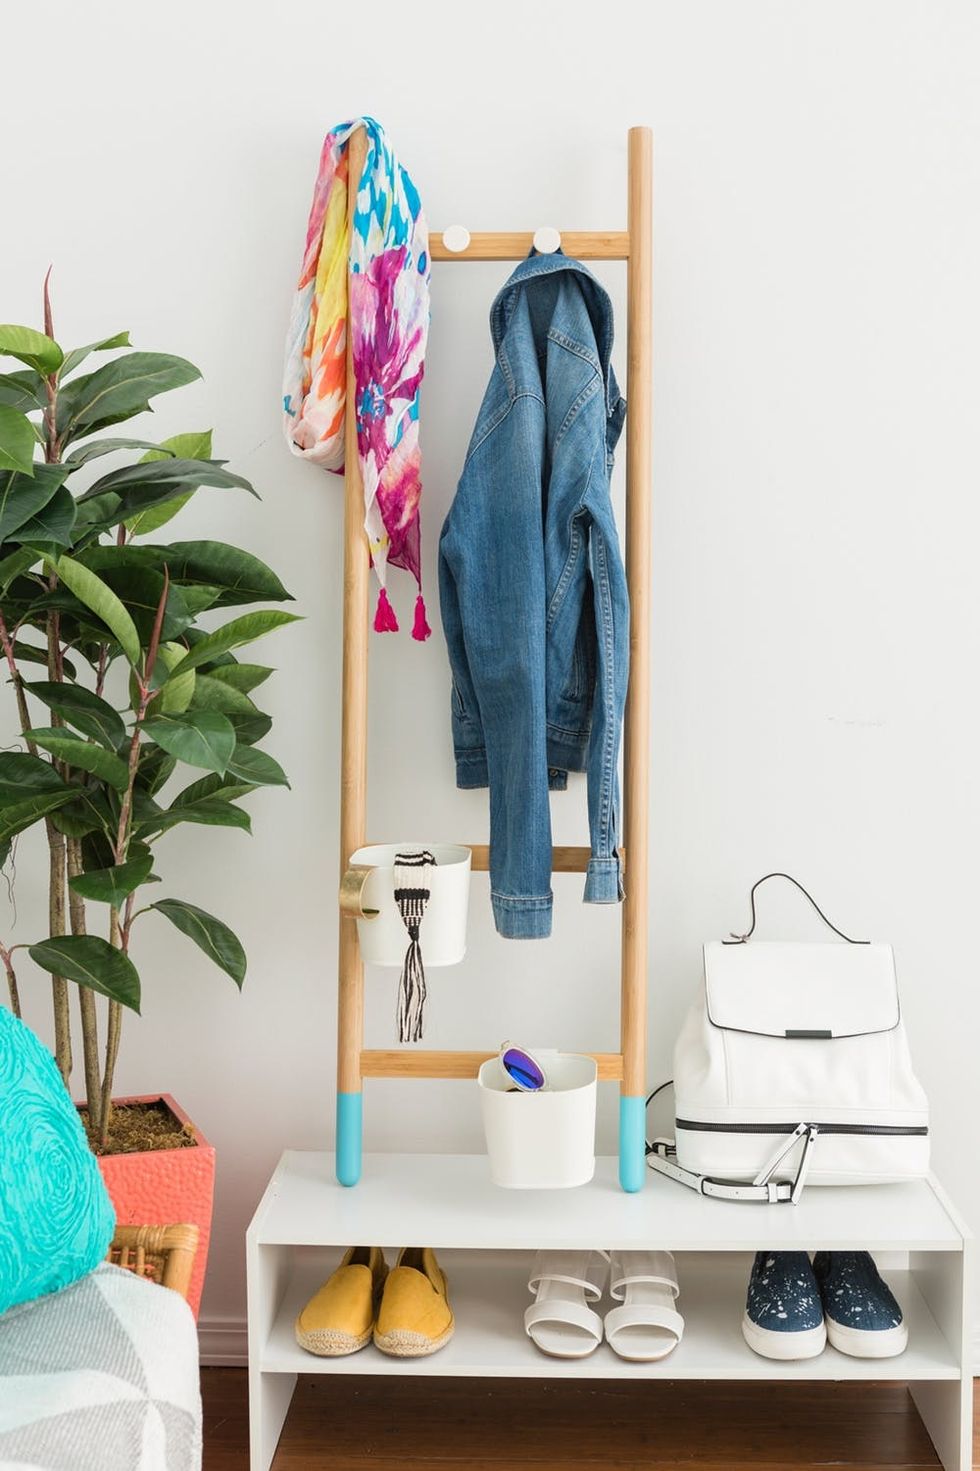
Hooray! You’ve got yourself an entryway organizer!
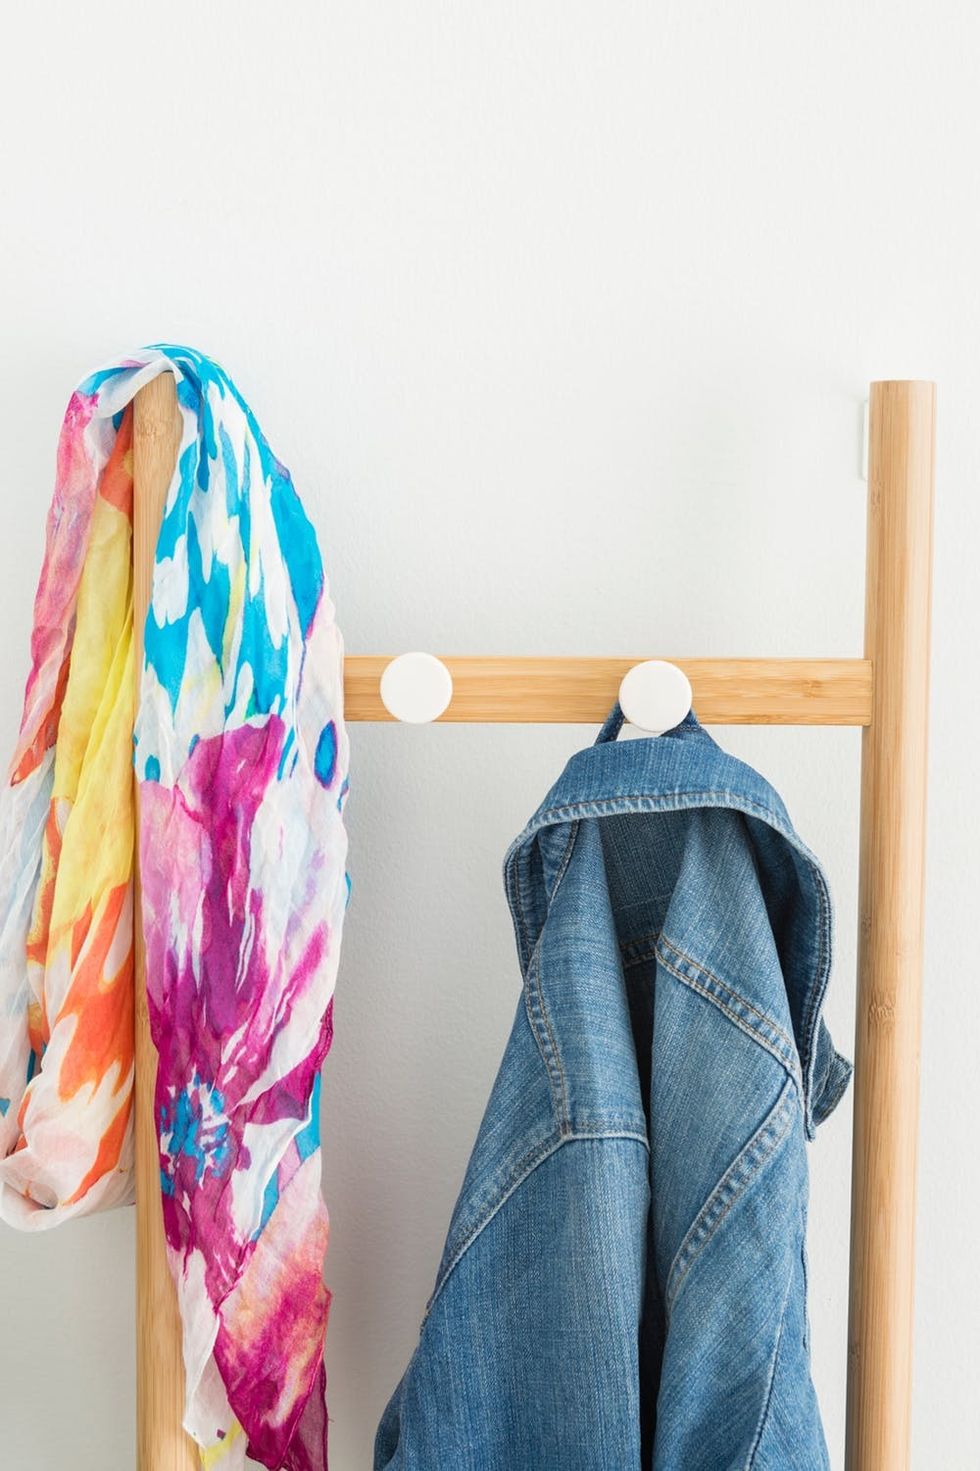
Hang up your favorite jacket and a scarf or two for easy access on your way out the door.
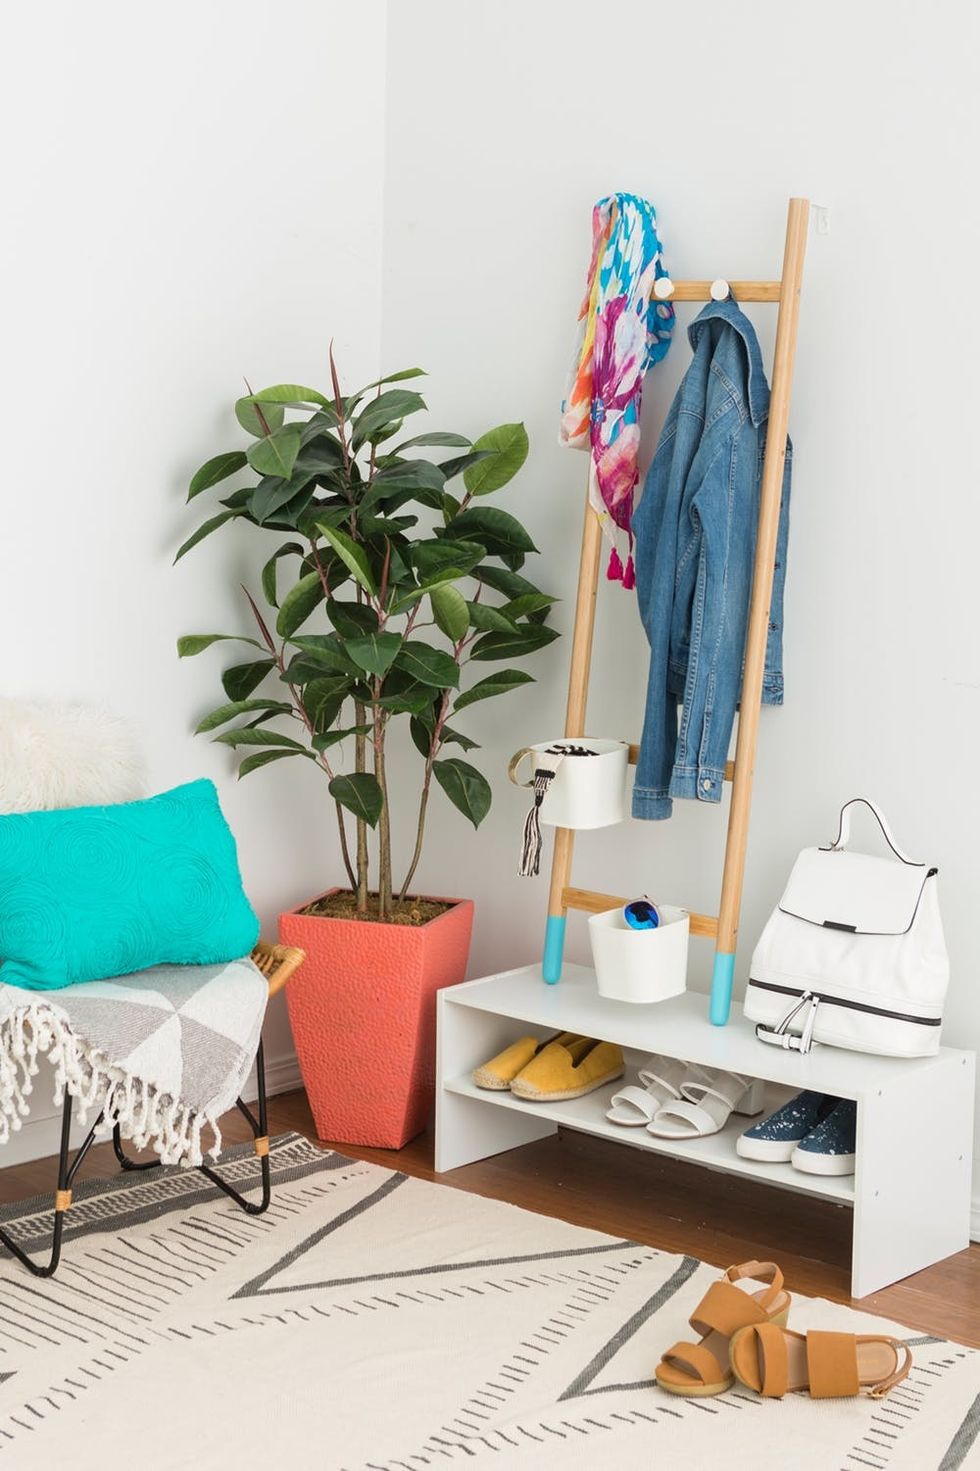
Have fun and make it homey with a cute stool and some pillows. Now that’s a *cozy* entryway nook!
Show us your DIY home projects by tagging us on Instagram + using hashtag #iamcreative, and check us out on Pinterest for more IKEA hacks!
DIY Production and Styling: Karen Pham
Photography: Brittany Griffin
Brit + Co may at times use affiliate links to promote products sold by others, but always offers genuine editorial recommendations.


