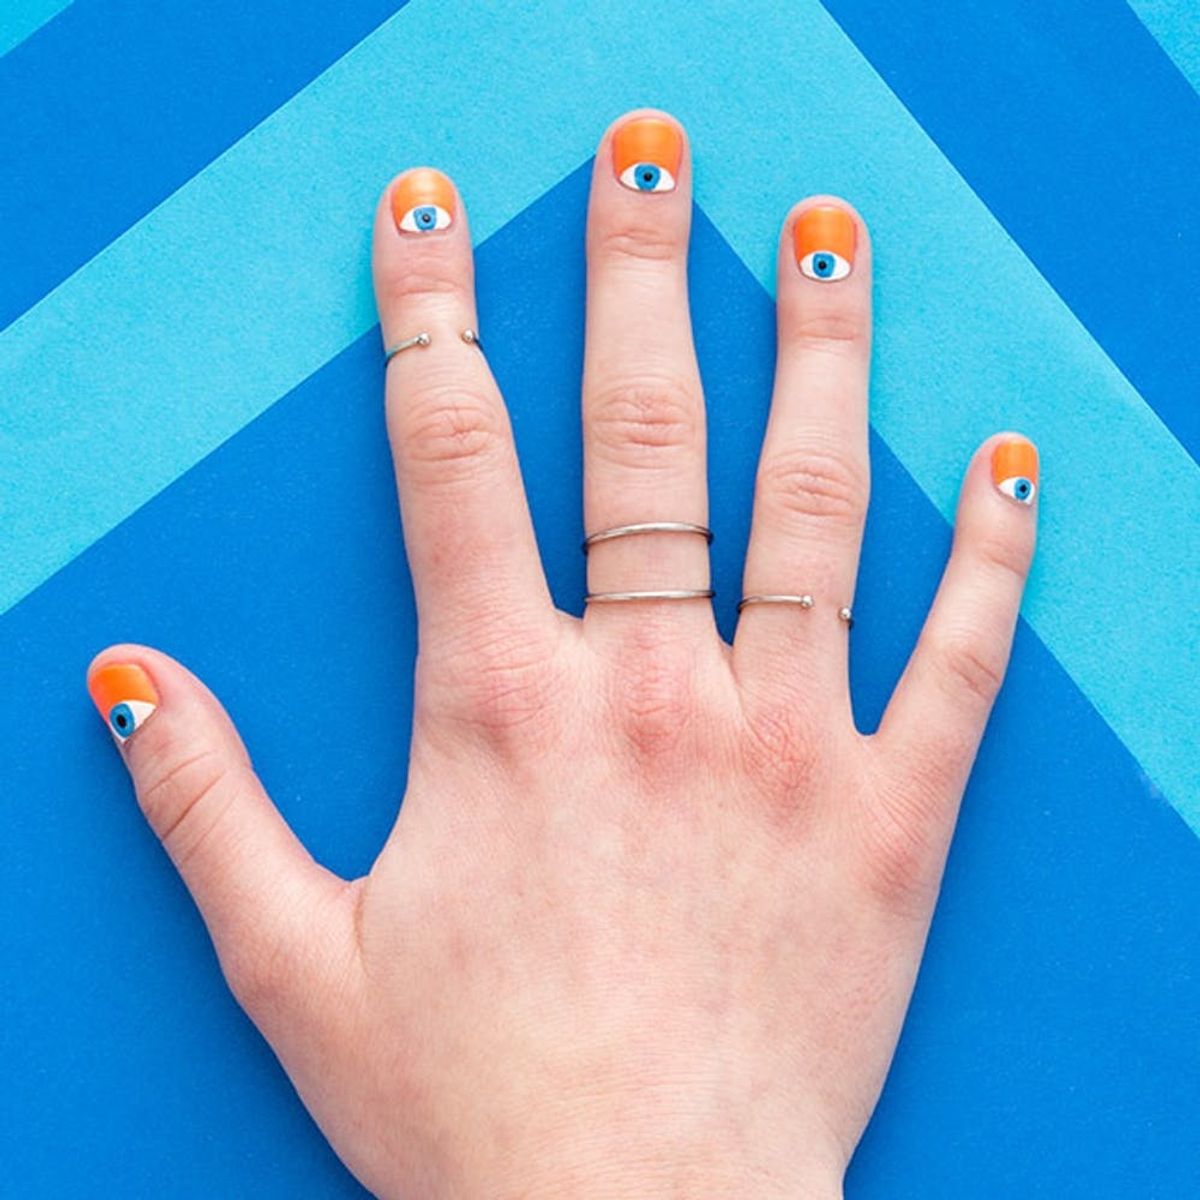
Now you can keep an eye on absolutely everything ;)
These DIY Evil Eye Nails Take Half Moon Manis to the Next Level

We’ve been seeing a lot of eye designs around lately, and we can’t get enough! From jewelry to sweatshirts, eyes are everywhere, and we’re not mad about it. If you’re looking to experiment with this fun trend, look no further than your own fingernails. Not only is the design super cute, it’s an easy way to take a half moon mani to the next level.
Many cultures believe that wearing eyes protects you against the evil eye that causes misfortune. Once you try this nail tutorial, you’ll have ten hater-blockers on you at all times!
Materials:
– base coat
– bright coral polish (I used Bikini Coral by Floss Gloss)
– white polish (We love Alpine Snow by OPI)
– bright blue polish (I used No Room For The Blues by OPI)
– black polish (We love Black Oynx by OPI)
– topcoat
Tools:
– thin striper brush
– dotting tool
Start by applying a base coat on your nails. Then, apply two layers of bright coral polish on all of your nails. You can use any base color you like, but we love using bright coral for spring and summer. Once the base color is dry, use your striper brush to paint a white semi-circle at the base of each nail. To make it easier to apply evenly, draw a line near your cuticle to create the base, then add the semi-circle to the top (or if you can’t freehand, use hole binding stickers to create your half moon mani! Just reverse the order of the color you paint your nails.) Once the white polish is dry, use your striper brush and blue polish to paint a circle in the middle of the white semi-circle.
Once the blue polish is dry, use the dotting tool and the black polish to add dots in the center of the blue circles. Pro tip: Use light pressure when you’re painting the dots — you don’t want to dent the base layers of polish! Once everything is completely dry, top it all off with your favorite topcoat.
Now you can keep an eye on absolutely everything ;)
What’s your favorite nail art to DIY? Tell us in the comments below.


