Combined, these two products basically guarantee to give you next-level DIY brow shaping skills.
Eyebrows 101: Your Guide to DIY Brow Shaping
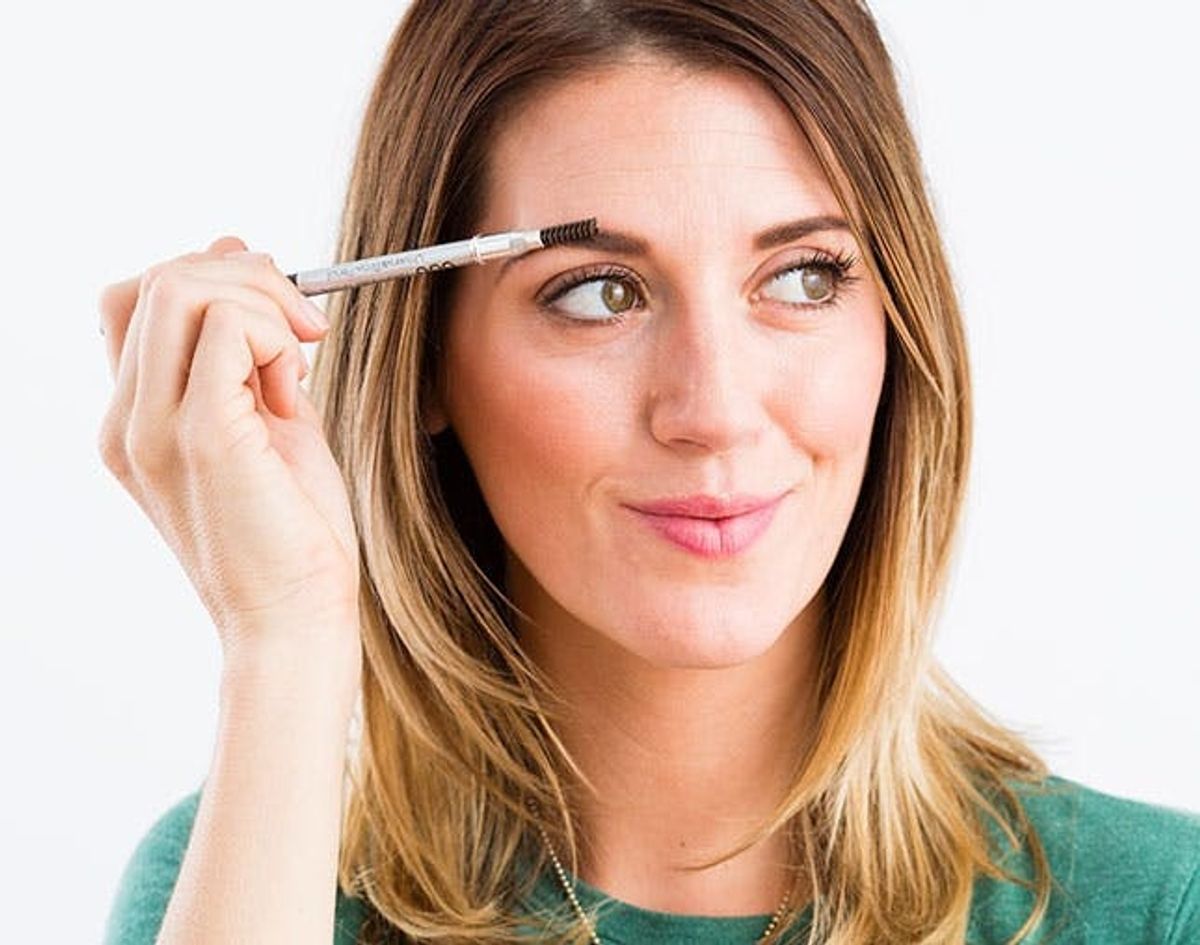
In the ‘90s we plucked them to bits. Now, Cara D. is the poster child for beautiful brows. And really, we can’t even imagine what brow trend will take off next! All we know is that fads for these face framers will always come and go, so rather than be concerned if you have too much or too little in the brow department, try focusing on what eyebrow shape works best for you! That’s just what we’re experimenting with here — no wax or threading in sight (phew!). Instead we’ve found two amazing eyebrow shaping tools that can help you finesse your features like a pro.
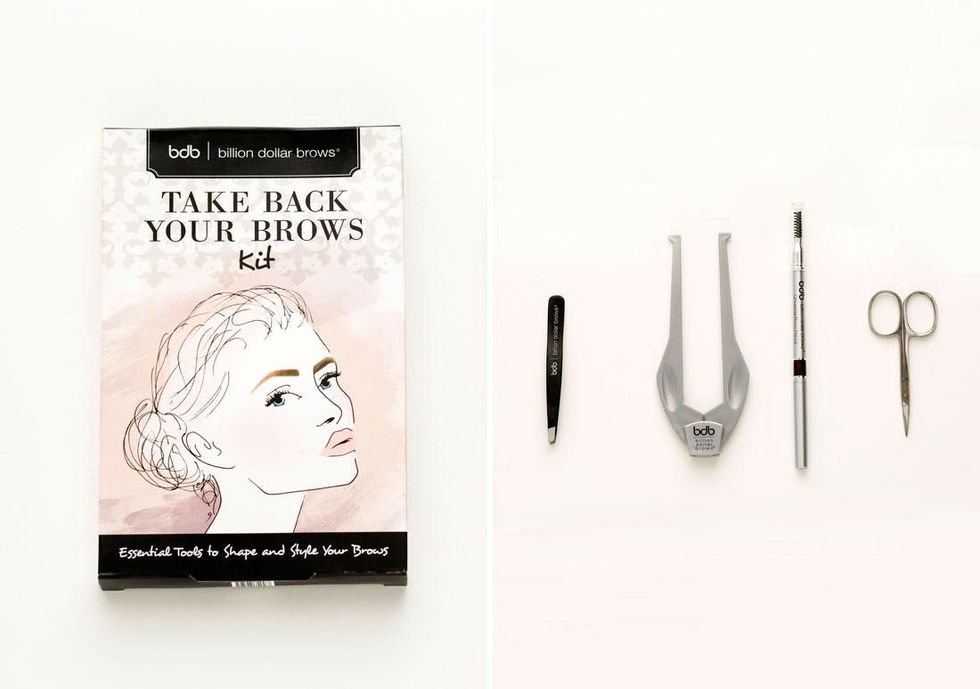
One is a crazy looking contraption that helps you map exactly where to pluck and the other is a stencil pack that lets you draw on whatever shape you fancy. Combined, these two products basically guarantee to take your DIY brow shaping skills to the next level. Scroll through to see just how to use them, and how they worked for me!
<em>that</em>
 are going to look ridiculous, but trust that it will end well — as you’ll see on me, it totally did.
Refine With a Beauty Compass
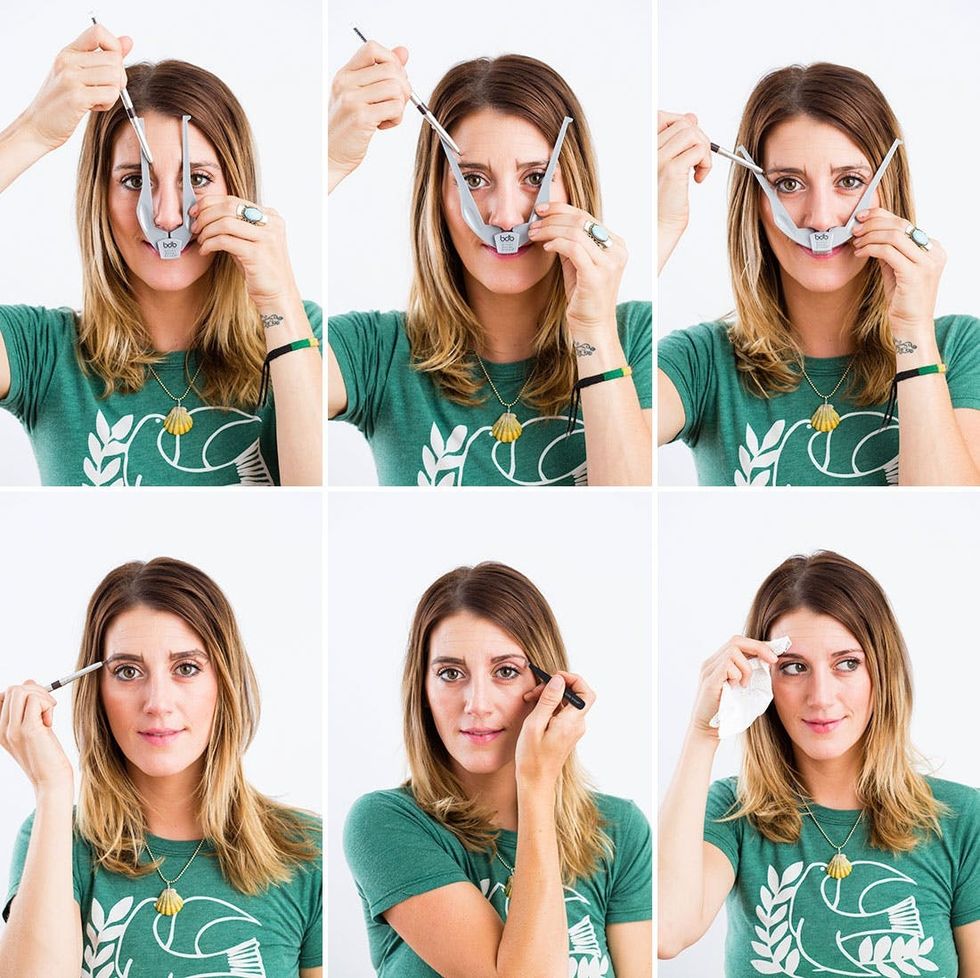
1. Take the BDB tool and set it directly under your nose so that the inside edges of this crazy-looking device hits the outside of your nose. Then using the pencil that comes in the kit, draw lines on the inside of the tool to mark the point where your eyebrows should begin.

2. Next open the tool until the inside of the tool hits the outside corner of the colored portion of your eyeballs and draw another mark on the inside of the tool. This is the point where your eyebrows should arch.
3. Finally open the tool to the outside corner of your eyes and draw another mark on the inside of the tool to plot where your eyebrows should end.
4. Now gently sketch a line that connects all of the marks using the edge of your brows as a guide (This is going to look INSANE BTW… but trust me it will be amazing!!!).
5. Now if you are a total baby like myself, this part is gonna suck, but beauty is pain right?!?! Okay, so now you pluck! Be careful only to pull out the hairs that are on the lines that you drew and outside of it. It feels totally weird and as if you are about to have bald eyebrows, but as long as you tweeze within the guidelines, you are money.
6. Use a wet towelette to gently wipe off any residual lines from the pencil… go ahead and wipe away your tears as well while you are at it!
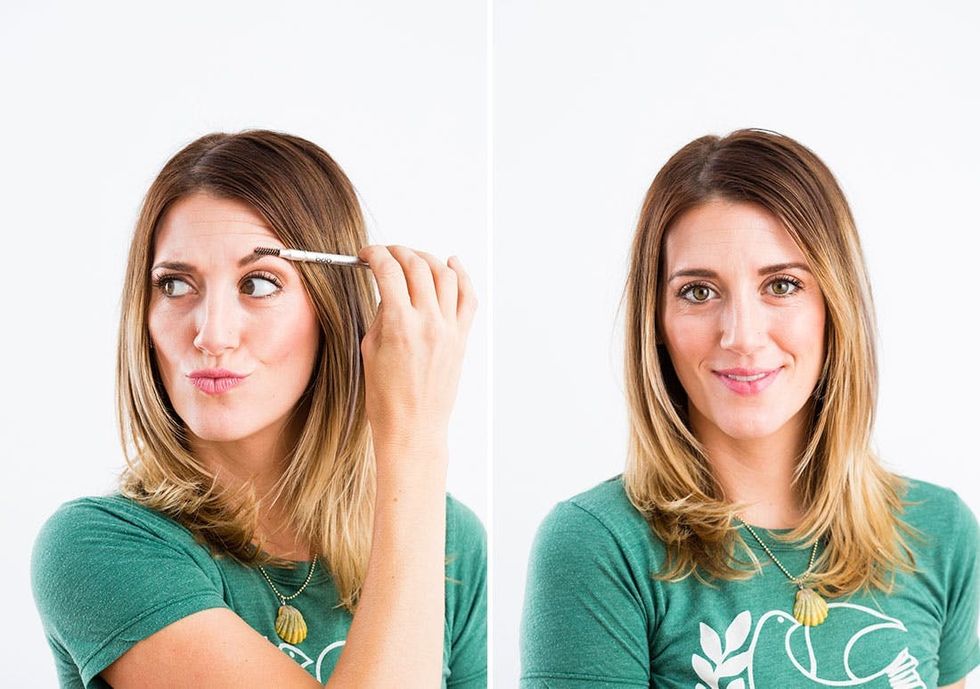
See, the before and after is subtle, but you can see that my brows in the final look nice and polished. So yes, totally worth drawing wildly all over your face for this refined result!
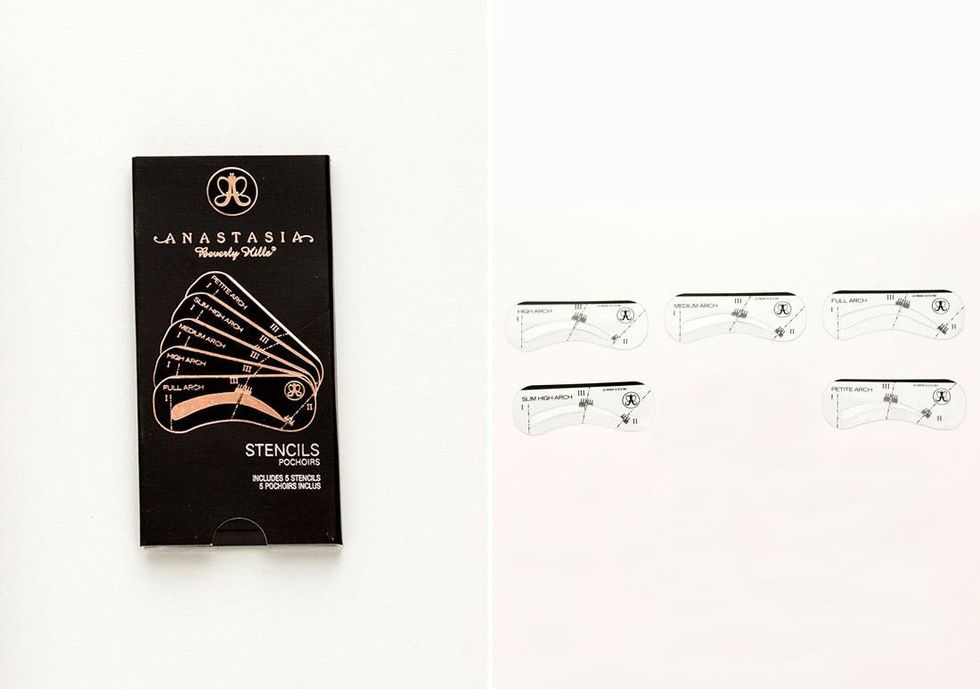
If you have ever had a makeup artist reshape your eyebrows there are literally only two reactions: 1) This is amazing and I am obsessed with this look but have NO clue how they did this. And 2) WTF??!?! NO!!!! Needless to say eyebrow enhancement can be a risky process, but these stencils make doing so simple + stress free.
Reshape With Eyebrow Stencils
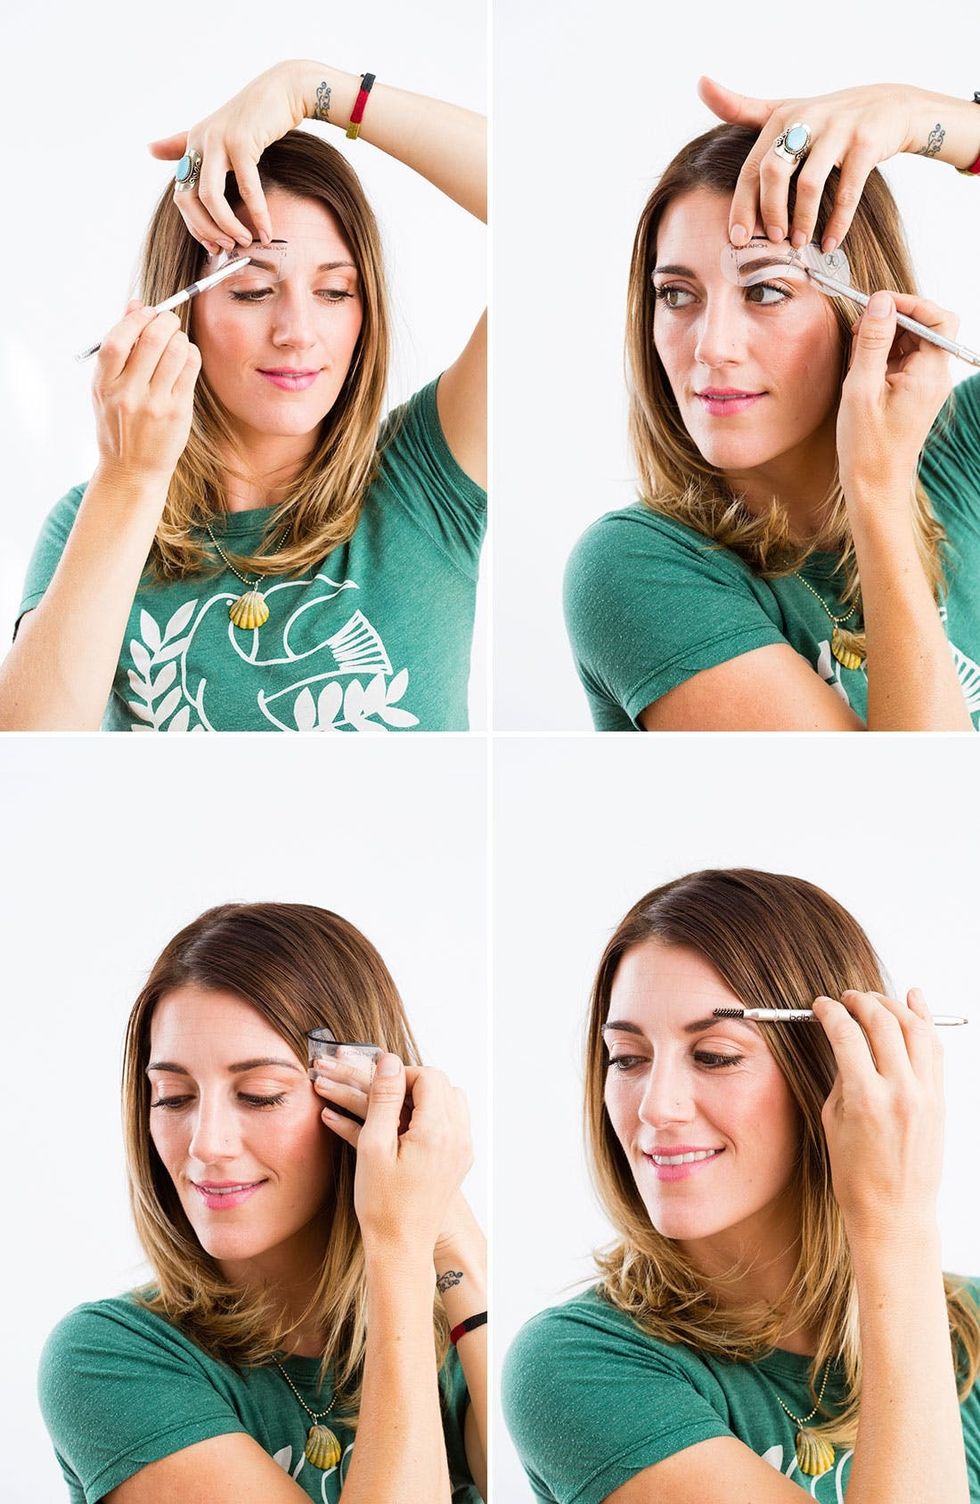
1. Line up the dotted line on the inside of whatever stencil you choose with the inside corner of your eye — I’m using the high arch version here. The center line should hit outside the colored part of your eye, and the outside line will hit at the outside corner of your eye. Hold the stencil as close to your face as possible to avoid drawing outside the lines.
2. Chose your pencil shade — I’m using the pencil that came with the Billion Dollar Brow kit, which is formulated to match any and every hair color. Gently fill in the stencil moving the pencil in small lines that go towards the outside of your eye.
3. Repeat on the other side.
4. Pull stencil away.
5. Use the brush at the opposite end of the pencil, gently comb through your eyebrows to blend so that it has a more natural finish. Be sure to comb your eyebrows in the direction that the hairs grow in.
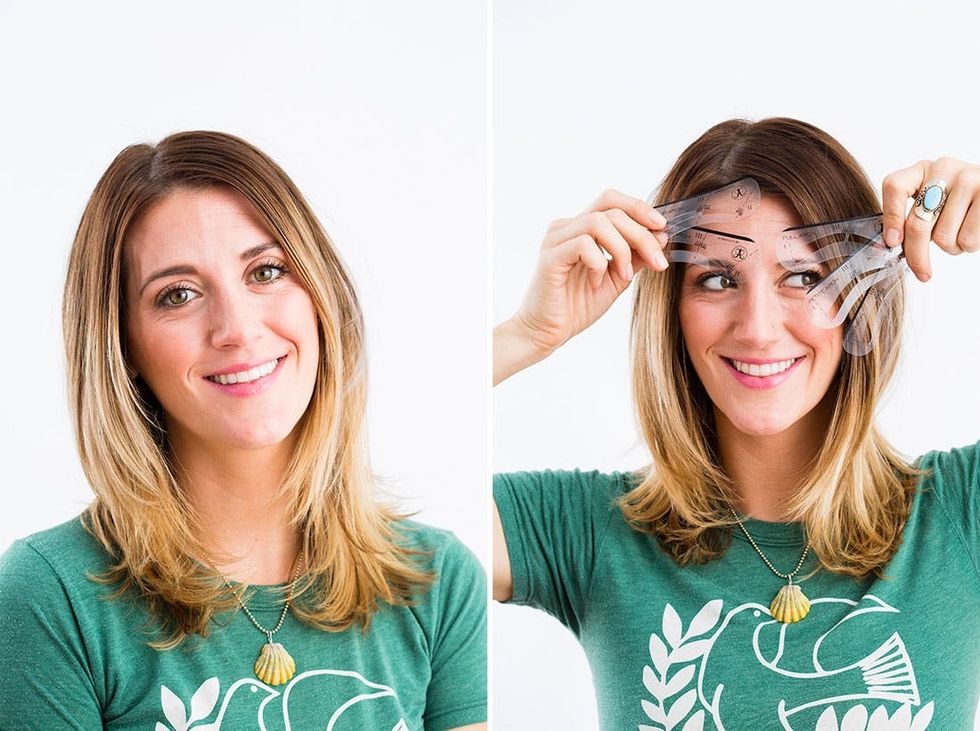
The high arch definitely filled out my brow line and gave my features really nice definition. But I couldn’t resist trying a few other brow shapes and subtle color variations… so wipe off and stencil on!
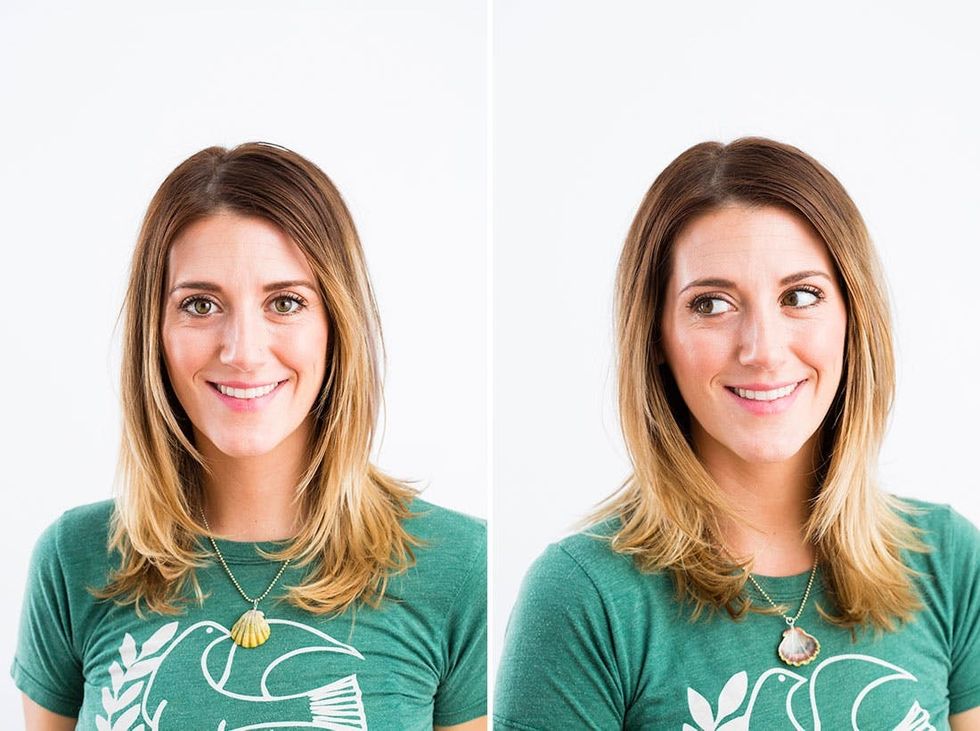
Hmmm, now to choose between the drama of the medium arch or the cute curve of the petite arch…


