One of the key ingredients for a party decor is a killer piece of eye candy. I know what you are thinking… if it’s awesome it must take tons of time and tons of skill. Nope! This chandelier-esque decoration is simply made out of strips of fabric tied and stapled onto a wooden rod. Hello! Super easy and quick to make.
A DIY Fabric Chandelier Made to (Almost Literally) Raise the Roof
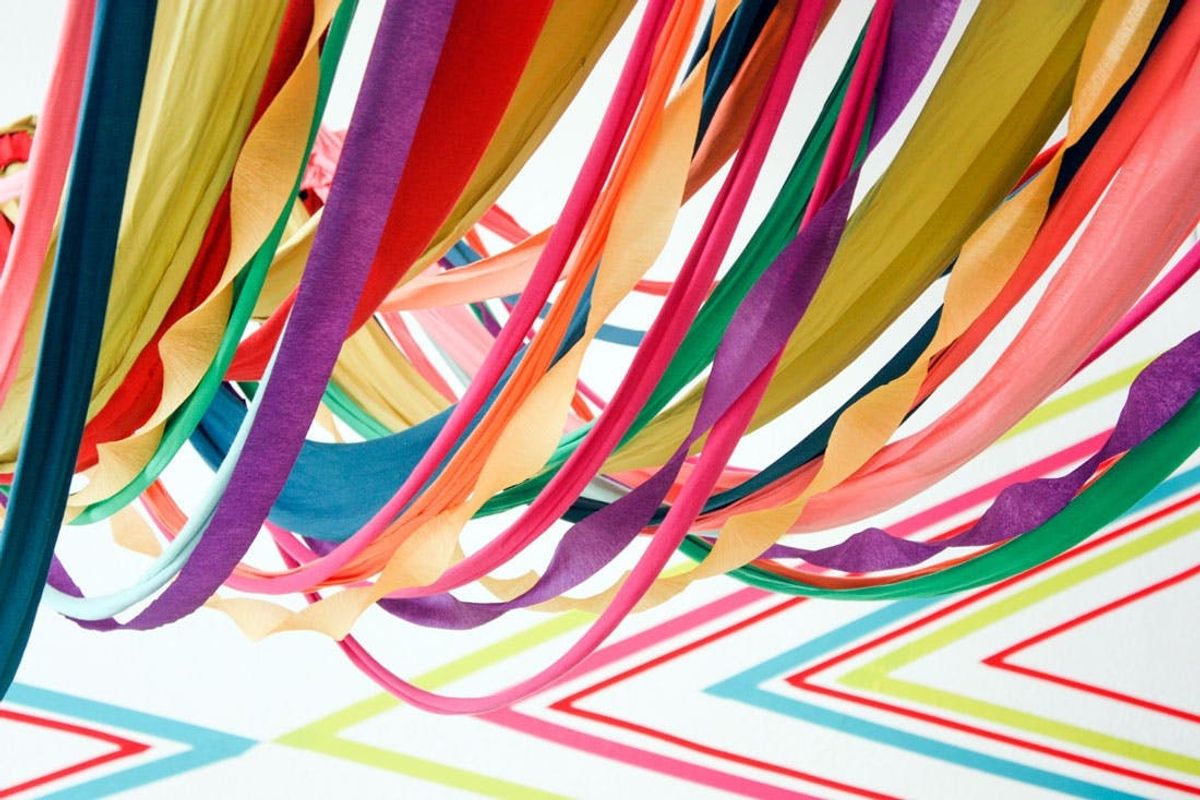
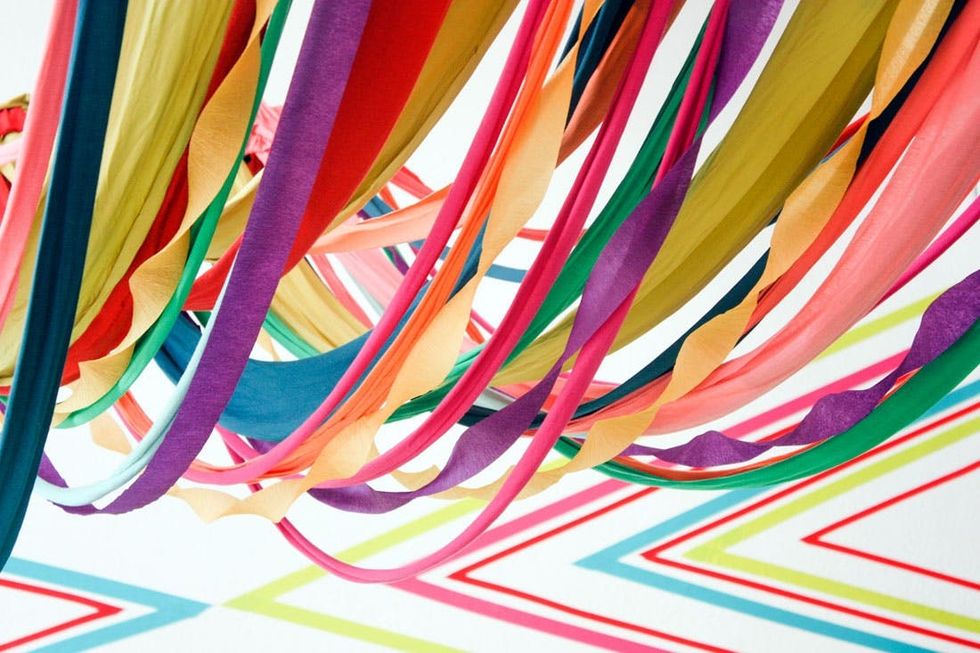
One of the key ingredients for a party decor is a killer piece of eye candy. I know what you are thinking… if it’s awesome it must take tons of time and tons of skill. Nope! This chandelier-esque decoration is simply made out of strips of fabric tied and stapled onto a wooden rod. Hello! Super easy and quick to make.
Materials:
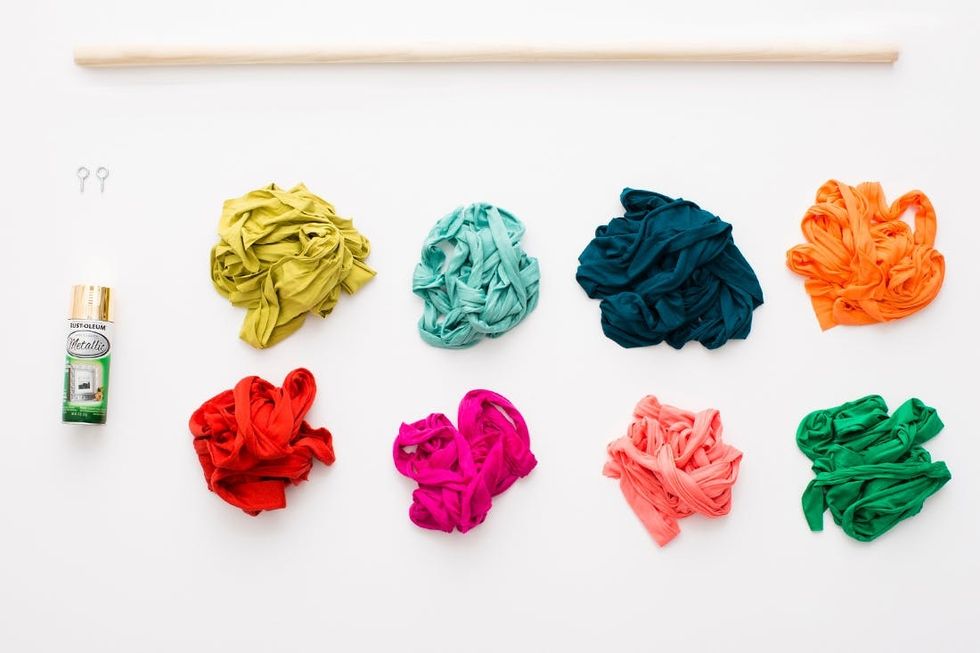
– two wooden rods
– strips of fabric
– large screw eyes
– spray paint
Instructions:
1. Screw in the large screw eyes into the wooden rod. Place one at each end.
2. Spray paint the rod — we picked gold.
3. Start to assemble the chandelier. There are two techniques to attaching the fabric, the basic knot and stapling. Interchange the techniques as you make the chandelier to create more texture.
4. Hang and enjoy!
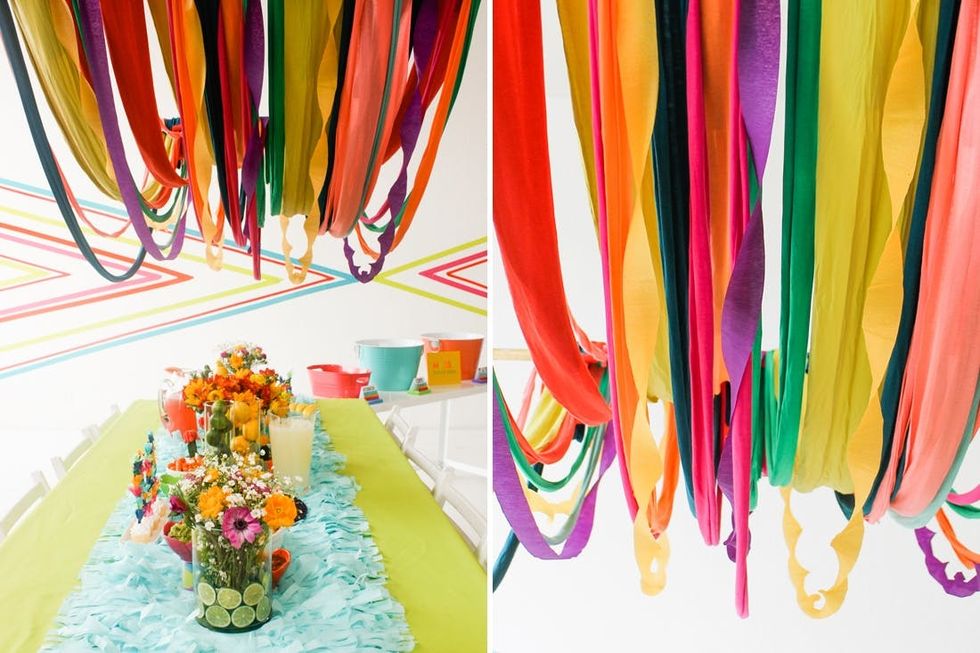
Time to talk about fabric. We used tons of brightly colored jersey fabric. Each strip was about 5 inches wide and 8 feet long. Don’t worry, you do not need that much. You can just create a smaller fabric chandelier. If you are on a budget, try cutting strips of old t-shirts to hang on your chandelier. A bucket of dye can turn those babies into beautiful brightly colored strips.

Screw in your hooks into opposite ends of the wooden rod and then spray paint to make it uniform. We chose gold! (Duh!)
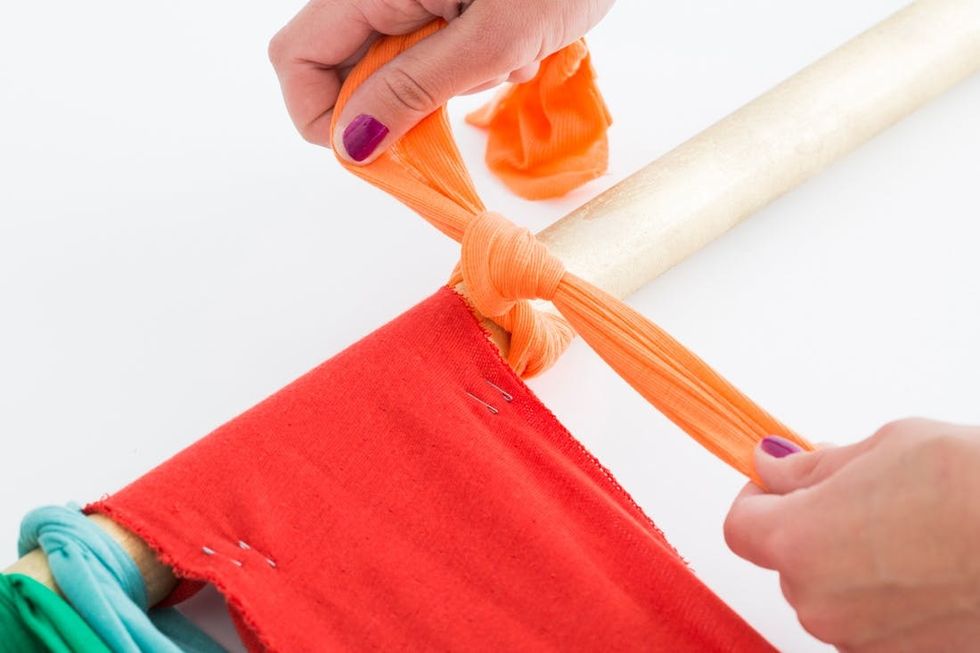
Method 1: The knot. This will keep the fabric hanging in a thin strip.

Method 2: Stapling. Fold the fabric over the rod and staple both sides. This will allow the fabric to hang at its full width. Varying the two techniques will create depth in your chandelier.
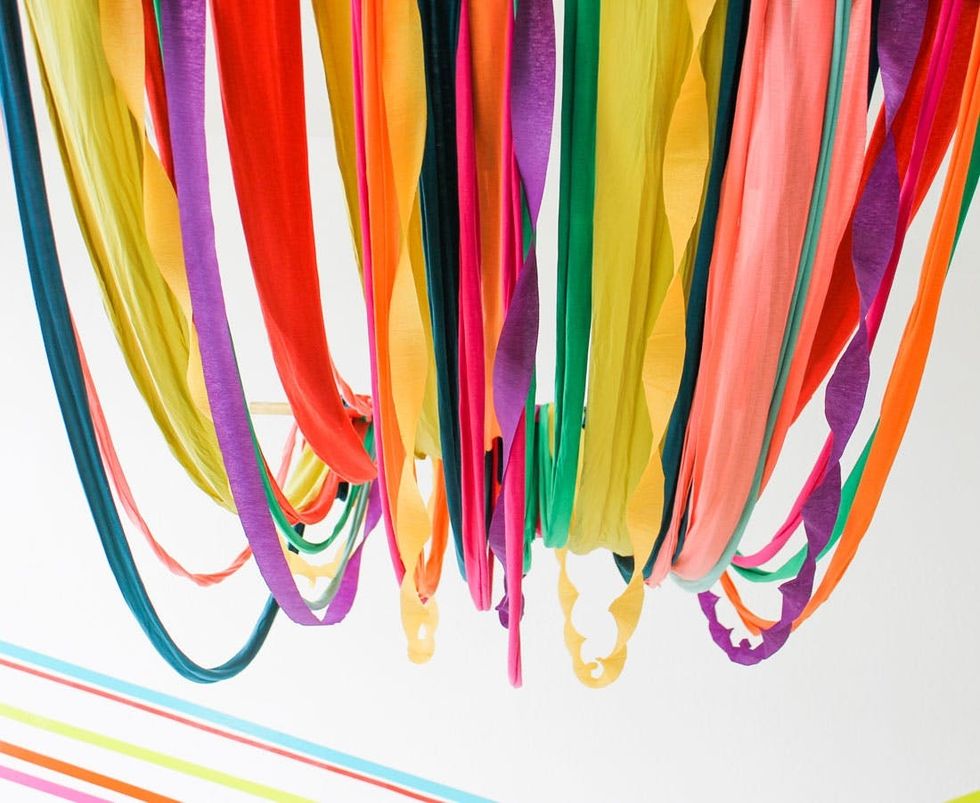
Whatever technique you do on one rod, repeat on the other side on the opposite rod.
We used fishing line to hang the chandelier from the ceiling.
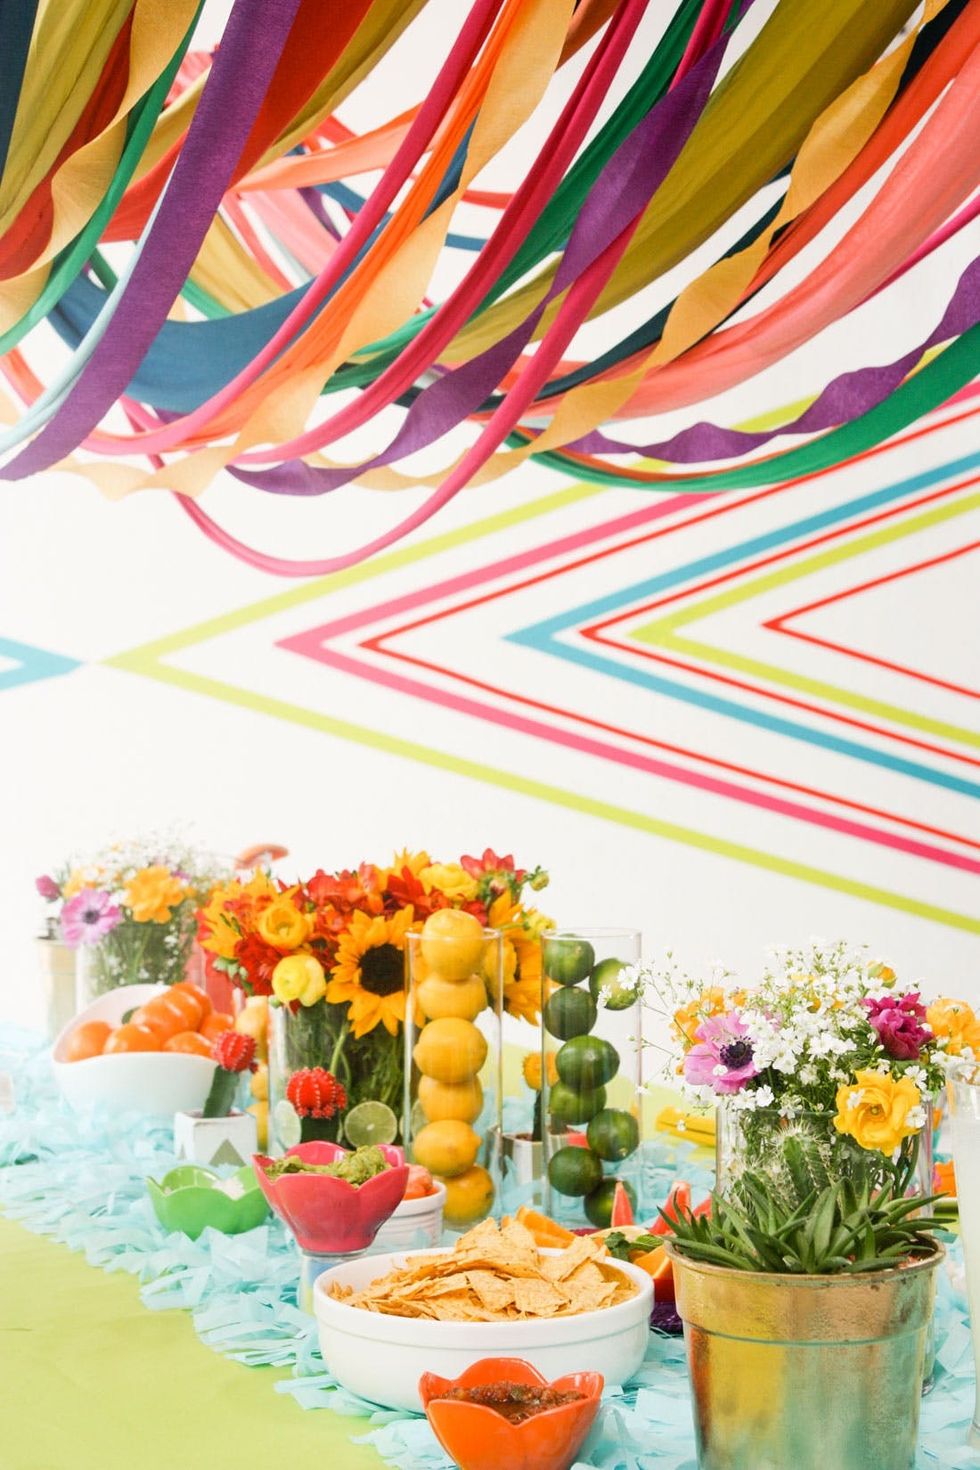
Colors galore! We love it!


