This year, you’ll bring the hot cocoa mix *and* the DIY accessories to set the mugs on.
8 Nights of DIYs: Fabric Coasters for Your Holiday Party Hostess
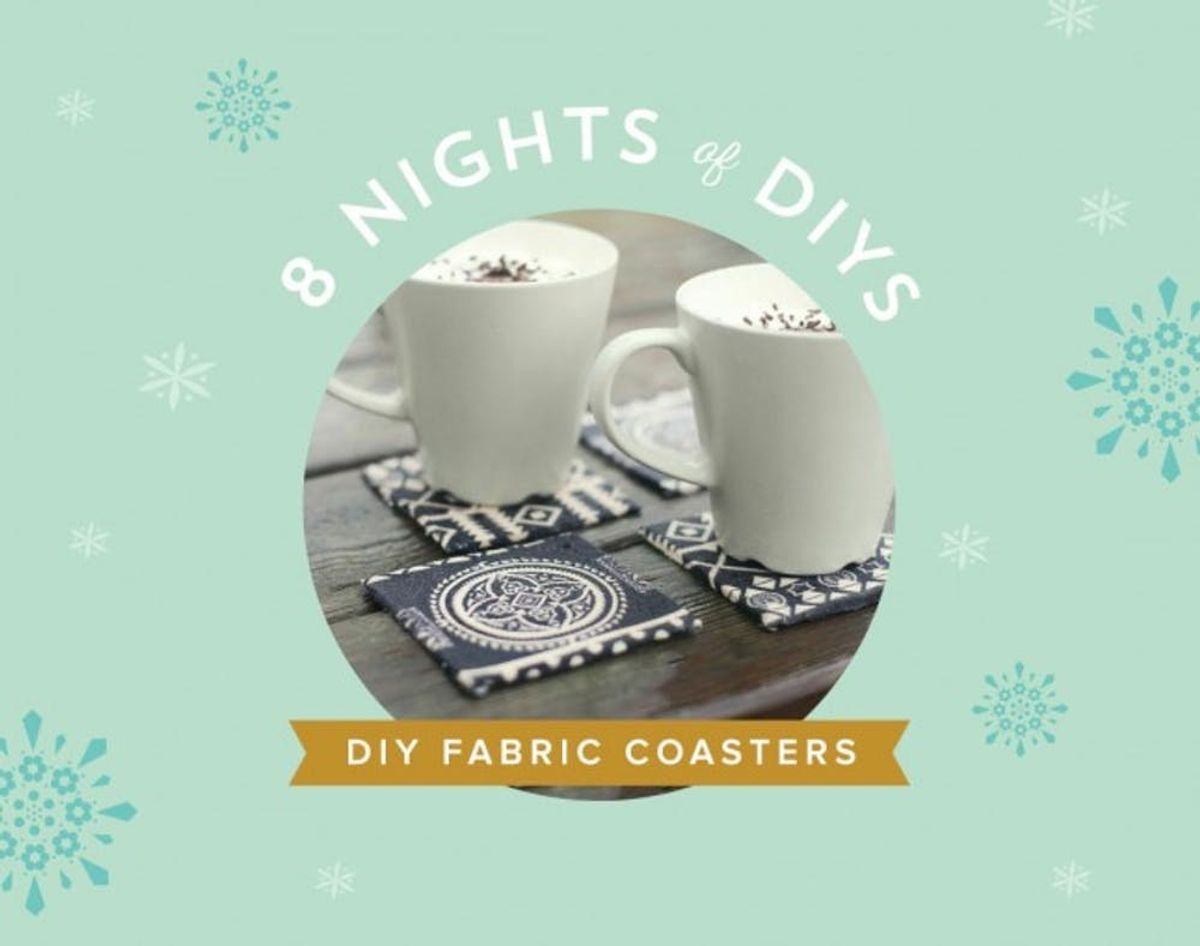
Coasters are always a good idea, especially during the holidays when it seems like you’re constantly within arms reach of a wintry drink. Not only do they spruce up the table set up just like that, but they save the hostess in your life (who could very well be you!) from sweating the small stuff while she’s in her element — ’cause really, table rings are the last thing you want on your mind when you’re giving a memorable end-of-year toast. That’s why here, we’re showing you how to make a festive version of this party standby, aka the perfect gift for your holiday party hostess. This year, you’ll bring the hot cocoa mix and the DIY accessories to set the mugs on.
Materials:
– festive fabric
– Mod Podge
– super glue
– parchment paper
– 4×4-in piece of cardboard
Tools:
– knife
– scissors
– old paint brush
– small bowl
– rolling pin
1. First you need to protect your work surface: Lay out some parchment paper large enough to work on.
2. Now we’re going to create the coaster base out of clay. Start working with the clay until it’s soft and smooth. Then roll out the dough until you have a 1/2-in thick layer.
3. Cut a cardboard template the size you want your coasters to be. Place the cardboard on top of the rolled out clay and use a knife to cut the clay into that shape.
4. Once all of your coasters are cut, let them dry for the amount of time specified on your clay’s packaging — for us, that was a few hours.
5. While the coasters are drying, cut out fabric squares that are about 1-in wider than your coasters. If your coasters are square like ours, make sure you cut the edges as shown in the photos below.
6. Once your coasters have completely dried, paint a coat of Mod Podge on the top of each coaster, then center and attach the fabric. Make sure your fabric is turned right side up and smooth out the surface.
7. Turn your coaster over and add Mod Podge to the edges of the coaster and attach the excess fabric.
8. Then add a second coat of Mod Podge, this time to the top of the fabric and let completely dry.
9. Spray on the top coat to smooth and waterproof your coasters.
10. Finally, glue four felt covers to the bottom edges of each of the coasters.
Get started by rolling out that clay until it’s about a 1/2-in thick. Use your cardboard template and knife to cut out as many coasters as you want — they can be circles, octagons, Christmas trees (!) or squares like ours. Leave those to air dry, and while the clay does its thing, cut out your fabric in shapes slightly larger than your coasters.
Now get ready to Mod Podge: after the coasters have dried and hardened, brush the crafting godsend on the front side of the coasters, then center the fabric and press it down on the coaster. Be sure to trim the edges of the coaster fabric as pictured above before you Mod Podge the back edges of your coaster and attach the excess fabric. Paint a final coat of Mod Podge on the fabric, then once that has dried, give it a spray with your top coat to make sure those babies are really durable. Finally, glue felt pads on each corner so that the clay doesn’t scratch your table top.
These little dudes are perfect for stacking on your coffee table, hot cider tray or hot cocoa bar. Mmm… just thinking about ’em is making us want to throw a party!
Have you ever tried to DIY coasters? Is there a particular material you want us to experiment with? Let us know in the comments below or share a picture on Twitter.


