A sweet and savory upgrade to your bread plate.
This Cheesy Swirl Bread Recipe Is Simply Hypnotizing
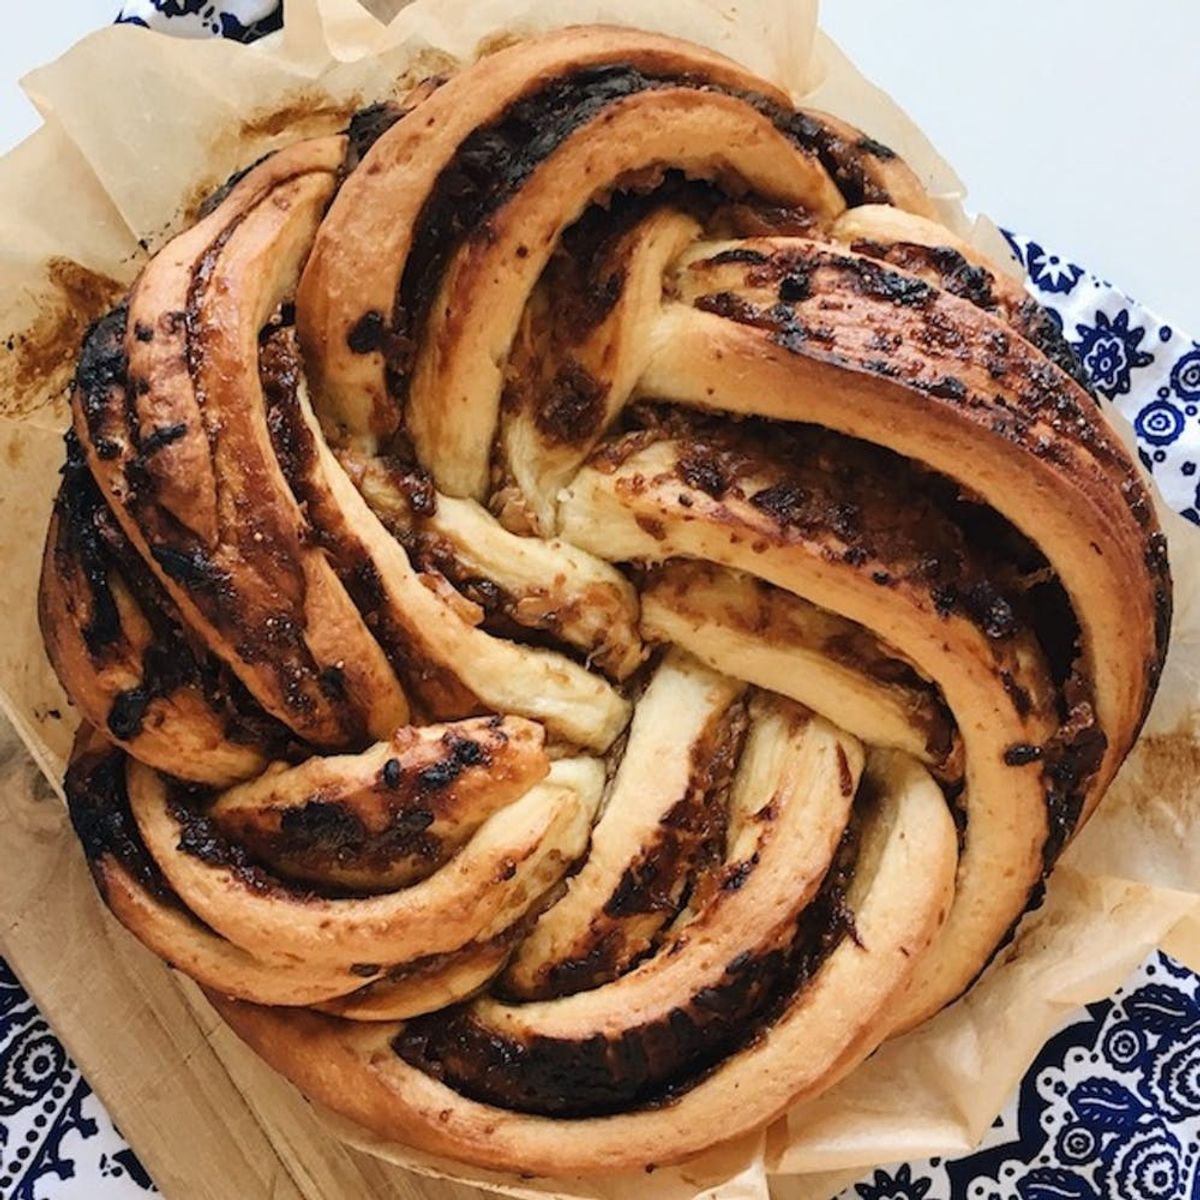
Next time you’re hosting a party or a special meal, consider adding a centerpiece-worthy loaf of homemade bread to the menu. Our sweet and savory spin on pull-apart bread is stuffed with fig butter and sharp white cheddar, and it’s way easier to make than it looks. Slice it into wedges as a side dish or set it out with your cheese plate ahead of the meal and let guests tear into it. Plus, it works for just about any time of day. So serve it up at brunch, during cocktails, or at your next dinner party.

Fig and cheddar braided bread Recipe
(Serves 8)
Recipe Notes: This bread is best served the day it is made. If you want to partially make this ahead of time you can complete steps one and two, but do not let dough rise. Instead, wrap loosely with plastic wrap and place it in refrigerator for up to 12 hours. When ready to bake, remove it from refrigerator and allow it to come to room temperature. Punch it down and proceed to step three.
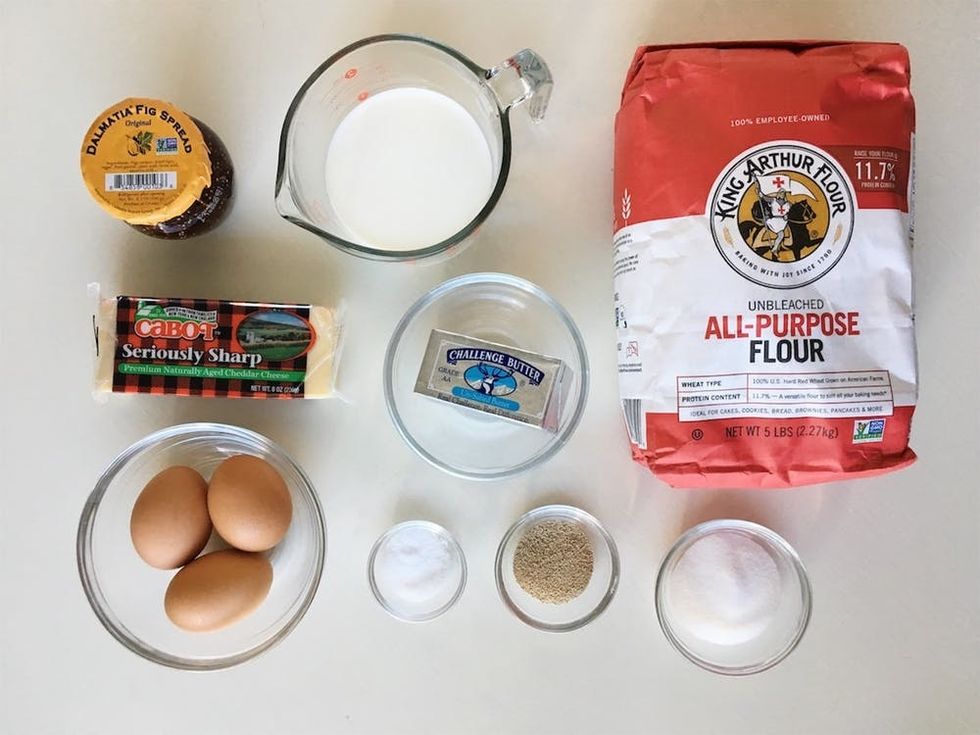
Ingredients:
- 1 cup whole milk, heated to 110-115°F
- 2 1/4 teaspoons active dry yeast
- 2 tablespoons sugar
- 1/4 cup unsalted butter, melted, plus more for greasing your pans
- 3 eggs, lightly beaten and separated
- 1 teaspoon kosher salt
- 3 1/4 cups all-purpose flour
- vegetable or canola oil, for greasing bowl
- 1 cup fig butter or fig jam
- 8 ounces sharp white cheddar cheese, shredded
- flakey sea salt
Equipment:
- stand mixer with dough hook (optional)
- 9- or 10-inch metal springform pan
- parchment-lined cookie sheet
Directions:
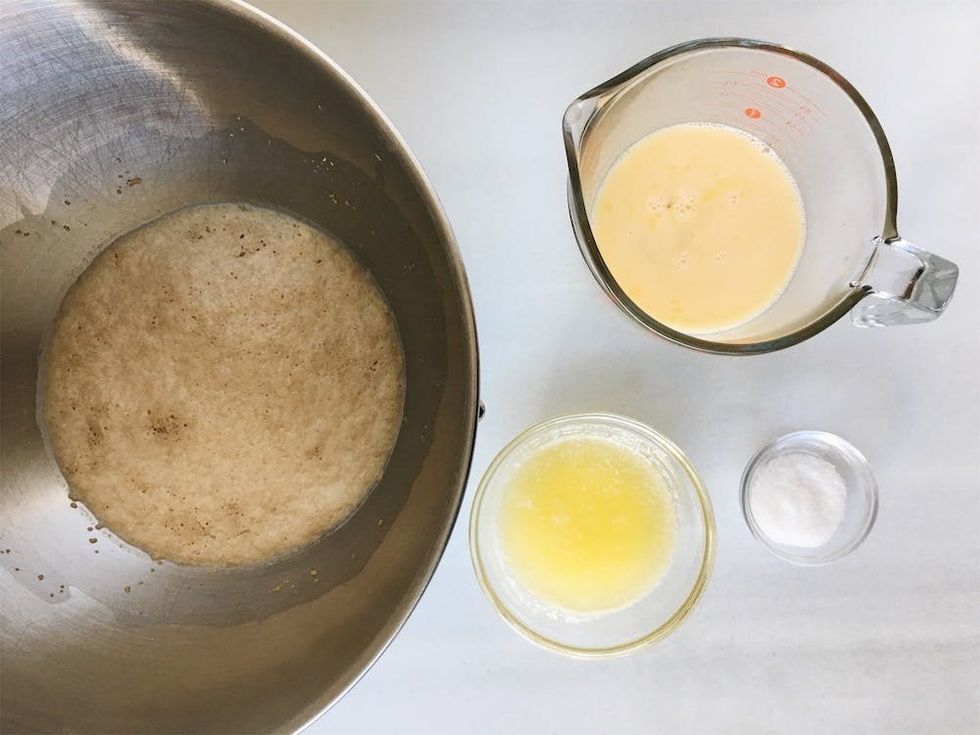
1. Activate the yeast by combining the warm milk, yeast, and sugar in the bowl of a stand mixer. Stir and allow to stand 10 minutes, until mixture is foamy.
2. Add the melted butter, 2 of the eggs, and kosher salt and whisk to combine. Add half of the flour and mix on medium speed with the dough hook until incorporated. Add the remaining flour, 1/2 cup at a time, and continue kneading with the hook until the dough is smooth and elastic and a round ball forms, about 3-5 minutes. If you don’t have a stand mixer, you can knead by hand on a lightly floured surface.
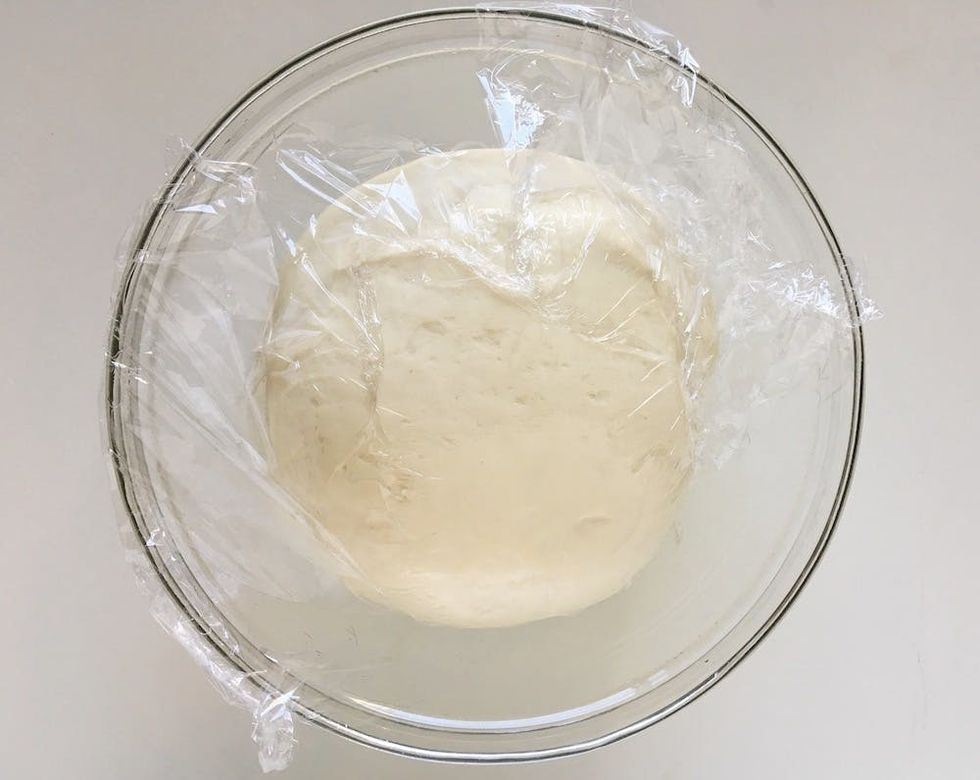
3. Knead the dough a few more times by hand and turn it out into a large, lightly oiled bowl. Turn the dough a couple times to coat in oil. Cover loosely with plastic wrap and allow to rise in a warm place until doubled in size, about 1 hour.
4. Lightly butter the inside of the ring of a 9- or 10-inch springform pan and line a baking sheet with parchment paper.
5. Turn the dough out onto a lightly floured surface and knead by hand a few times. Roll into a 12- by 24-inch rectangle. If you’re having trouble rolling the dough, leave it alone to “rest” for 5 minutes and try again.
6. Spread the fig jam evenly over the surface of the dough, leaving a 1/2-inch border around the edge. Sprinkle the cheese over the top, followed by a pinch of flakey sea salt.
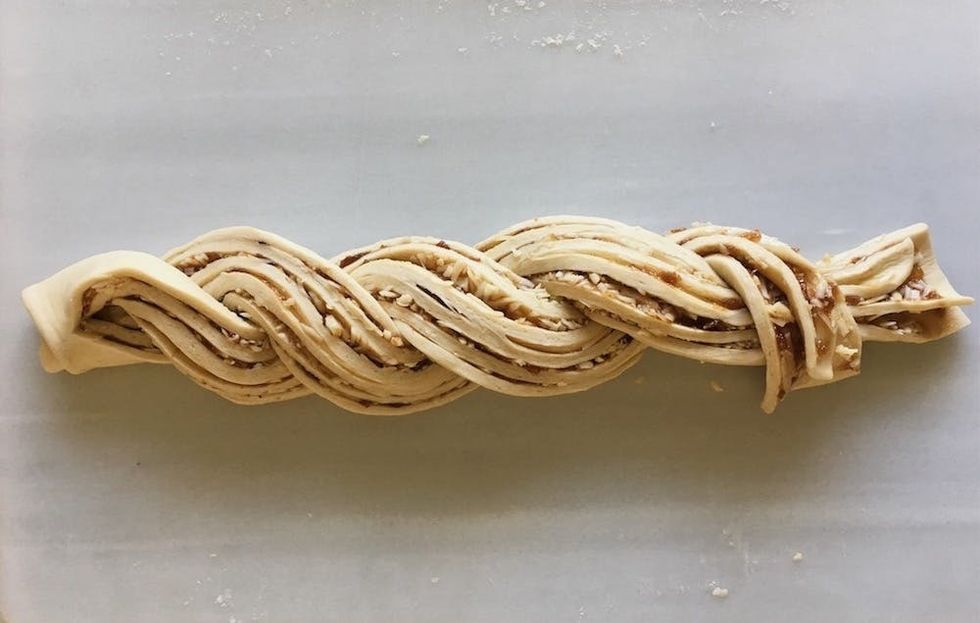
7. Starting with the long edge, roll the dough into a tight log like a jelly roll. Press the edges together lightly to seal and place seam side down. Using a serrated knife, cut the log down the middle lengthwise, leaving one end attached by 1 inch. Allow the two halves to fall open so that the cut layers face up.
8. Beginning at the end that is still attached, carefully twist the halves around each other like a rope, pressing the ends together to seal. Place the rope on top of the baking sheet and form into a round circle. Tuck the end underneath the round of dough and place the springform ring around it to contain it.
9. Cover loosely and allow the dough to rise in a warm place for about 30 minutes.
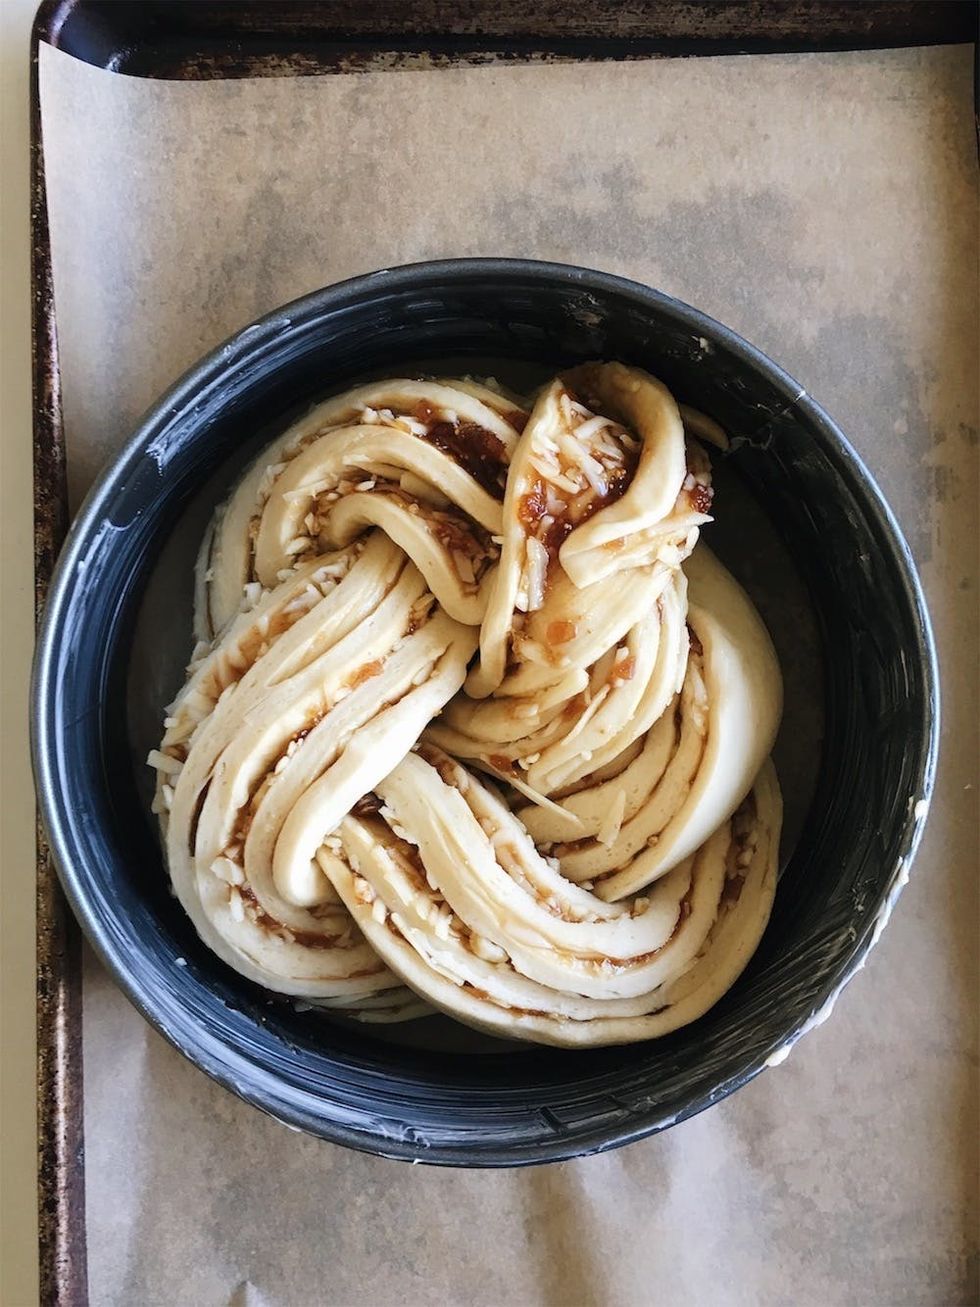
10. While the dough is rising, preheat your oven to 350ºF, and brush the dough with the remaining egg.
11. Bake until the top of the bread is golden brown and jam is starting to caramelize, about 25 minutes.
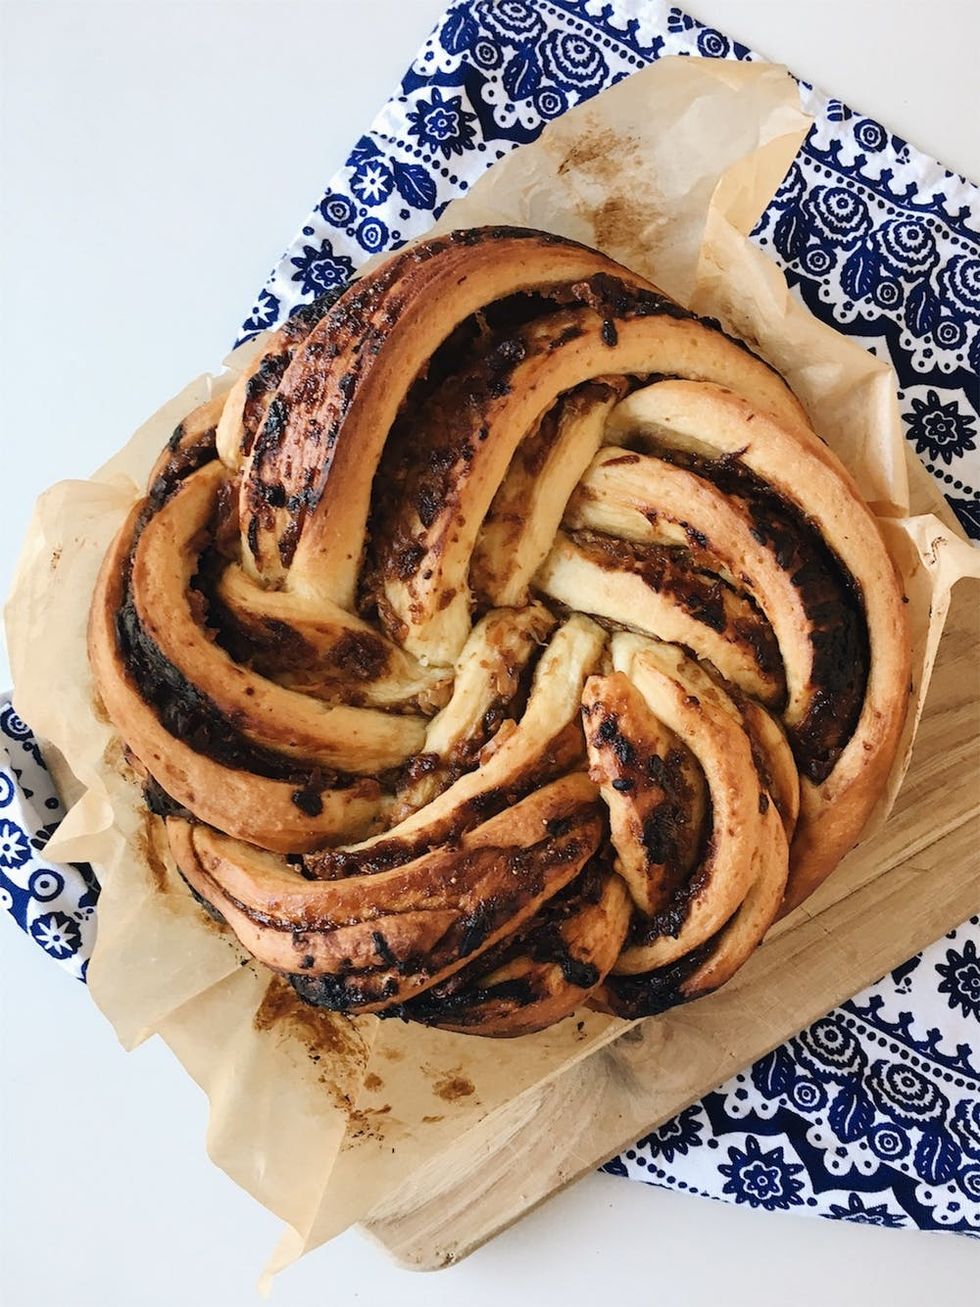
12. Allow to cool for about 20 minutes before running a metal spatula around the inside of the springform ring to loosen the bread and remove the ring. Serve warm or allow to finish cooling completely.
Find more outstanding recipes by following Brit + Co on Pinterest.
(Recipe and photos via Jessica Smith Wall/Brit + Co)


