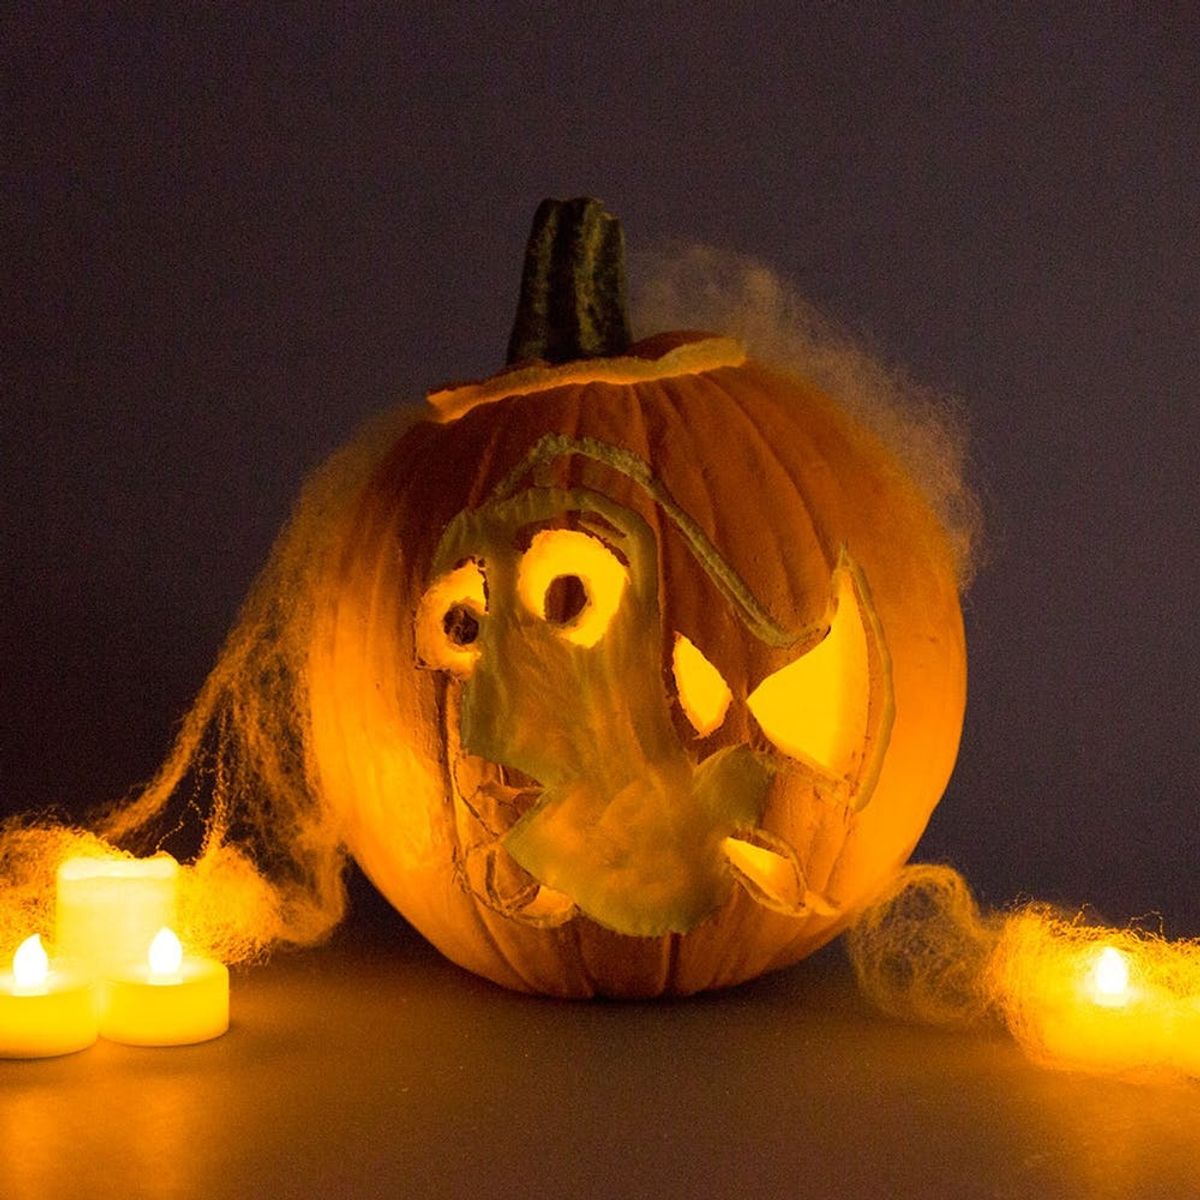
Lookin’ goood, Dory!
Make These Finding Dory Jack-O-Lanterns for Halloween

It’s the most wonderful time of year at B+C: Halloween! :) We’ve been all a-flurry making pop culture costumes and spooky recipes in preparation for the Big Day. Next up, it’s time to tackle pumpkin carving — which is a true artform in itself. Today, we’re teaming up with Johnson & Johnson Consumer Inc. to carve ©Disney/Pixar Finding Dory-themed pumpkins. The beauty of these guys? We’re carving into *foam* pumpkins, so you can use these mess-free cuties year after year.
Boo-boos are a part of playing and growing up, and for us, they don’t mean the fun should stop. We always have BAND-AID® Brand Adhesive Bandages and NEOSPORIN® + Pain, Itch Scar on hand for little mishaps so we can get right back to doing what we do best: making stuff! We love that BAND-AID® Brand adds cheer to their products with fun designs — the Oh Joy! First Aid Bag is a collector’s item around here — so we (and our little ones!) are thrilled that they’ve come out with brand new BAND-AID® Brand Adhesive Bandages featuring Finding Dory. We made these pumpkins to celebrate the new design — and to celebrate our favorite movie of the summer, because duh ;)
Lookin’ goood, Dory!
Check out the tutorial below for deets on how to make a clownfish and wave jack-o-lantern!
Materials + Tools:
- foam pumpkin
- pumpkin carving tools
- image of a clownfish
- nail polish remover
- sponge
- LED candles
Instructions:
- Download an image of a clownfish from the web. Print it full page, then transfer the image using nail polish remover and a sponge.
- Let it dry, then remove the excess paper.
- Use a pumpkin carving saw to cut out larger areas like the tail, eyes and fins.
- Next, use the shading tool to carve your outlines and remove the bulk of your design. Be sure to carve deep enough so light will shine through.
- Cut open the top, empty any excess foam and drop in some LED candles!
Download an image of a clownfish from the web. Print it full page, then transfer the image using nail polish remover and a sponge.
Let the nail polish remover dry, then remove the excess paper.
Use a pumpkin carving saw to cut out larger areas like the tail, eyes and fins. Next, use the shading tool to carve your outlines and remove the bulk of your design. Be sure to carve deep enough so light will shine through.
Cut open the top, empty any excess foam and drop in some LED candles!
Voila!
We followed the same steps to make a simple wave jack-o’-lantern.
What a Halloween dream team.
There you have it! Three Finding Dory foam jack-o’-lanterns you can display year after year.
Will you be trying this DIY? If so, we want to see the results! Post a photo on Instagram with the hashtag #iamcreative so we can take a peek.
Video: Alonna Morrison, Katie Booker + Justin Gallagher
Photo Production + Styling: Irene Lee
Photography: Chris Andre


