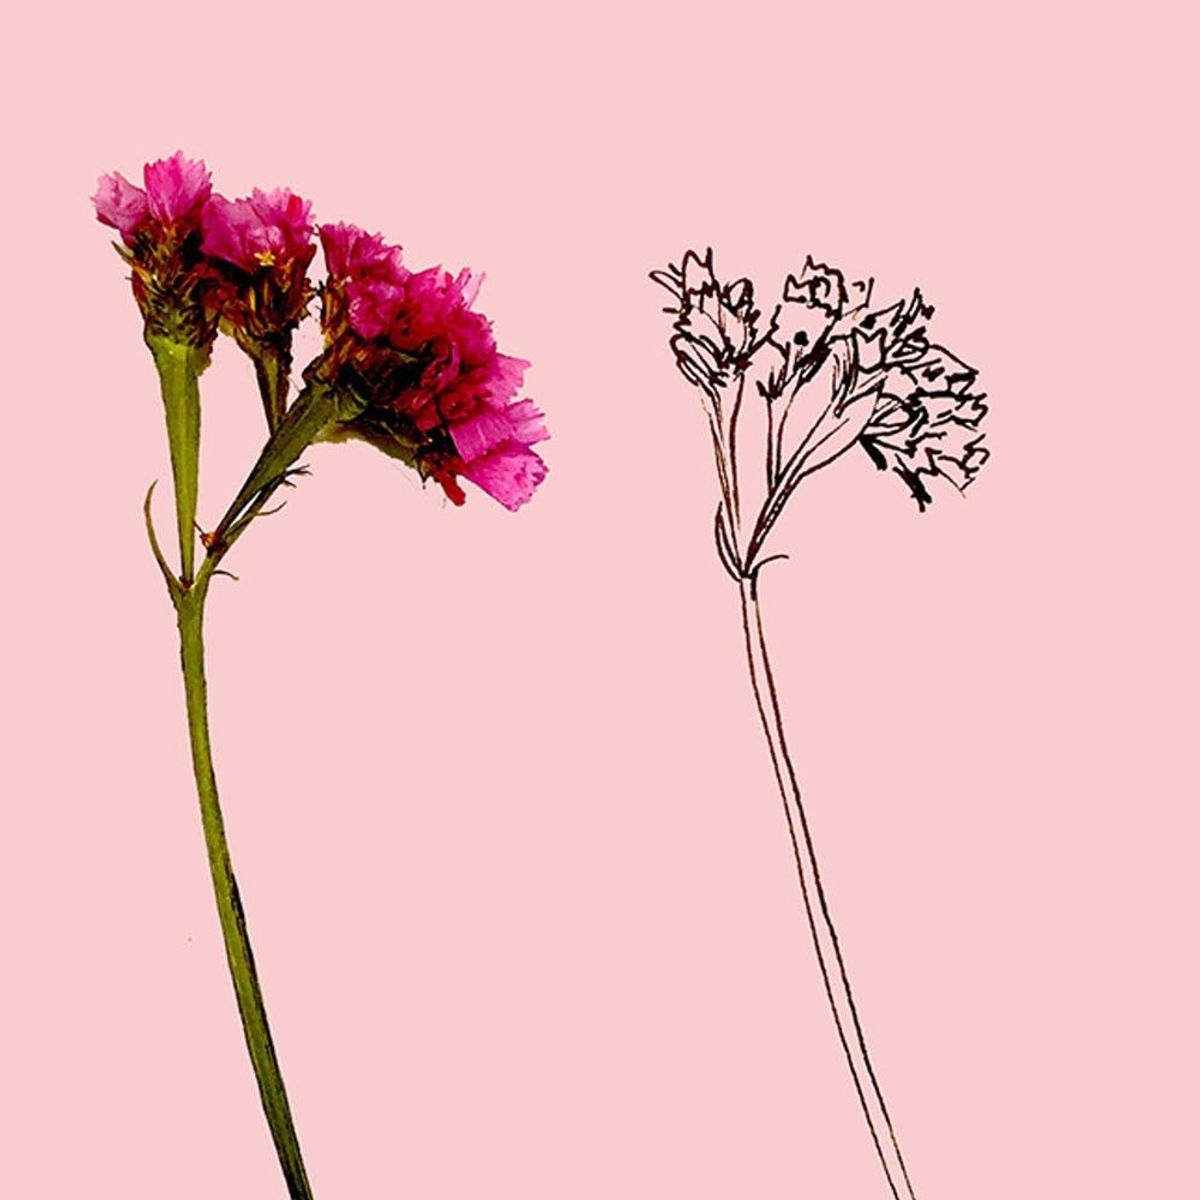
Botanical line drawing in five easy steps.
Learn How to Draw Any Wildflower in 5 Easy Steps

Creating a piece of art by using a 3D flower as your subject can seem intimidating, but it doesn’t have to be. It’s all about how you see it. You’re taking the information you see, breaking it down into sections, viewing those sections as lines and shapes, and then interpreting it according to your own artistic style. If you don’t know what that style is just yet, it will develop on its own organically with practice.
The biggest rule to remember as you begin is to realize that your illustration doesn’t need to look exactly like the flower. Perfection doesn’t exist in art, and certainly not in nature. By keeping an open mind, you will be able to produce some absolutely beautiful botanical line drawings.
Using different pen sizes will also determine the outcome of your illustration. Bold lines create a more doodle-like effect, while thin lines allow for more realism.

How beautiful is nature? I think some of the loveliest line drawings are the ones that are simple and understated. Grabbing an otherwise overlooked piece of greenery or a piece of a bouquet “add-on” can be the subject of a moving art piece. Here’s how to do it.
STEP ONE
Lay your found nature item down next to the area you’ll be drawing. Observe it’s size, shape, and curves.
To begin, I’ve drawn only the stem at a light curve, mimicking the curve of the flower.

STEP TWO
Add the base of the flowers. This is the green area that the flowers are branching out of. Notice that my lines are quick, imperfect, and interpreted. They do not reflect the exact state of the flower, but they do show the necessary form.

STEP THREE
Begin adding details. Instead of seeing the plant as a 3D object, look at the details you’re drawing from above. Flatten it with your eyes. Notice that pieces extending toward you look shorter, so simply draw them shorter. This gives the illusion that they’re coming toward you.
Keep in mind: The details you add are up to you. You can pick and choose which details you want to enhance or ignore, depending on the illustration style you want to execute. For example, if you want your line drawing to look simple and cute, create smoother lines with less detail. If you decide you want a more realistic appearance, add bends and imperfect lines, enhancing the character found in nature.

STEP FOUR
I approached the blooms the same way as the previous step. They are shapes with bends and curves, and I’ve chosen where I want to enhance those features but also left some details out. I didn’t want to add too much detail, with fear that they could get lost in the small shapes.

STEP FIVE
Lastly, add smaller marks with a smaller pen tip. I have added minor details, but enough to enhance my flower to give it a finished appearance.

You may be surprised as to how quick this process can be. Because of that, it might seem like you want to keep going and add more and more, but there’s no need. Just pick a stopping point, reflect, and feel pride in what you’ve created.
Then, do it again.
Want more botanical line drawing instruction on florals? Take my Intro to Floral Illustration online class and pair it with my Botanical Line Drawing book. You can use that as a step-by-step guide to creating all kinds of floral illustrations.


