If you’ve been in it with your Valentine for the long haul, it can be more meaningful to make a creative piece for the home you share to celebrate Cupid’s day of love. After all, home is where the heart is. Freezer Paper Printing is an easy way to print something in a similar method […]
Freezer Paper Screen Printing

If you’ve been in it with your Valentine for the long haul, it can be more meaningful to make a creative piece for the home you share to celebrate Cupid’s day of love. After all, home is where the heart is.
Freezer Paper Printing is an easy way to print something in a similar method to screen printing, but it’s much faster and cheaper. And you can use the freezer paper printing for more than just pillows. It’s great for artwork on canvas, quick t-shirt printing, place mats, table cloths, you name it!
Materials:
– pillow case or fabric
– pillow fill or old throw pillow
– X-Acto knife or scissors
– freezer paper (available at most grocery stores by the aluminum foil & parchment paper)
– tape
– iron + ironing board
– flat sponge stamping brush
– fabric paint or spray paint
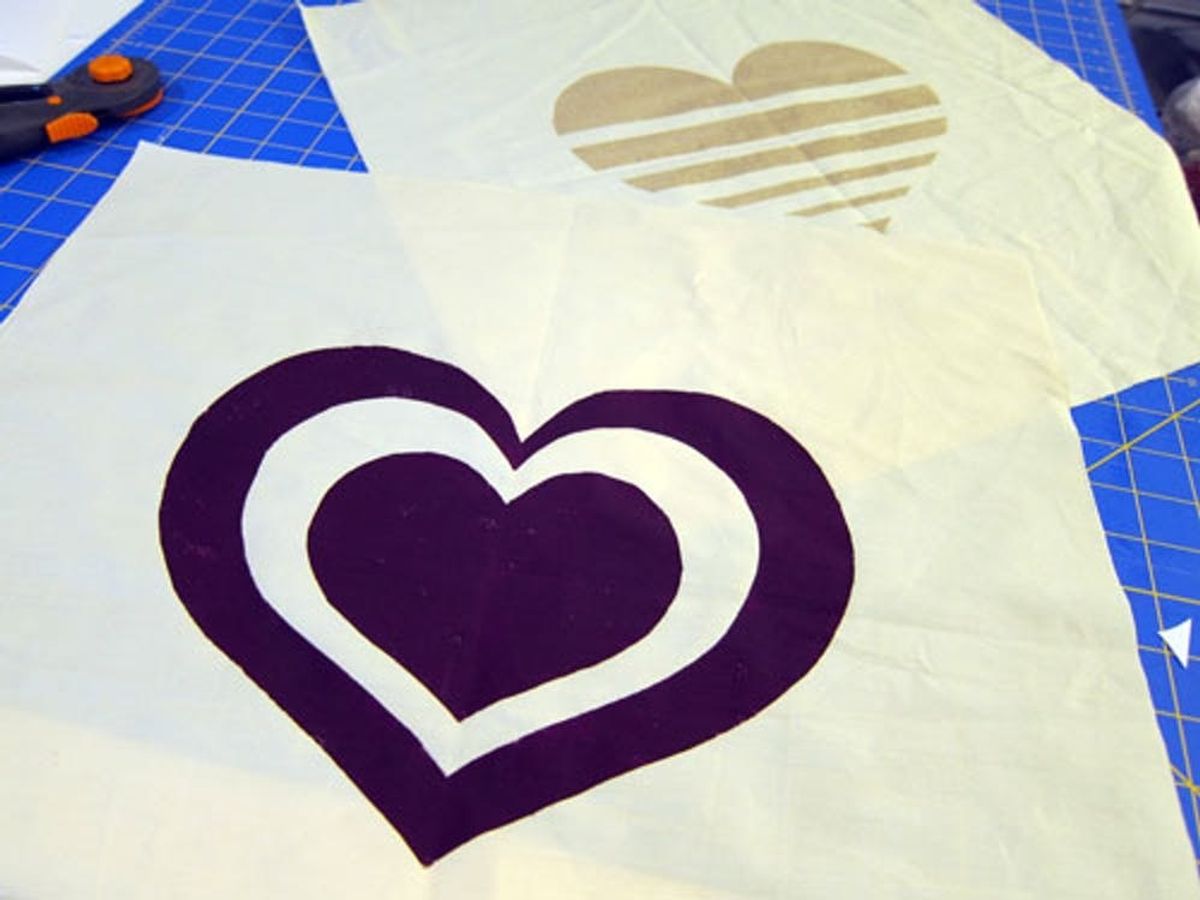
Steps for Purple Heart (Fabric Paint)
Lay out the template (available for download here) on top of freezer paper and tape down.
Use X-Acto knife and cut out the gray spaces as shown. This is the area that will be painted.
Iron your fabric so it’s smooth.
Lay freezer paper heart exterior and center smaller heart outline inside, shiny side down. Iron onto the fabric.
Stamp with color desired. Be sure to use a flat surface brush so the paint doesn’t get pushed under your template. Also, keep your brush fairly dry and stamp in layers to help avoid bleeding.
Wait for paint to dry. You can use a blow dryer or fan to speed up the drying process.
Once it’s completely dry, peel off freezer paper.
To set your design, iron on medium heat for a minute. This will make your design permanent even when you wash it.
Steps for Striped Gold Heart (Spray Paint)
Lay out the template (available for download here) on top of freezer paper and tape down.
Use X-Acto knife and cut out the gray striped areas. This is the area that will be painted.
Iron your fabric so it’s smooth.
Iron on some extra freezer paper around your heart cut-out as a protective border. This will protect your paint from over-spraying onto the fabric edges.
Spray your metallic paint in thin light layers until the object is filled.
Wait for paint to dry. You can use a blow dryer or fan to speed up the drying process.
Once dry, peel off freezer paper.
**Note: You can’t iron spray paint but your design should remain on your fabric even when washed (may fade slightly). If you want a permanent metallic look, we recommend metallic fabric paint.
For our pillows, we printed on fabric and then constructed pillow cases. Here’s the quick how-to:
Cut your fabric to the exact dimension of your pillow filler or old throw pillow. Pin the two printed sides together face to face, sew up three sides and about 2″ on either side of the part you’ll leave open. Trim the seam allowance (extra fabric) and flip the cover right side out. Stuff the pillow filler in, and sew up the 4th side of the pillow using a blind stitch.
How will you get creative with freezer paper “screen” printing? We’d love to see your projects! Send a note to hello@brit.co and share pics on Twitter.
Amanda Campbell is a product designer by day. She spends her nights with her husband cooking delicious things renovating their home and shares all of her DIY projects at White Owl Studio.


