Next-level Galentine’s Day gift game.
Make This Easy Marbled Jewelry for a Galentine’s Day Gift
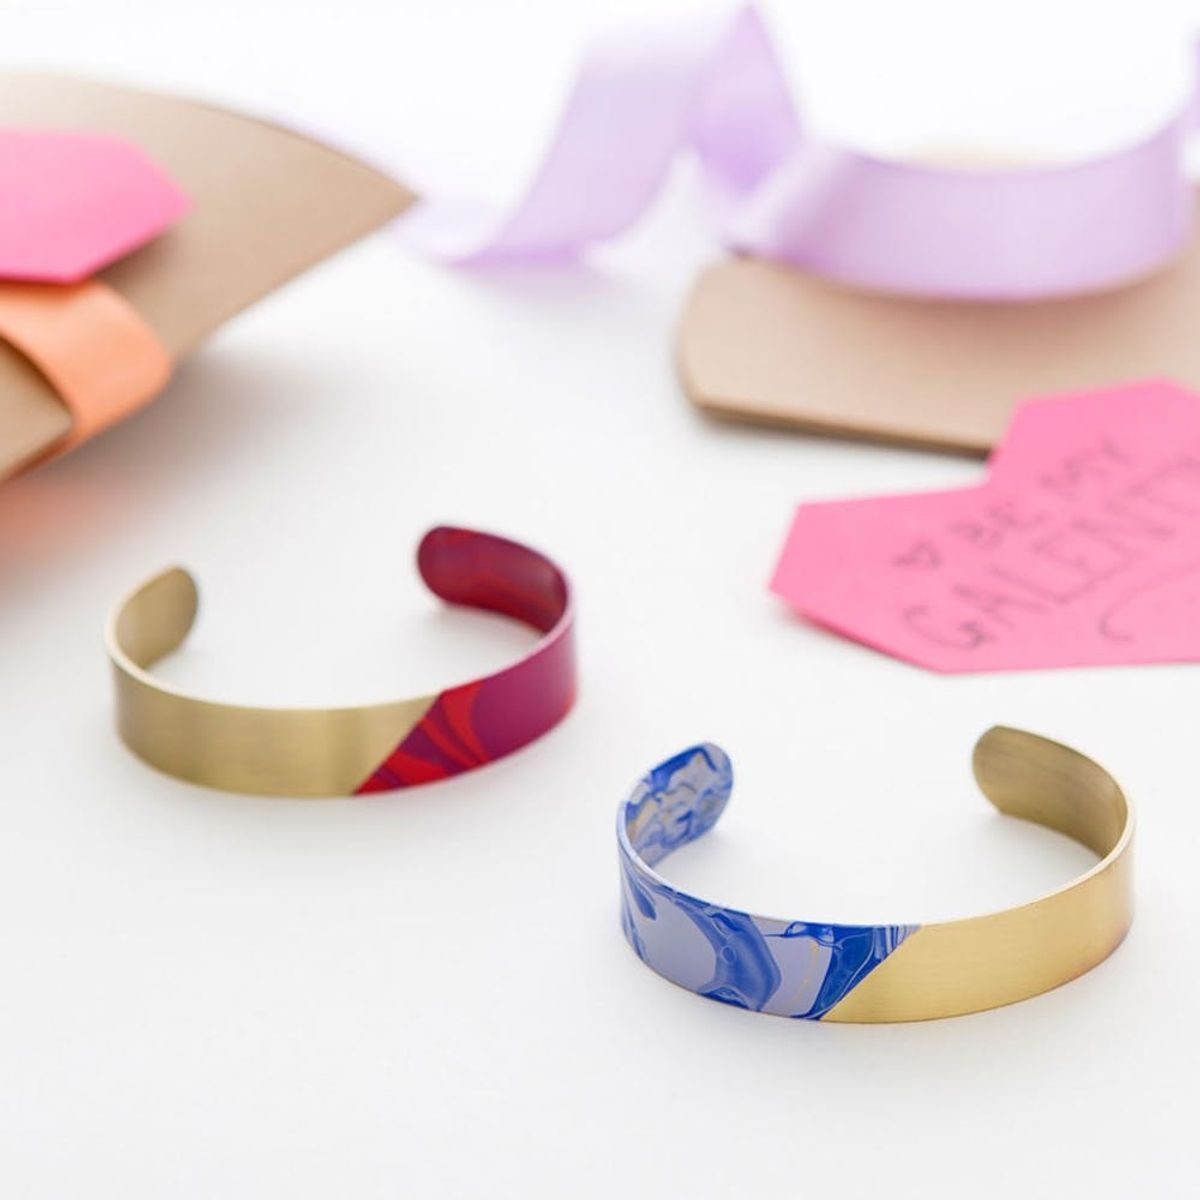
It’s our favorite time of year to tell our besties how incredible they are by showering them with brunches and gifting them cute Galentine’s Day cards designed specifically for the fabulous females in our lives. So the obvious next step was to add a little jewelry DIY into the mix to give them a Galentine’s Day gift they can wear year round.
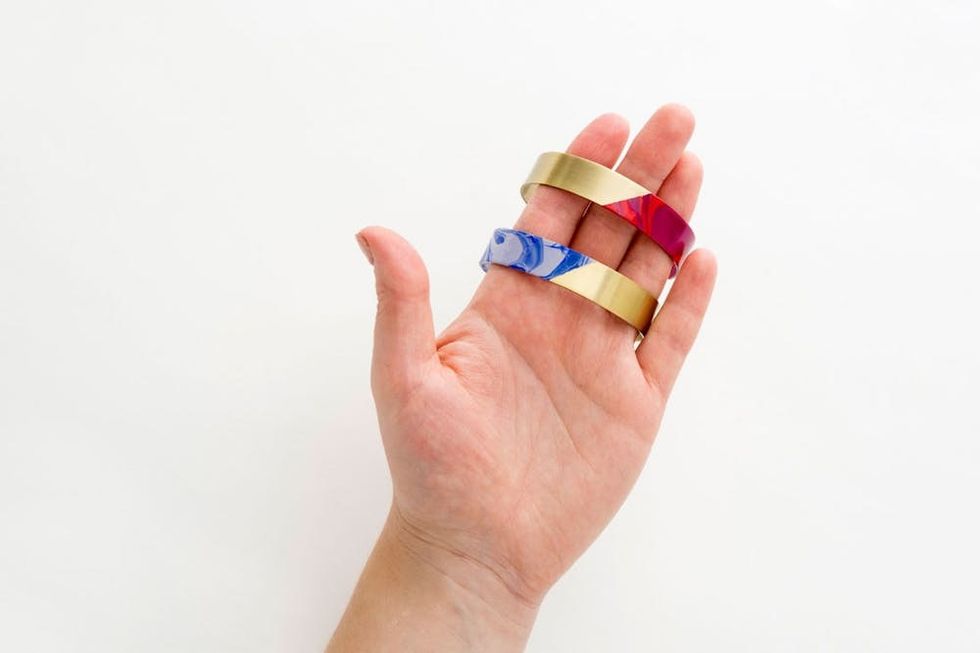
Whip up these easy marbled bracelets and earrings to gift to your girls, OR invite them over to make them together! Ask everyone to bring their fave colors of nail polish, because that’s all you’ll need to customize plain jewelry pieces.
Materials:
– nail polish in assorted colors
– plastic bin
– wood skewer or dowel
– painter’s or masking tape
– plain cuff bracelets
– stud earring blanks
– cabochon caps
– hypo cement jewelry glue
Instructions:
1. Tape off your blank bracelets to cover all the sections that you do not want marbled.
2. Fill your plastic bin with water and slowly pour one color of nail polish so that it spreads across the water’s surface.
3. Add your second color of nail polish and then swirl the two colors together with your wood skewer.
4. Carefully dip your taped-off bracelet straight down into the marbled nail polish, making sure to curve the bracelet as you dip so that it picks up nail polish all the way along the outside of the cuff.
5. Set your marbled cuff onto a paper plate or paper towel to dry.
6. Let the nail polish in your water bin solidify for a minute or so and then pick up all the color by spinning your skewer in circles until all the nail polish has wrapped around it and the water is clear.
7. For the earrings, first attach the cabochons to the flat side of the earring blanks using a small dot of hypo cement and let dry for 15 minutes.
8. Once the glue is dry, mix two new colors of nail polish together in your water bin and then dip each earring, cabochon side down, into the nail polish. Lift up and set aside to dry.
9. Package up your dry marbled pieces with a bow and a sweet note for your galentines!

Grab a bunch of nail polish colors, plain jewelry pieces and the rest of the supplies above, and let’s get marbling!
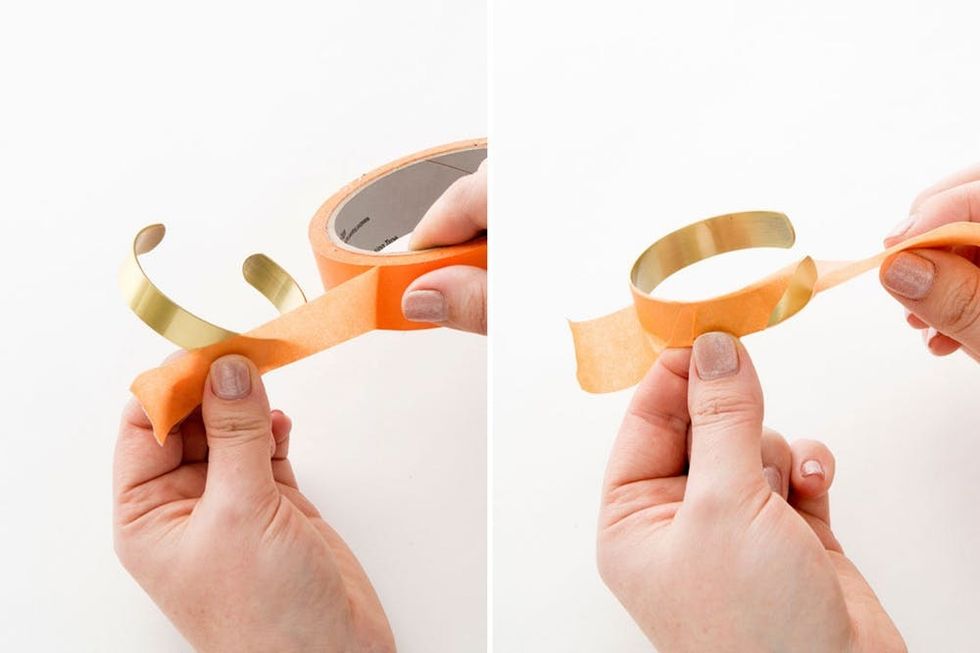
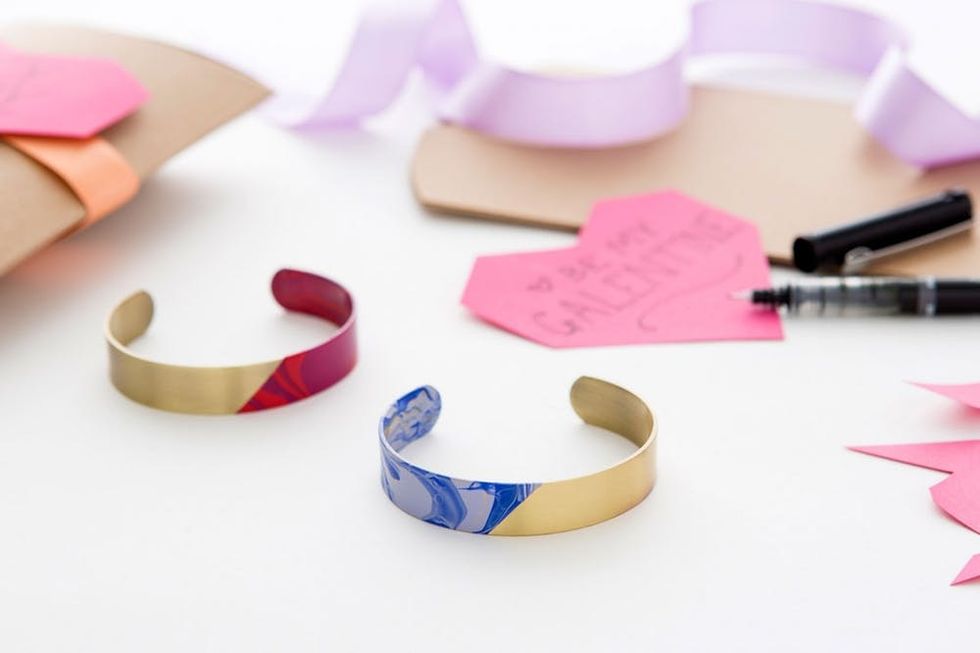
To make a marble-dipped cuff, first tape off your blank bracelets to cover all the sections that you do not want marbled.
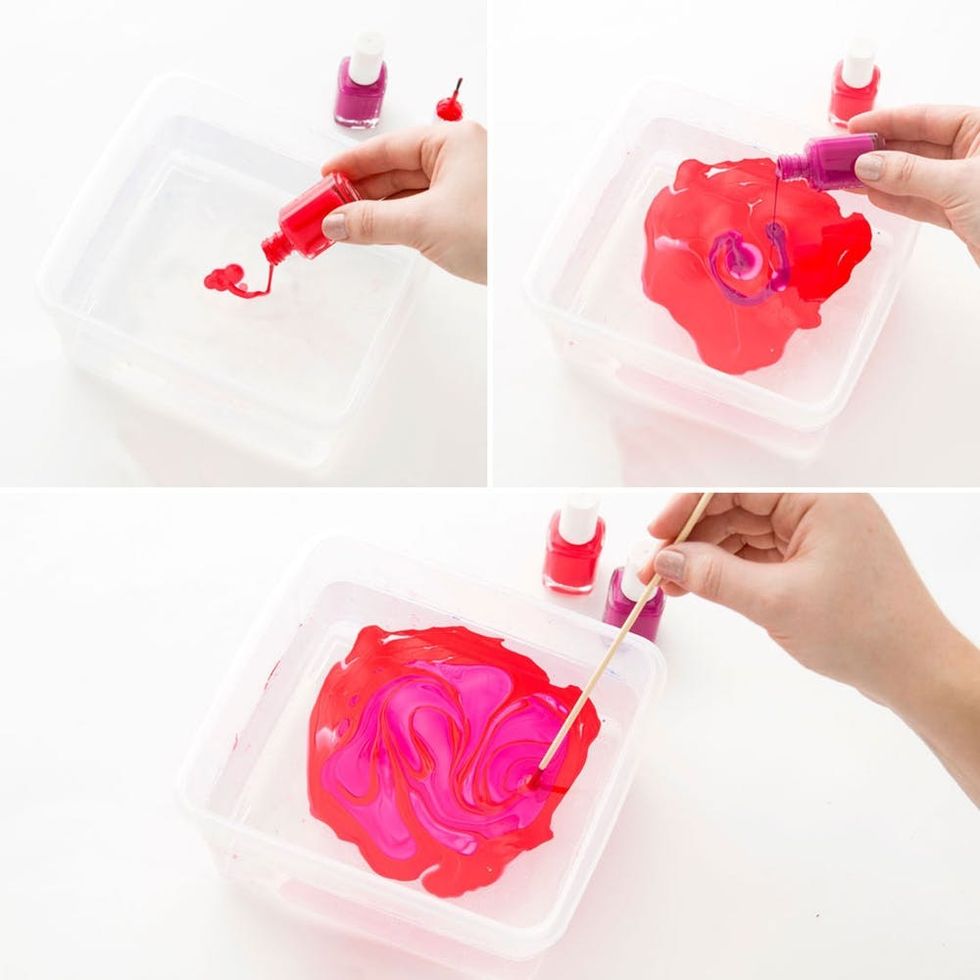
Next, fill your plastic bin with water and slowly pour one color of nail polish so that it spreads across the water’s surface. If you pour too fast, the color will sink to the bottom, so keep it slow and steady! Once your first color has spread out, slowly add in your second color of nail polish and then swirl the two colors together with your wood skewer.
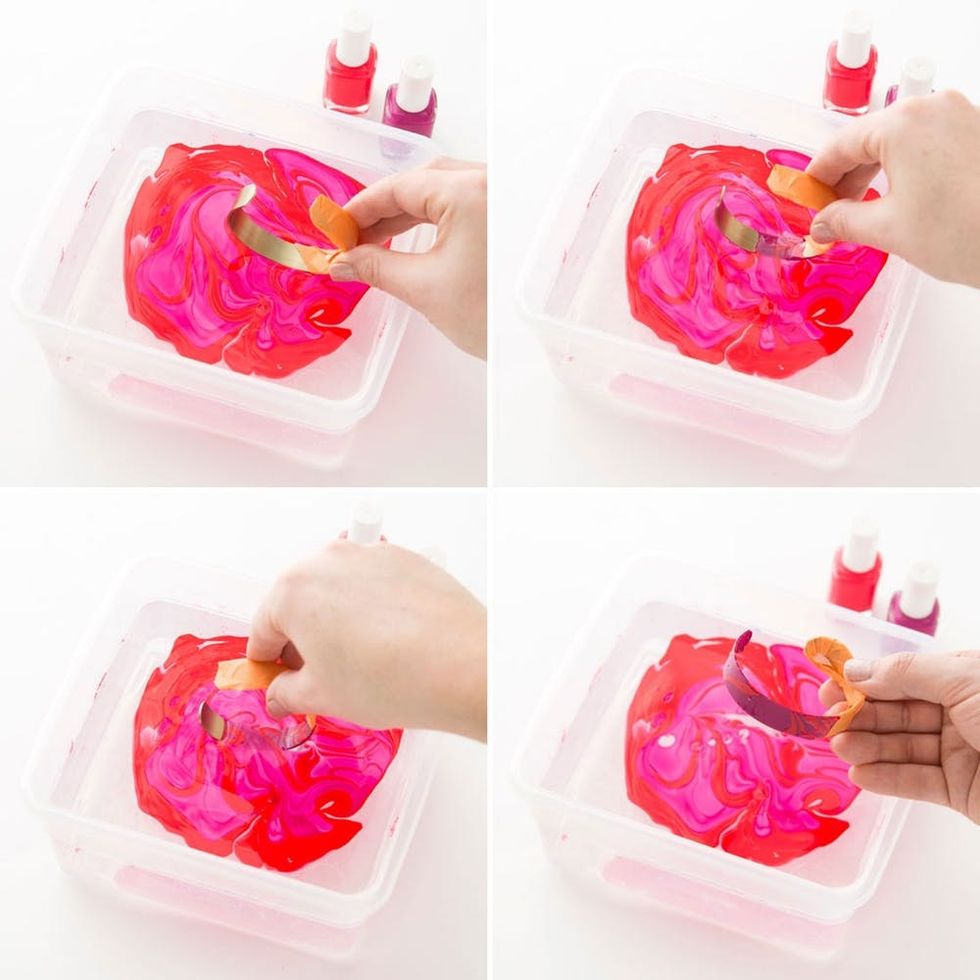
Once you’re happy with how the two colors are marbling, carefully dip your taped-off bracelet straight down into the marbled nail polish, making sure to curve the bracelet as you dip so that it picks up color all the way along the outside of the cuff. Hold your marbled cuff upright for a few seconds to begin air drying and then set aside on a paper plate or paper towel to dry completely.
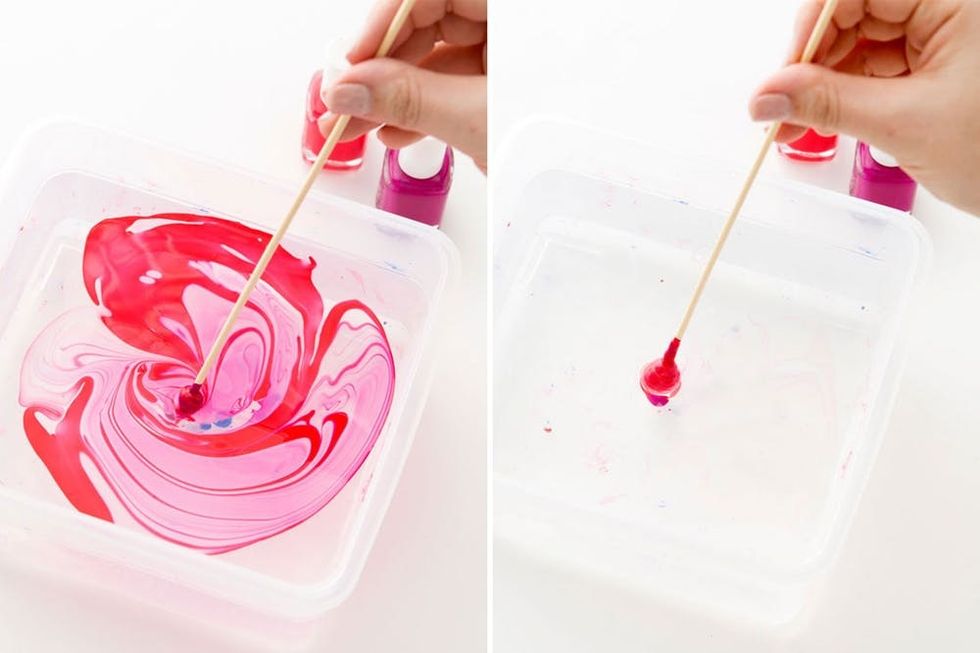
Let the nail polish in your water bin solidify for a minute or so, then pick up all the color by spinning your skewer in circles until all the nail polish has wrapped around it and the water is clear.
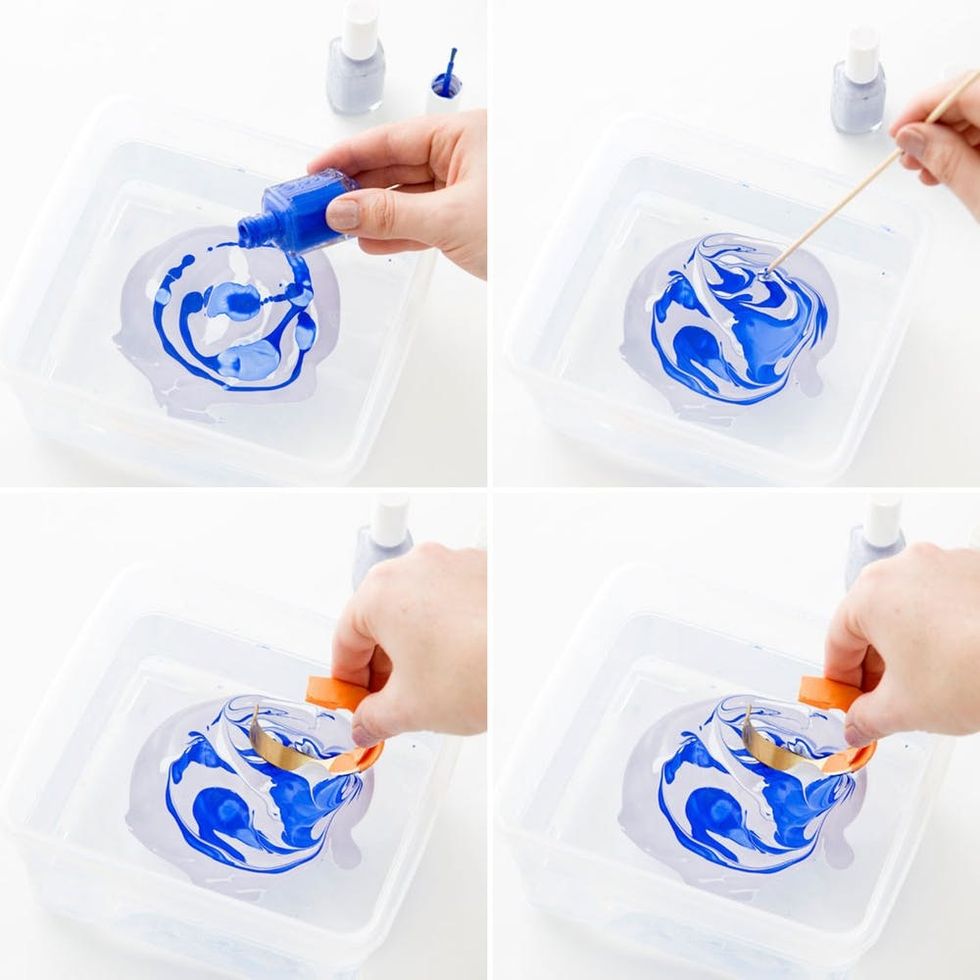
Once the water is clear, you’re free to try out more color combinations using the same technique!

And there you have it! After about 30 minutes of drying time, these babies are ready to go.
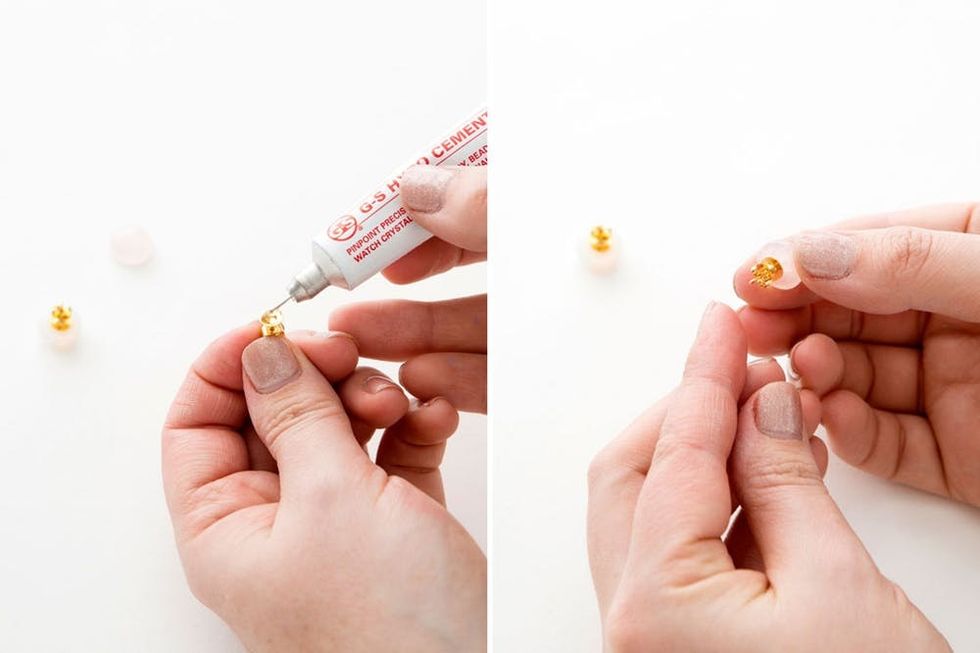
To make a pair of marbled earrings, first attach the cabochons to the flat side of the earring blanks using a small dot of hypo cement and let dry for 15 minutes. You could also use plain store-bought earrings as long as they have a smooth surface for the marbled nail polish to stick to.
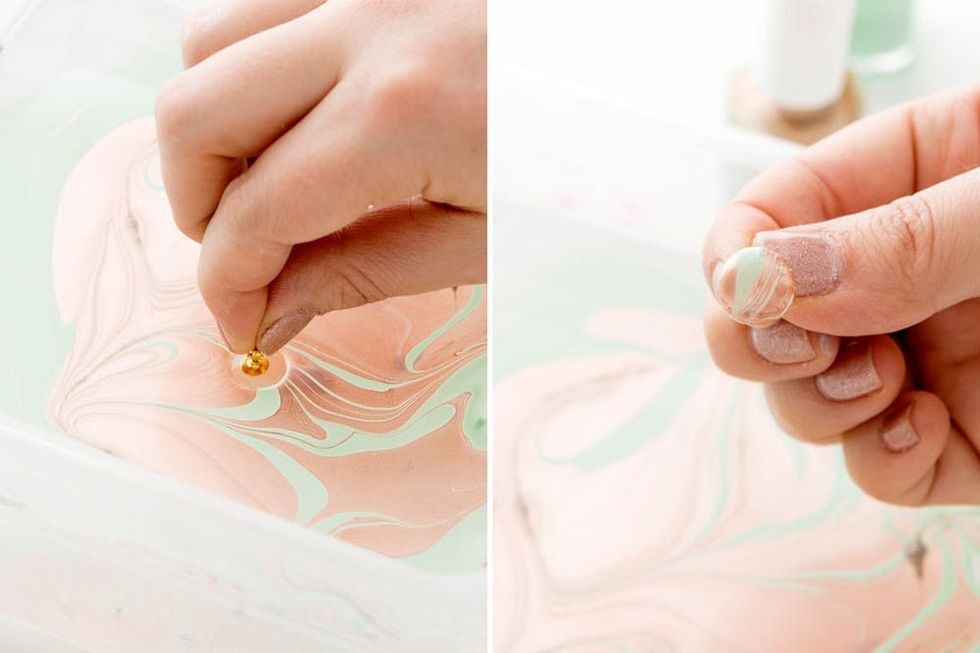
Once the glue is dry and your earrings are ready, mix two new colors of nail polish together in your water bin and then dip each earring, cabochon side down, into the nail polish. Lift up, let them air out for a few seconds and set aside to dry completely for 30 minutes or so.
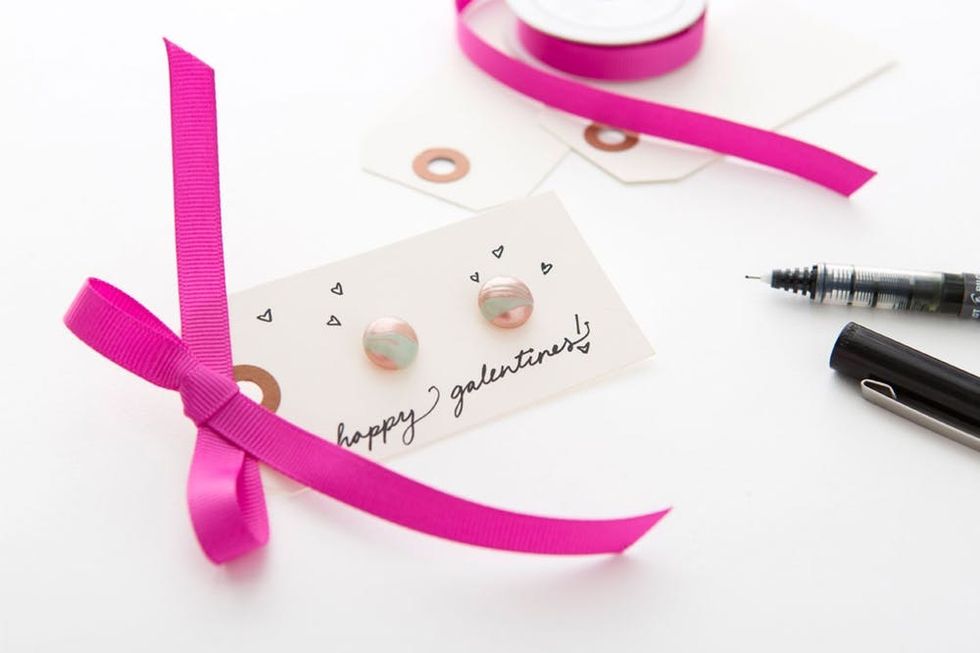
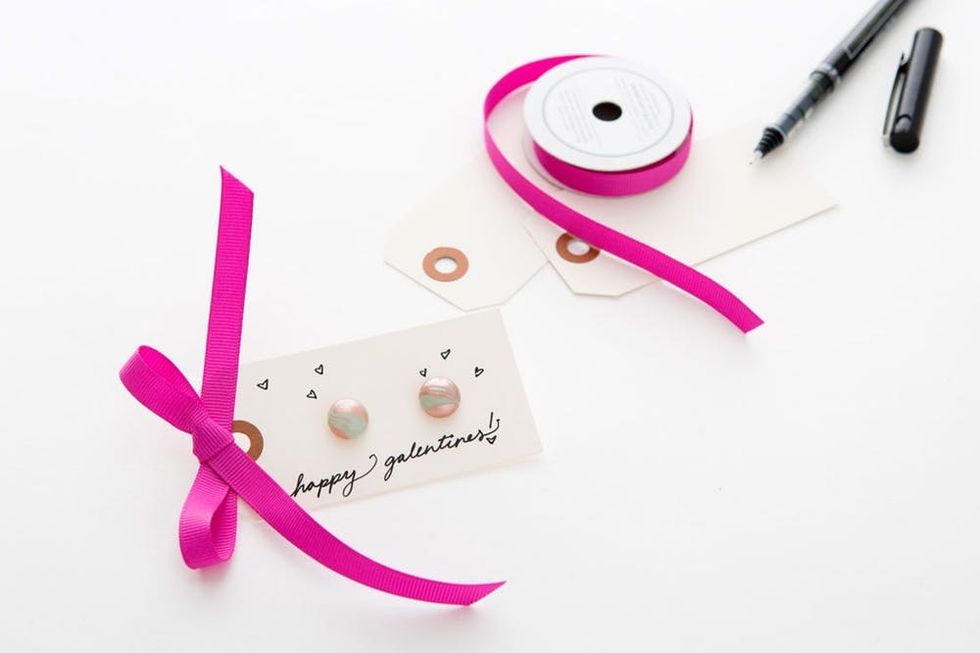
We are firm believers that presentation is everything, so package up your dry marbled pieces with a bow and a sweet note for your galentines! These earrings fit perfectly on a little paper gift tag.
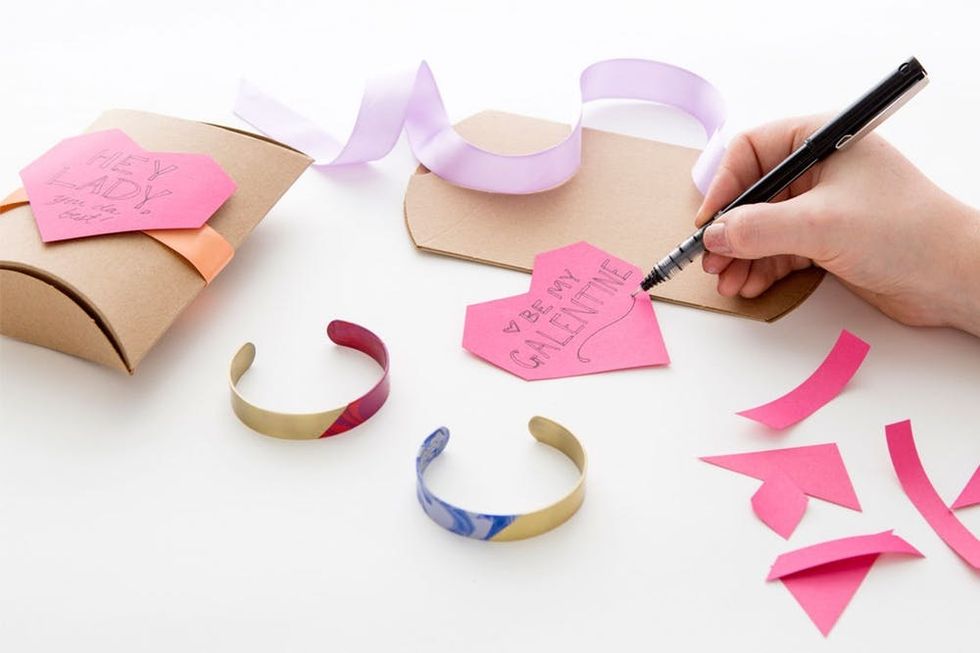
For the larger bracelets, we grabbed a couple kraft paper boxes, tissue paper, ribbon and pink card stock and added a little hand-written note to the front.
What will you be making for your galentines this year? Share with us on Instagram @britandco using the hashtag #iamcreative.


