Designed in partnership with Victoria Hudgins of A Subtle Revelry, this modern set of DIY geometric candle holders is just what you need to spruce up your table this holiday season.
Trick Out Your Table with DIY Geometric Candle Holders
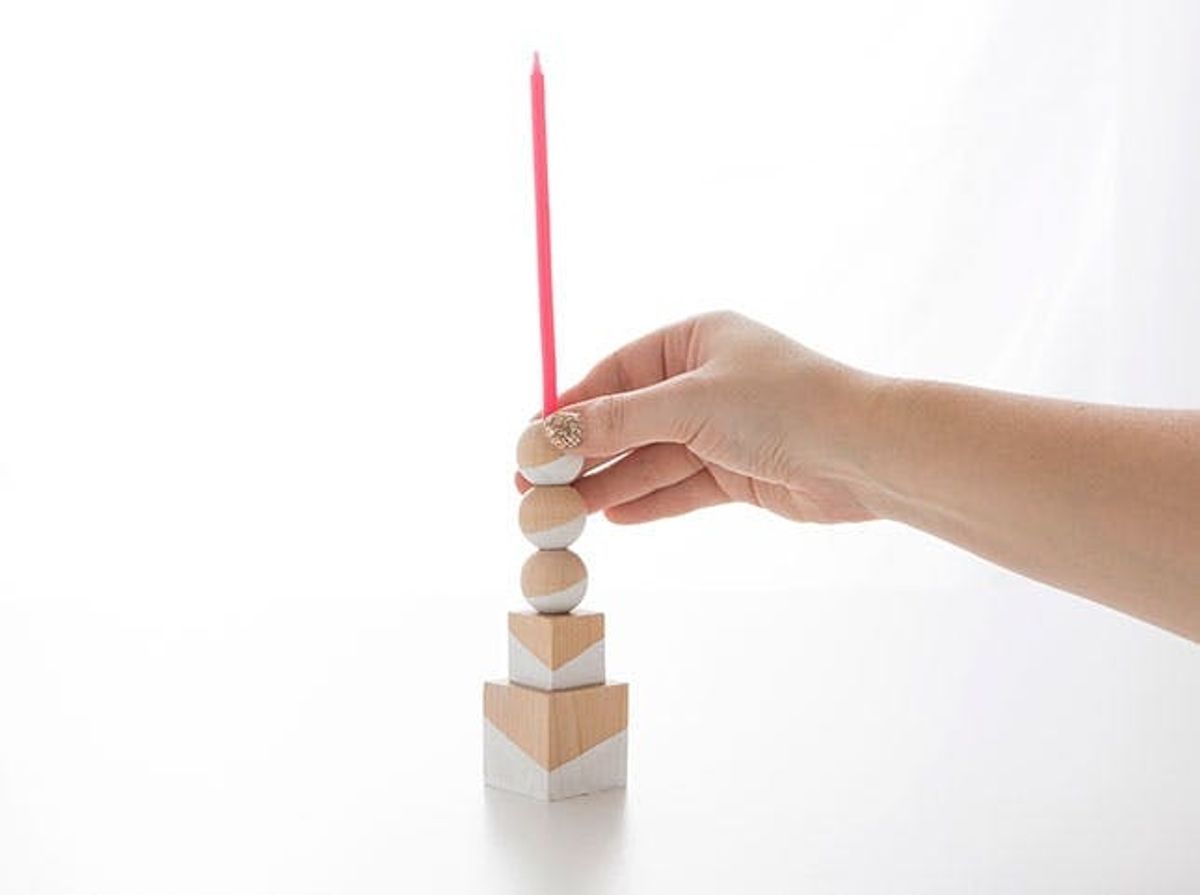

Looking for some holiday decor that doesn’t go out of style as soon as January hits? We’ve got you covered with these fun geometric candle holders. These towering tapers really make a statement on your table or mantel, and are reusable year round. Just switch out these thin ¼-inch tapers and light em’ up!
We teamed up with A Subtle Revelry to give you this easy Geometric Candle Holders Kit as part of Brit Kit Collabs.
What are Brit Kit Collabs? Glad you asked! We teamed up with eight of our favorite makers, bloggers and designers to create a brand new set of nine exclusive Brit Kits, just in time for the holidays. Head to the shop to check ’em all out, and follow along to learn how to create your own set of stacked geometric candle holders. You can get everything you need to create this project in our Geometric Candle Holders Kit] for just $25 in the B+C Shop!
Learn more about Victoria Hudgins of A Subtle Revelry by checking out her maker profile right here. Now, how’s about we start stacking?
Materials + Tools:
– wood beads
– wood blocks
– white paint pen
– super glue
– thin taper candles
Instructions:
1. Draw designs onto wood beads and blocks using your paint pen, and let dry.
2. Unscrew the cap and puncture the seal underneath on your tube of super glue.
3. Dab a small amount of glue onto your wood blocks.
4. Hold pieces together for 30 seconds to set the glue, and keep stacking up blocks and beads with glue.
5. Before glueing on the final bead, insert a candle into one end of the bead.
6. Carefully rotate the candle as you insert it, and clear away any extra wax that flakes off.
7. Glue this last piece onto the rest of your candlestick, and hold for 30 seconds.
8. Repeat for 6 total candlesticks, and display on your table or mantel!
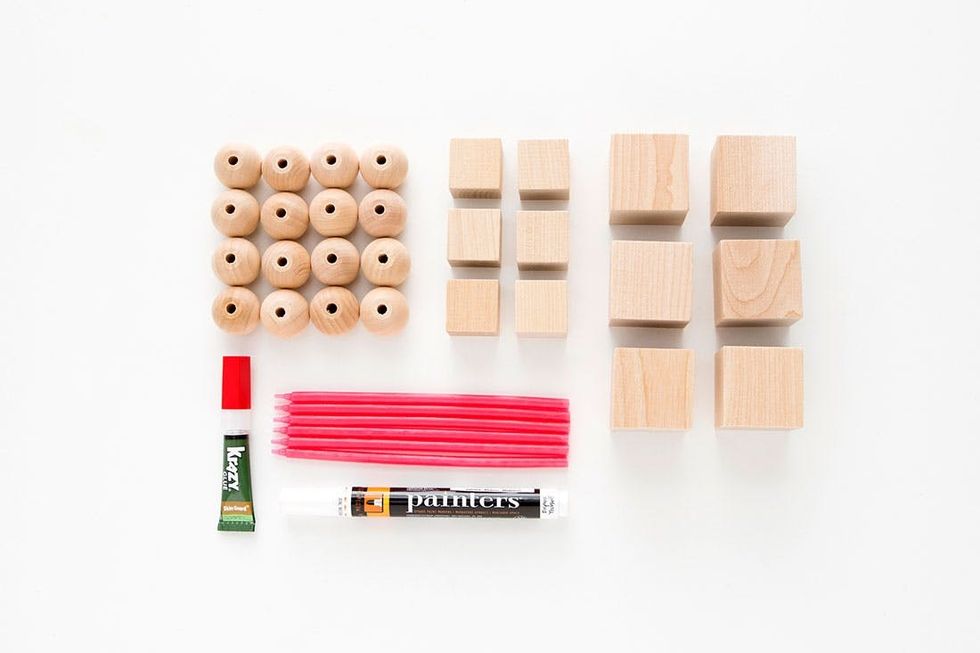
Your dream tablescape awaits! Grab a kit and lets get making.
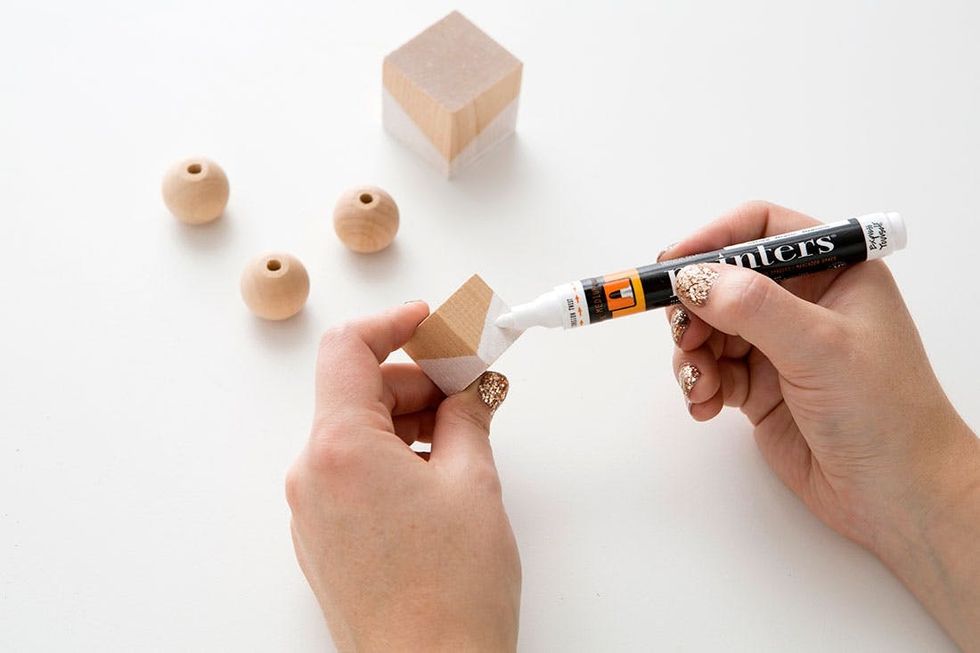
First off, dive right into your paint pen designs by drawing on all your wood blocks and beads. Make sure to shake that paint pen up and press down on the tip repeatedly to get the paint going. It may take two coats to get a bright white, so make the rounds once and then come back and paint over your designs again once they’ve dried.
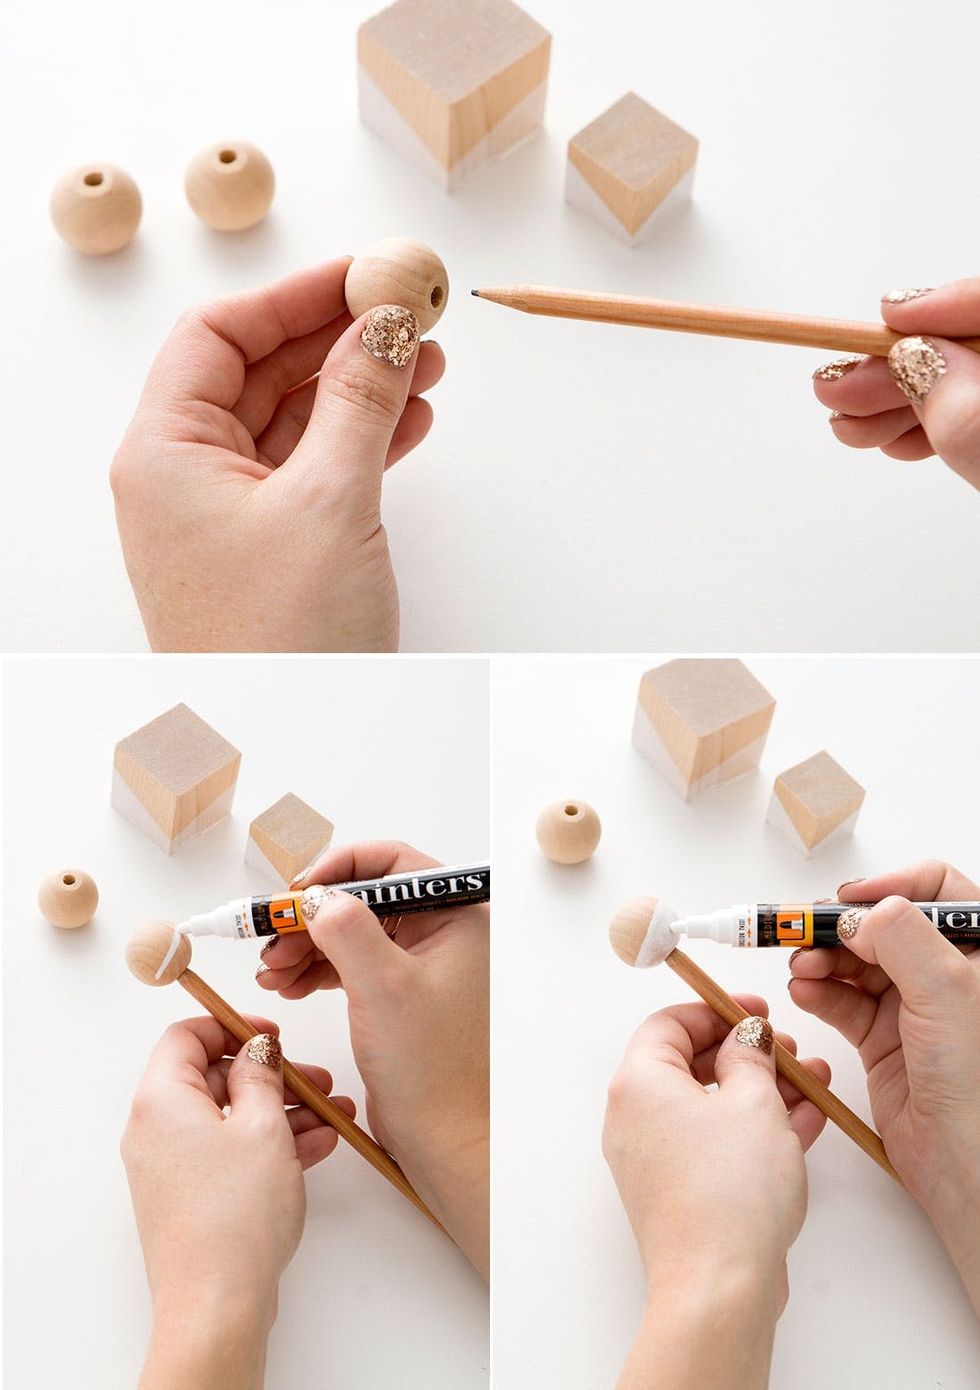
Here’s an added trick for the round wood beads: stick the bead onto a sharpened pencil while you’re painting, and then place the pencil in a glass or jar to let dry.
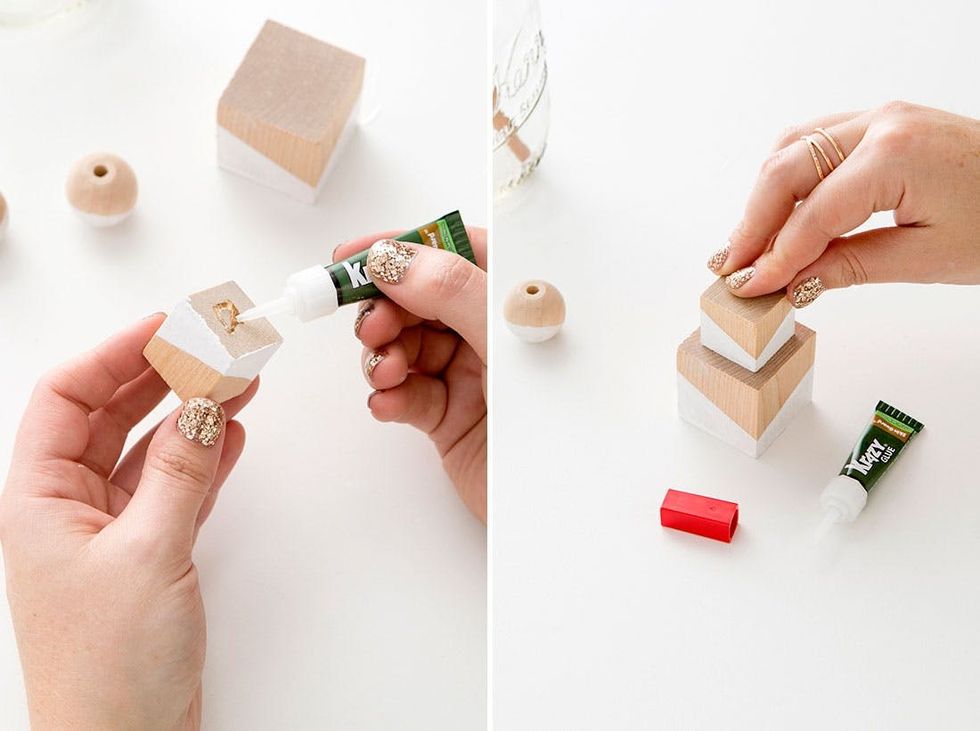
Now it’s time to stack these babies up! Make sure to pierce the internal foil seal in your tube of super glue, and screw the applicator tip back on before squeezing any glue out. Then dab a small amount of glue onto the underside of your wood blocks, stack on top of each other, and hold for 30 seconds to secure the glue.
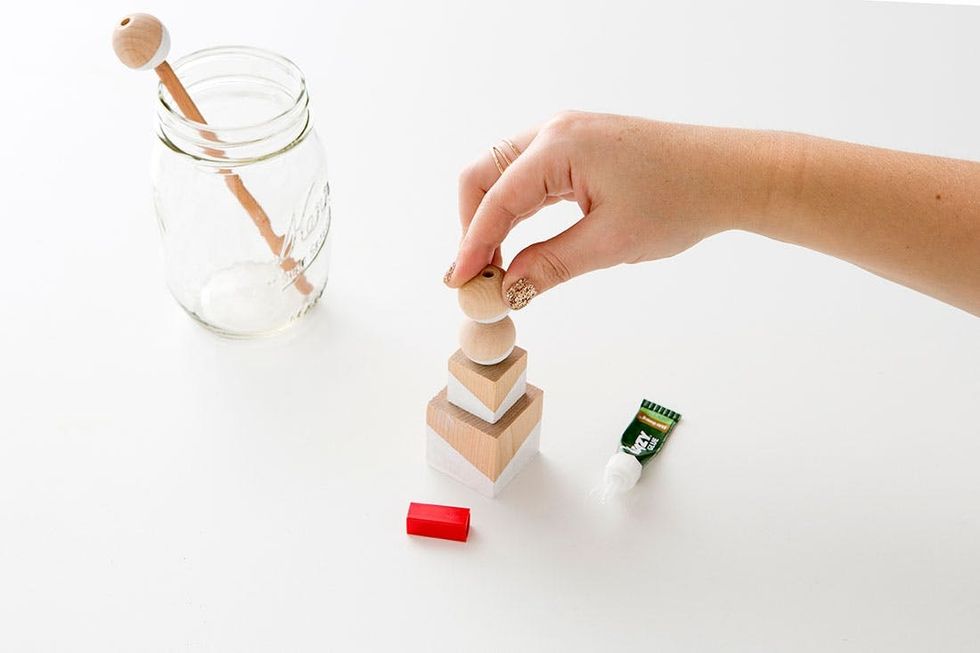
Continue to glue blocks and beads on top of each other, holding each tier for 30 seconds.
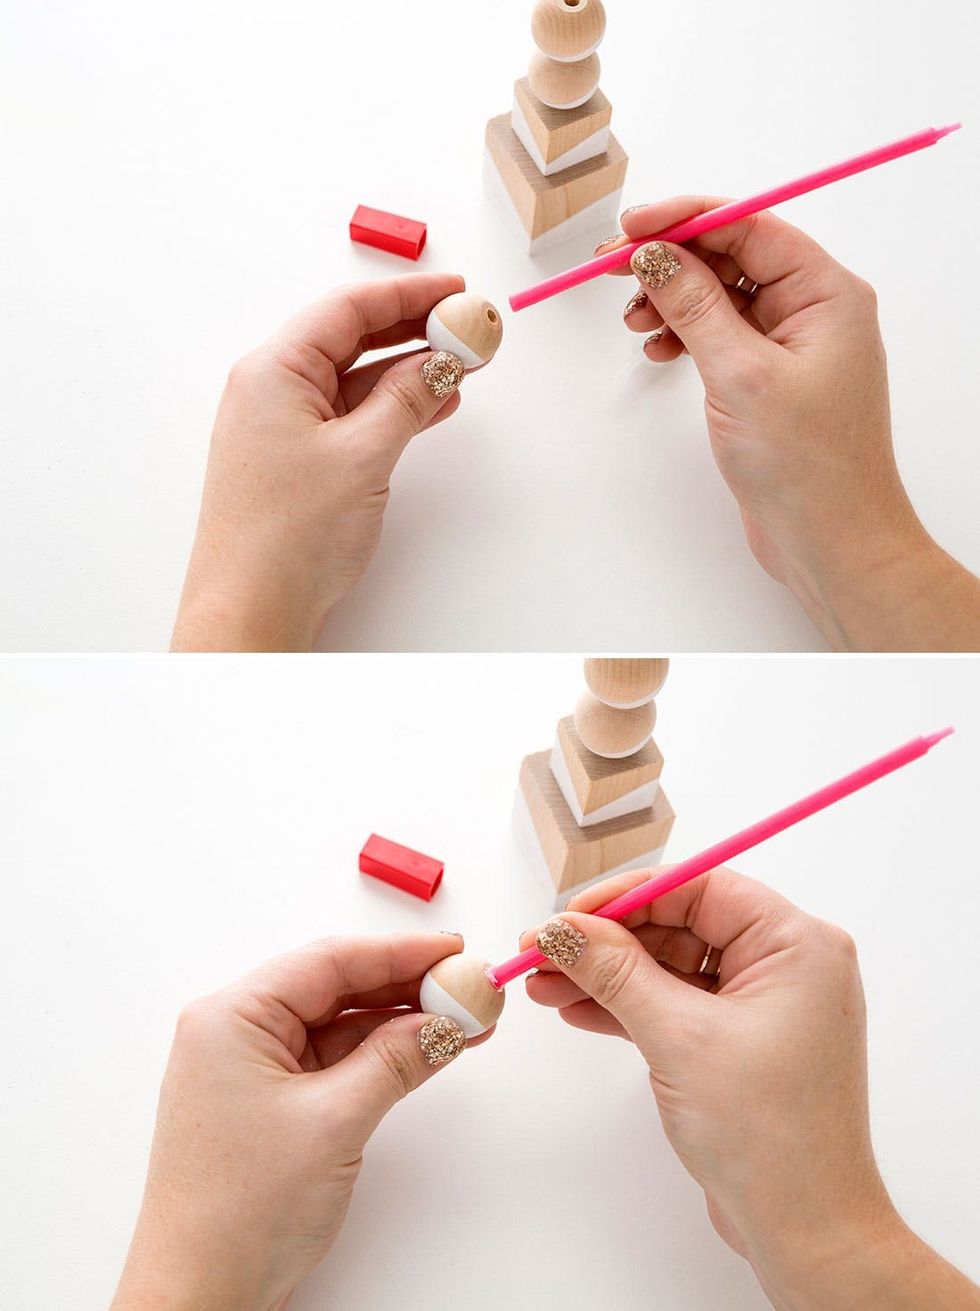
Before glueing your final bead on top, take one candle and carefully twist the bottom end into the top of the bead until it fits snug. This will shave off a small amount of wax as you twist the candle into the bead.
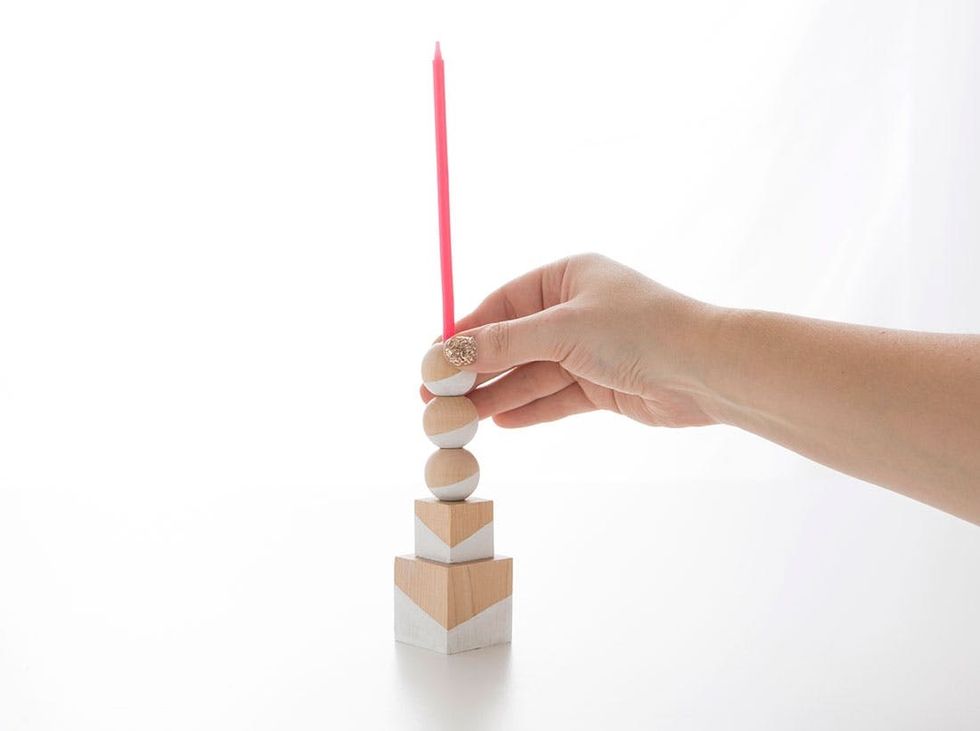
Brush away the excess wax and glue the final bead on top of the others.

Repeat for 6 total candle holders of all different heights, and display them proudly on your table or mantel!
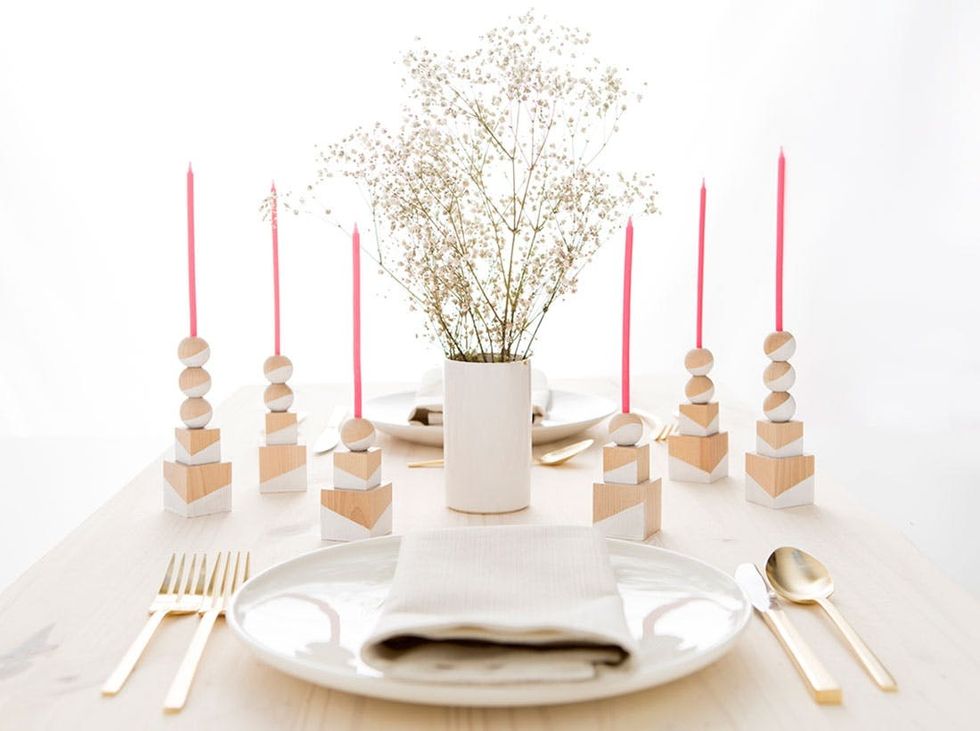
As we’re gearing up for the holidays, we like to think of these as the modern girl’s snow capped decor. But these would also make adorable birthday candles or a cute centerpiece for Sunday brunch!

What other unexpected DIYs would you make from wood beads? Tell us in the comments below!


