Your succulents need these.
Add Some Spring to Your Space With DIY Geo Planters

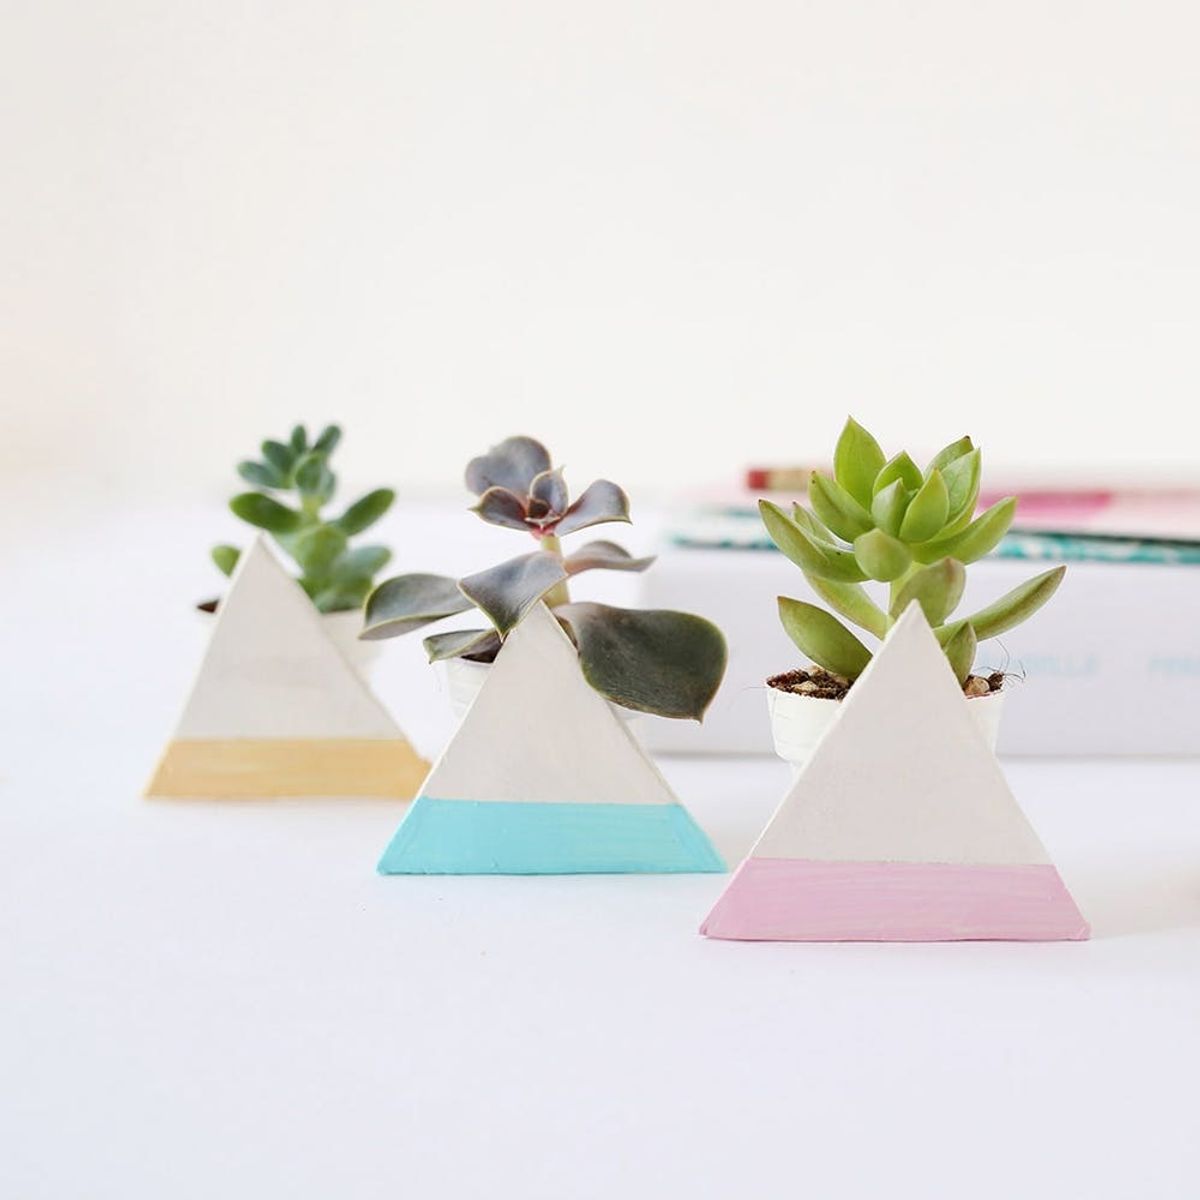
Friday officially marked the first day of spring, which means it’s the perfect time for a little sprucing up. Some like to renew their wardrobe, catching up all the new trends, while others are more about reorganizing their homes and adding green touches to their apartment. This is exactly the spirit that inspired today’s post. So let’s DIY teeny tiny geometric planters and add a colorful springy touch to your abode.
Materials:
— mini succulents + the planter they come in
— triangle template
— parchment paper
— white and colorful acrylics
— masking tape
— sandpaper (or nail file)
— hot glue
Tools:
— knife
— old paintbrush
— rolling pin
— hot glue gun
Instructions:
1. Protect your surface by covering it with a piece of parchment paper.
2. Roll the clay between your hands until it’s soft and malleable. Using your roller, roll out the clay to a 1/2-inch thick layer.
3. Print your template. Cut out one triangle.
4. Place the triangle on top of the rolled out clay and use a knife to cut the clay into the triangle shape. Once the shape is cut, let the clay triangle dry according to the specified time on your clay’s packaging.
5. Once your shape is dry, sand down all the sides to give them a clean, crisp edge.
6. Paint a coat of white acrylic all over your triangle and all over the planter. Let both dry completely.
7. To add a little color, place your masking tape over any area of the triangle that you want to leave white. Use your acrylics to add a colorful touch.
8. Once everything’s completely dried, use the glue gun to hot glue the triangle onto your mini planter.
Get started by rolling out the clay until it’s about a 1/2-in thick. Print your template, cut out your shape with a scissors, then use a knife to cut out as many triangles as you want and leave them to air dry (ours took two hours to completely dry). Gently sand down the sides and paint a coat of white acrylic on the top of each triangle and prepare to color block. Finally, use tape to block off the area you don’t want painted. Then, paint exactly where you want your color to be. We decided on pastel shades… very spring appropriate ;)
Display your brand new springy planters on a shelf, put them on your desk or give them to your mum as a perfect Mother’s Day present.
What ideas do you have in mind for planters this spring? Tell us in the comments below.


