We love geometric designs — that’s no secret. From Clay Geode Necklaces to Geometric Lighting, we can’t get enough of this shapely trend. For today’s bit of geometric decor, we took inspiration from this piece of Geometric Wall Art on Anunk Blog (the post is in Czech!) but decided to take a more utilitarian approach. Follow the steps below to create your own set of catch-all trays, adorned with custom geometric designs.
Organize Yourself: DIY Geometric Patterned Trays
We love geometric designs — that’s no secret. From Clay Geode Necklaces to Geometric Lighting, we can’t get enough of this shapely trend. For today’s bit of geometric decor, we took inspiration from this piece of Geometric Wall Art on Anunk Blog (the post is in Czech!) but decided to take a more utilitarian approach. Follow the steps below to create your own set of catch-all trays, adorned with custom geometric designs.
<br/>
 – jewelry trays
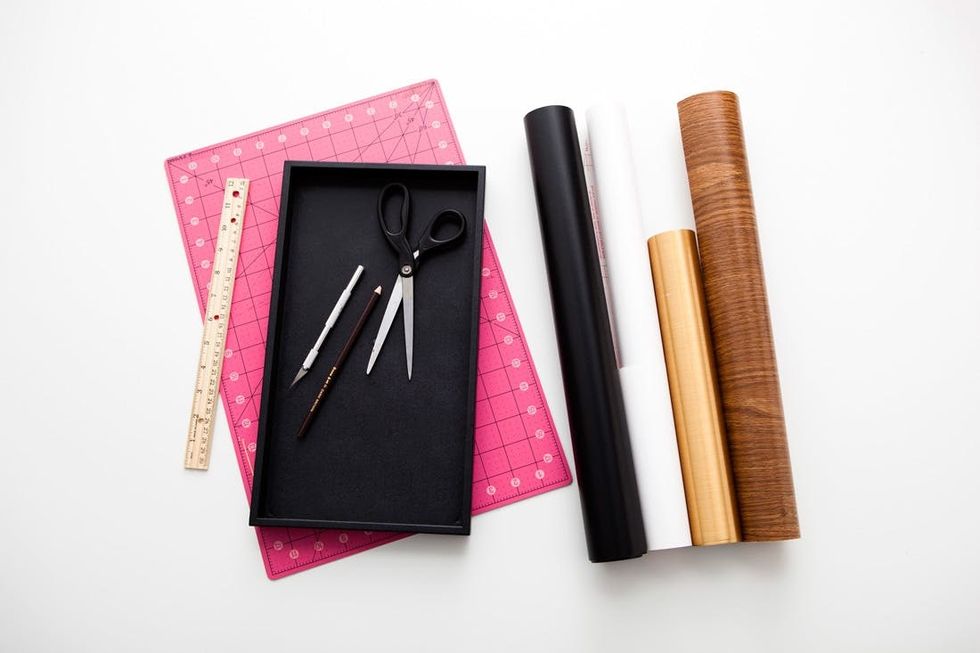
– various colors/patterns of contact paper
Tools:
– scissors
– X-acto knife
– self-healing cutting mat
– pencil
– ruler
Instructions:
1. Decide on a pattern (we created three).
2. Draw your shapes on the back of the contact paper using the ruler to make straight lines.
3. Cut out your shapes using the X-acto knife or your scissors (depending on the shape) and play around with the pattern on the tray.
4. Peel the back off the contact paper.
5. Adhere the contact paper to the tray.
Guess where we got all of the materials for this post? On Amazon, our favorite craft supply store ;) We went with a combination of metallic, woodgrain, black, and white contact paper.

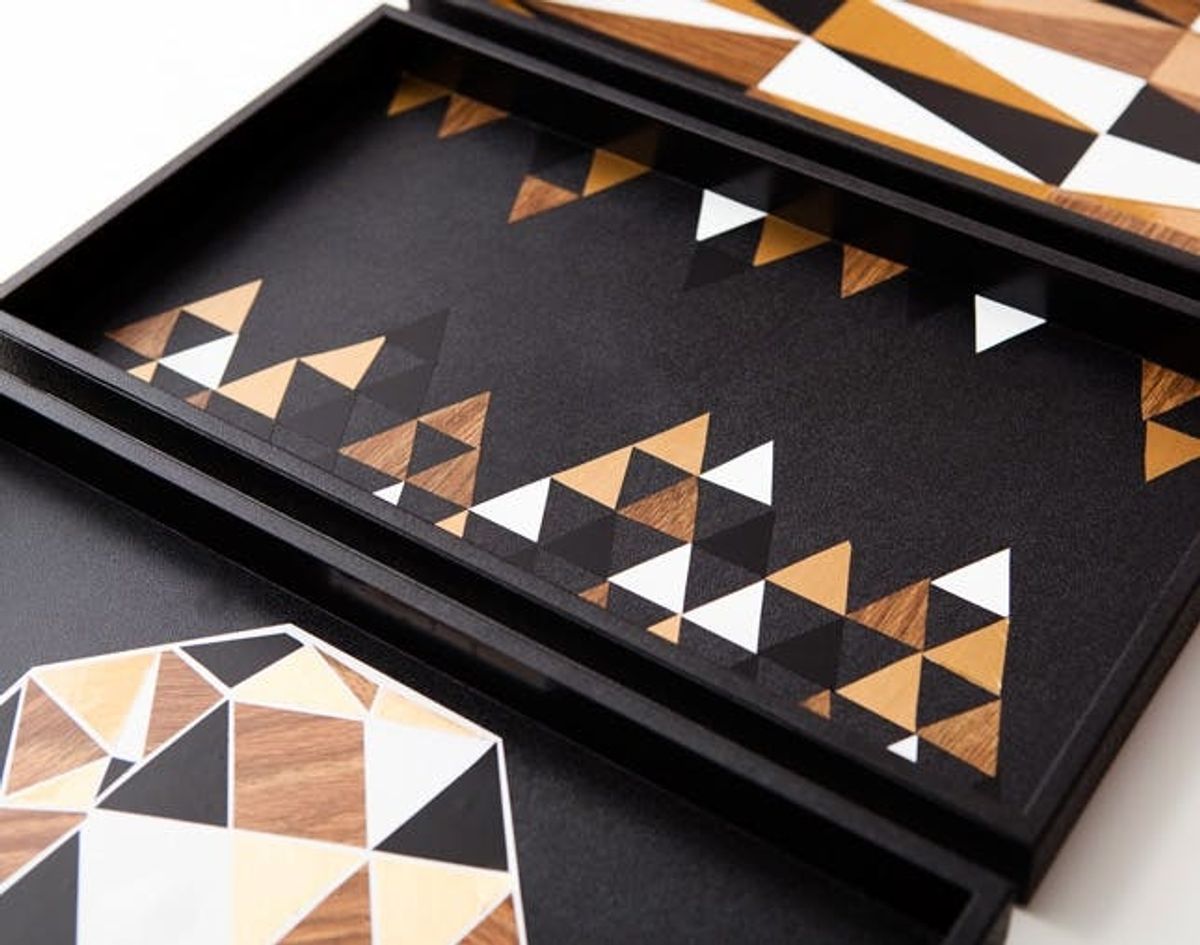
First, we’ll take you through the steps for creating the tray with a smattering of tiny triangles. First, draw your triangles on the back of the contact paper. Use a ruler to make straight lines — and in the case of this contact paper, we were able to use the grid on the back to make sure all the triangles were the same size. Use an X-acto knife to cut out your triangles.
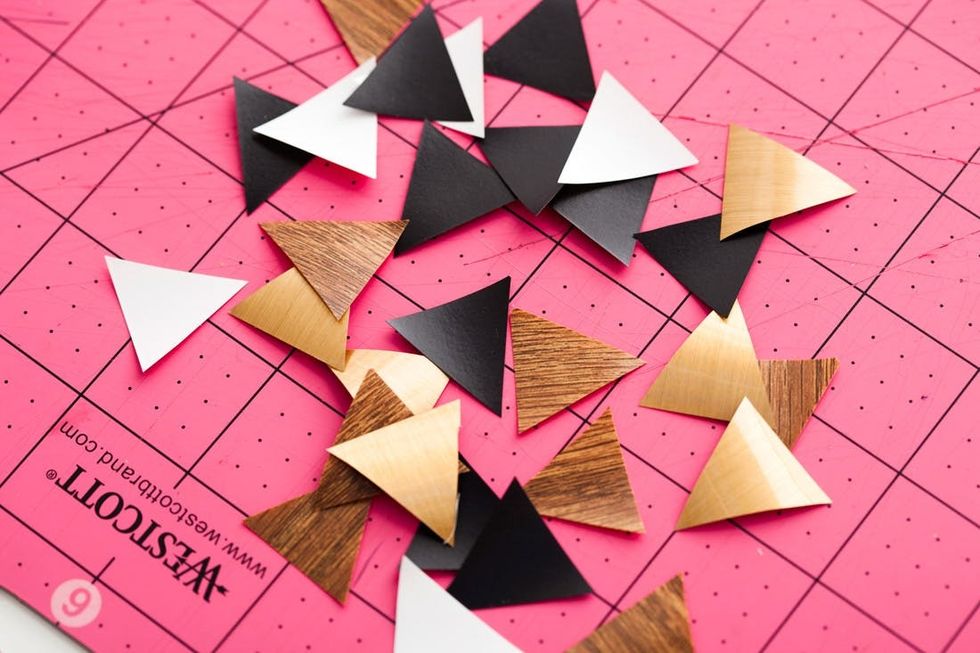
Look at all those triangles! Play with designs on your tray to figure out a pattern you like.
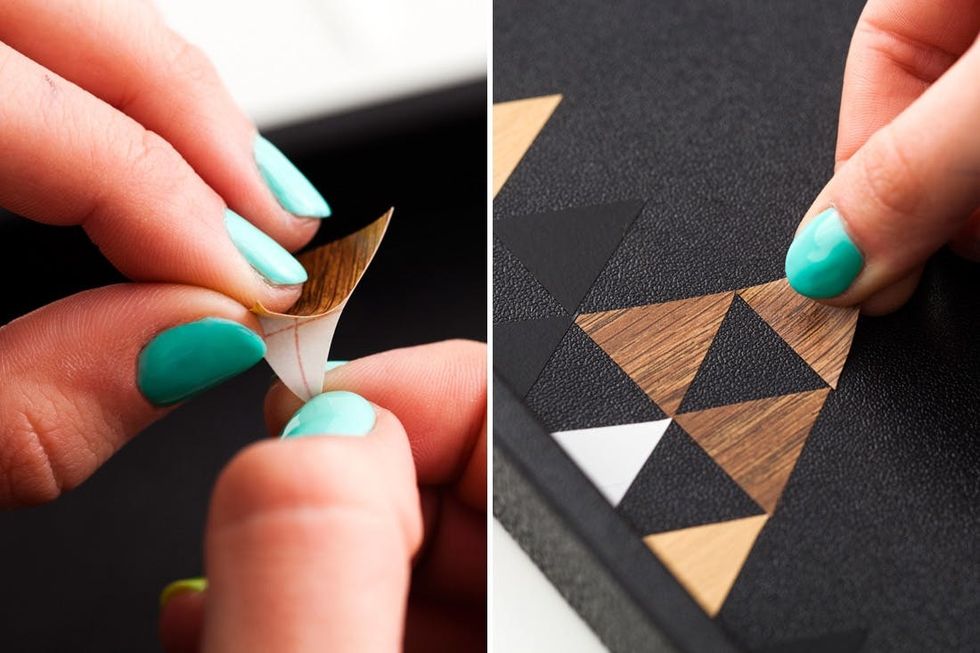
Peel and stick them right onto the tray. If you have trouble getting the backing off, try slightly rolling on the corners. The sticker should pop right off.
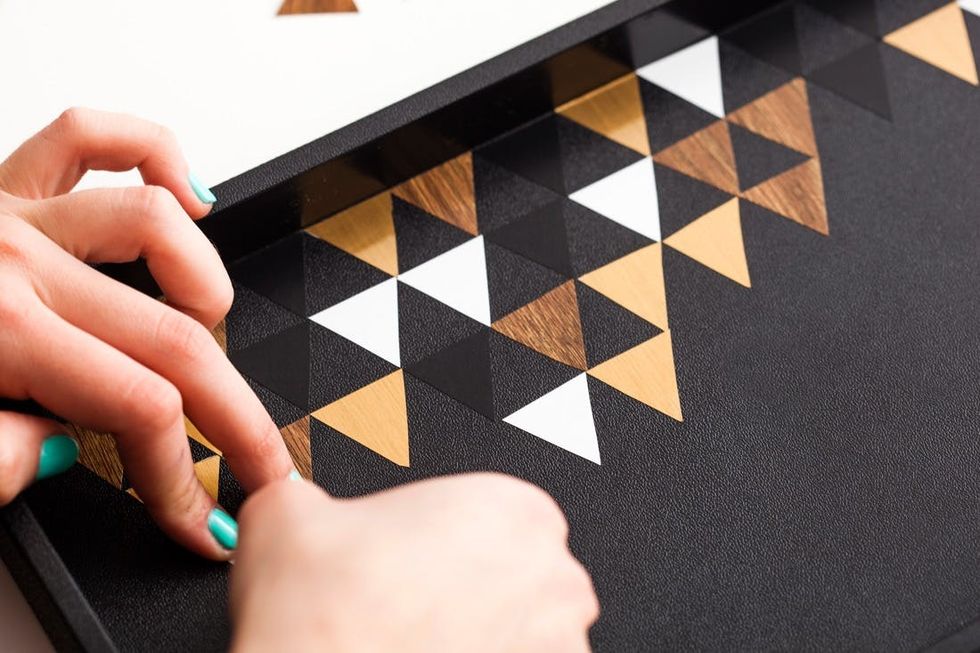
It’s easy to make a pattern look clean and crisp with these triangles, don’t you think?
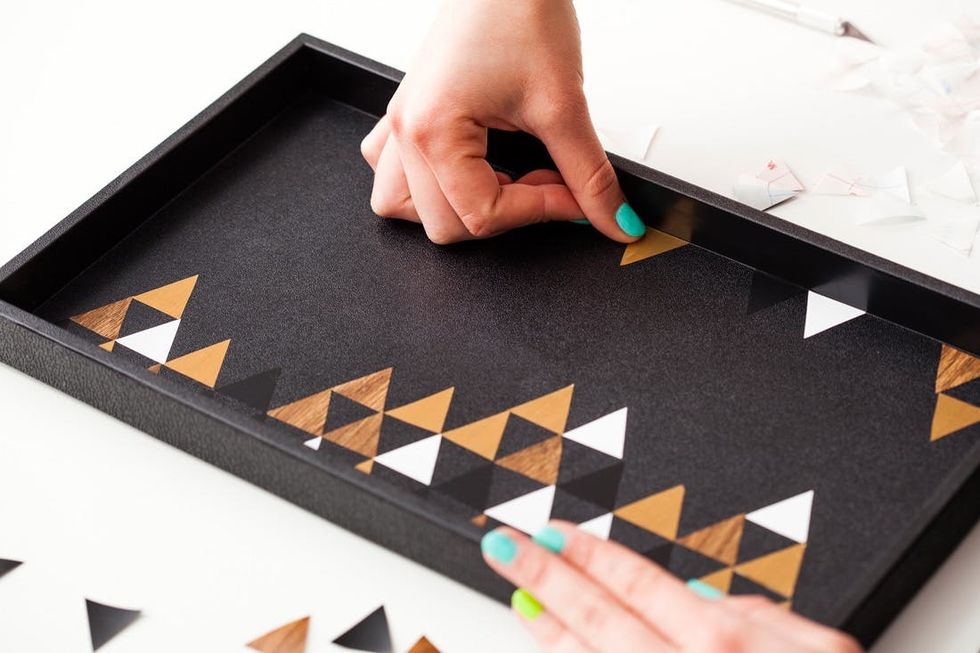
We added a row at the top for a little accent action.
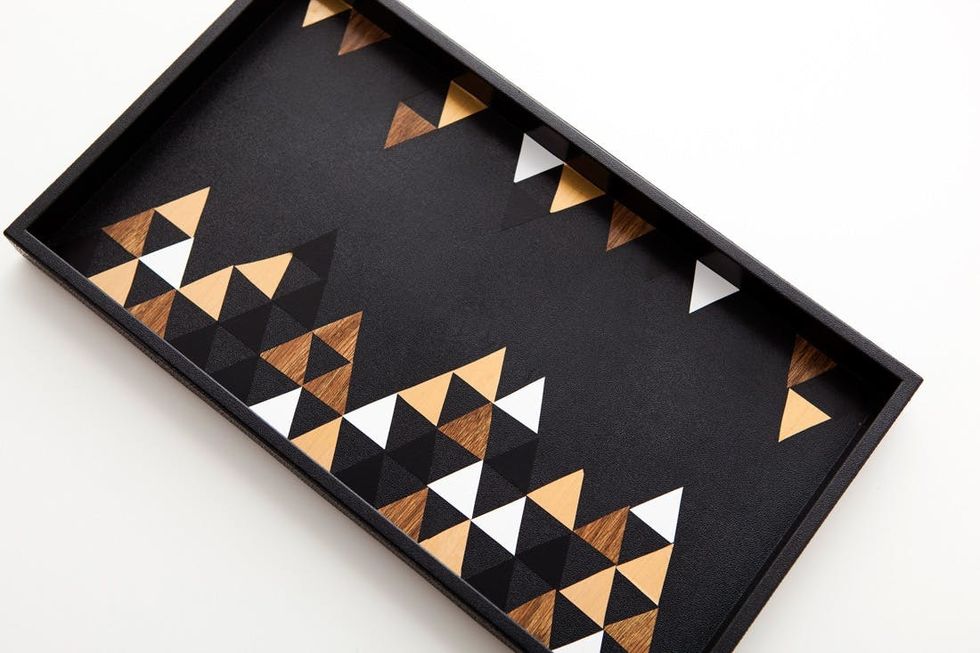
Done!
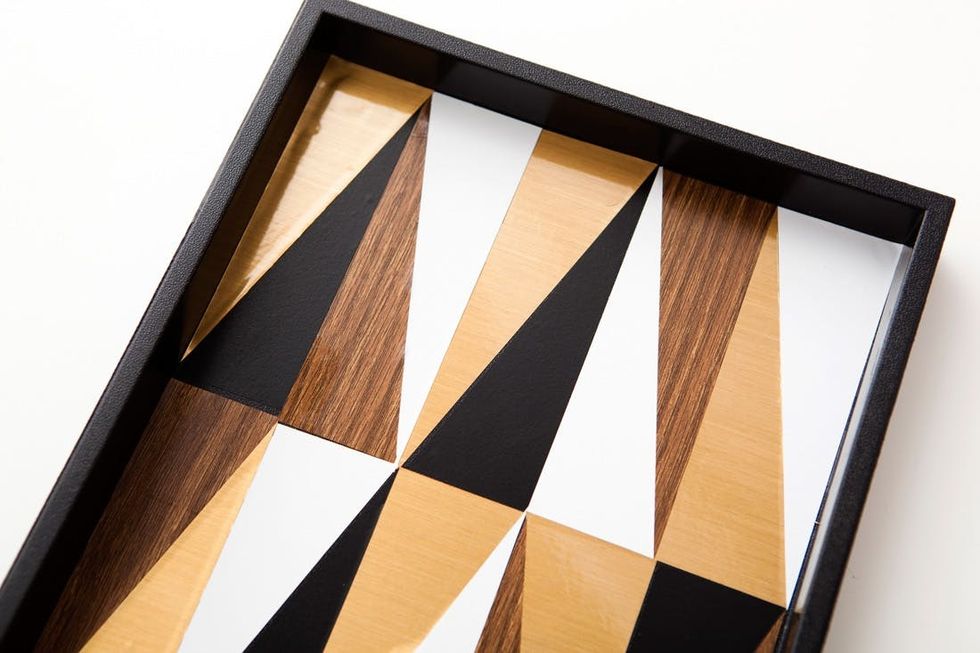
For this next one, you’ll have to be more precise because you want your shapes to fit perfectly wall to wall. We measured the length of the tray and then divided that by three so that we’d know how long to make the triangles. Then we also measured the width and divided that by five. This way we created triangles that would actually fit.
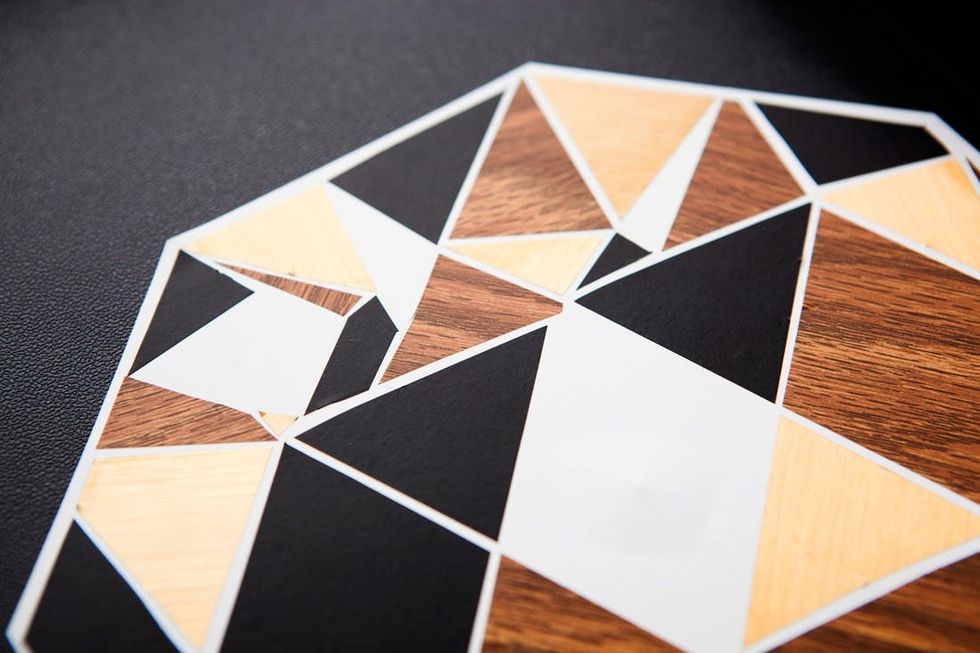
For the geode shape, we kind of freestyled and went with a mosaic style. We attached everything to a piece of white contact paper, and then stuck that right on the tray.

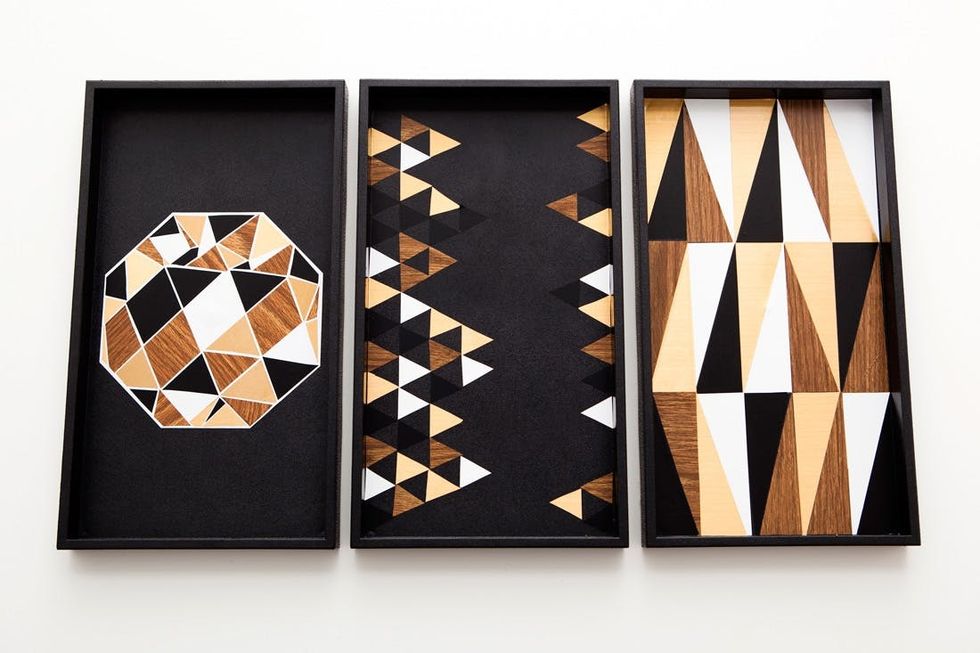
Now that’s a good looking trio of trays.
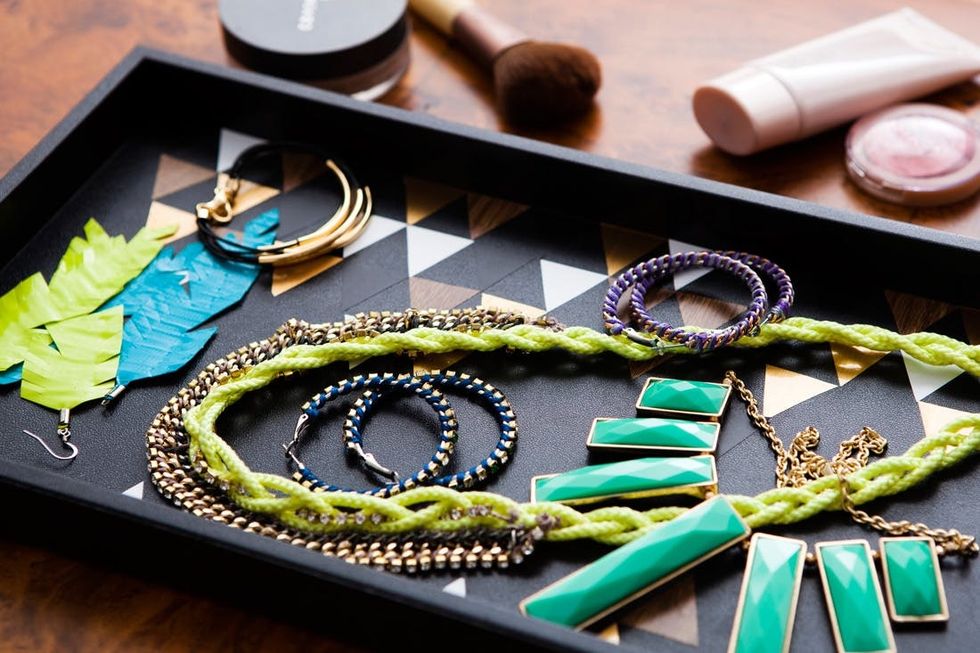
Use them to organize your jewelry.
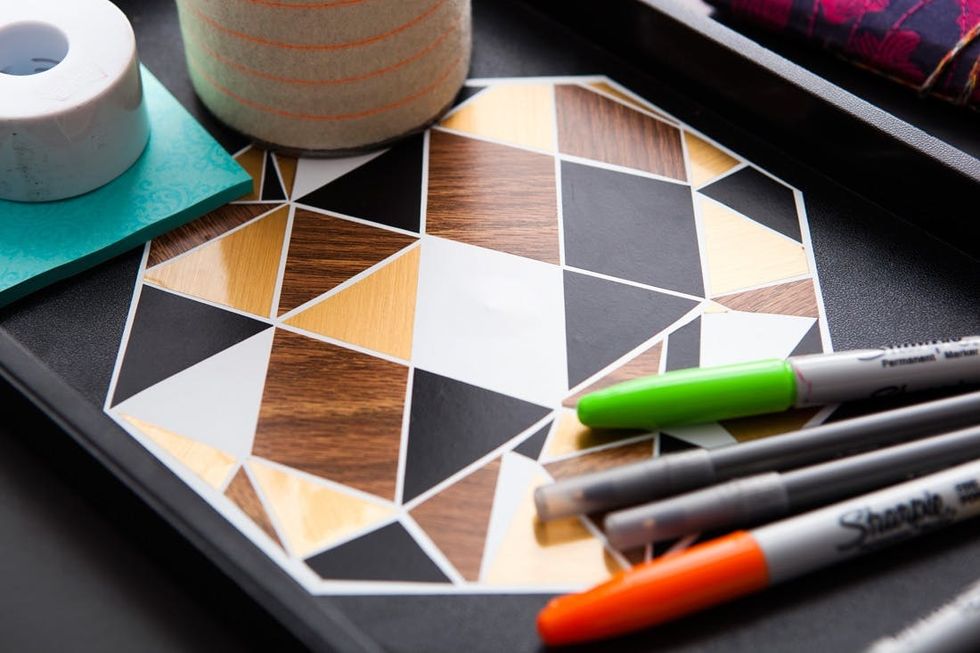
Your office supplies.

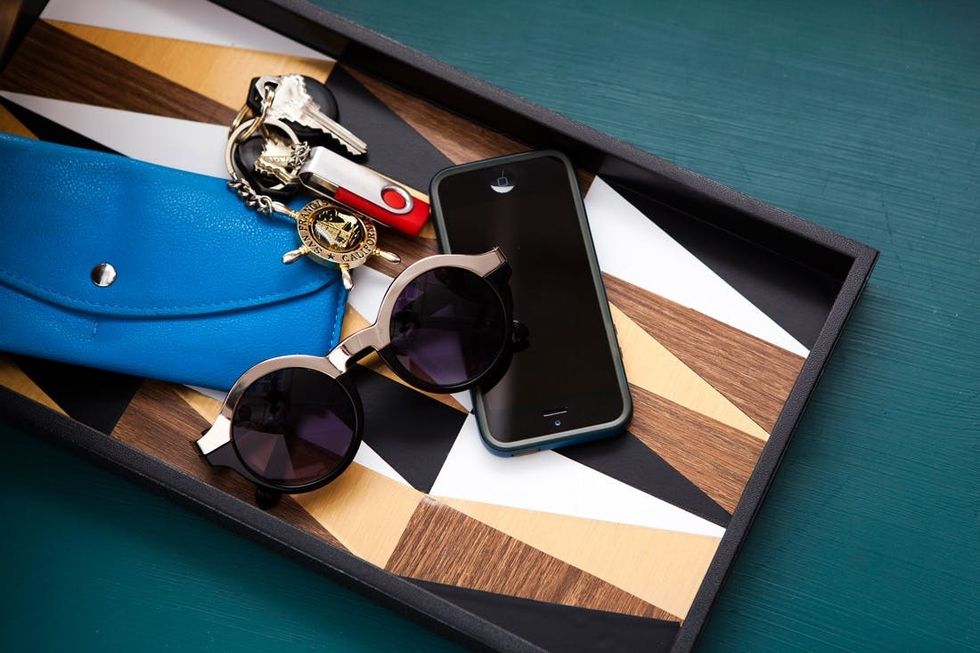
Or use one as a catch-all in your entryway.
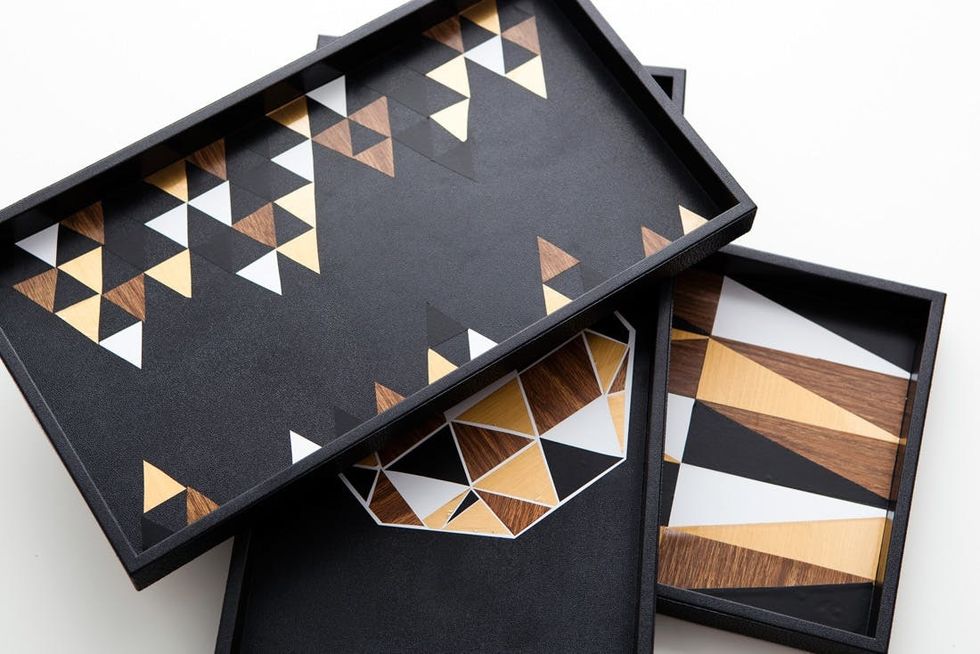
Whatever you’re setting out to organize, you’ll be doing so in style!


