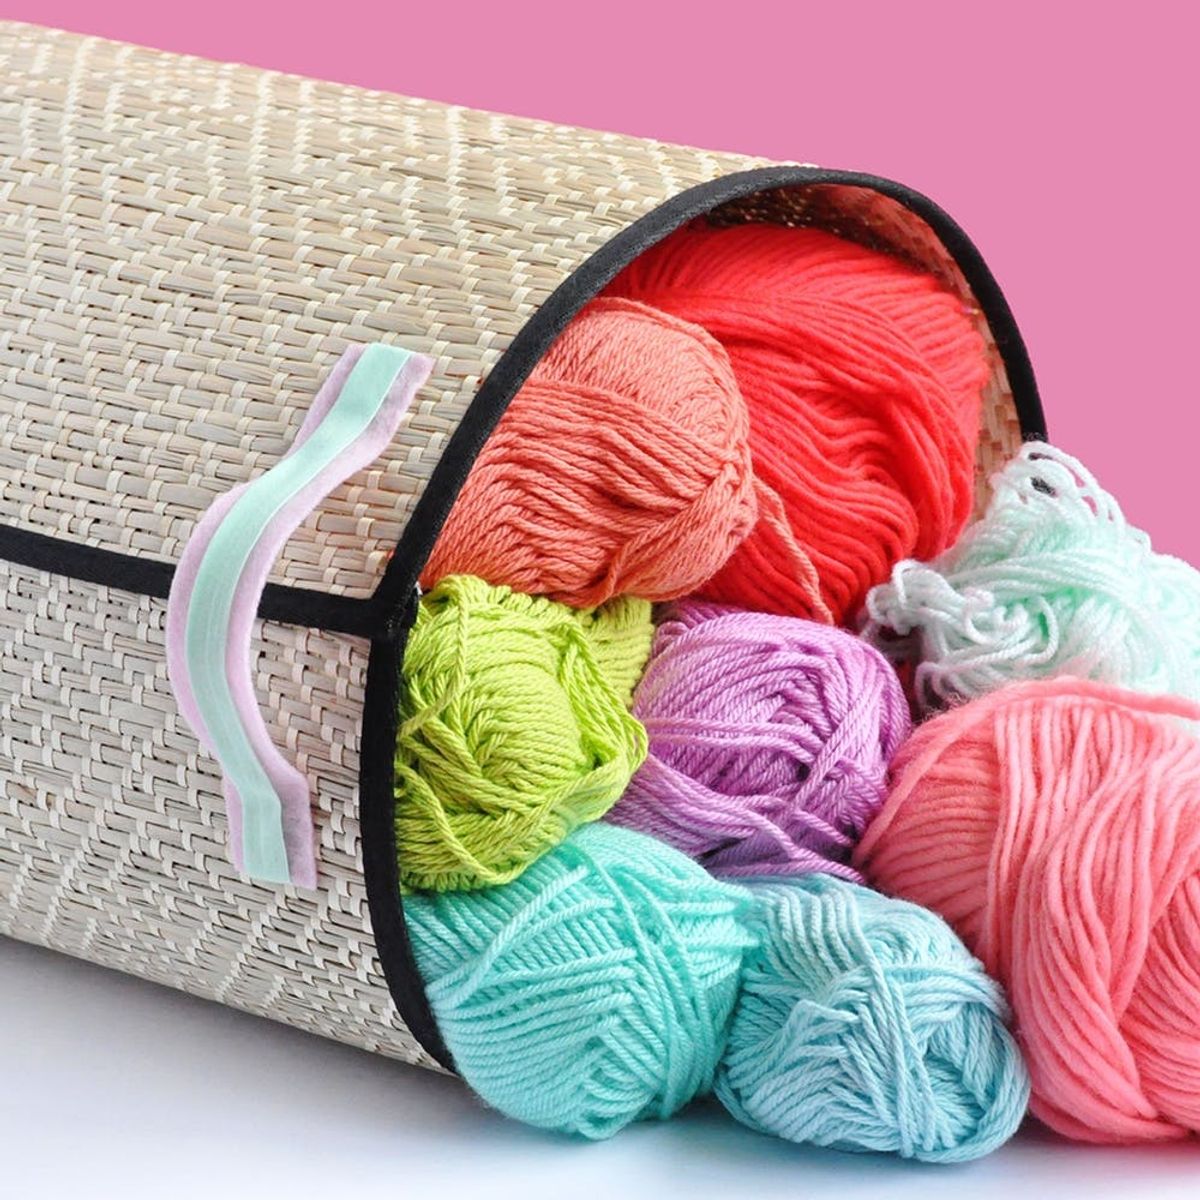
A simple basket that’s perfect for all your craft supplies.
Get Organized With This No-Sew IKEA Storage Hack

Now that it’s officially spring, it’s time to get organized and start spring cleaning! I’m always looking for new and better ways to organize my ever-growing stash of craft supplies, so I tend to end up browsing at IKEA fairly often. The last time I was there, these new woven placemats caught my eye, and I knew right away that an IKEA hack was in their future. This no-sew DIY storage basket is super simple to make, so you can make as many as you need in no time.

Materials and Tools:
- woven IKEA placemats
- felt
- scissors
- tape measure
- ribbon
- hot glue gun
- chalk

Instructions:
- Apply a line of hot glue down the right side of the placemat, keeping the glue on the trim as much as possible. Attach the second placemat to this line of glue, holding in place to secure. Do the same for the second set of sides, so that when glued, you have a placemat tube.
- Measure the circumference of the placemat tube (this one was 35 inches) and use chalk to draw a circle of the same size onto the felt. Cut out, leaving about 1 inch of seam allowance around the chalk line.
- Cut snips into the felt seam allowance, about 1 inch apart.
- Start hot gluing the felt flaps into one end of the placemat tube to secure the bottom in place.
- Continue gluing all the felt flaps into the tube until they’re all secured. If you have any wrinkles in the bottom piece of felt, just glue them in place as much as possible, but don’t stress because no one will ever see them.
- Cut two rectangles of felt to be the storage basket handles. Decorate them with ribbon if you like, and then glue onto the sides of the basket.

Apply a line of hot glue down the right side of the placemat, keeping the glue on the trim as much as possible. Attach the second placemat to this line of glue, holding in place to secure. Do the same for the second set of sides, so that when glued you have a placemat tube.

Measure the circumference of the placemat tube (this one was 35 inches) and use chalk to draw a circle of the same size onto the felt. Use a piece of string tied to the piece of chalk to make a simple compass (the string’s length should be the radius of the circle). Cut out, leaving about one inch of seam allowance around the chalk line.

Cut snips into the felt seam allowance, about one inch apart.

Start hot gluing the felt flaps into one end of the placemat tube to secure the bottom in place.

Continue gluing all the felt flaps into the tube until they’re all secured. If you have any wrinkles in the bottom piece of felt, just glue them in place as much as possible, but don’t stress because no one will ever see them.

Cut two rectangles of felt to be the storage basket handles. Decorate them with ribbon if you like, and then glue onto the sides of the basket.


Make an extra basket and you won’t need any excuse to add to your yarn collection!

What have you done to get organized this spring? Follow us on Pinterest for even more home organization inspiration!
Brit + Co may at times use affiliate links to promote products sold by others, but always offers genuine editorial recommendations.


