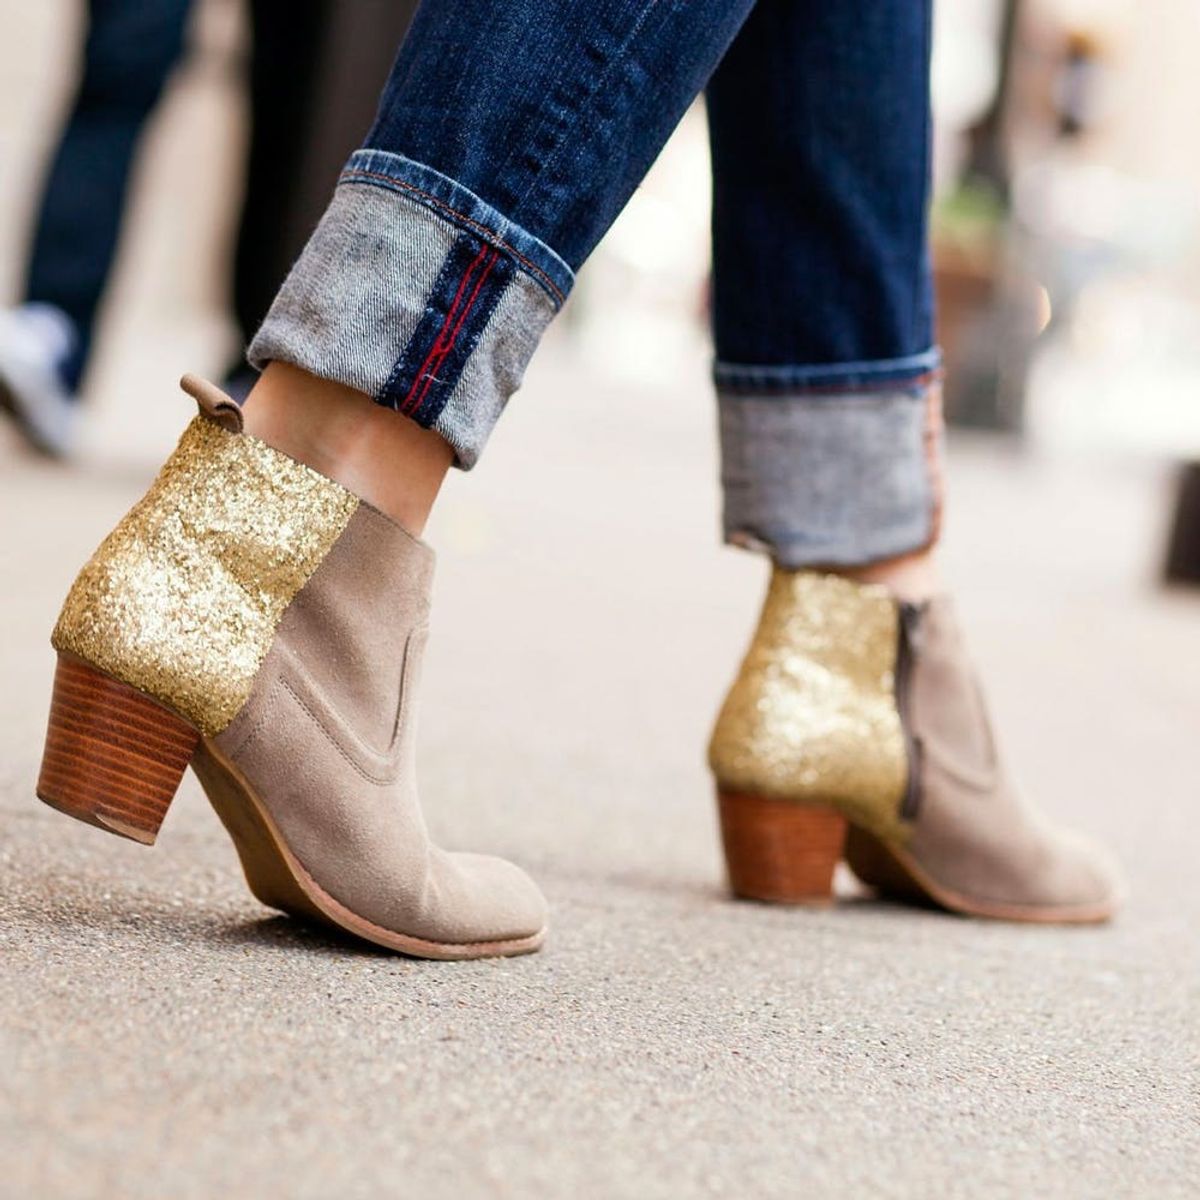
The year was 2011. Barneys was peddling a pair of boots that every girl on earth wanted. They had a little heel. The area right above the heel was blinged out in sparkly gold glitter. And they had a price tag that read $595. Hearts sank. Then, the makers of the world realized what makers realize on the regular: “We can totally hack this.” And the rest is history. DIY glitter boots are mainstream these days, but while looking through our archives, we realized we haven’t done our own version yet, so without further ado, let us take you through the step-by-step of a DIY classic that’s so easy and oh-so rewarding. Shine on, gurls.
Get on This DIY Basic: Glitter Booties

The year was 2011. Barneys was peddling a pair of boots that every girl on earth wanted. They had a little heel. The area right above the heel was blinged out in sparkly gold glitter. And they had a price tag that read $595. Hearts sank. Then, the makers of the world realized what makers realize on the regular: “We can totally hack this.” And the rest is history.
Materials:
– Booties
– Painter’s tape
– Small mason jar
– Aleene’s Jewel-It Embellishing Glue
– Gold glitter
– Foam brushes
– Aluminum foil cake pan
– Original Gloss Mod Podge
Instructions:
1. Tape off the back of your booties, aka the part you want to glitter-fy. Be sure to cover hardware, like the zippers and zipper pulls. And don’t forget to cover the heels.
2. Pour Aleene’s Jewel-It Embellishing Glue into a small mason jar. Pour glitter on top.
3. Mix with your foam brush.
4. Using the foam brush, paint a thin layer of glittery glue onto the booties.
5. Holding each bootie over the aluminum-foil cake pan, pour glitter onto the glue-painted part of the boots.
6. With your fingers, gently pat the glitter into place. Lightly shake off any excess glitter.
7. Pour Mod Podge into the same mason jar. Add MORE GLITTER! Stir to combine.
8. Using a dabbing motion, blot the Mod Podge onto your glittered boots. This will ensure that you don’t leave a trail of glitter wherever you go. (Though, that wouldn’t be the worst thing in the world.)
9. Let the Mod Podge dry for 24 hours.
10. Drink cocktails, eat ramen tacos, do your nails, go to bed, wake up, and pull the painter’s glue off of your booties.
11. Walk down the street and watch those heads turn.
If you tend to be a little sloppy (hey, we’re not here to judge), don’t hesitate to cover the entire heel.
Stir up your Jewel-It potion and paint a thin layer over the areas of your boots that you want blinged out.
After you’ve put a thin layer of Jewel-It over the taped-off section, hold your boot over the aluminum-foil pan, and pour your golden glitter onto the Jewel-It Glue. A gentle pat of the fingers will push down loose pieces. Give each boot a gentle shake over the pan to get rid of any loose flecks before adding your layer of Mod Podge.
Side note: I love glitter. Like freaking LOVE it. But our photographer, Chris? Not so much. His reasoning is valid. When you do a project using glitter, the stuff sticks around for a long, long time (which is mighty fine by me). But if you don’t want to see little shimmery specks around your apartment for weeks on end, make sure you’re working with a big enough aluminum pan to keep the glisten contained.
Gently blot a fairly thick layer of Mod Podge over the glitter. Let the Mod Podge cure for 24 hours. If you’re really worried about losing even one tiny fleck of glitter, go ahead and put on a second coat.
When you take off the painters tape, if some of the glitter comes up with the tape, fret not. Just grab some super glue and tack it back down. It won’t come up again. Promise!
You can literally glitter any booties you have lying around. I recently took my Sam Edelmans to Minneapolis. Minneapolis in the winter is full of salt, and my booties came home looking not so nice and needed something to put a little pep back in their step. So they got a GJ… that’s a glitter job, for the uninformed.
I DIY’d this pair of DV boots two years ago. And still to this day, every time I wear them, I get compliments and major props when I proudly announce that I blinged them out all by myself. Gloating is part of your ensemble when rocking these bad boys.
Have you already conquered this DIY basic? Or are you ready to give it a whirl? Let us know in the comments below.


