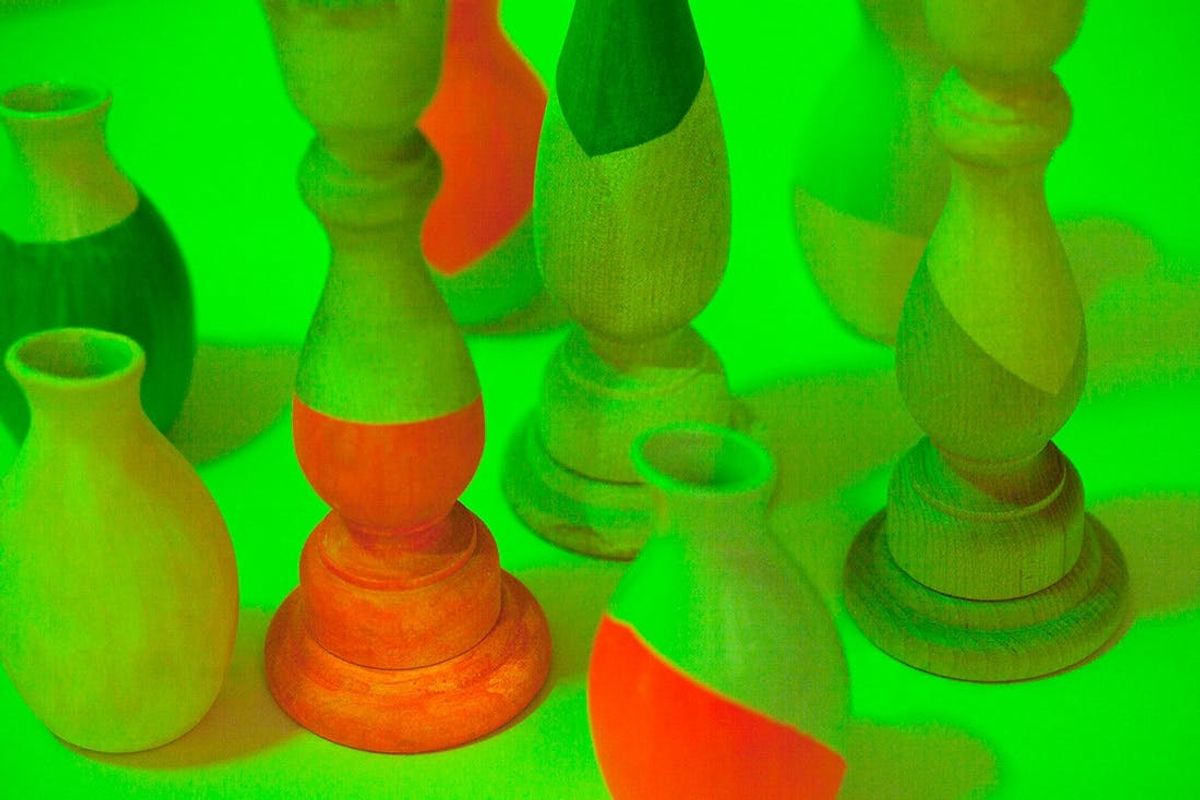
It’s Glow-in-the-Dark week here at Brit + Co, and we’re drumming up a serious neon storm. Today’s how-to is all about the basics on your table. We’ve got bud vases, candle sticks, and glow-in-the-dark napkins. Did you even know that glow-in-the-dark thread existed? Neither did we! Let’s get to it.
How to Make Glow-in-the-Dark Vases, Candles, and Napkins

It’s Glow-in-the-Dark week here at Brit + Co, and we’re drumming up a serious neon storm. Today’s how-to is all about the basics on your table. We’ve got bud vases, candle sticks, and glow-in-the-dark napkins. Did you even know that glow-in-the-dark thread existed? Neither did we! And guess what? You can buy the thread and kits to make all three projects in our pop-up Halloween shop!

As you can see, photographing things that glow in the dark can prove to be quite the challenge. Hello night vision!
buy the kit

– black cotton napkins

– glow-in-the-dark thread
– sewing machine (preferably one that can do multiple stitches)
Instructions:
1. Thread your sewing machine (and bobbin) with glow-in-the-dark thread.
2. Select the stitch you’d like to use.
3. Design a pattern.
4. Sew the napkins following your pattern.
5. Place the napkins outside to let the thread soak up the sun
6. Once in a dark room, your napkins will glow!
We’ve got a great digital sewing machine with many stitches to choose from. We used various stitches to add variety to our napkins. Thread your machine making sure you also use the glow-in-the-dark thread on the bobbin.

We created three different patterns, but there are so many you can do. Be creative and have fun with it!

Here are the three patterns we used:
– Three sets of five stripes, sewn on the diagonal using a basic stitch
– Three stripes sewn horizontally using a fun stitch
– Three stripes sewn next to each other on the diagonal using three different stitches
After you finish sewing the napkins, put them out in the sun with their candle and vase buddies. When they’ve spent enough time outside, fold them up highlighting the stitches.

Party time!
buy the kit

– white ceramic vases

– wooden candle holders
– painter’s tape
– glow-in-the-dark paint
– paint brush
Instructions:
1. Wrap a piece of painter’s tape around the vase or candle creating a line.
2. Make sure the tape is tight against the vase/candle to ensure a clean line.
3. Brush an even coat of paint onto the exposed part of the vase/candle.
4. Let the paint dry before adding another coat.
5. Paint additional coats until it looks even.
6. Wait for the paint to dry and then carefully remove the tape.
7. Place the vase/candle out in the sunshine to soak up the rays.
8. Show off your vase/candle in a dark room and watch it glow!
You know we love us a color-dipped bud vase and candlestick ;)

Grab the blue painter’s tape and wrap it around your bud vase. We taped ours at an angle, but you can do this part however you want. Leave most of it white, or paint the entire vase – it’s up to you!

Really seal the tape on the vase to ensure that the paint doesn’t sneak underneath. Otherwise you won’t get a clean line. We chose yellow, orange and green glow-in-the-dark paint, but there are other fun colors available. There’s also classic glow-in-the-dark but it only shows up in the dark. Be careful when you peel off the tape. You don’t want to peel the paint off with it!
Pop some flowers in your vase and put it in a dark room with a black light. Your party will be completely glowing.
This time you’ll wrap your tape around wooden candle holders. The tape sticks strongly but give it a little extra rub to make sure that the paint doesn’t seep underneath.

We used the same paint on the candles as the vases. An orange, yellow and green glow-in-the-dark color scheme which looks great in the light and the dark. Paint on as many layers as it takes to coat the candles. After the paint is dry, you can gently remove the tape to reveal your perfect line. Let them sunbathe for a while, then pop some black or white candles into your creation and light up.

That’s a whole lot of green glow, yo!


