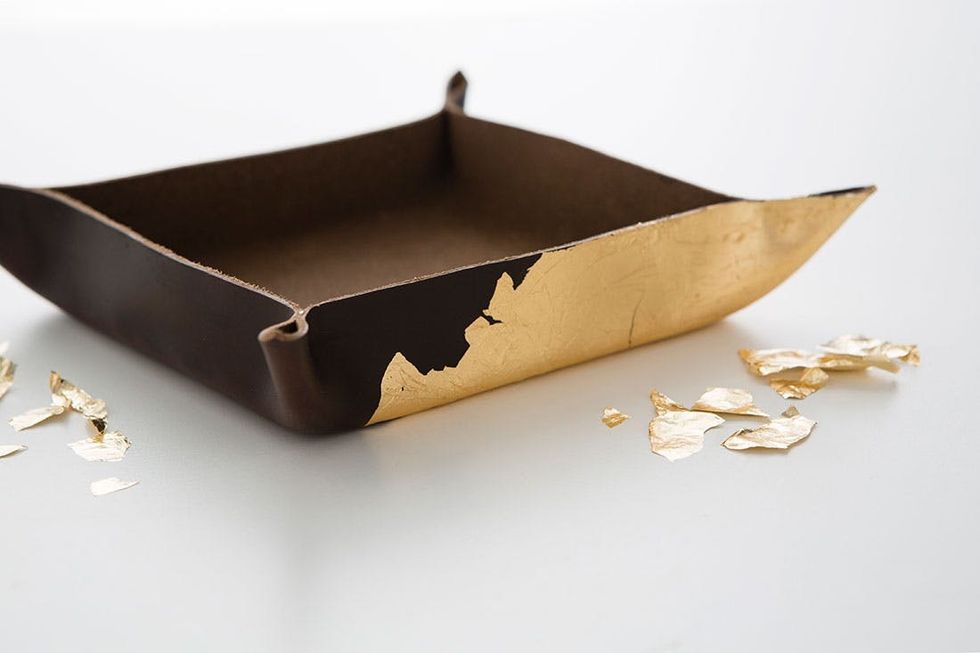
This classy valet is a great DIY gift for guys and gals alike!
Create Your Own Gilded Leather Valet (+ Get the Kit!)
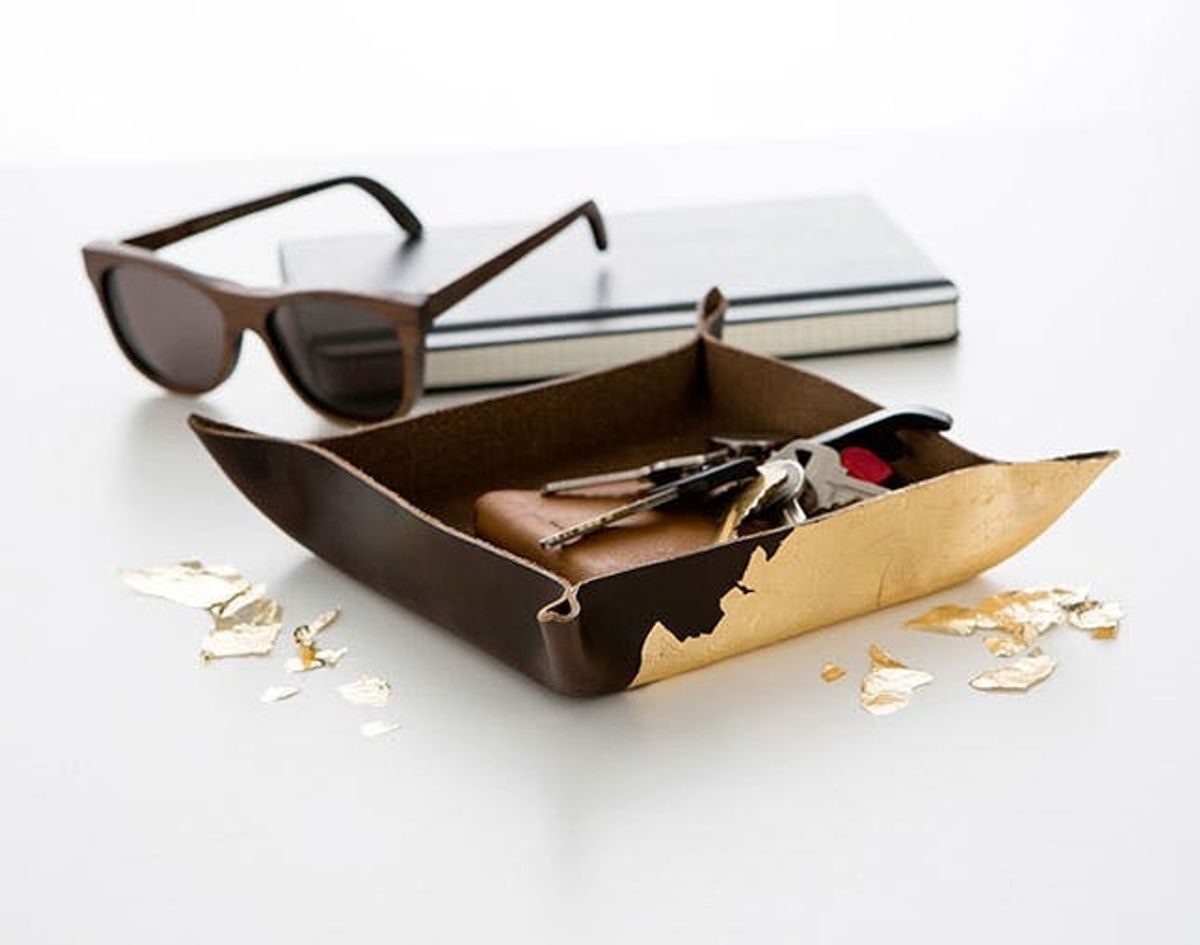
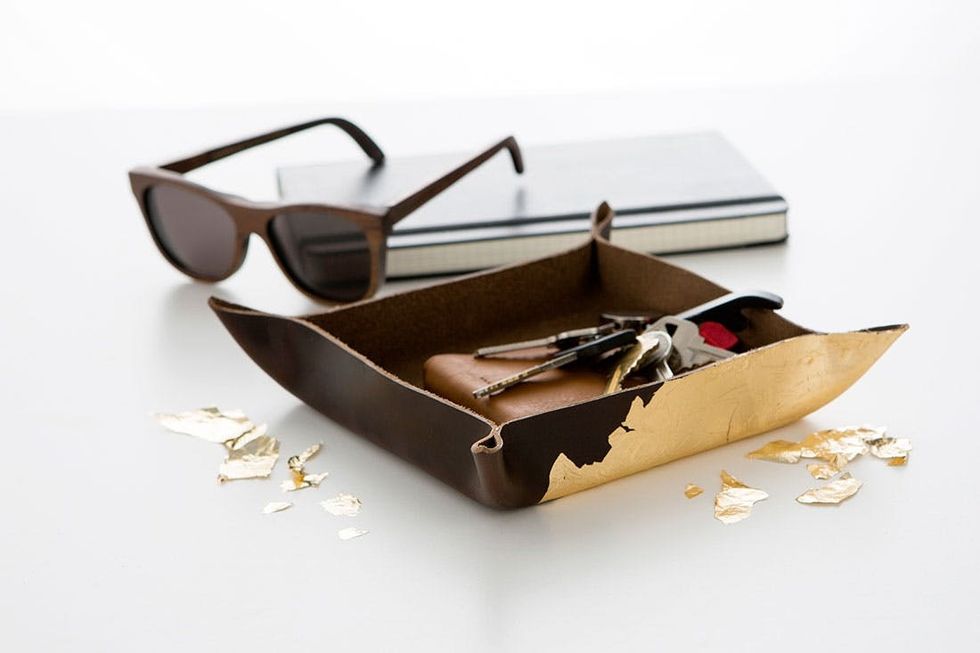
Searching for a classy gift with a personal touch for someone on your list? Obsessed with all things leather and gold? So are we! We whipped together these sophisticated valets to house all your keys, sunglasses, wallet, jewelry or whatever else you have lying around.
We partnered up with the folks at Lovely Indeed (and they are lovely, indeed!) to bring you this simple yet sophisticated Gold Leaf Leather Valet Kit as part of Brit Kit Collabs.
What are Brit Kit Collabs? Glad you asked! We teamed up with eight of our favorite makers, bloggers and designers to create a brand new set of nine exclusive Brit Kits, just in time for the holidays. Head to the shop to check ’em all out, and follow along to learn how to create your own gilded leather valet. You can get everything you need to create this project in our Gold Leaf Leather Valet Kit for just $35 in the B+C Shop!
Learn more about Chelsea Foy of Lovely Indeed by checking out her maker profile right here. Now, let’s go for the gold.
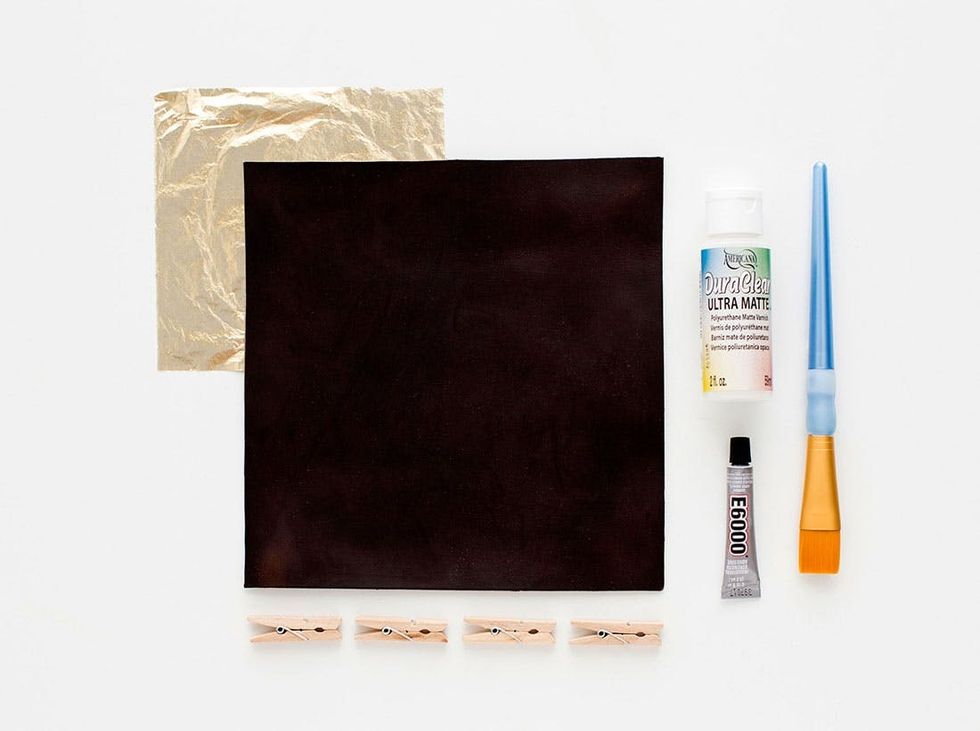
Materials + Tools:
– leather square
– metal leaf
– varnish
– paintbrush
– E6000 glue
– clothespins
Instructions:
1. Saturate leather square with water on both sides.
2. Fold up edges and hold corners with clothespins.
3. Dab glue into corners and replace clothespins over corners while the glue dries.
4. Let the leather and glue dry fully for a few hours and then remove clothespins.
5. Brush a thin layer of varnish onto the outside of your leather form.
6. Place leather onto a sheet of gold leaf and fold leaf up onto the sides.
7. Tear off any excess gold leaf and paint a second layer of varnish over the gold leaf.
8. Let dry overnight and place on your desk or front entry to hold your keys, wallet and other small items.
It really is that simple! Let’s get to it.
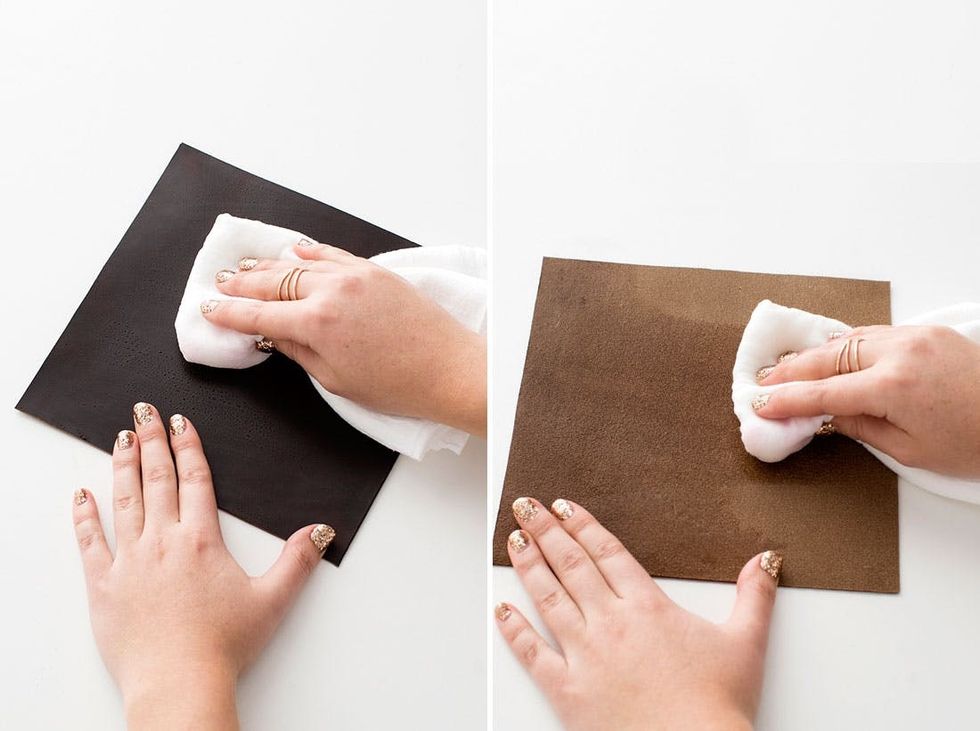
To get the leather ready to form, you first have to saturate your whole square with water, front and back. Use a wet cloth on both sides of the leather, until it is thoroughly damp.
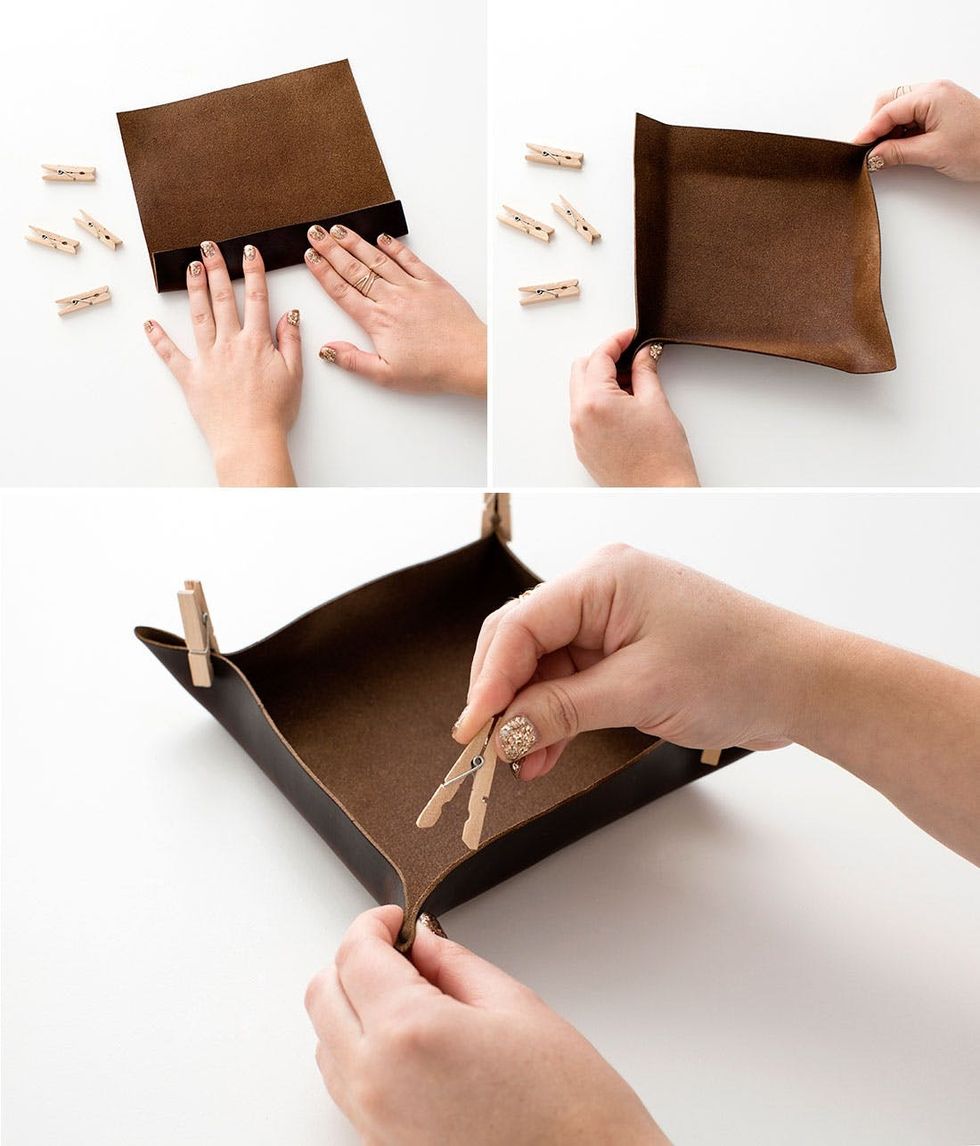
While the leather is still wet, fold up about an inch and a half on each side, and press down firmly on the folds to begin forming the leather. Hold this form with clothespins at each corner, and adjust your shape as needed before glueing.
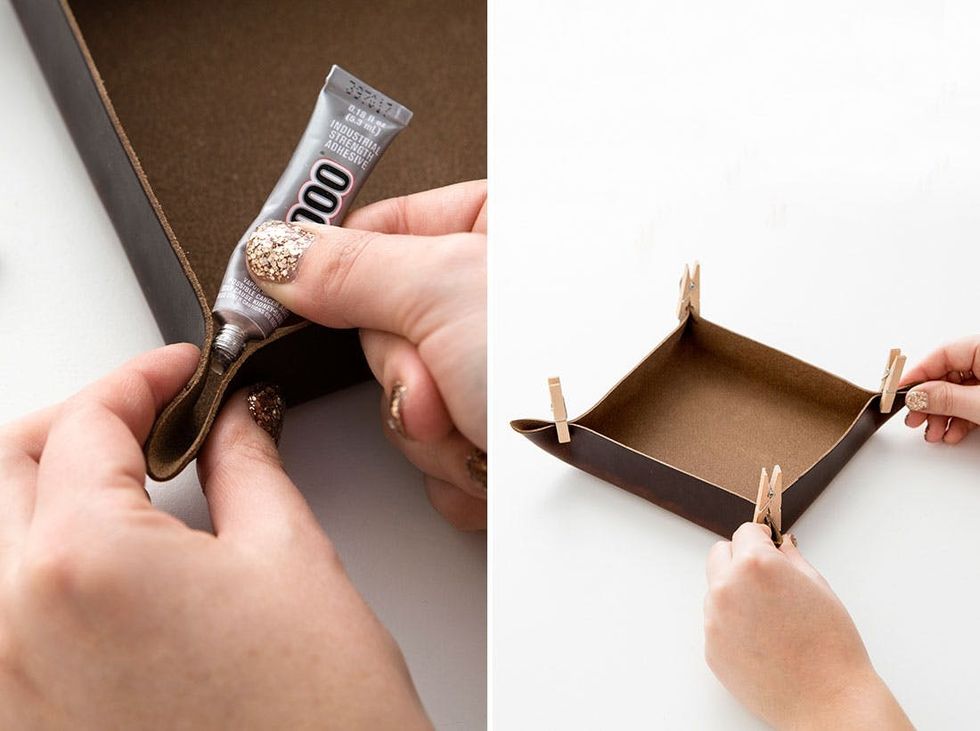
Once you’re happy with your shape, secure all four corners with a dab of glue, then replace the clothespins back over the four corners. Let dry for a few hours or until both leather and glue are totally dry. Once dry, remove the clothespins. The dry leather should hold this form.
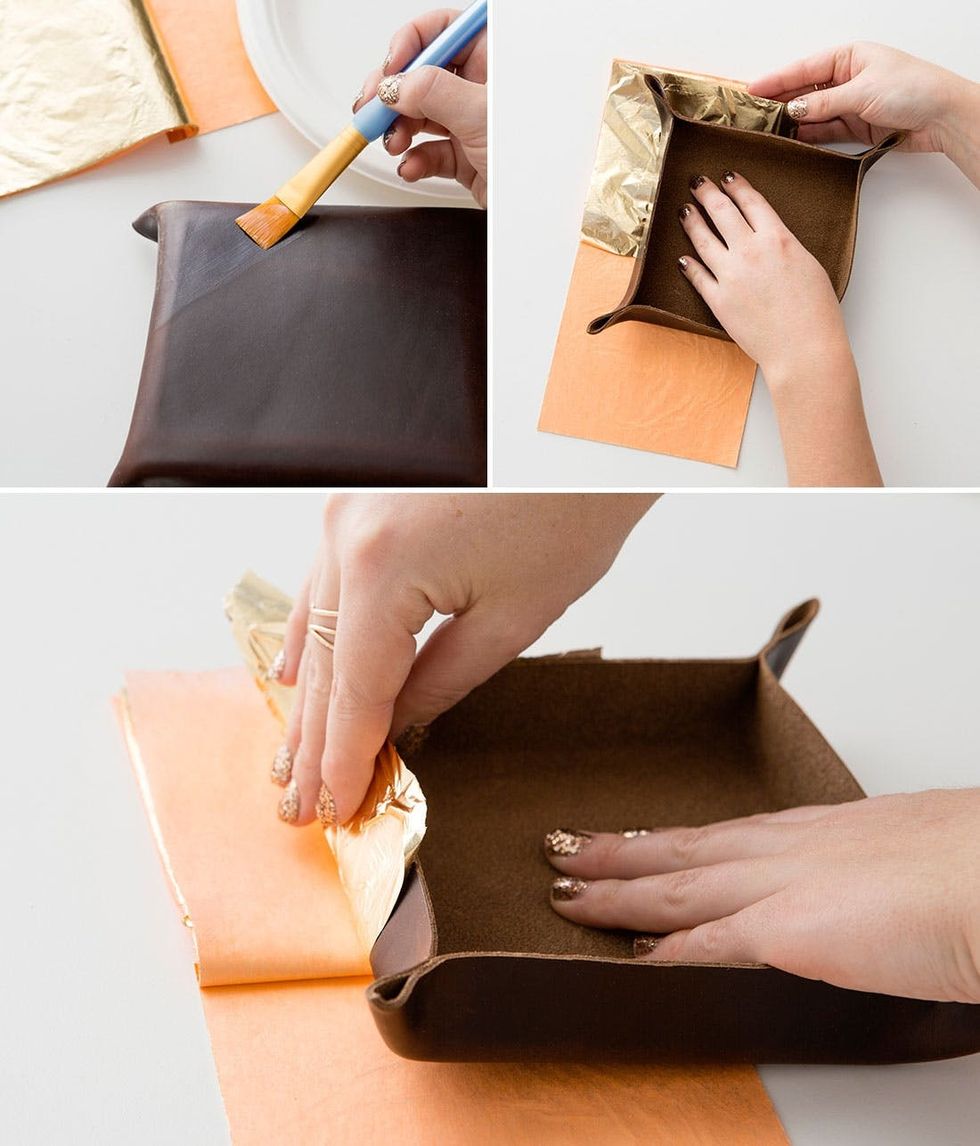
Brush a thin layer of varnish onto the sections of leather you want covered in gold. Then place the leather onto a sheet of gold leaf and carefully fold it up onto the sides.
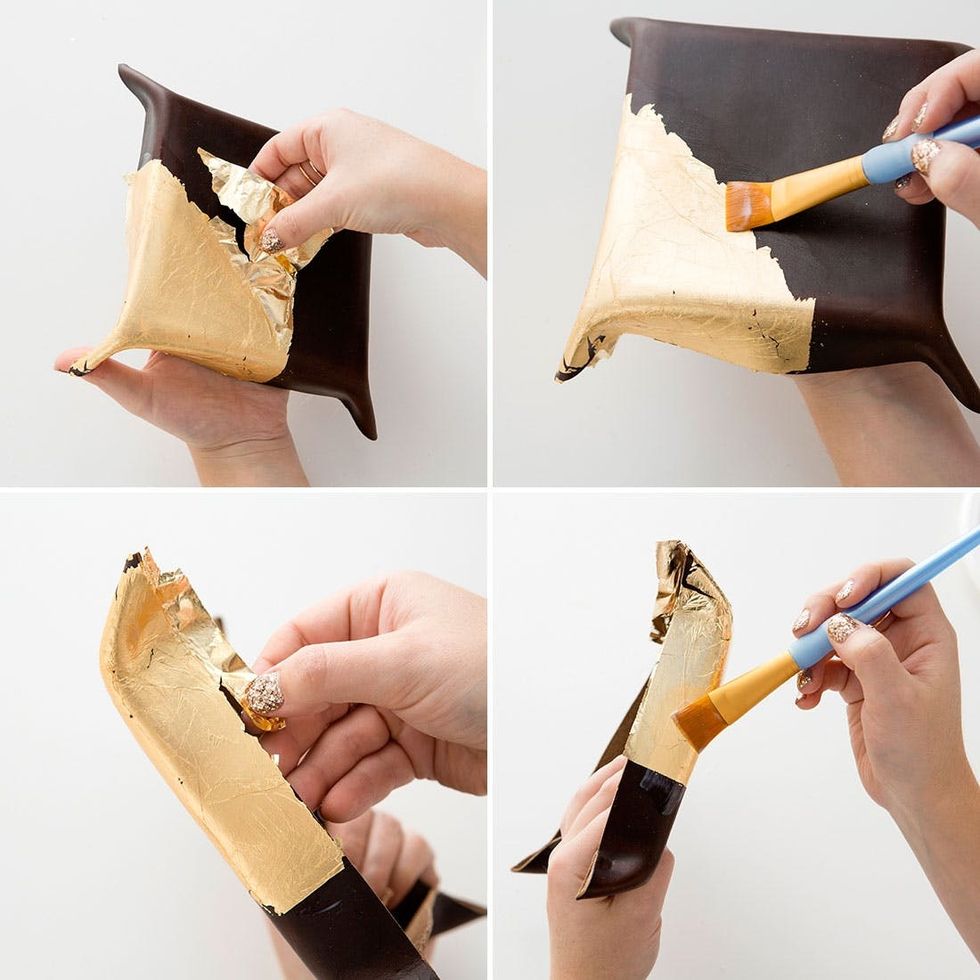
Tear off any excess pieces and then brush another thin layer of varnish on over the top.
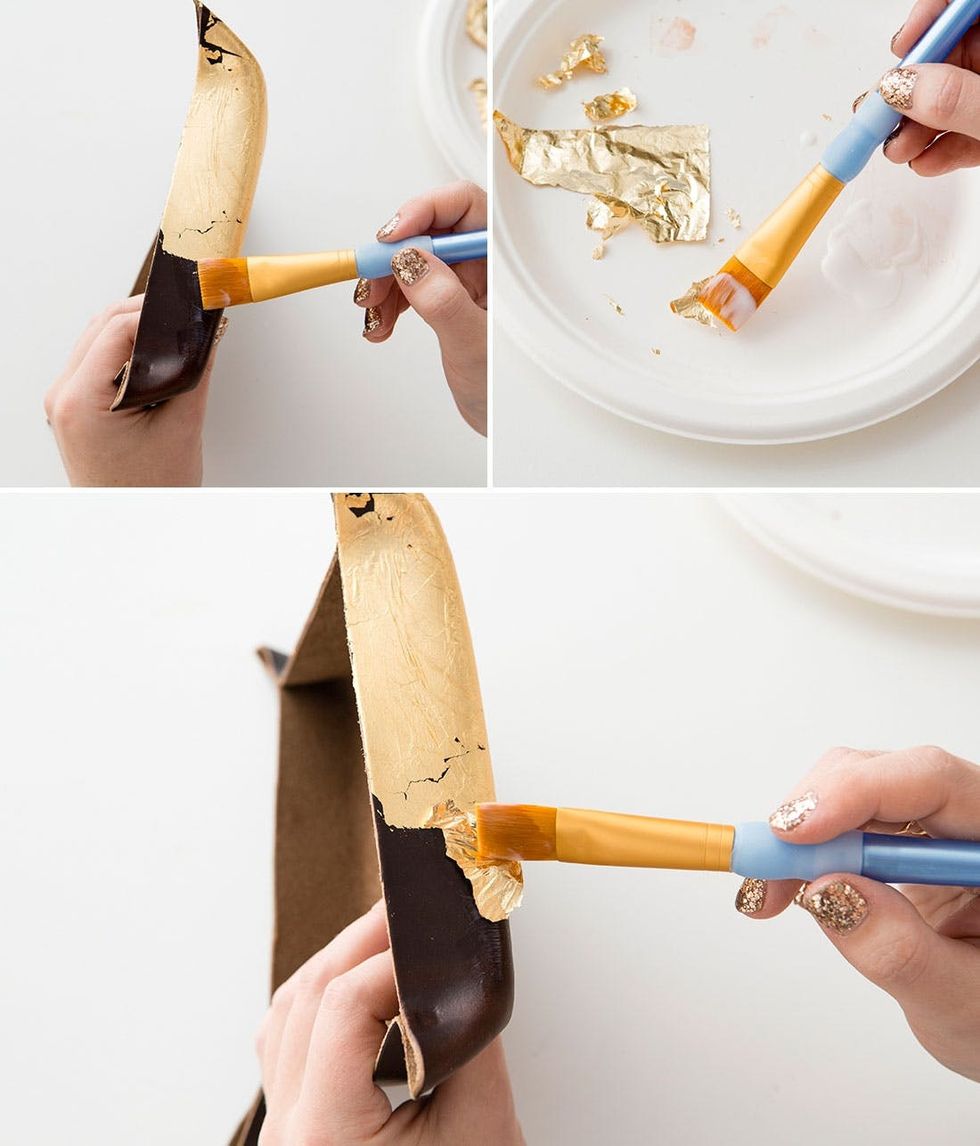
You can also add some extra pieces here and there with a little more varnish underneath, and again over the top. We added a few pieces to the edges to enhance that natural jagged feel.
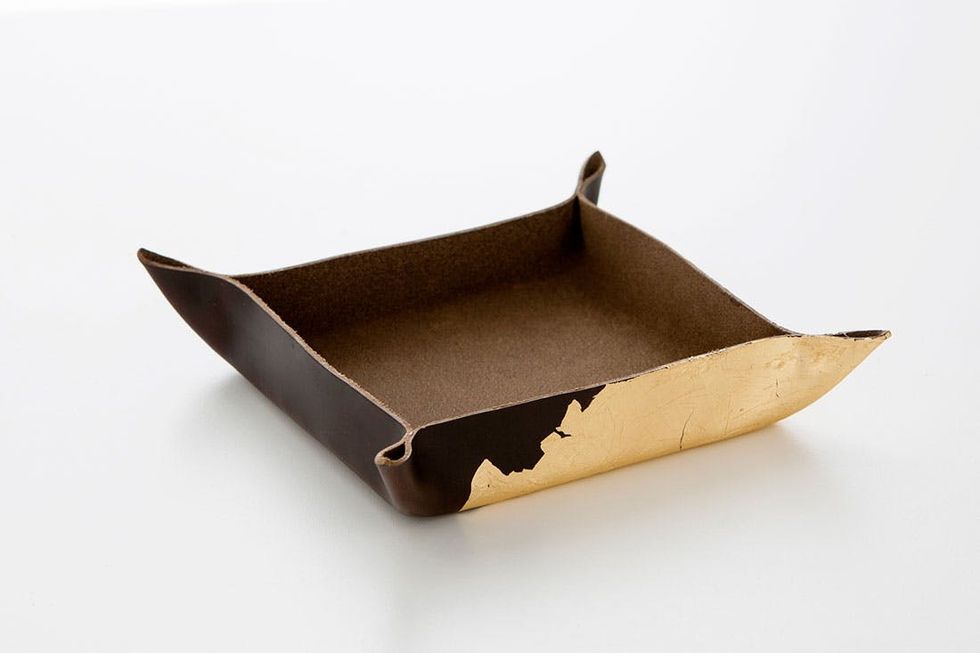
Give the entire surface of the leather and gold leaf one last brush over with varnish so that you get an even finish and let dry overnight.
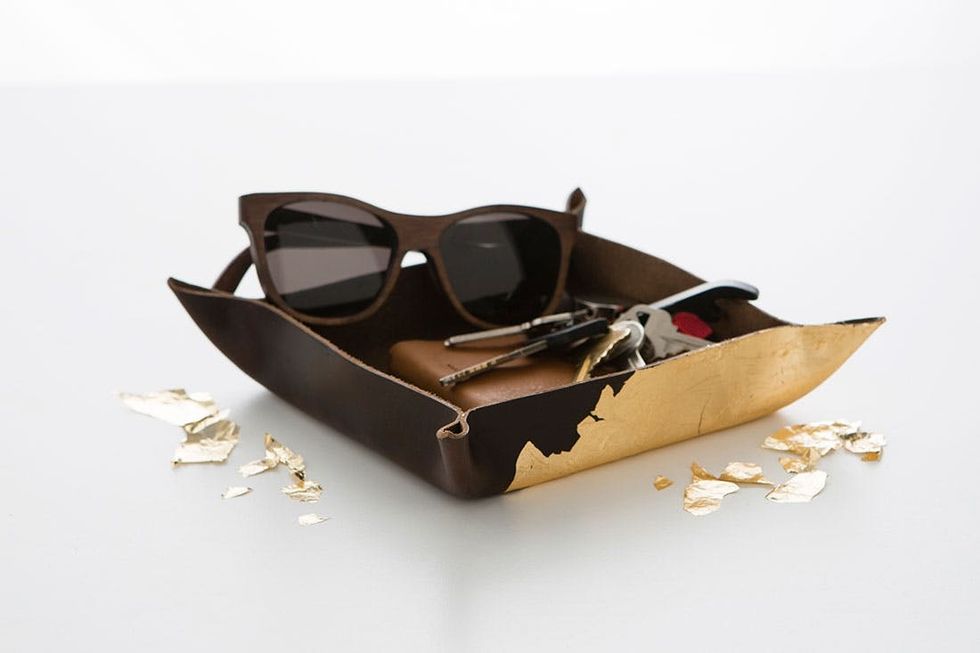
Pile up the keys, wallets, sunglasses or whatever you’d like into your new leather valet!

These make great gifts for both guys and all your girlfriends, and add a serious touch of class to your desk or front entry.
What else would you want to cover in gold leaf? Tell us in the comments below!


