How to Make This $58 Anthropologie Half-Moon Necklace for $20

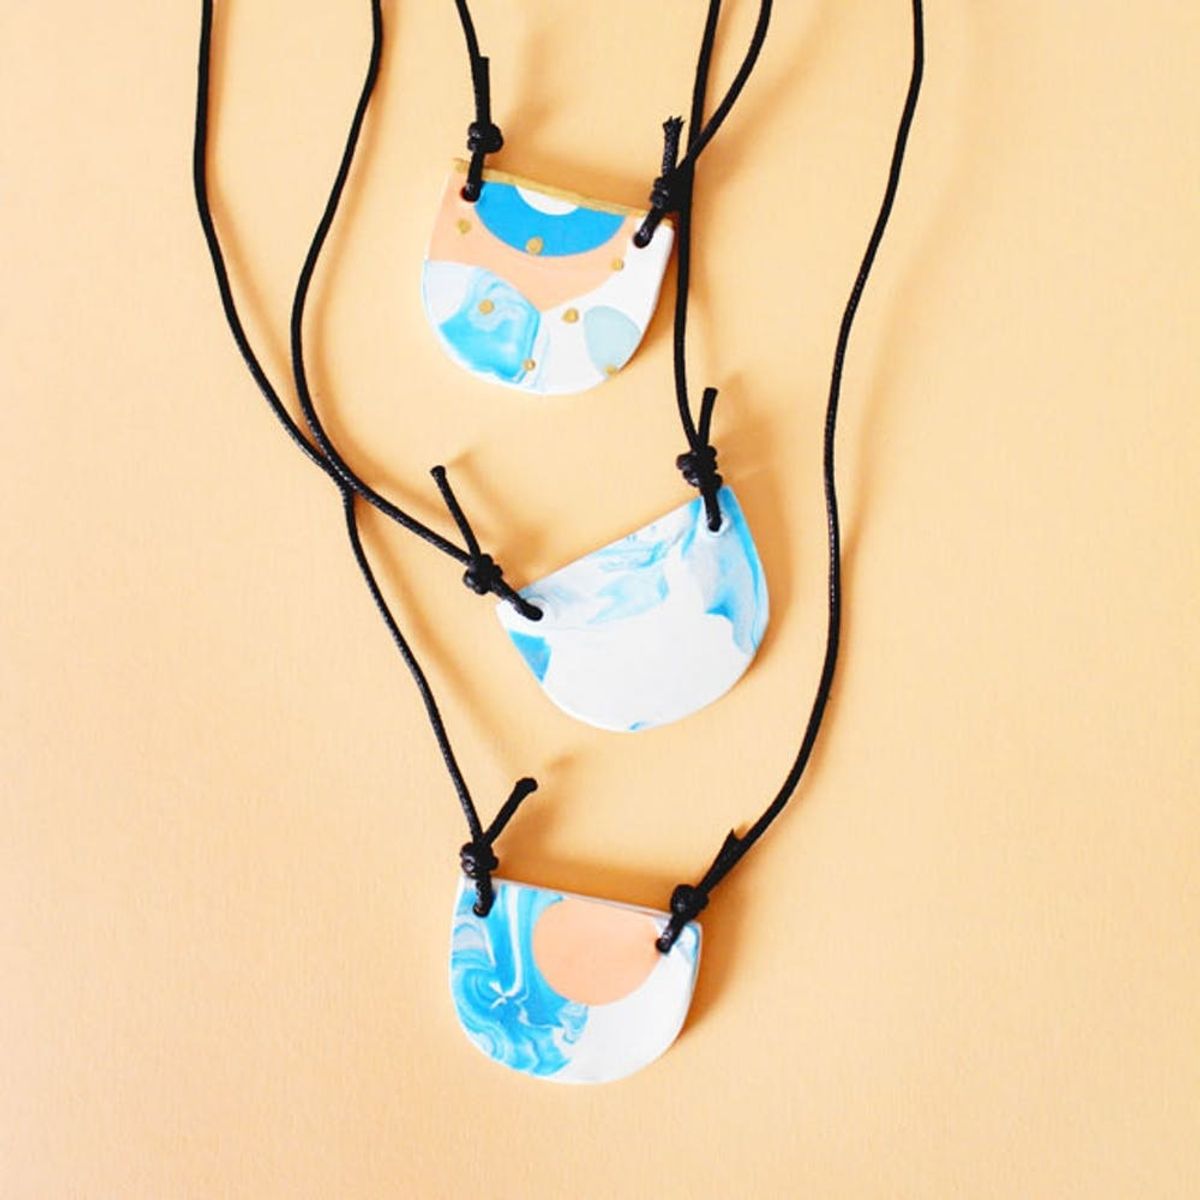
We love modern and colorful half-moon necklaces that also look like wearable art. They’re unique and one-of-a-kind, just like you! When we saw this beautiful Anthropologie Ceramic Necklace ($58), we loved everything about it — except the price tag. Ceramic pieces can be expensive (and fragile), so we’re showing you how to use budget-friendly oven-bake clay to make a DIY copycat. If you’ve never used oven-bake clay, you’ll be surprised at the cool complex patterns you can create (check out our marbled jewelry dishes!). And the best part: You don’t need a kiln!

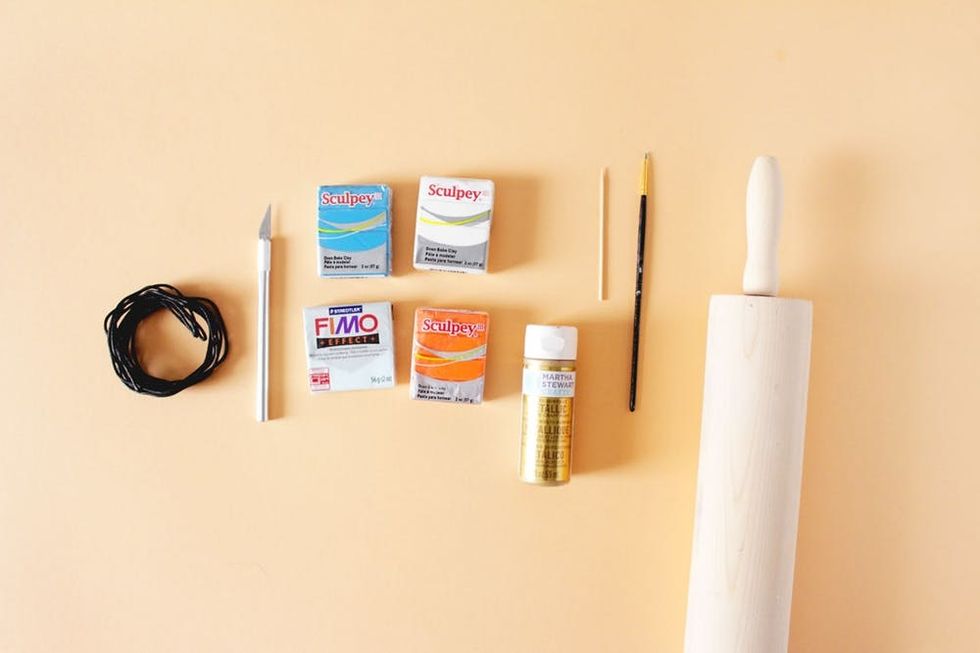
Materials + Tools
- — oven-bake clay (orange, white, blue, mint)
- — X-ACTO knife
- — rolling pin
- — gold acrylic paint
- — black cording rope
- — toothpick
- — small paintbrush
- — sandpaper (optional)

Instructions:
1. Form a ball of white clay, and roll it out flat to about a 1/4-inch thickness with your rolling pin on a clean surface.
2. To blend different colors of clay into your pendant, form a small ball of colored clay and place it on the white clay. With the rolling pin, flatten it into the white clay.
3. Continue by adding blue, mint and marbled clay (repeating the process from step 2).
4. With a sharp X-ACTO knife, cut the clay into a half-moon shape for your pendant.
5. Using a toothpick, poke one hole in each corner of the pendant where the rope will go.
6. Bake the pendant according to package instructions, approximately eight minutes at 400 degrees Fahrenheit (200 degrees Celsius). Once the clay has been baked and cooled, you can use fine grit sandpaper to smooth any rough edges (this is optional).
7. Paint a gold stripe at the top of the pendant and gold polka dots on the pendant face.
8. Loop the rope through one hole of your pendant, knot it securely and repeat for the other hole.
 To begin, form a ball of white clay and roll it flat to about a 1/4-inch thickness using your rolling pin on a clean surface or wax paper.
To blend different colors of clay into your pendant, form a small ball of orange clay and place it on the white clay. With the rolling pin, flatten it into the white clay. Continue these steps to add blue clay and mint clay.
 To create a marbled spot on the pendant, twist the blue and white clay together. Then roll it in the palm of your hand until the colors combine into a marbled effect. Once again, form the marbled clay into a ball and flatten it into the white clay with a rolling pin.
 Once you have a design that you like, use an X-ACTO knife to slice through the clay to create a half-moon shape. You can create the shape freehand and trim more clay off as needed. Using a toothpick, poke one hole in each corner of the pendant where the rope will go. Make sure the holes are large enough for your rope to fit through.
Bake the pendant according to package instructions, approximately eight minutes at 400 degrees Fahrenheit (200 degrees Celsius). Once the clay has been baked and cooled, you can use fine grit sandpaper to smooth any bumps or rough edges (this is optional). Paint a gold stripe at the top of the pendant and gold polka dots on the pendant face. For the final step, measure the rope to the length you’d like your necklace to hang, and cut it. Loop the rope through one hole, knot it securely and repeat for the other hole.
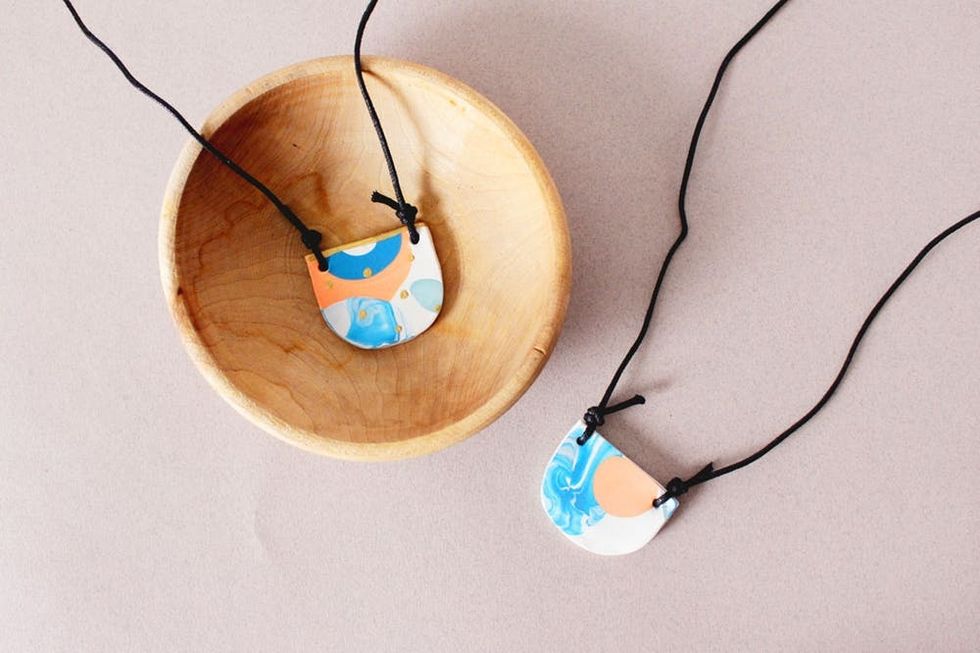
 Throw on this bold and beautiful necklace to complete your outfit!
 Show us your original clay creations on Instagram, and remember to use the hashtag #iamcreative!
Brit + Co may at times use affiliate links to promote products sold by others, but always offers genuine editorial recommendations.


