All DIYable in 15 minutes or less!
3 Half Up, Half Down Hairstyles You Can DIY All Wedding Season Long
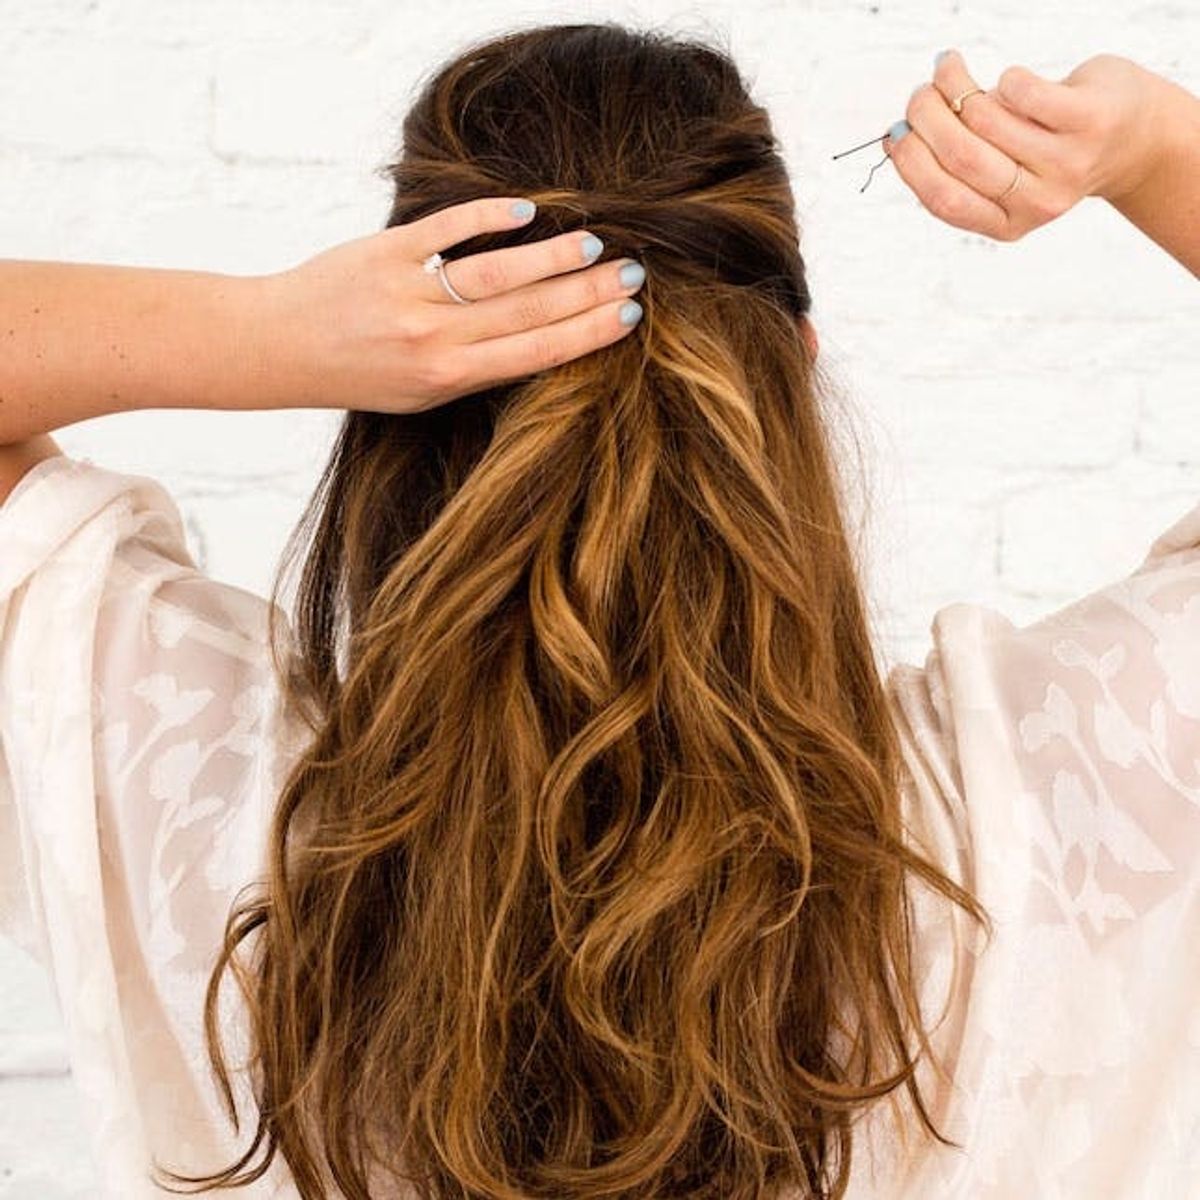
What do you do when you can’t decide if you want to give yourself an updo or a downdo? Well, easy enough — just compromise. Half-up, half-down hairstyles are classic looks that combine the comfort of having your hair up and off your face with the movement and touchability of having your hair down and free (can you believe you were trying to choose one over the other a minute ago?).
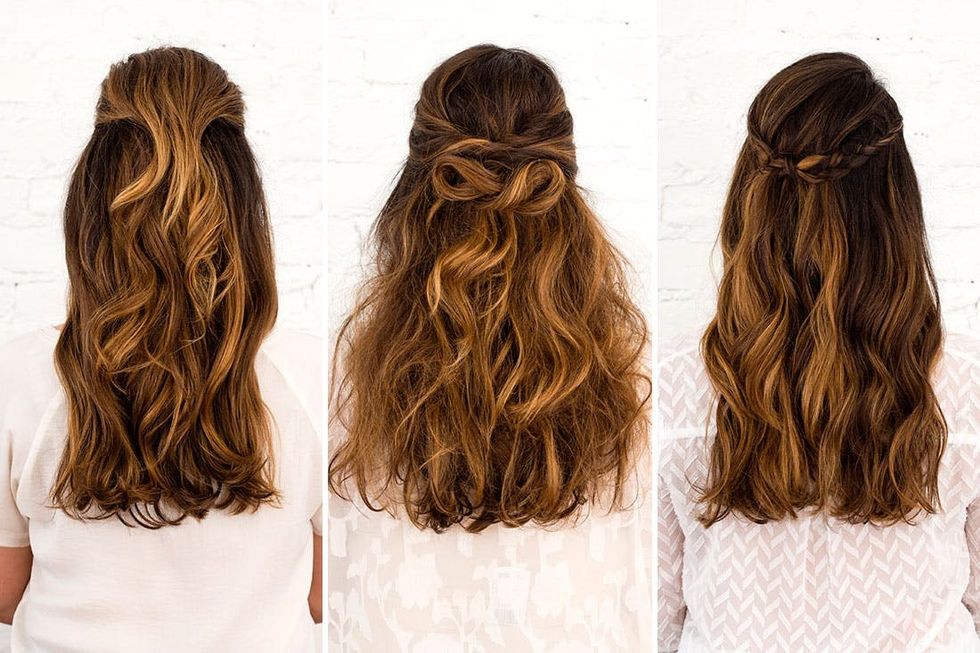
Whether you’re attending a wedding and in need of a new go-to style or attending a spring gala and want something pretty and playful, you’ll be set with one of these three gorg half-up, half-down hairstyles great for any hair length — and DIY-able in five steps or less!
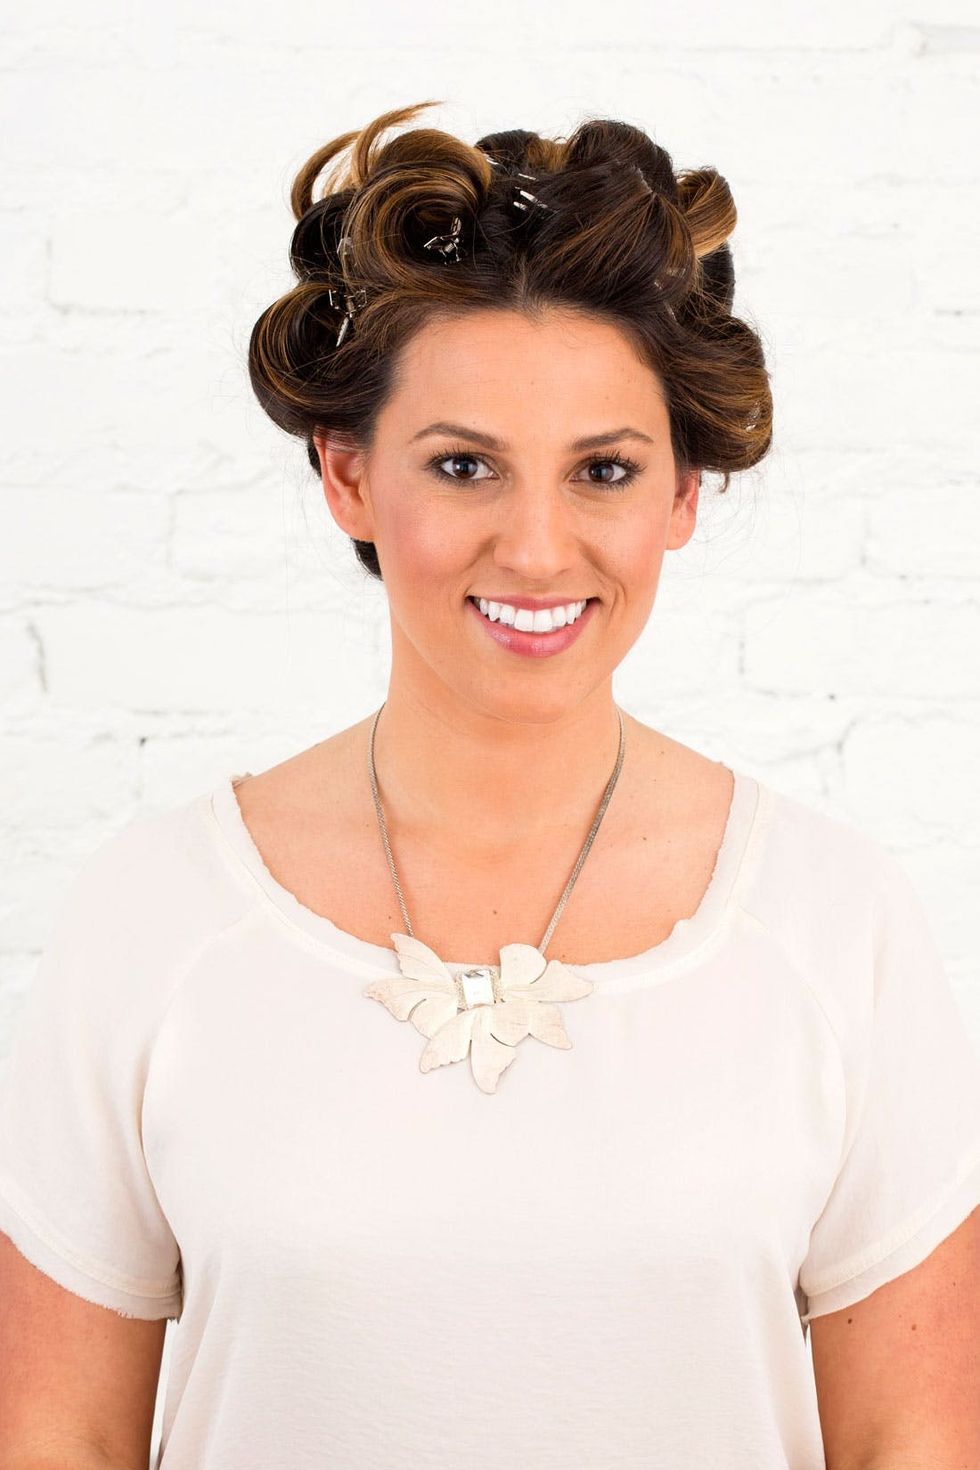
Before we get to the styling, you need to set your hair. Think of it like your primer in makeup — it’s a way to make sure that whatever else you do to it pops and stays in place. For this design, you need to set your hair in beach waves: follow this tutorial for a more extensive step-by-step guid. Once your waves are in place, move on to any of the following hairstyles:
Prep: Beach Waves
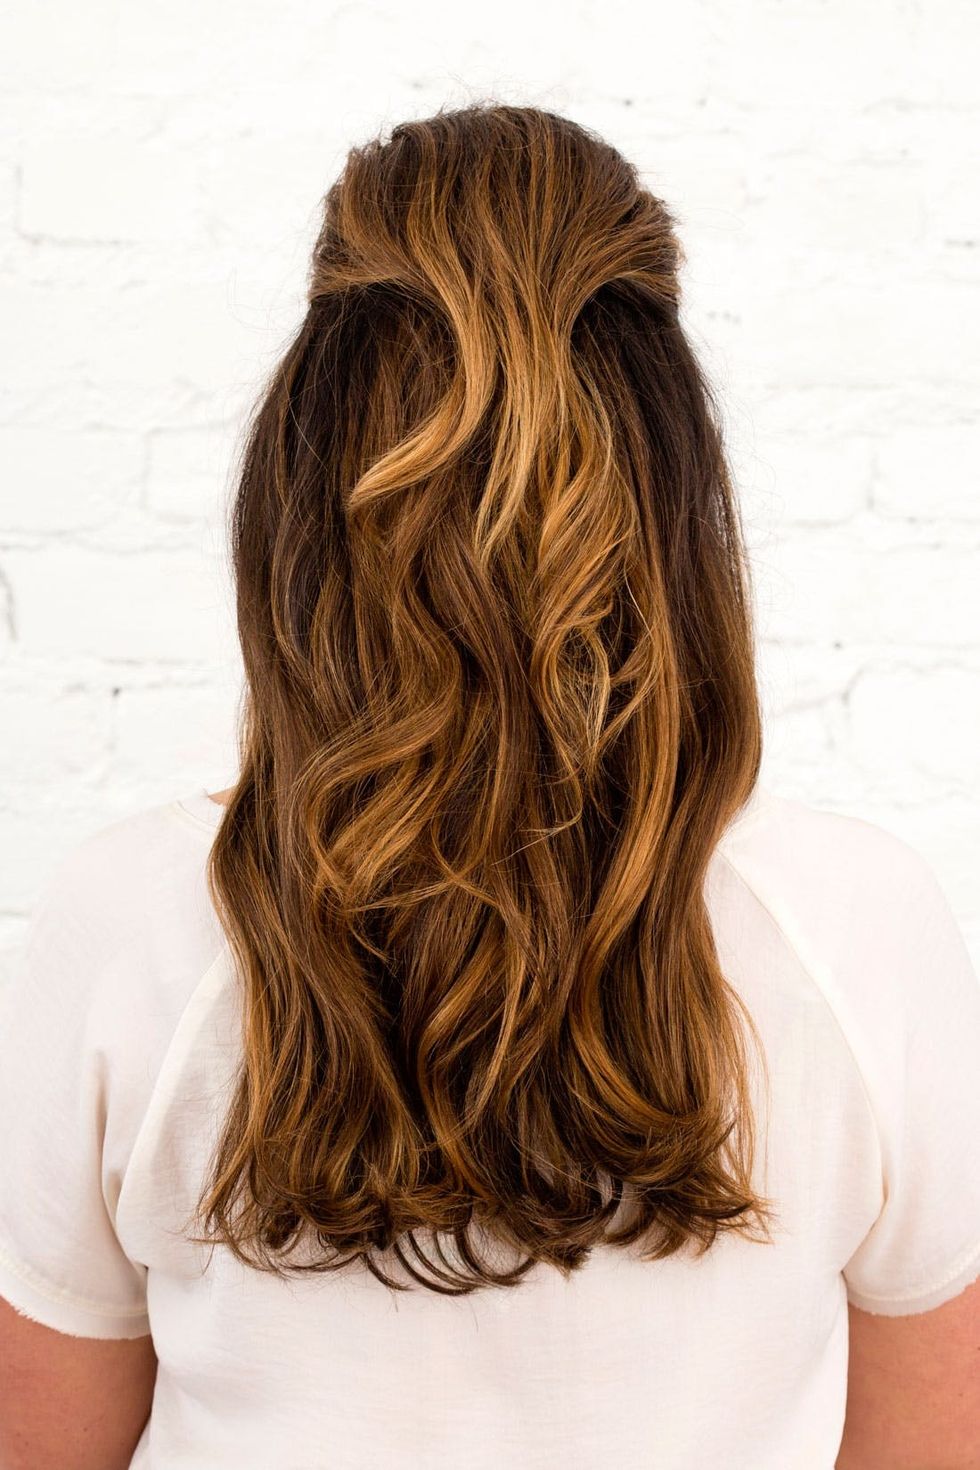
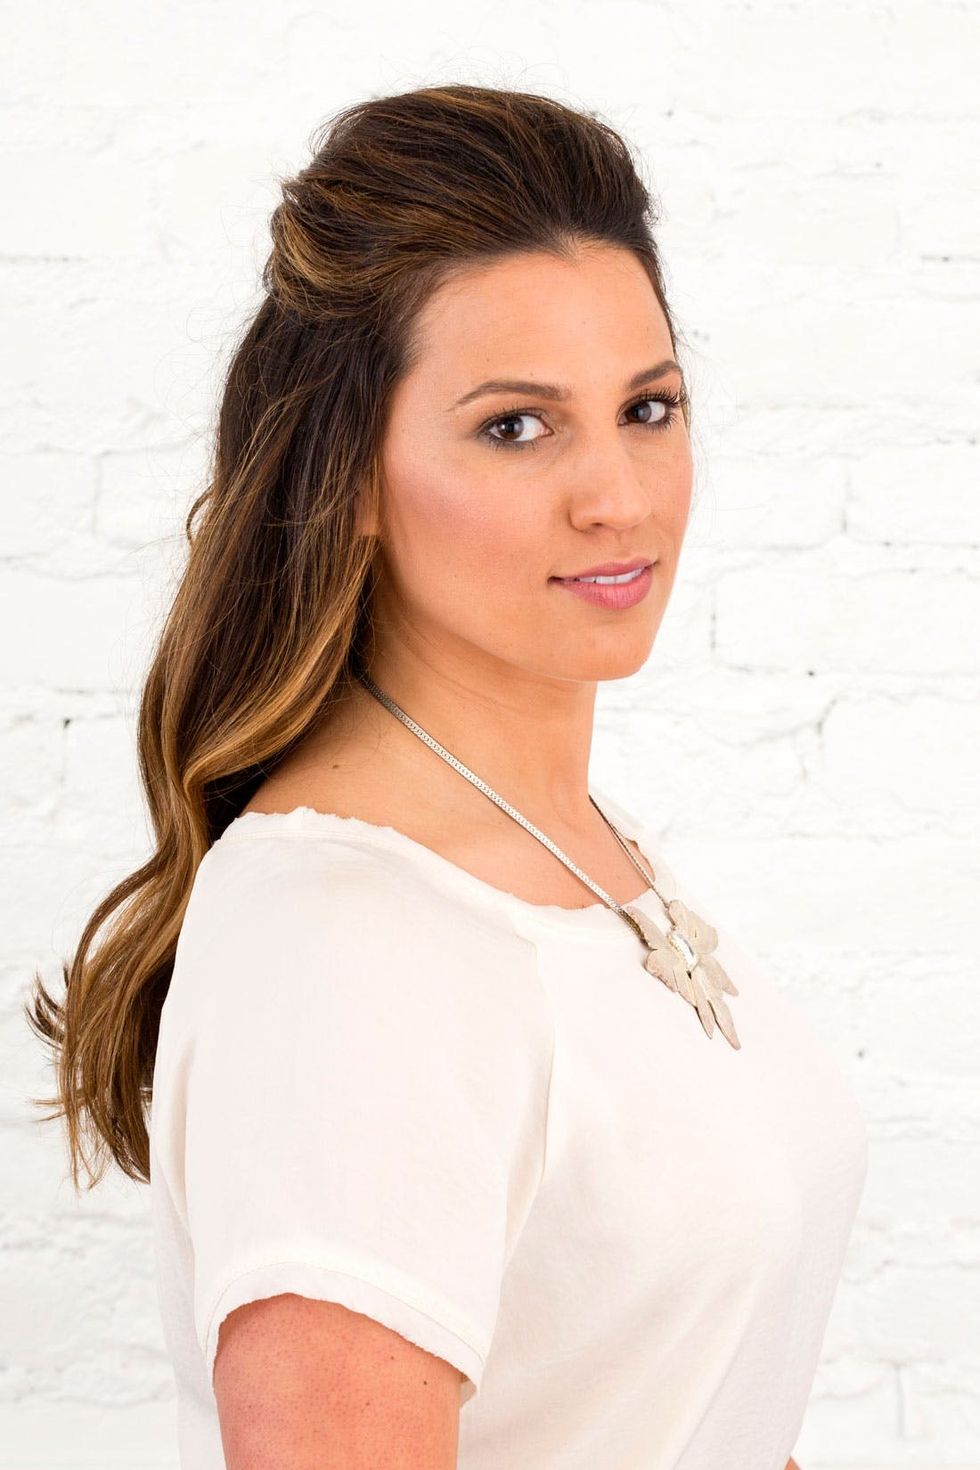
Pull that mane up and back in this like-magic look that uses easy-to-disguise bobby pins for hold instead of a barrette. Without a hair accessory in sight, the style stays soft and ethereal.
Floating Half Pomp

After you remove the pins from your beach wave hair set, your curls are going to be extremely bouncy. Starting at the root of your hair, gently comb through with a wide-tooth brush to relax them. Then on to the teasing: shift the focus to the top of the crown of your head where the pomp will be. Then using a rat tail comb, backcomb thin sections of hair. If your hair is on the thinner side, backcomb over the entire crown of your head for extra volume and texture.
Step 1: Loosen Curls With Brush + Tease For Volume

Section out the top half of your hair into two sections: the main section, which you should pull toward the back of your head, and a thinner top section, which you should pull from the front. Let that small layer of hair fall free — this is the section that makes up the pomp.
Step 2: Section Out Pomp
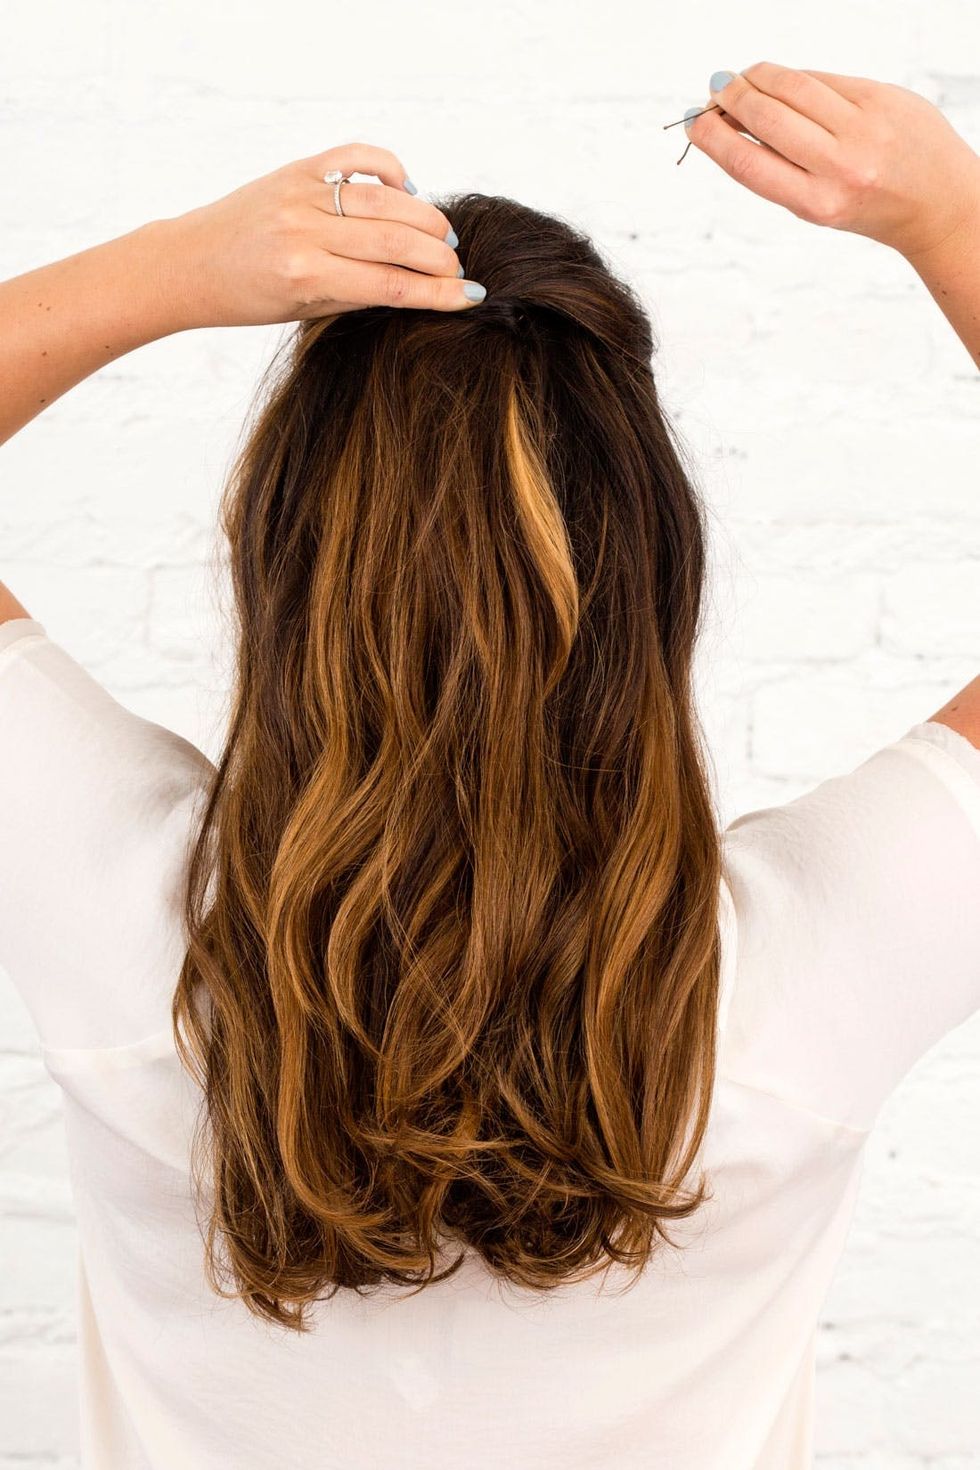
To pin the main section of hair you pulled back in place, position it in the back upper center of your head, twist together into a ponytail and then push it up onto your head before you cross-pin it in place with bobby pins. This will create the foundation of your pomp and help give it height.
Step 3: Pin Main Section of Hair
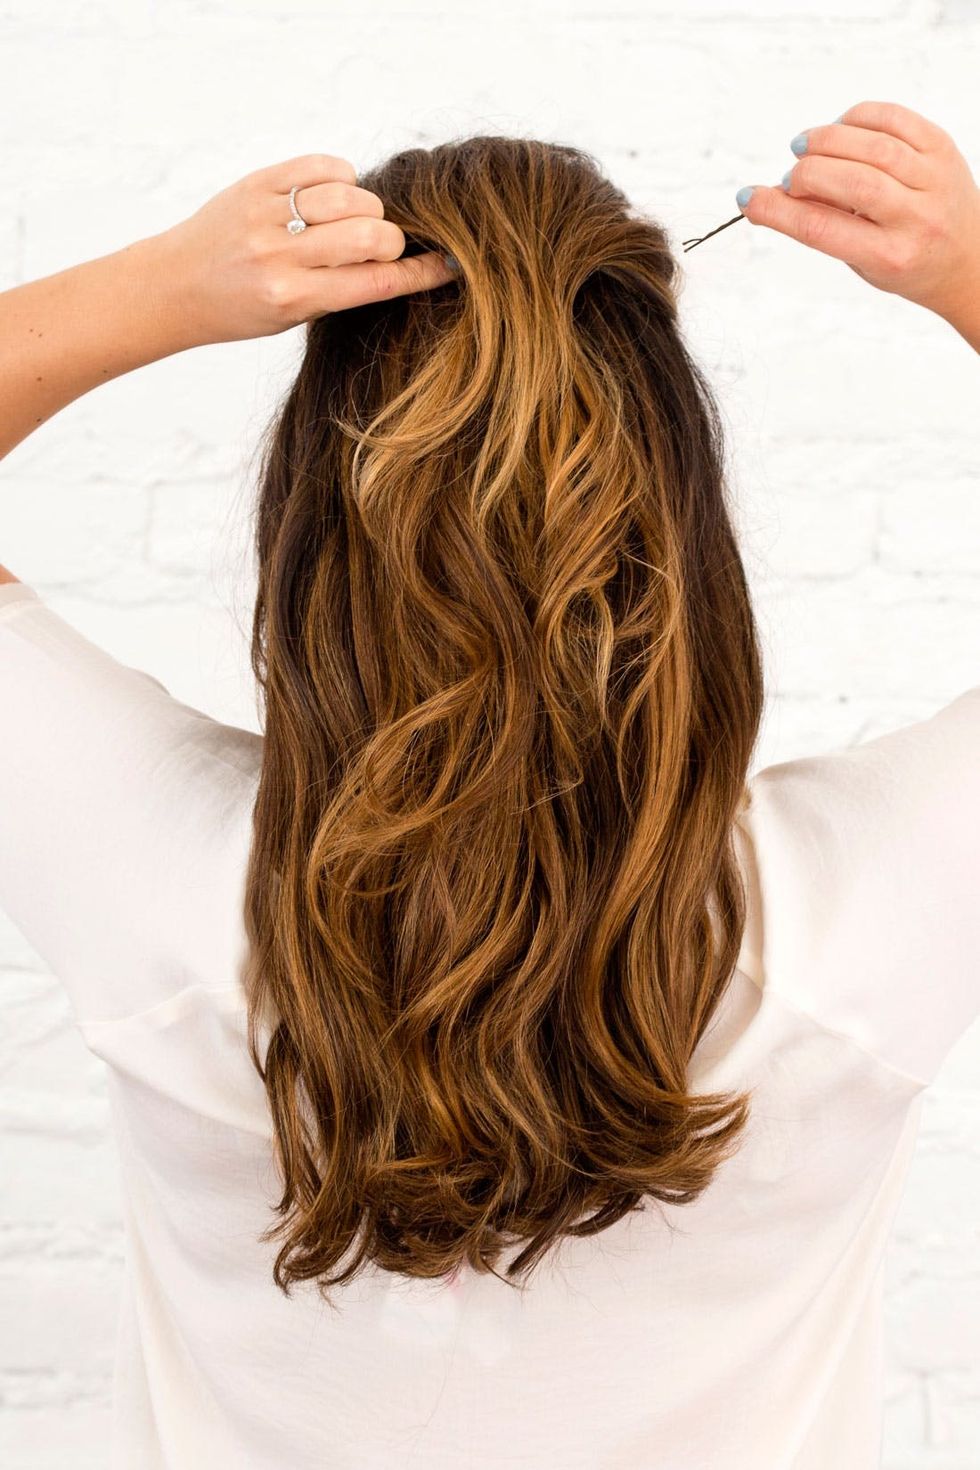
Now go back to that thin layer of hair that you left out and gently lay it over the hair you just pinned. Use a fine toothed comb to smooth it out and position it in place (just slightly higher than the last section of hair you pinned) and cross pin the base in place underneath. Once it’s in place, use a firm hold hairspray or dry wax spray for hold.
Step 4: Pin the Pomp
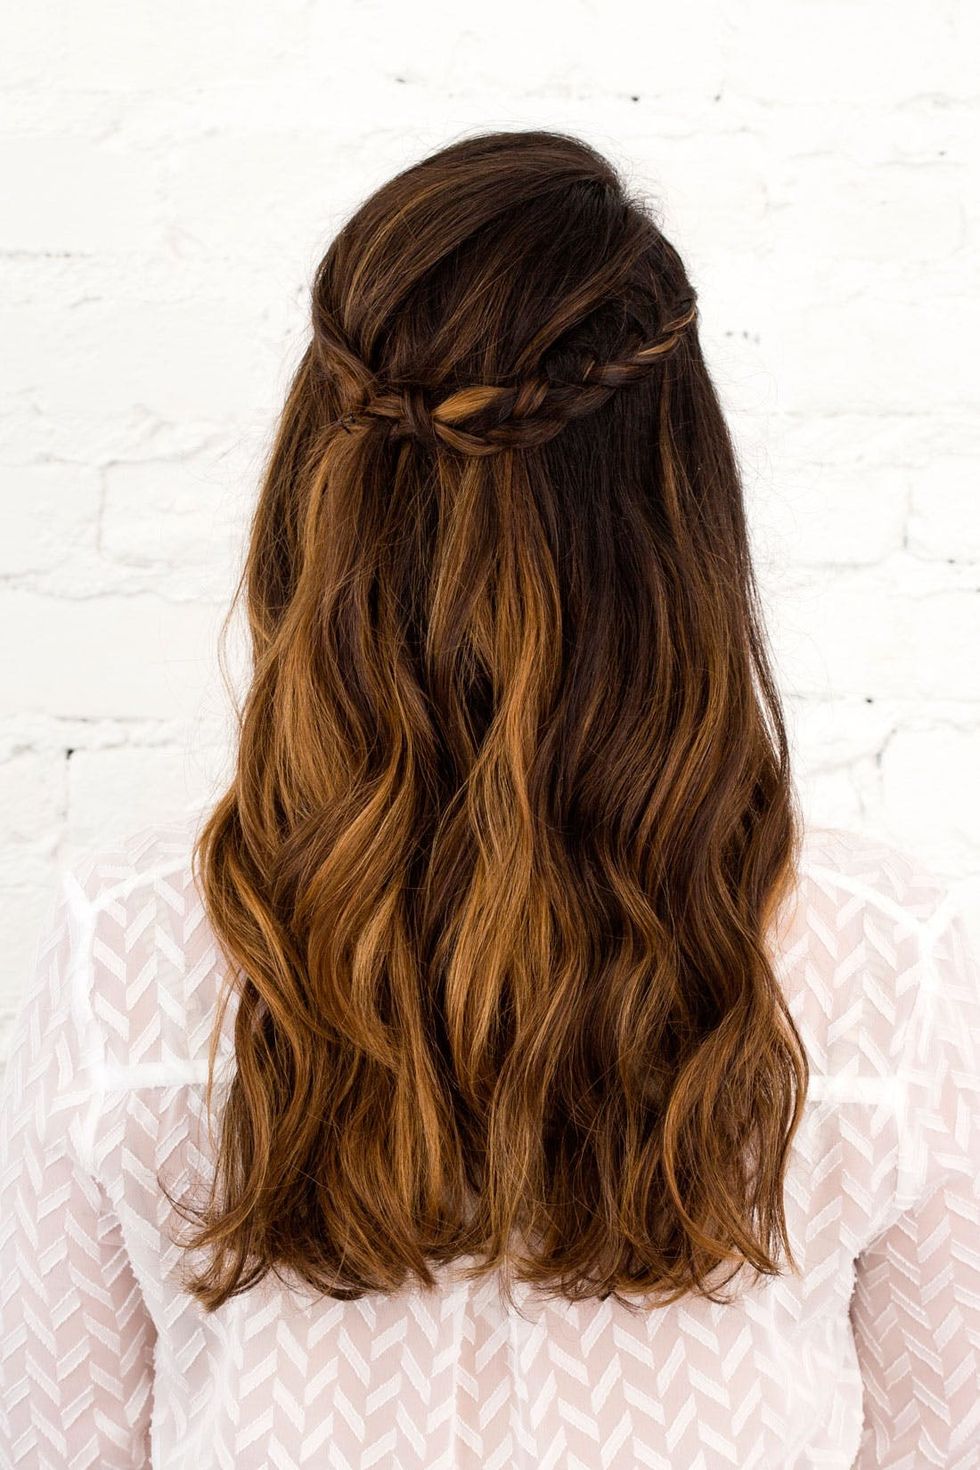
Take your boho hair game to the next level with this gorgeously off-center crown braid that looks like it’s perfectly pinned (just out of) place. We promise this look is easier than DIY-ing a flower crown — you only have to braid one side of your head!
Asymmetric Crown Braid
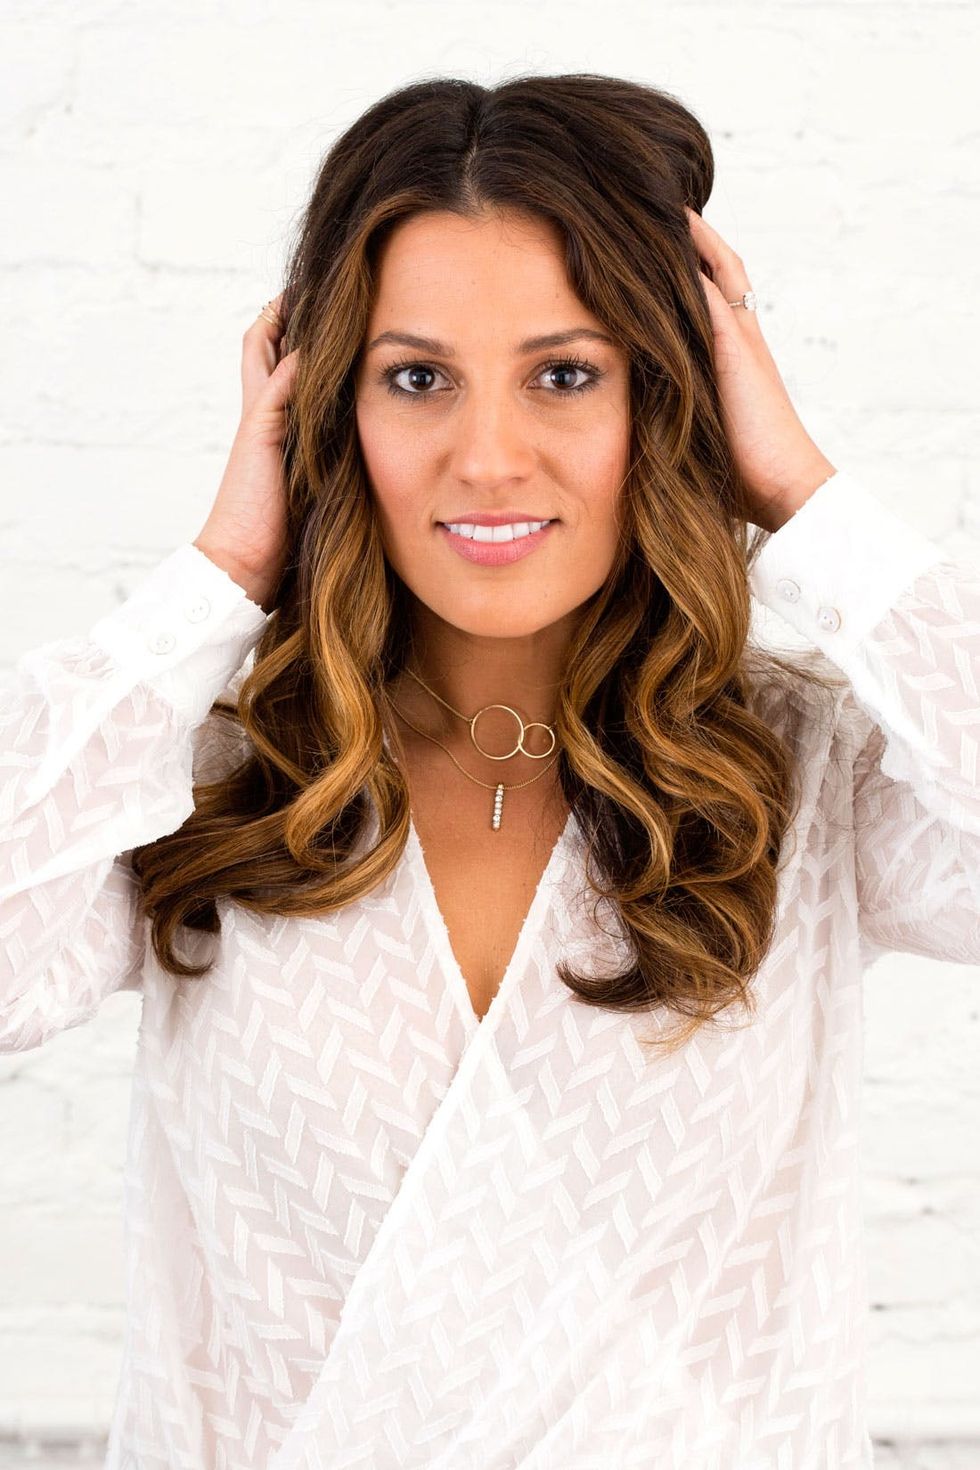
After you remove the pins from your beach wave hair set, run your fingers through your hair to loosen and relax your curls.
Step 1: Loosen Curls With Fingers
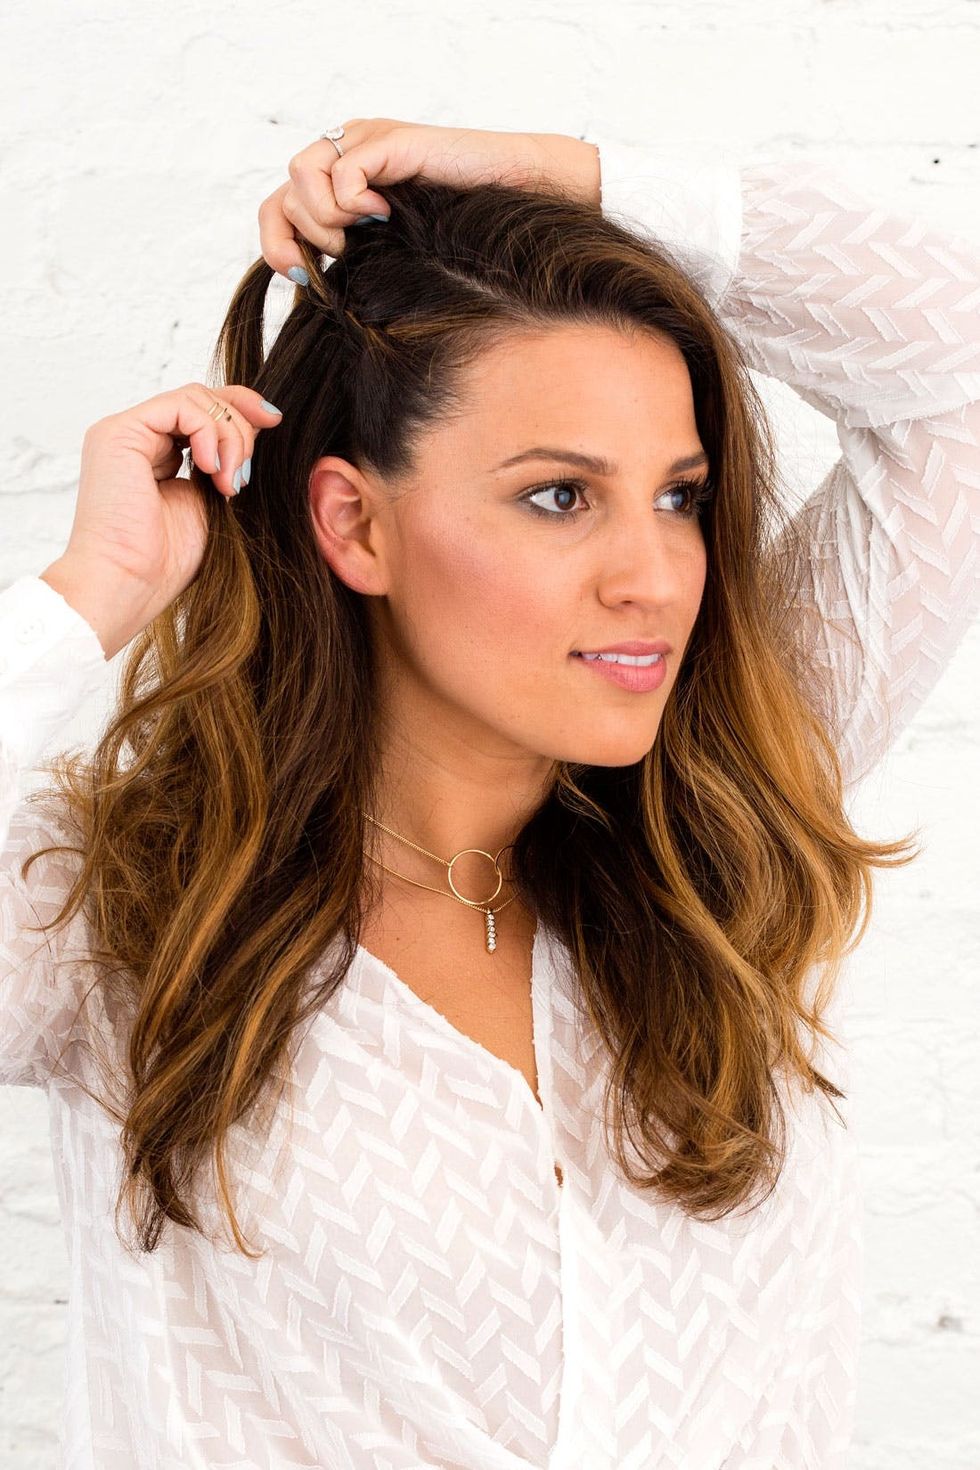
Use a comb to place a heavy side part on whatever your good side is ;) Then French Braid a thin section of your hair on that side until you reach the back center of your head. Keep this braid fairly tight for now.
Step 2: Place Side Part + Braid Side Section
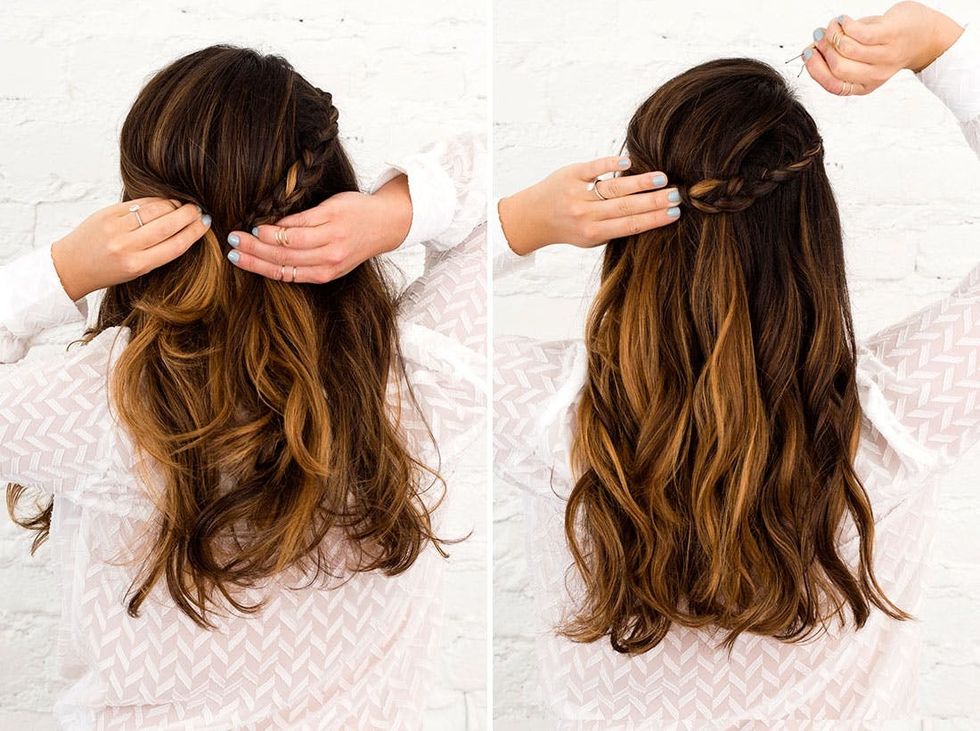
When you get to the center of the back of your head, pull a similarly thick strand from the opposite side of your head to meet your braid, then join and secure them with cross pinned bobby pins. Try to place the pins in a way that you will not see them.
Step 3: Add Hair + Pin


Step 1: Loosen Curls With Fingers + Add Tease
Infinity Bow

After you remove the pins from your beach wave hair set, use your fingers to break apart and loosen your curls. To really get the right texture, place your fingers at your roots and them shake back and forth to start getting bigger texture. Once your hair is starting to look larger than life, take a rat tail comb and gently backcomb into the curl pattern to add texture by twisting a curled piece of hair around your finger in the direction that the curl is flowing, then gently backcombing up into it to keep the shape.
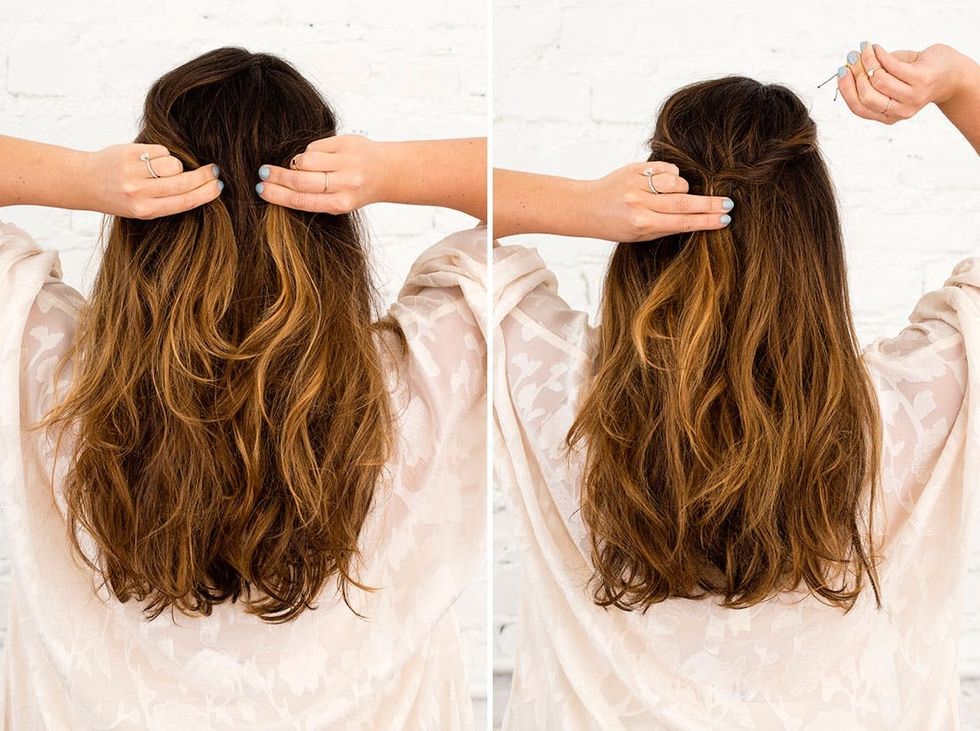
Take two 2-inch pieces of hair from the front top section of your hair, twist them back and then cross pin them in place on the upper center of your head.
Step 2: Twist Up First Section
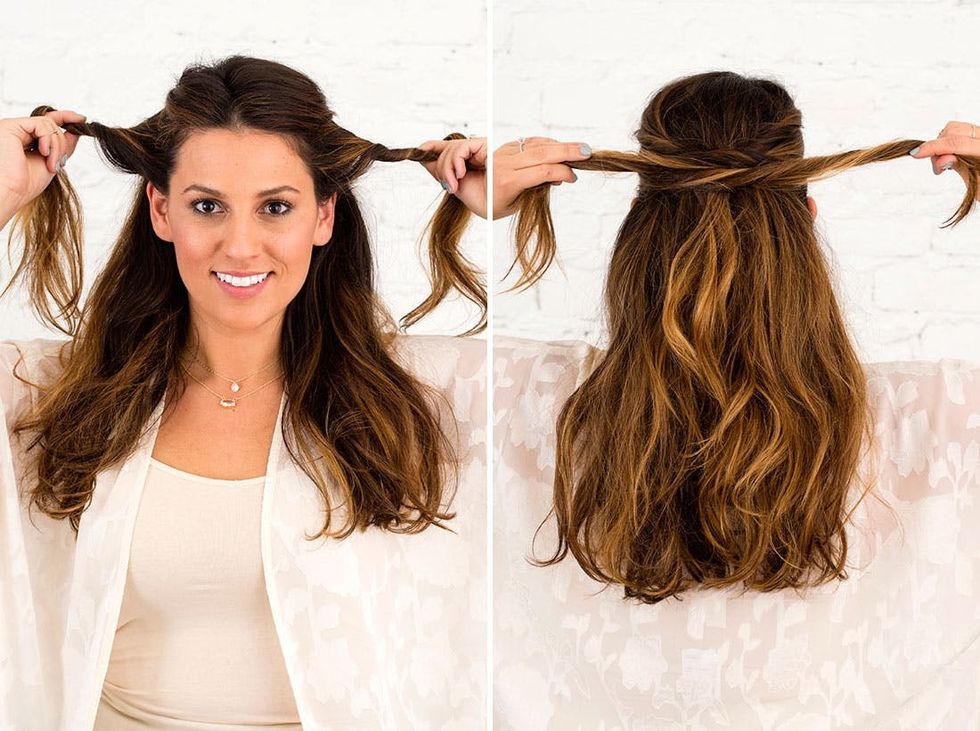
Now take the remaining hair from both sides of your head, twist the sections back toward the center of the back of your head and cross them over one another and directly over the first section of hair you pinned in place.
Step 3: Twist, Cross + Pin Second Section
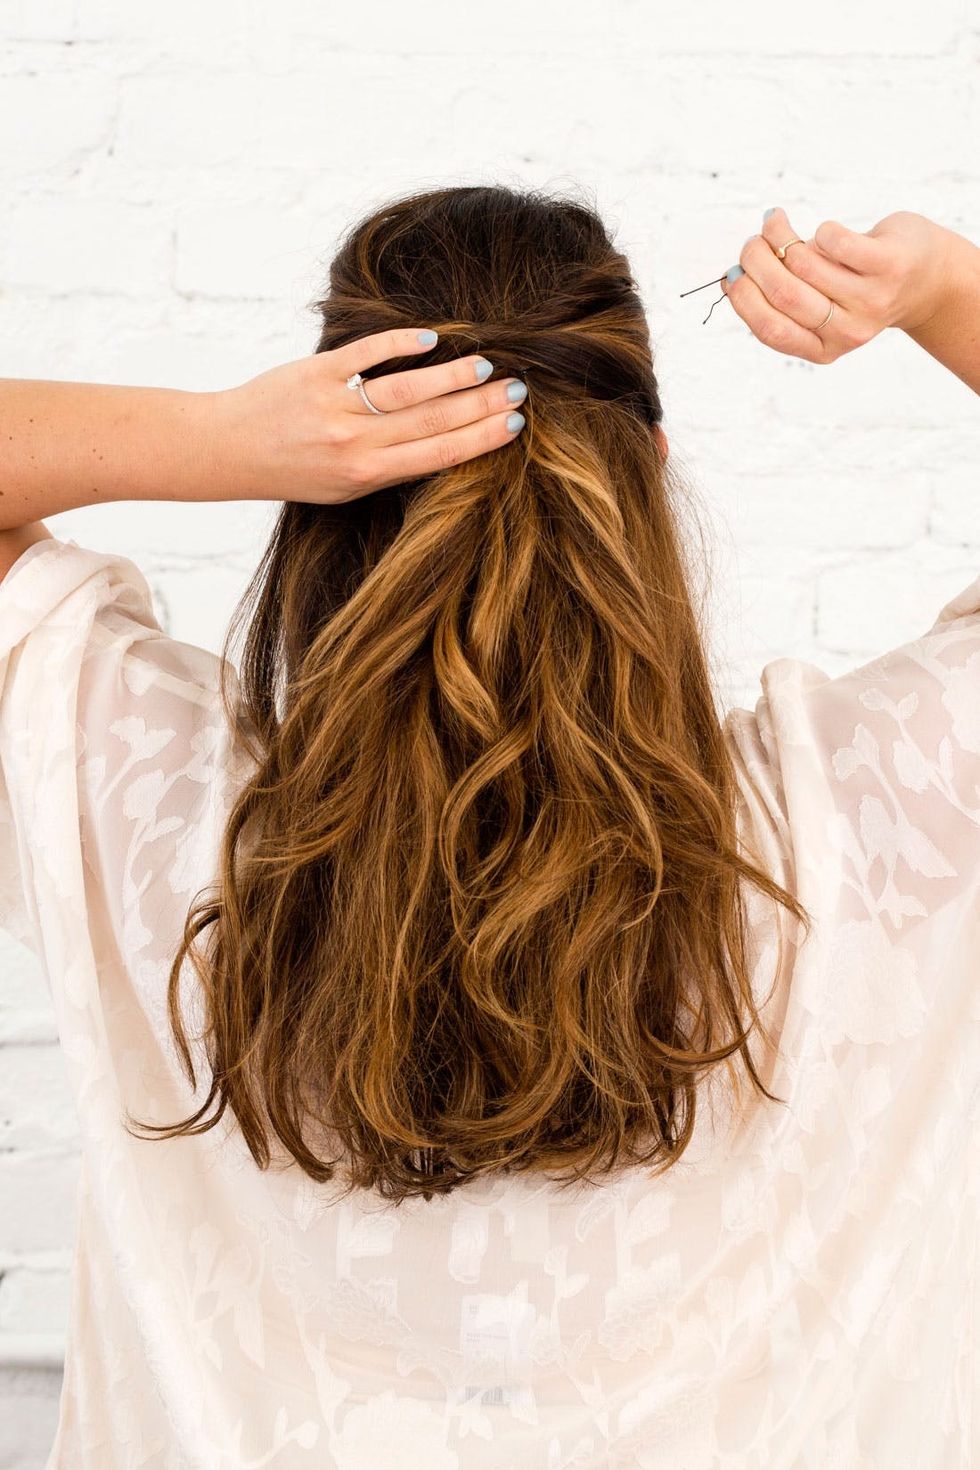
Cross pin it in place with bobby pins.
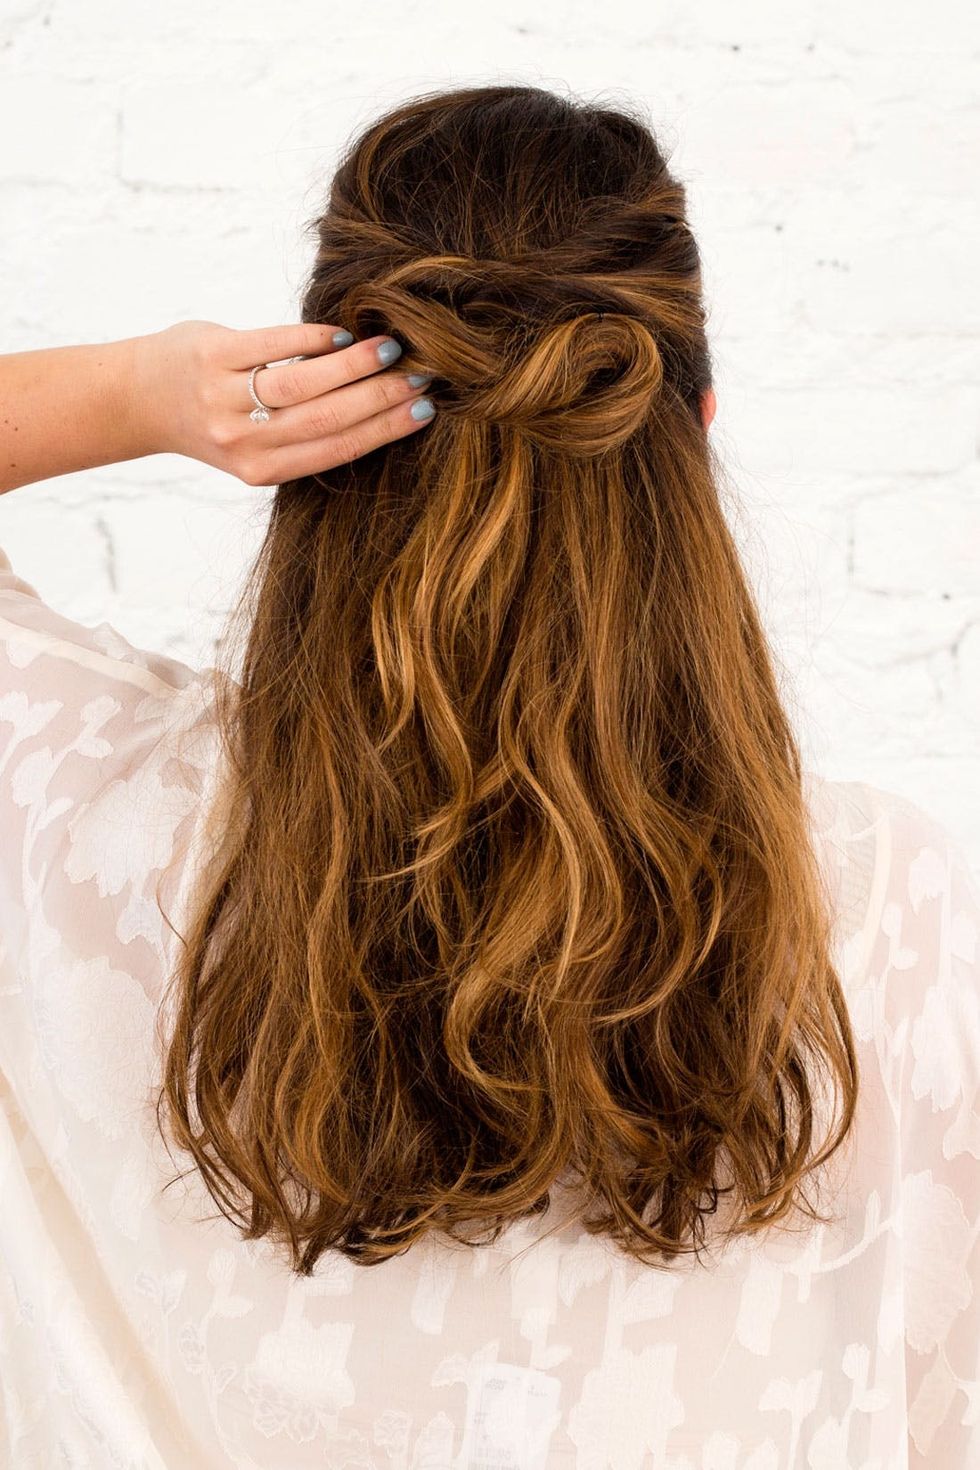
To start the infinity bow, pick up one of the sections of hair that you pinned in place from the second section. Then, place a finger about 3-in down from the roots of that section to hold it in place while you pull it up and over to create the first half of the infinity bow. Cross pin it in place with bobby pins.
Step 4: Begin Infinity Bow

Repeat Step 4 on the other side of your head to finish the bow.
Step 5: Finish Infinity Bow
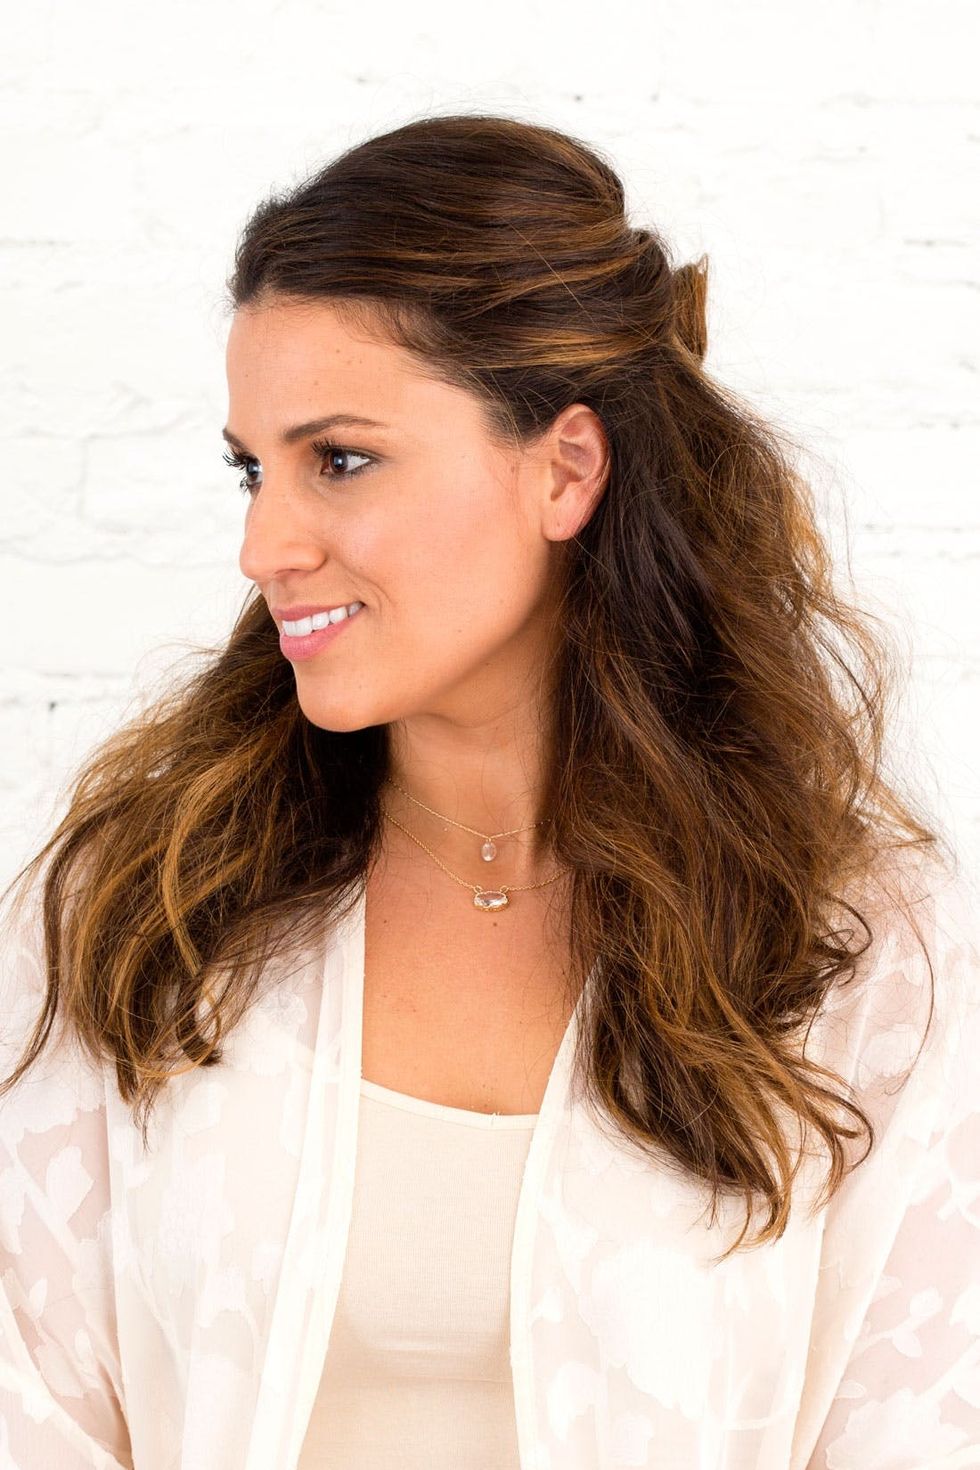
With a few minor adjustments to each of these styles you can make these work for any hair length and any event. With the right outfit, you can even rock these looks on the daily. They are simple enough to pull of in a matter of fifteen minutes, enough to squeeze in before a big meeting day at work!


