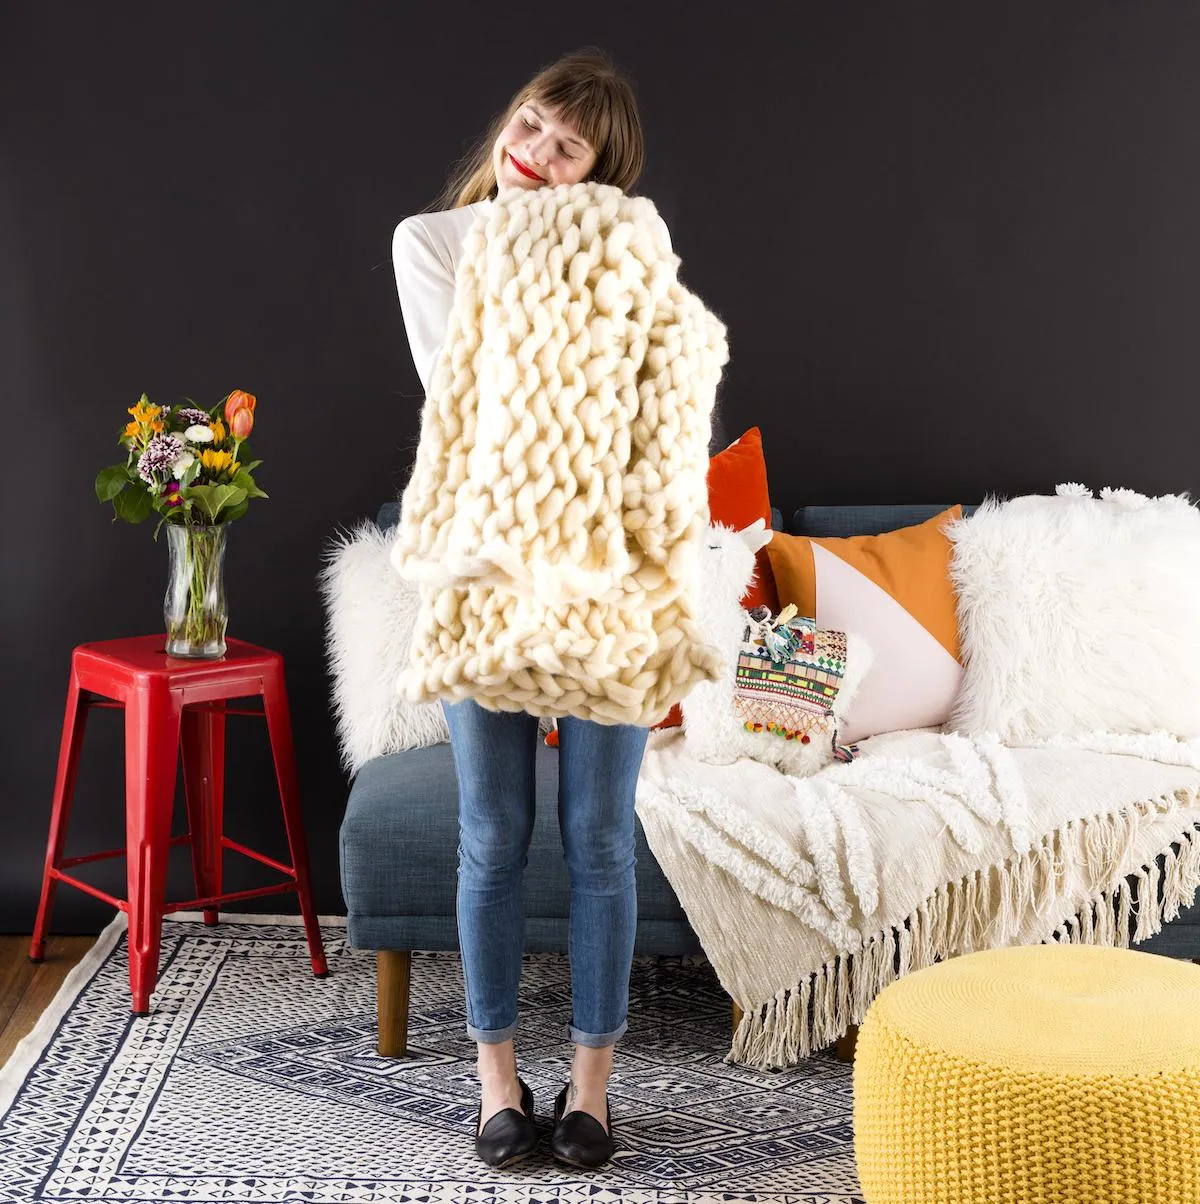
Make the world’s coziest blanket with your own two hands.
Hand Knit The Coziest Hygge Blanket EVER, With Zero Knitting Experience

Around the B+C office we have been full-on embracing the latest hygge trend, from IKEA hacks to stovetop potpourri. We’ve absolutely loved finding ways to incorporate this Danish tradition in our day-to-day lives. Before the chilly days leave us completely behind, we wanted to bring you one more way to hygge up your space. We’ve seen these amazing, super chunky knit blankets all over the internet, but when we saw the price tag (some for as much as $300!), we immediately jumped into DIY mode, knowing that we had to find an affordable way to get our hands on this luxurious blanket. ENTER hand knitting, very similar to its cousin arm knitting but done tabletop instead of on your arms. All in all, this blanket took under two hours to make and was SO easy — it takes zero knitting experience!
How To Make A Hand Knit Blanket

Materials:
- Approximately two pounds of Roving or 10 Skeins Chunky Yarn

Instructions:
*Not pictured* The roving that I purchased and linked to was incredibly thick, so I split it into two pieces by pulling it apart at the middle, v easy. If you get skeins of chunky yarn, you will not need to do this. You also don’t have to split the roving; it really depends on how chunky you want your blanket to be, so feel free to experiment and find the right weight for your desired look.
Begin by measuring out the tail of your yarn, roughly one arm length for each stitch. This does depend on the length of your arm, but measure out at least 20 arm lengths.

Create a slipknot for your first stitch. Make a loop around the thumb of your left hand, and pull the tail through the loop, creating a slip knot.


Slide the first stitch onto your right arm, making sure you keep it loose enough that you’ll be able to slide it back off.

Make a loop with the yarn from the tail, and feed a piece of the working yarn (attached to the ball) through the loop, creating another loop.

Take the loop created from the working ball of yarn and slide it onto your arm next to the first stitch. This is how you’ll create all of your starting stitches. Repeat until until you’ve used all the yarn from the tail you measured out, sliding each new stitch onto your arm.

This is what your arm should look like as you’re creating your stitches!

Once you have all 20 stitches on your arm, slide them off onto the surface/table you plan to work on. I ended up with slightly more than 20 stitches, because I have uber long arms :)


Take the working yarn and feed a small loop through the first stitch on the left hand side of your row.

TA DA, so easy! Repeat this to each stitch.


Repeat again going right to left.

Keep going back and forth, making loops inside the previous stitches, until you get to your desired length.

To finish off your blanket, take two of the top stitches all the way to the right and feed a loop of the working yarn through them.

Repeat this step until you have reached the left side of the blanket.

Make a knot with the remaining looped yarn.

You now have the world’s coziest blanket, and you made it with your own two hands!

Oh so cozy.

Puppies loved it just as much as people did around the office!

Her modeling debut! A natural!

COZY AF!

Share your hand-knit blankets with us! Post them on Instagram and be sure to follow us on Pinterest for more DIY inspo.
DIY Production + Styling: Cassidy Miller
Photography: Kurt Andre
Brit + Co may at times use affiliate links to promote products sold by others, but always offers genuine editorial recommendations.
This post has been updated.


