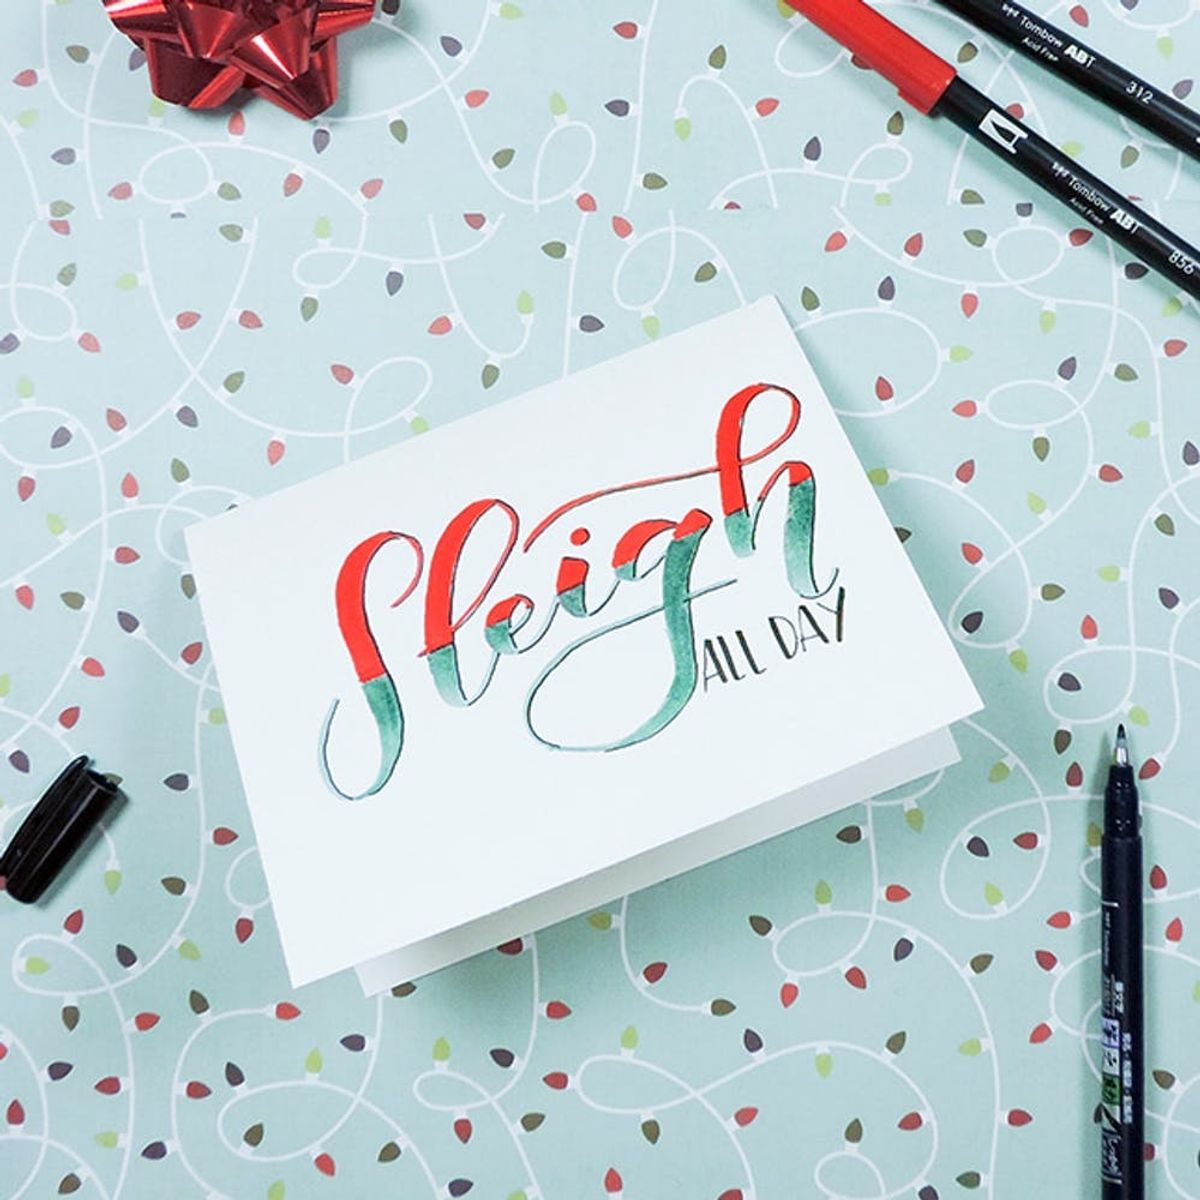
Handmade cards for the holidays!
Sleigh All Day With This FREE Hand-Lettered Holiday Card Tutorial

Looking for a little merry-making this holiday season? Us, too! One simple way to spread holiday cheer is by creating your own handmade cards. And we’ve got the perfect hand-lettered card that your bestie or #girlboss coworker will love.
Download our Hand-Lettered Holiday Card Project Guide
Plus, if you need to brush up on your brush lettering skills, make sure to enroll in Brittany’s upcoming online class Bounce Lettering Basics. In her course, you’ll learn how to create the pretty lettering that you’ve been loving in your Instagram feed. At the end of her class, you’ll know how to:
- Use Tombow brush pens to draw a script and block letter alphabet
- Apply the right strokes (and pressure) to create bounce lettering words and phrases
- Use blending techniques to add extra oomph to your designs
- Create your own custom hand-lettered cards (you’ll create two in this class!)
Plus, an enrollment in her course will unlock exclusive access to her awesome 24-page workbook. It includes a basic strokes guide, a script and block alphabet guide, examples of bounce lettering compositions, and more!
MATERIALS FOR PROJECT
- Tombow Dual Brush Pen #800 – Baby Pink
- Tombow Dual Brush Pen #856 – Chinese Red
- Tombow Dual Brush Pen #312 – Holly Green
- Tombow Fudenosuke Calligraphy Pen, Hard Tip
- Mix Media Paper, cut and scored
- Ruler
INSTRUCTIONS FOR PROJECT
1. Create a base for your lettered design: Using your Tombow Dual Brush Pen in #800 – Baby Pink, letter the word ‘Sleigh’ in the middle of your card. This will create a base for your lettered design. Remember to use heavy pressure on your downstrokes and light pressure on your upstrokes.
2. Section off your letters: Grab a ruler and section off your letters – I like to do this at a slight angle to add interest.
For full instructions and pictures, download the project guide above!
Add a personalized touch to a handmade holiday card this year. And don’t forget to share your create with us on Instagram. Tag us @britandco and use the hashtag #bcholiday.


