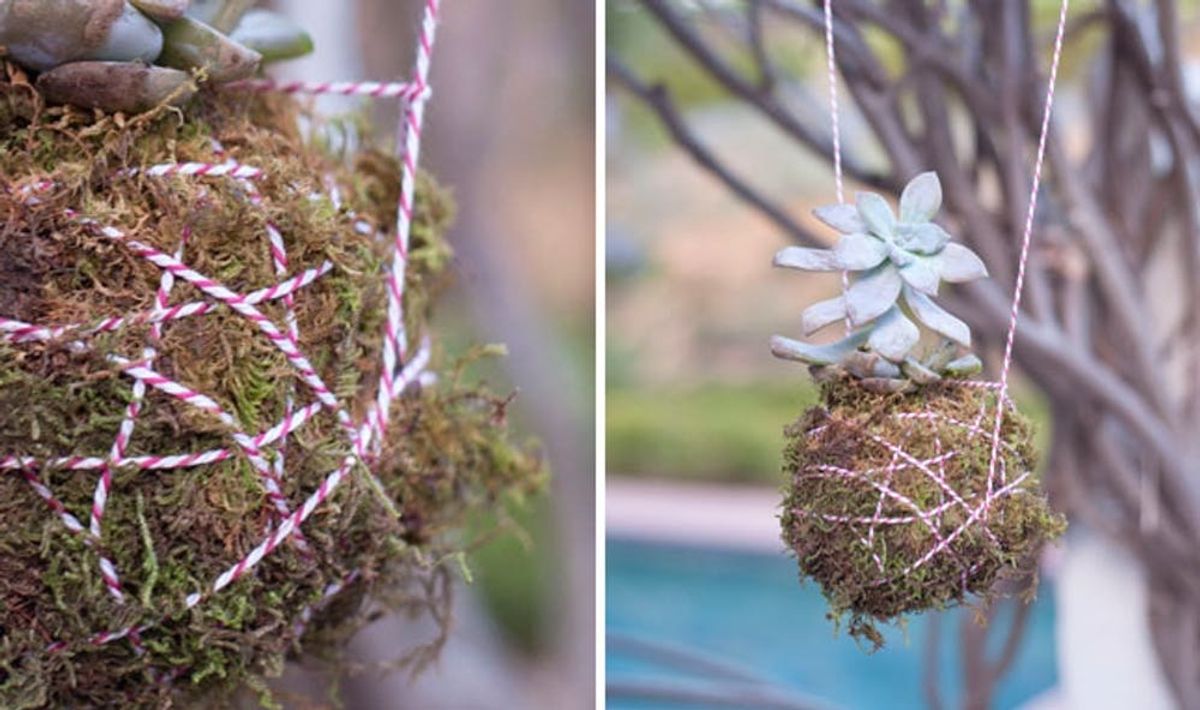
Inspired by the Japanese gardening method Kokedama, this funky arrangement involves wrapping clay and moss around the root of the plant before wrapping it in string. If you’re a budding gardener, this is a great way to start learning about gardening hydroponics (gardening without traditional use of soil) or gardening aeroponics (gardening using air as a growth medium). Now, let’s get to it!
How to Create a Hanging Succulent Planter

You didn’t think we’d scour the web for the most creative DIY planters around without serving up some creative cleverness of our own, did you?
Inspired by the Japanese gardening method Kokedama, this funky arrangement involves wrapping clay and moss around the root of the plant before wrapping it in string. If you’re a budding gardener, this is a great way to start learning about gardening hydroponics (gardening without traditional use of soil) or gardening aeroponics (gardening using air as a growth medium). Now, let’s get to it!
Supplies:
– succulent plant
– dry Sphagnum Moss
– moss (you can pick some yourself or buy it in a bag)
– potting soil
– clay mud (or Bonsai soil)
– twine or ribbon to wrap around your moss ball
Tools:
– scissors
– gardening trowel
– clippers
– container to mix soils
Gather your supplies. For twine, we used colorful baker’s twine but you can also use ribbon or even leather lacing. In terms of our plant, we went with a succulent but you could also try using any small potted plant, you just may need to water them more often.
Start by washing off any soil around the roots. Then mix together your clay and potting soil to create mud the consistency of Play-doh. Add more water if needed.
Add water to your dry Sphagnum Moss and wrap it around the exposed roots of your plant. This part of the plant is also called the root ball.
Now, take your clay mixture and pat it around the root ball and Sphagnum Moss to create a round ball. Then wrap around the green moss.
Wrap your twine or string around the moss ball several times leaving two long end pieces to tie into a loop.
Hang it up in a place that gets a few hours of sunlight. If you hang it indoors or under an awning where it won’t have access to rain, you can either mist it daily or twice a week hold a bowl of water under it so it gets dunked for 10 seconds. Enjoy!
What cool and creative DIY planters have you seen or made? Talk to us in the comments below.


