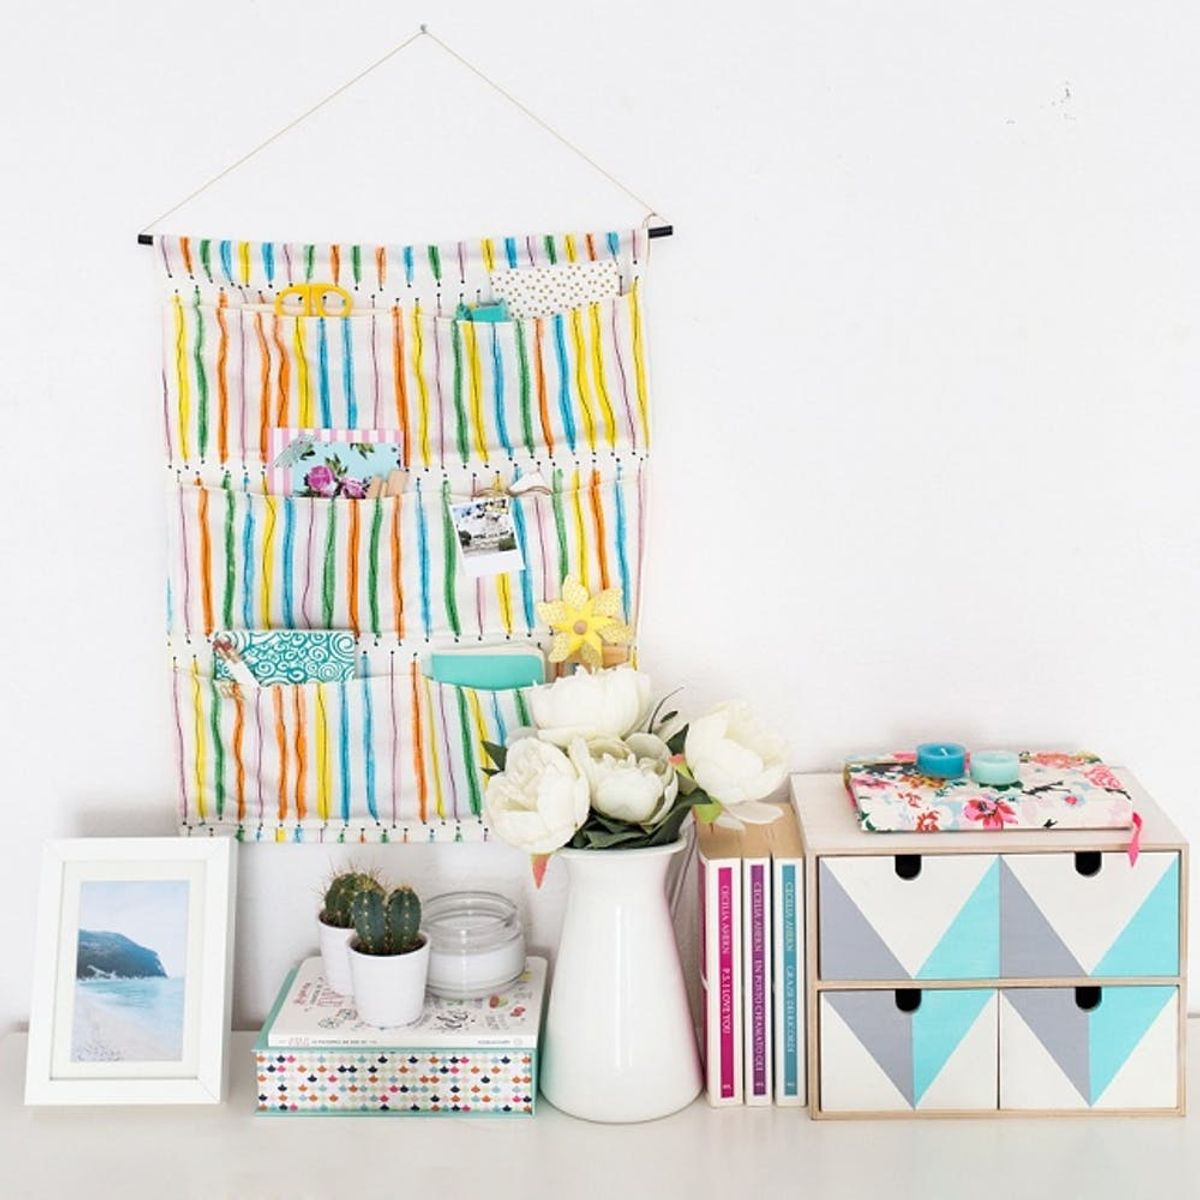
This easy sewing project will only take 20 minutes!
DIY This Hanging Storage Bag and Keep Your Home Office Organized

Spring cleaning can be an intimidating task, especially when it comes to your work space. There’s your craft closet where you just throw everything all winter long and your desk that is starting to look a bit messy. So let’s take a deep breath, download a cleaning checklist printable and take the opportunity to try a brand new DIY project. This hanging storage bag is the perfect organizer for paintbrushes, washi tape and everything you have on your desk.
Materials + Tools:
– fabric
– matching thread
– twine
– pins
– fabric scissors
– ruler
– wooden or plastic dowel
– sewing machine
Instructions:
1. Measure a rectangle that’s 17 x 23 inches, and cut it out.
2. Now cut out a rectangle that’s 6 x 18 inches and repeat to create two other large strips.
3. Take your strips and fold the top of the long edge over about 1/2 inch. Pin it in place and sew.
4. Repeat step 3, but this time fold the bottom edge over.
5. Place your strips over the big rectangle, and sew as shown below to create your pockets.
6. Turn the rectangle so that the back is facing you. Fold the left, bottom and right edges over about one inch. Pin and sew in place.
7. Fold over the top edge about two inches and sew again to create a loop for your plastic dowel.
8. Measure the center point of the organizer, and use your sewing machine to sew from top to bottom. Just be sure to leave the loop open.
9. Insert your dowel, and tie the twine.
First measure a rectangle that’s 17 x 23 inches, and cut it out. This will be the base of your organizer. Now, it’s time to think about the pockets. Cut out three rectangles that are 6 x 18 inches. Then, take your strips and fold the top of the long edge over about 1/2 inch to create a hem. Pin it in place and sew. Repeat with the bottom edge.
Now, place the pockets over the base rectangle and sew as shown above. Then, turn the rectangle so that the wrong side is facing you and fold the left, bottom and right edge over about one inch. Pin them in place, and sew using your sewing machine. Next fold over the top edge as well, and sew to create a loop that’s more or less two inches wide. This is where you’ll insert your plastic dowel.
Find and mark the center point of the organizer, and sew a straight line from top to bottom. Just be sure to leave the loop open. Finally insert the plastic dowel and tie the twine. Voilà! You’re ready to hang the storage bag :)
The pockets are perfect for notebooks, pens and knick-knacks.
This post is kitty-cat approved :)
How are you updating your desk during spring cleaning this year? Follow us on Pinterest for more easy ways to refresh your space this spring.


