They can all be made with just a few minutes of effort, and are so adaptable!
Make Your Camping Trip One to Remember With These Healthy Make-Ahead Snacks!
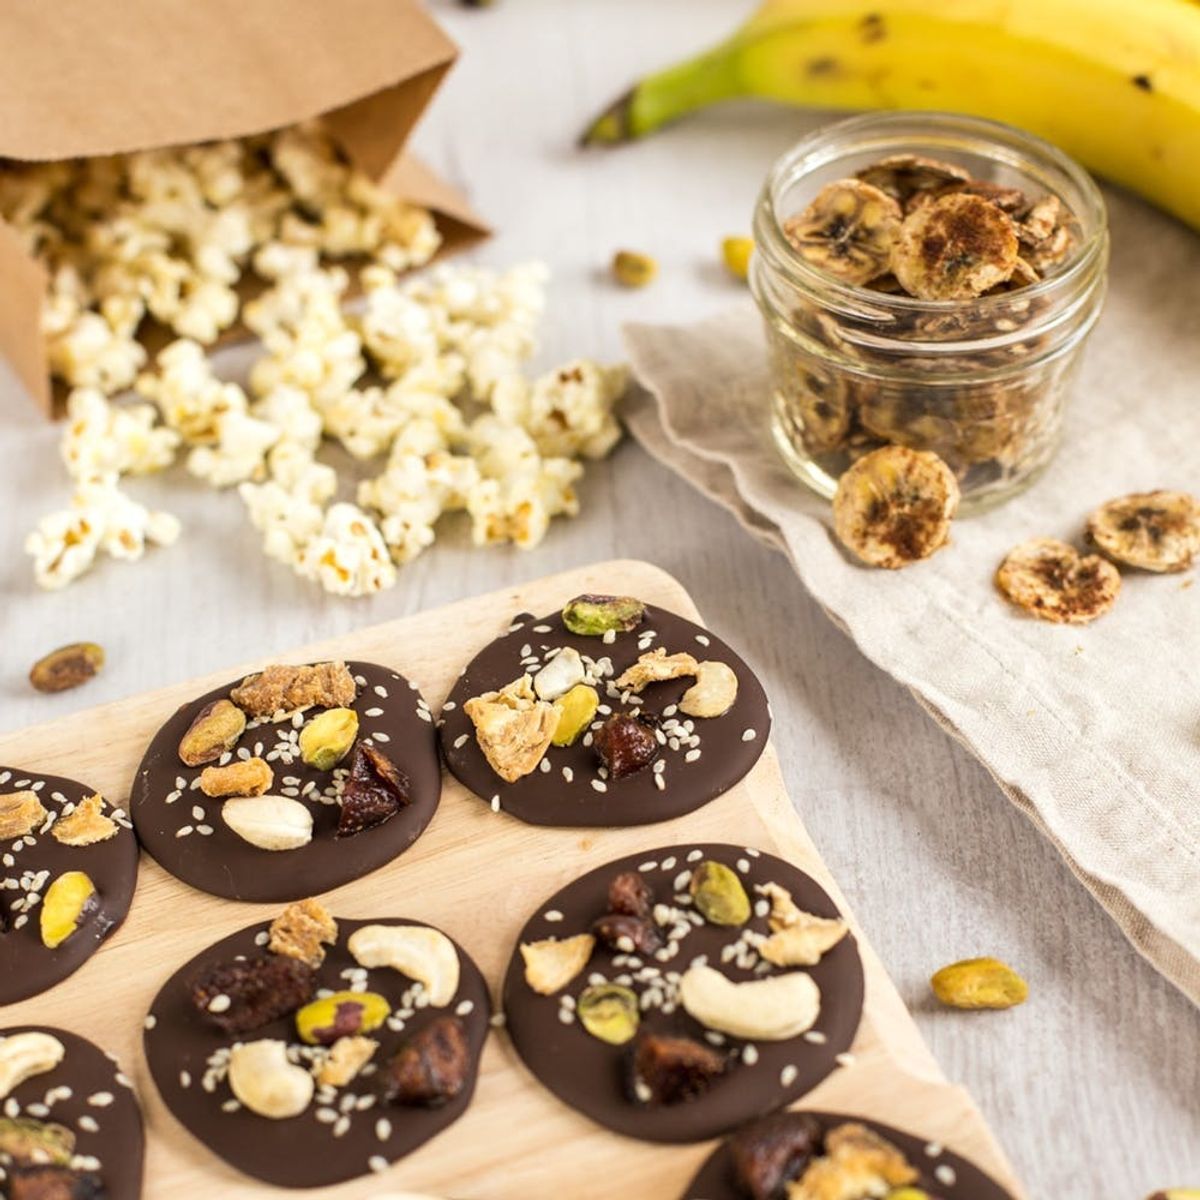
Who’s planning a camping trip this summer? Rather than reaching for the same old processed snacks, make your own to take with you! These three healthy camping treats can all be made in advance with just a few minutes of effort, and there’s something for everyone — chewy baked banana chips sprinkled with cinnamon, homemade popcorn made in the microwave, and chocolatey trail mix bites covered with dried fruit and nuts. Pack them up in some air-tight tubs, and they’ll keep you happy for your whole trip.
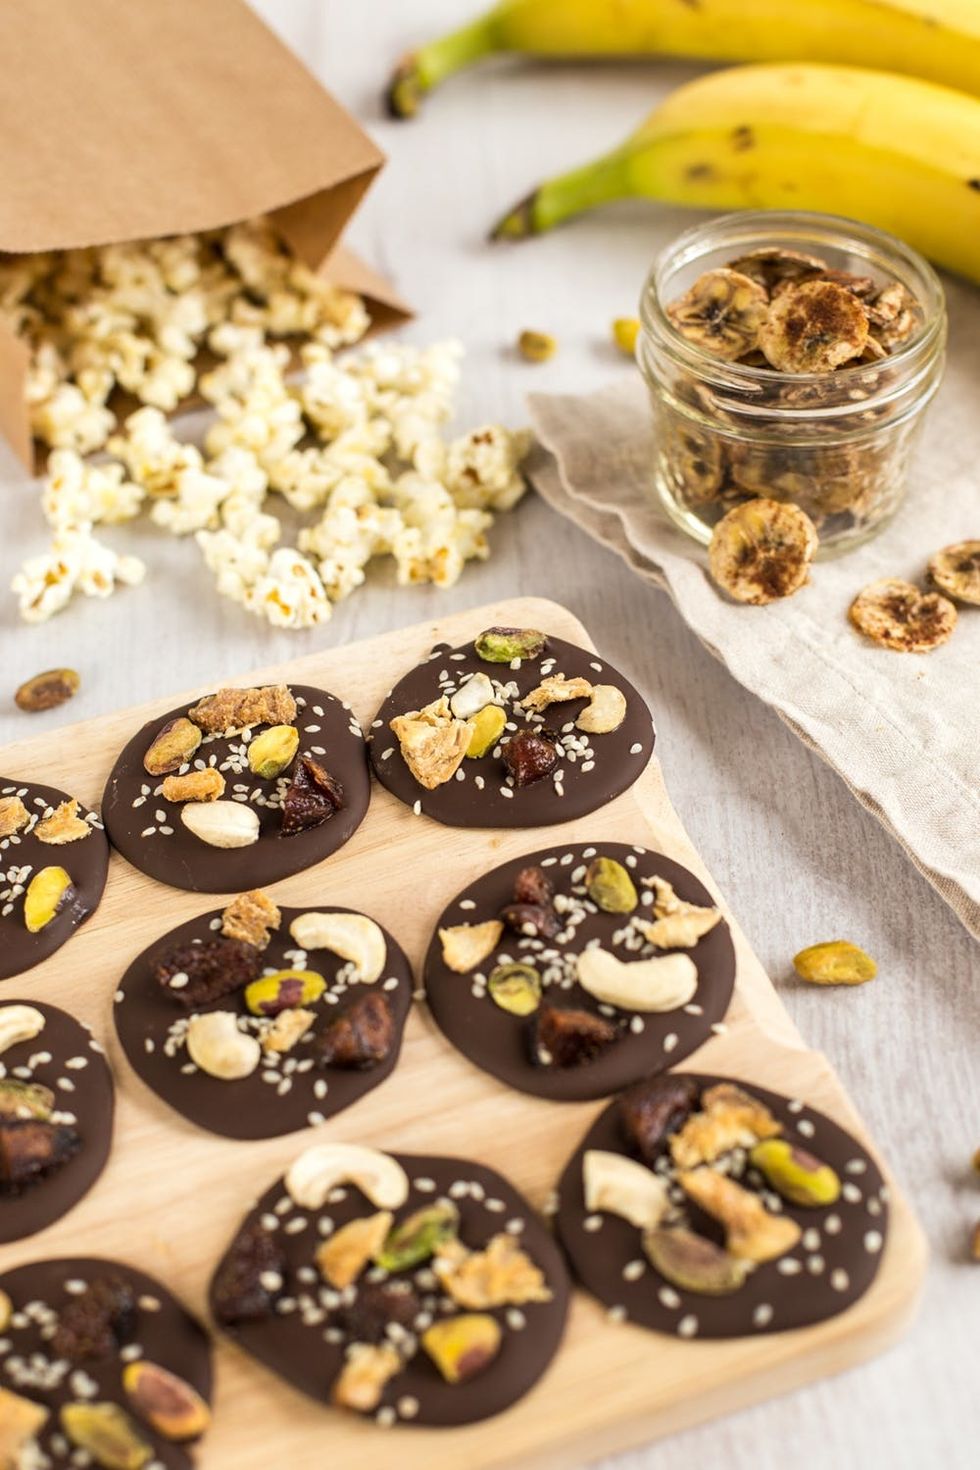
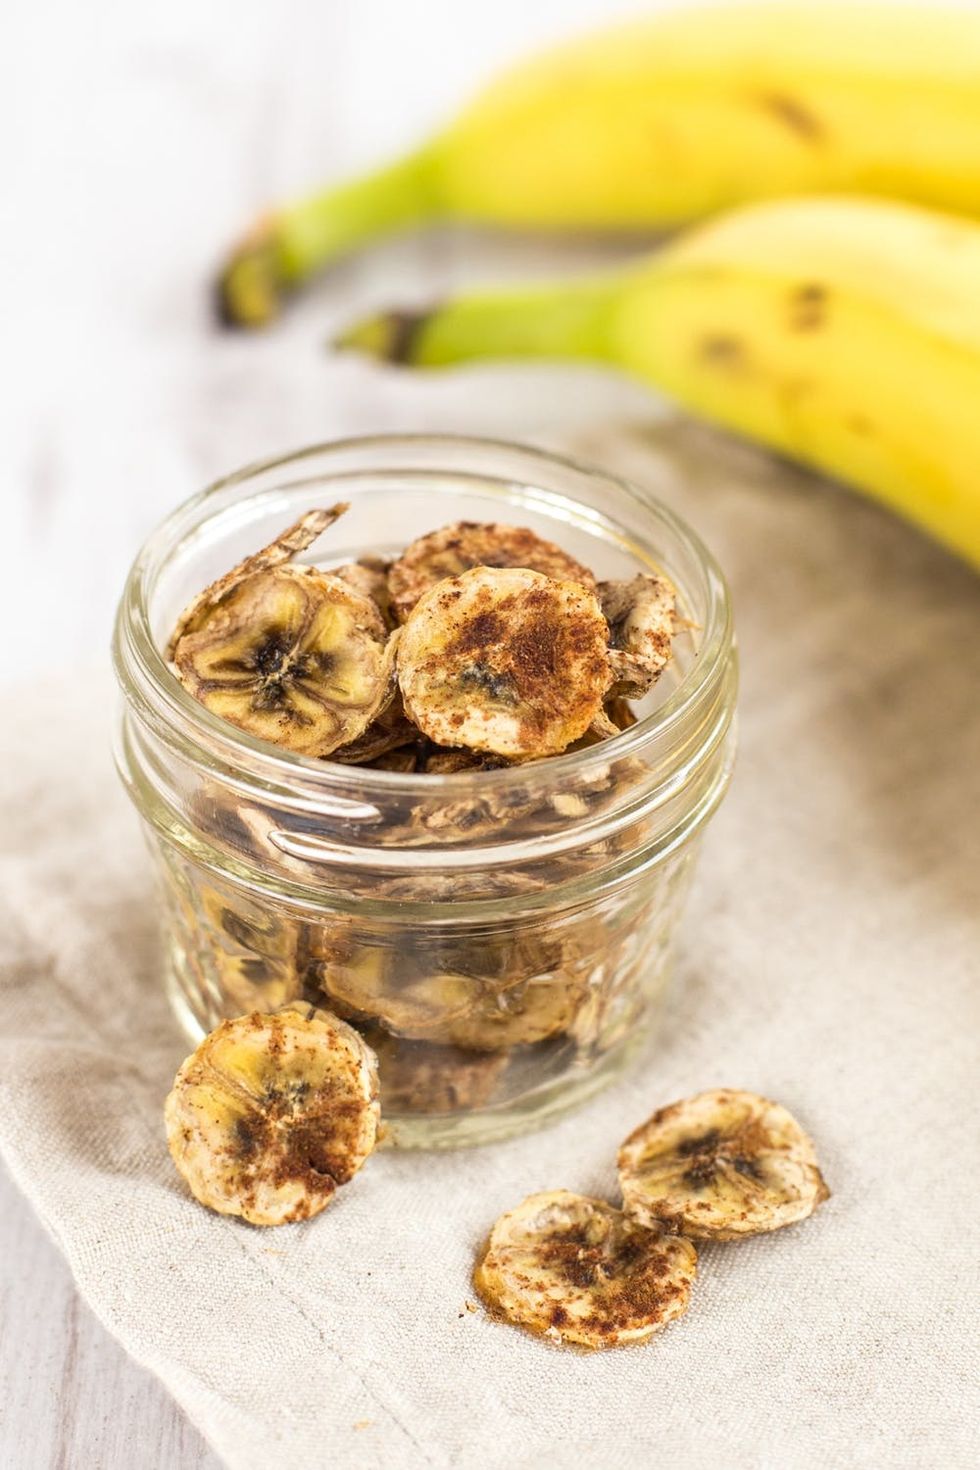
1. Baked cinnamon banana chips
Ingredients:
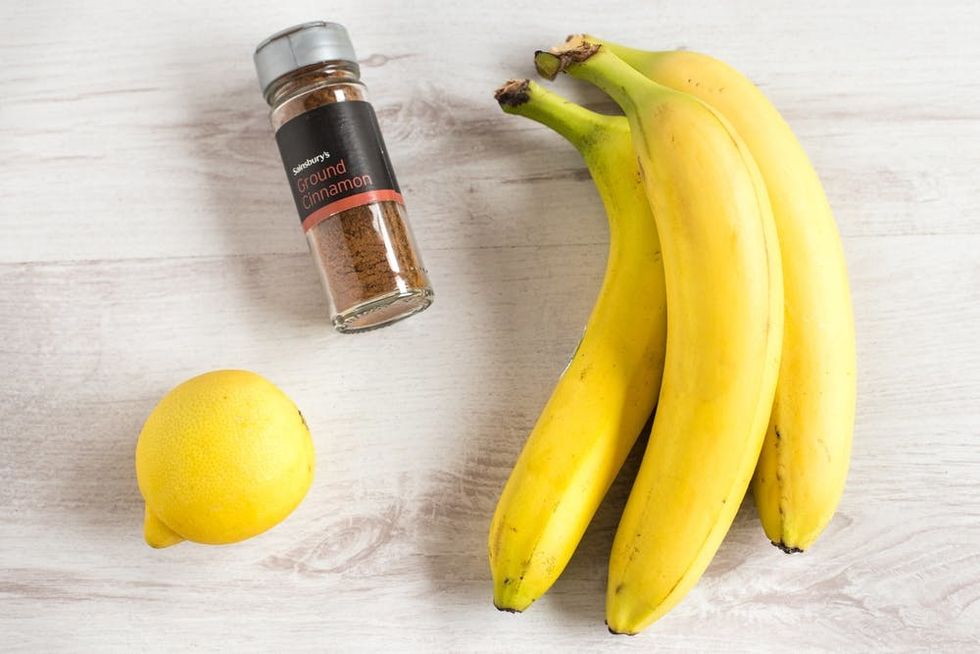
- ripe bananas
- lemon juice
- ground cinnamon
Instructions:
1. Thinly slice the bananas (one or more, depending on how many banana chips you want to make). Lay the slices in a single layer on a lightly greased baking tray. Drizzle with lemon juice, and sprinkle with ground cinnamon.
2. Bake at 200 degrees Fahrenheit for around 3 hours, or until they’re cooked to your liking — they should be nice and chewy. Turn the banana chips over halfway to ensure they cook evenly.
3. Allow to cool, and store in an air-tight container.
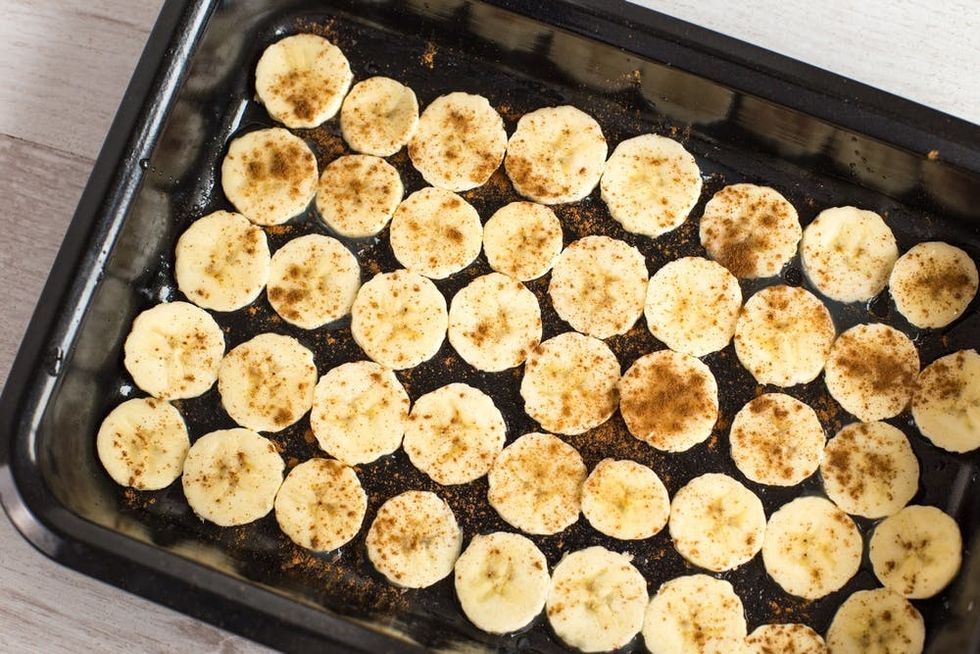
Thinly slice the bananas (one or more, depending on how many banana chips you want to make). Lay the slices in a single layer on a lightly greased baking tray. Drizzle with lemon juice and sprinkle with ground cinnamon.
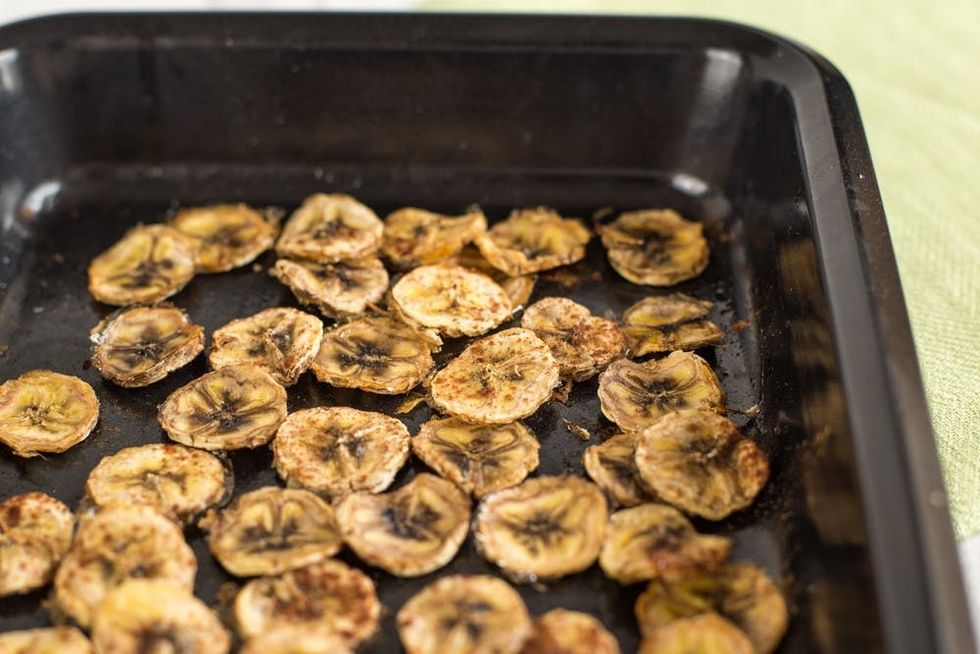
Bake at 200 degrees Fahrenheit for around three hours, or until they’re cooked to your liking — they should be nice and chewy. Turn the banana chips over halfway to ensure they cook evenly.
Allow to cool, and store in an air-tight container.
2. Homemade “cheesy” microwave popcorn
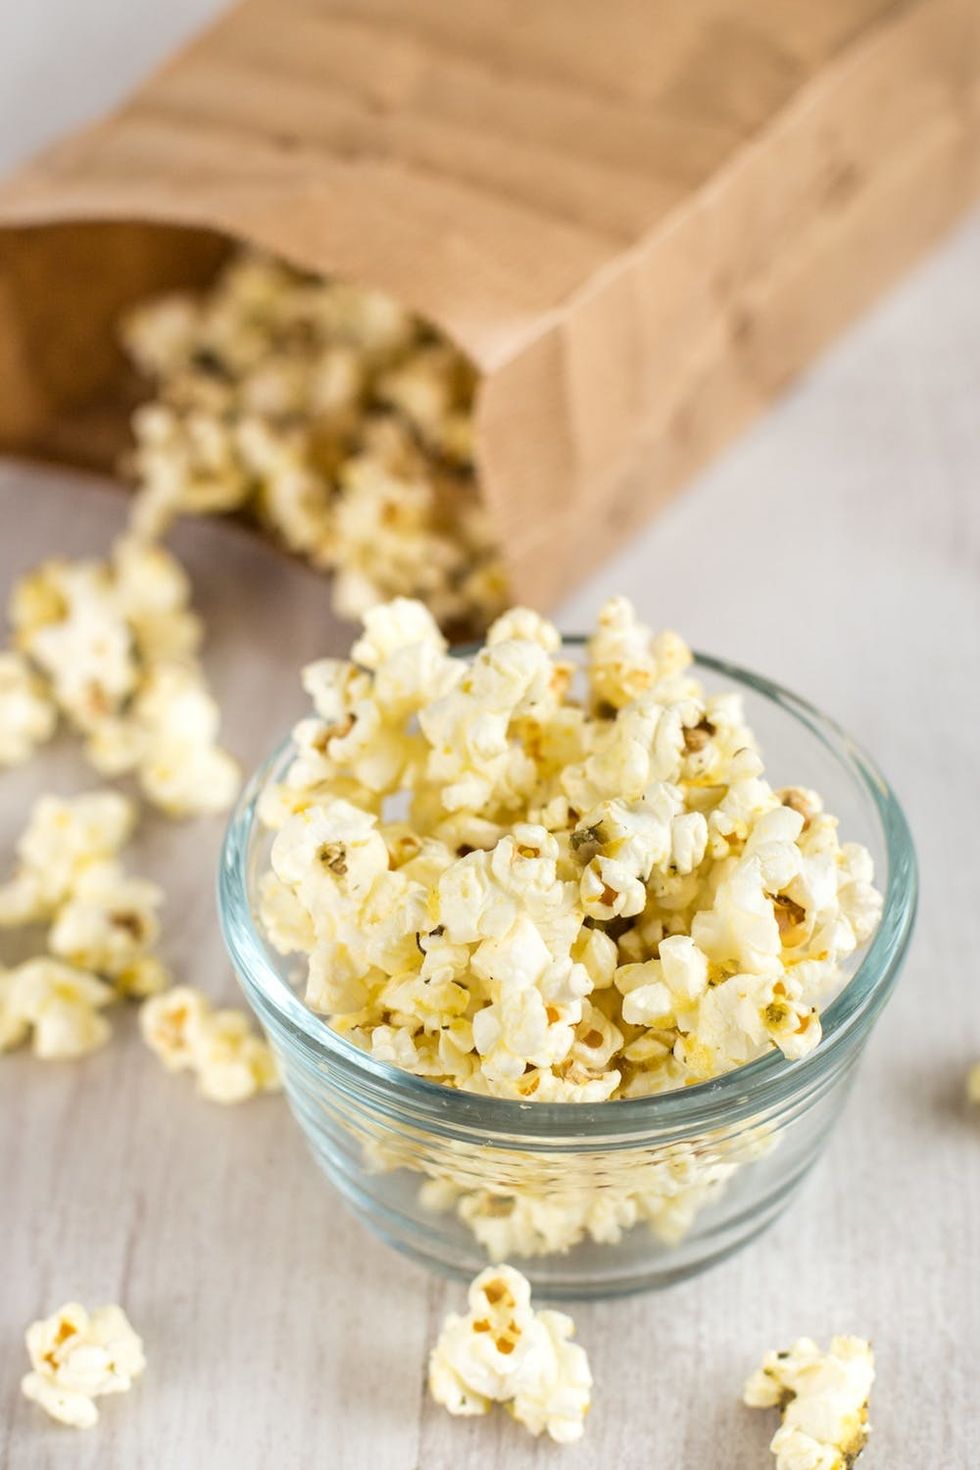
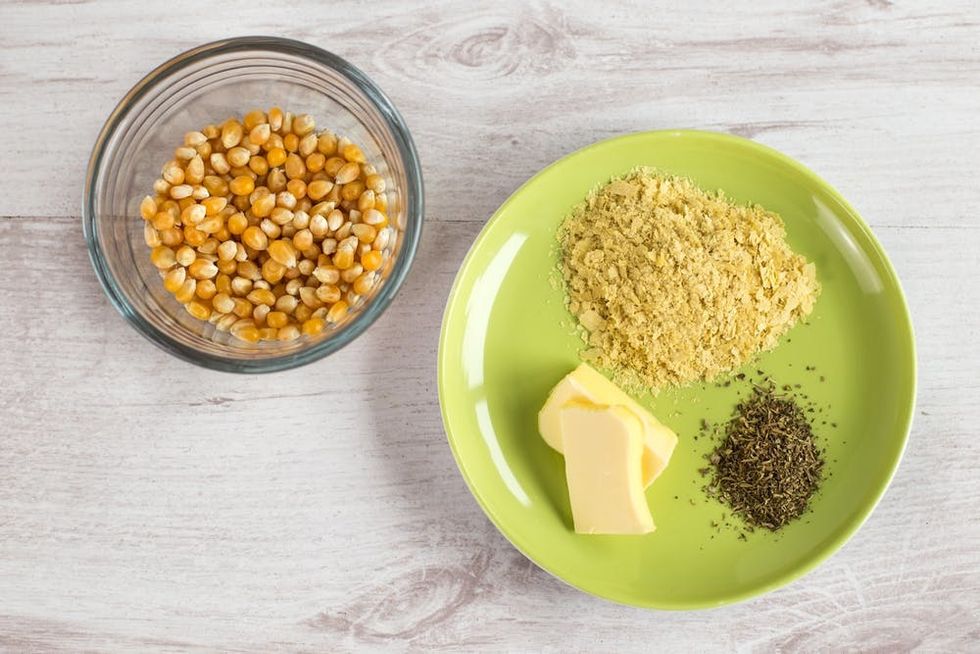
Ingredients:
- 1/8 cup popping corn
- 2 Tablespoons butter or olive oil
- 1 Tablespoon nutritional yeast
- 1 teaspoon mixed Italian herbs
- black pepper
* You will also need a paper bag
Instructions:
1. Place the popping corn in the paper bag, and roll over the top a few times to create a loose seal.
2. Cook in the microwave for around 2 1/2 – 3 minutes, until the majority of the popping corn has popped (there may still be a few unpopped kernels at the bottom of the bag). You will be able to hear the popcorn popping, so remove from the microwave when the noise stops.
3. In a small bowl, combine the olive oil, nutritional yeast, dried herbs, and plenty of black pepper. Drizzle over the popcorn, either directly in the paper bag or in a mixing bowl, and mix well to combine.
4. Allow to cool, and store in an air-tight container.
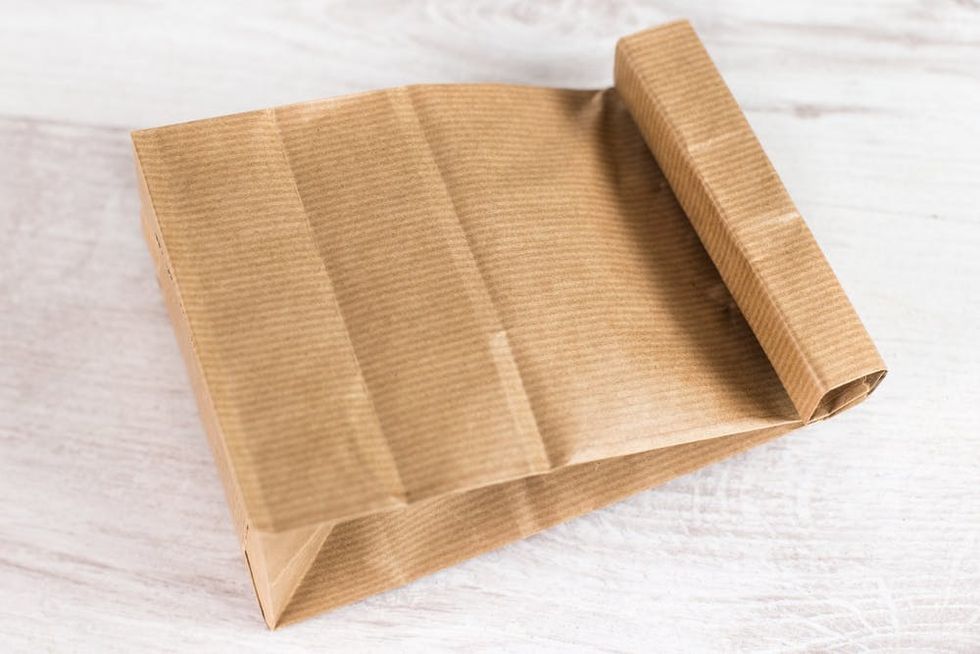
Place the popping corn in the paper bag, and roll over the top a few times to create a loose seal.
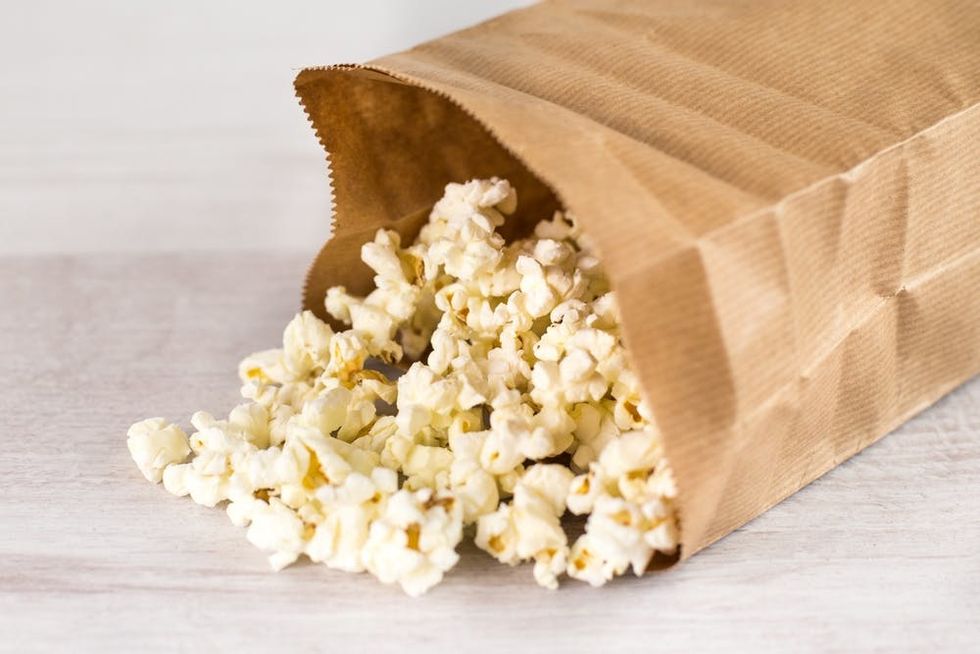
Cook in the microwave for around 2 1/2 – 3 minutes, until the majority of the popping corn has popped (there may still be a few unpopped kernels at the bottom of the bag). You will be able to hear the popcorn popping, so remove from the microwave when the noise stops.
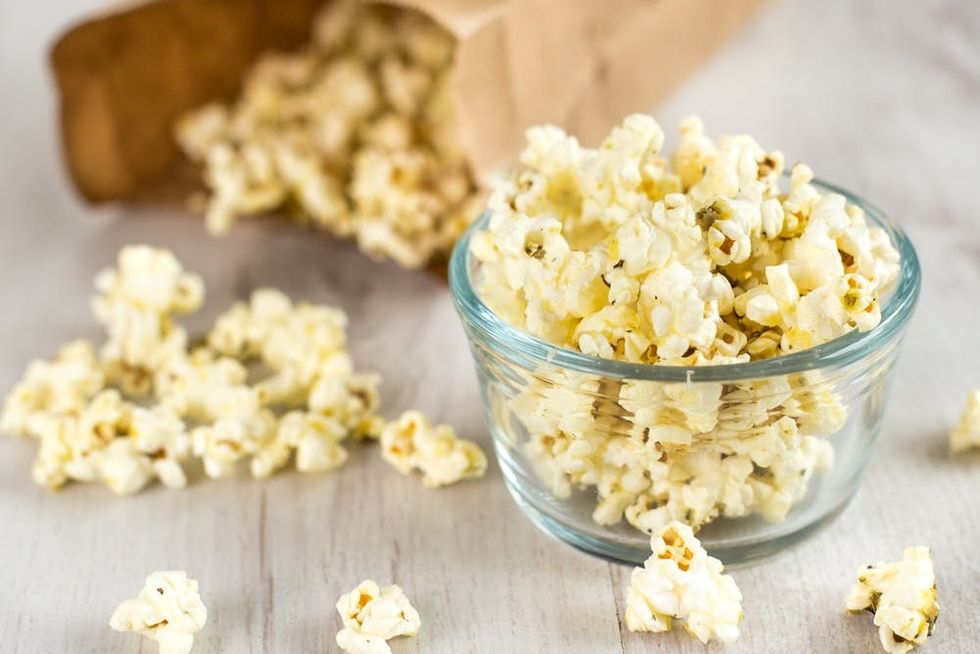
In a small bowl, combine the olive oil, nutritional yeast, dried herbs, and plenty of black pepper. Drizzle over the popcorn, either directly in the paper bag or in a mixing bowl, and mix well to combine.
Allow to cool, and store in an air-tight container.
3. Chocolatey trail mix bites
Ingredients:
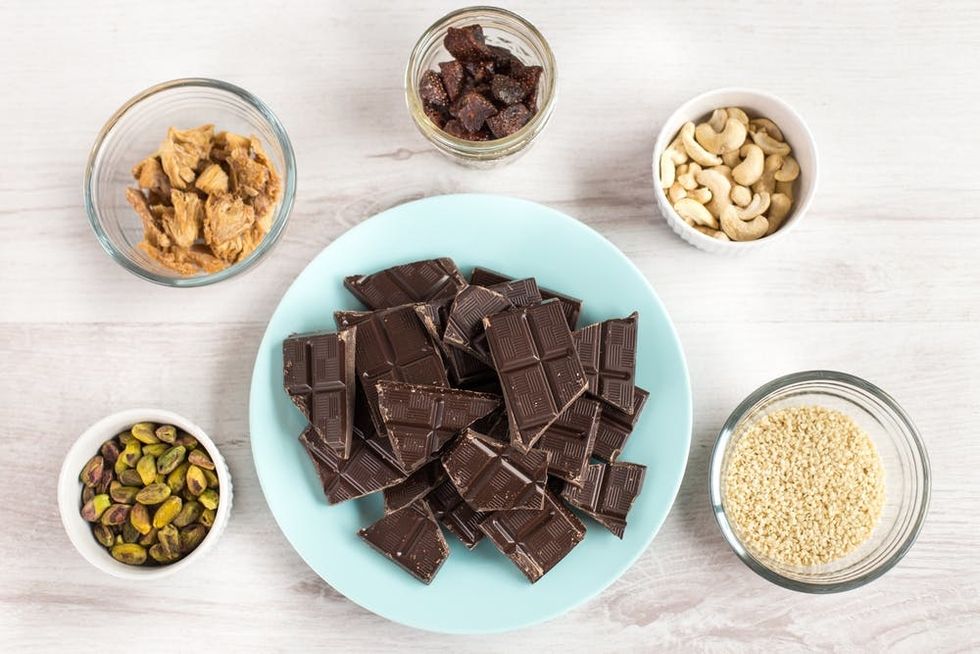
- 10 ounces dark chocolate
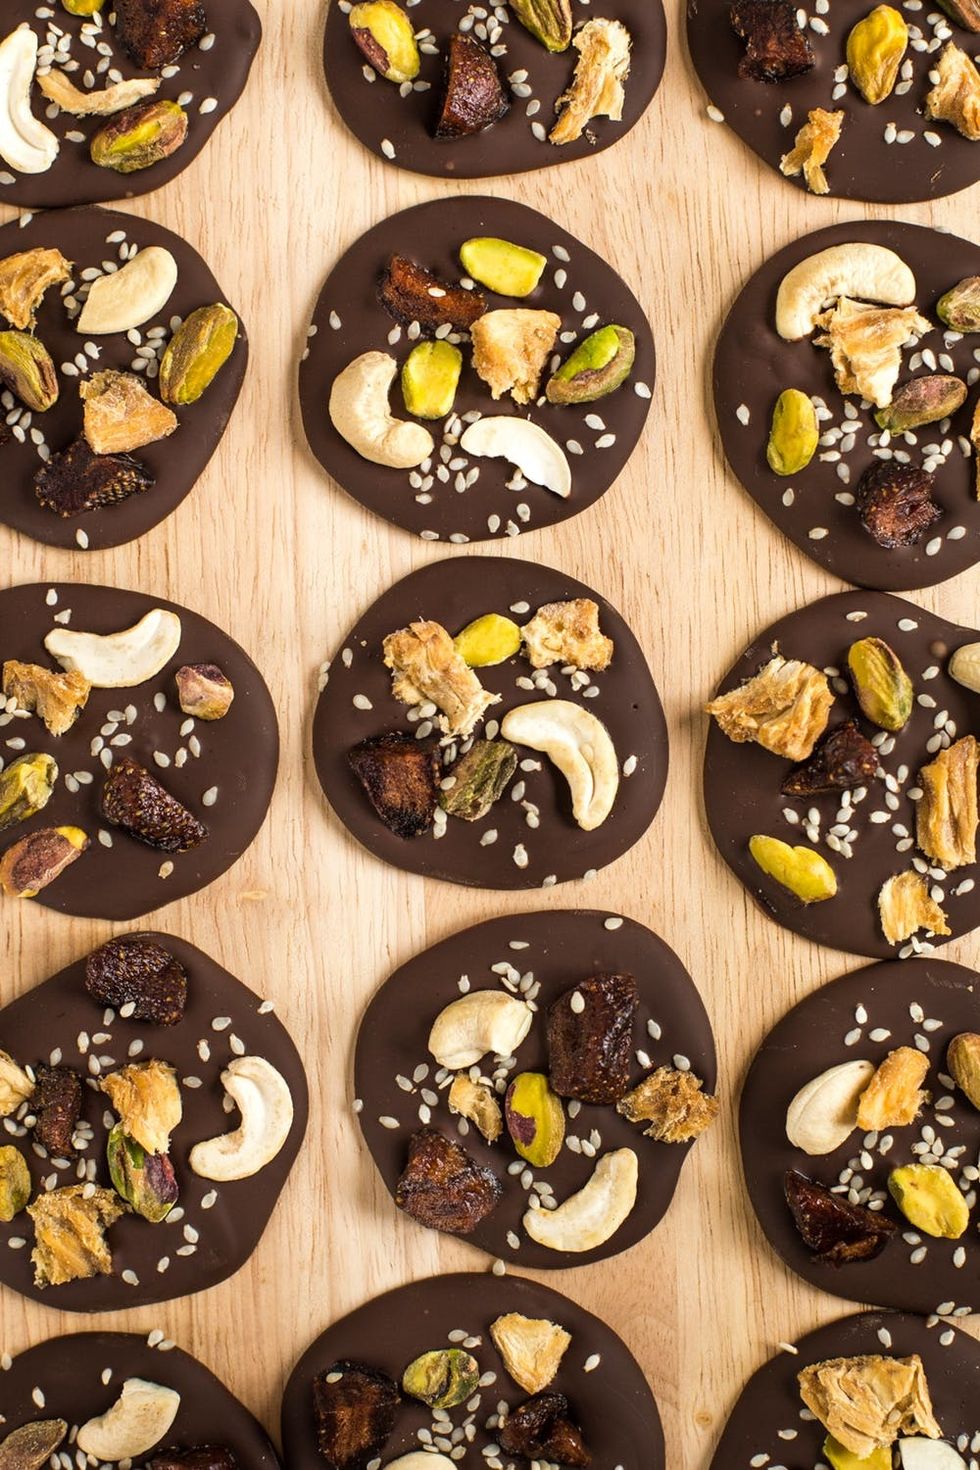
- various kinds of dried fruit, nuts, and seeds (I used cashews, pistachios, dried strawberries, dried pineapple, and sesame seeds)
Instructions:
1. Melt the dark chocolate in a small saucepan, over a low heat. Add dollops of melted chocolate to a lined baking tray, and use the back of a teaspoon to smooth it into flat discs.
2. Sprinkle over your choice of toppings — dried fruit, nuts, and seeds all work well. You can make each bite the same, or go for different combinations if you prefer.
3. Allow to cool completely, and store in an air-tight container.
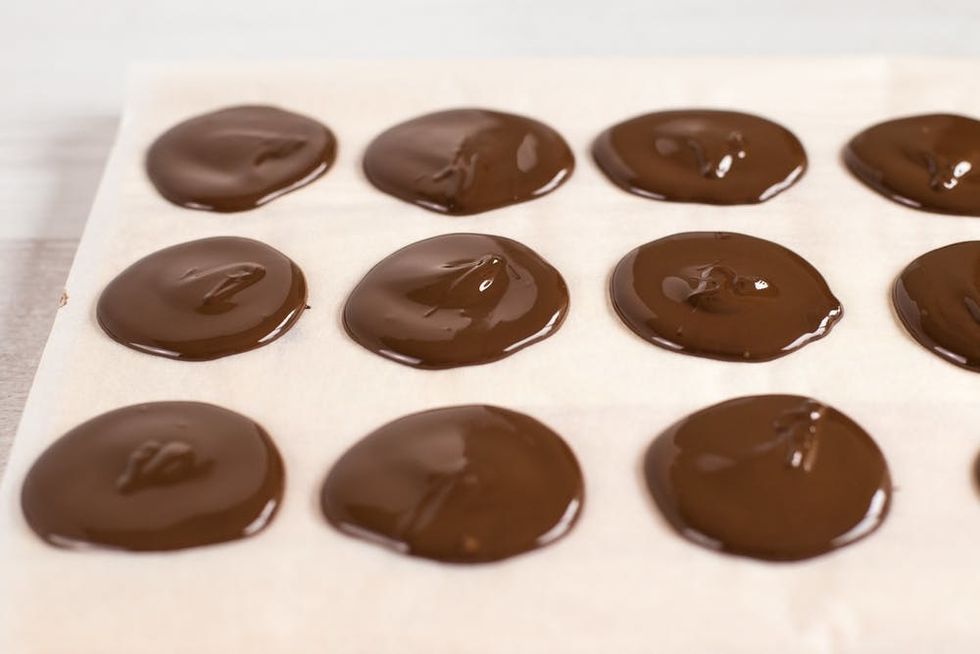
Melt the dark chocolate in a small saucepan, over a low heat. Add dollops of melted chocolate to a lined baking tray, and use the back of a teaspoon to smooth it into flat discs.
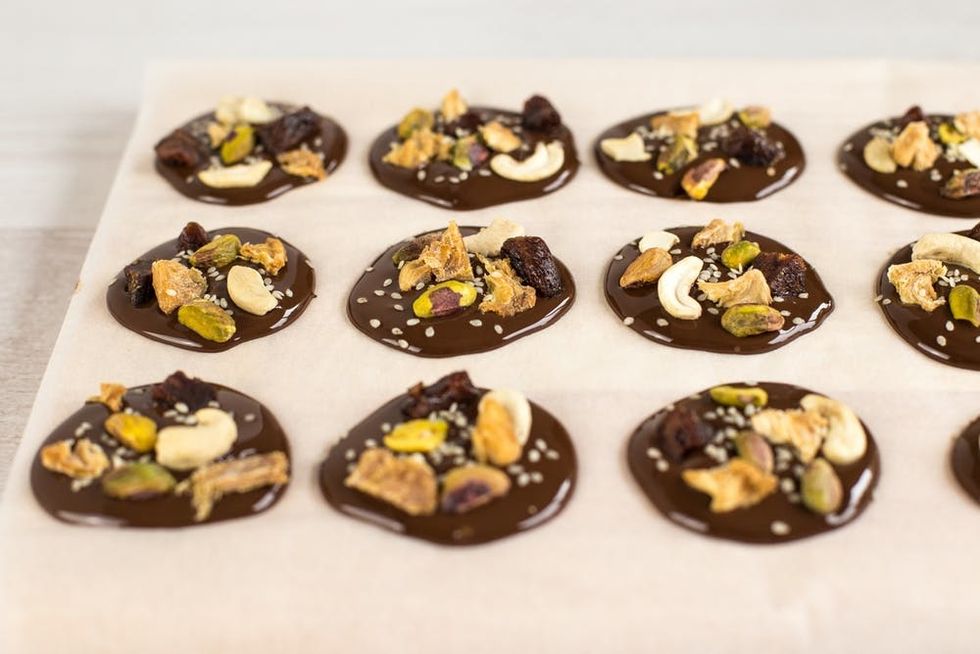
Sprinkle over your choice of toppings — dried fruit, nuts, and seeds all work well. You can make each bite the same, or go for different combinations if you prefer.
Allow to cool completely, and store in an air-tight container.
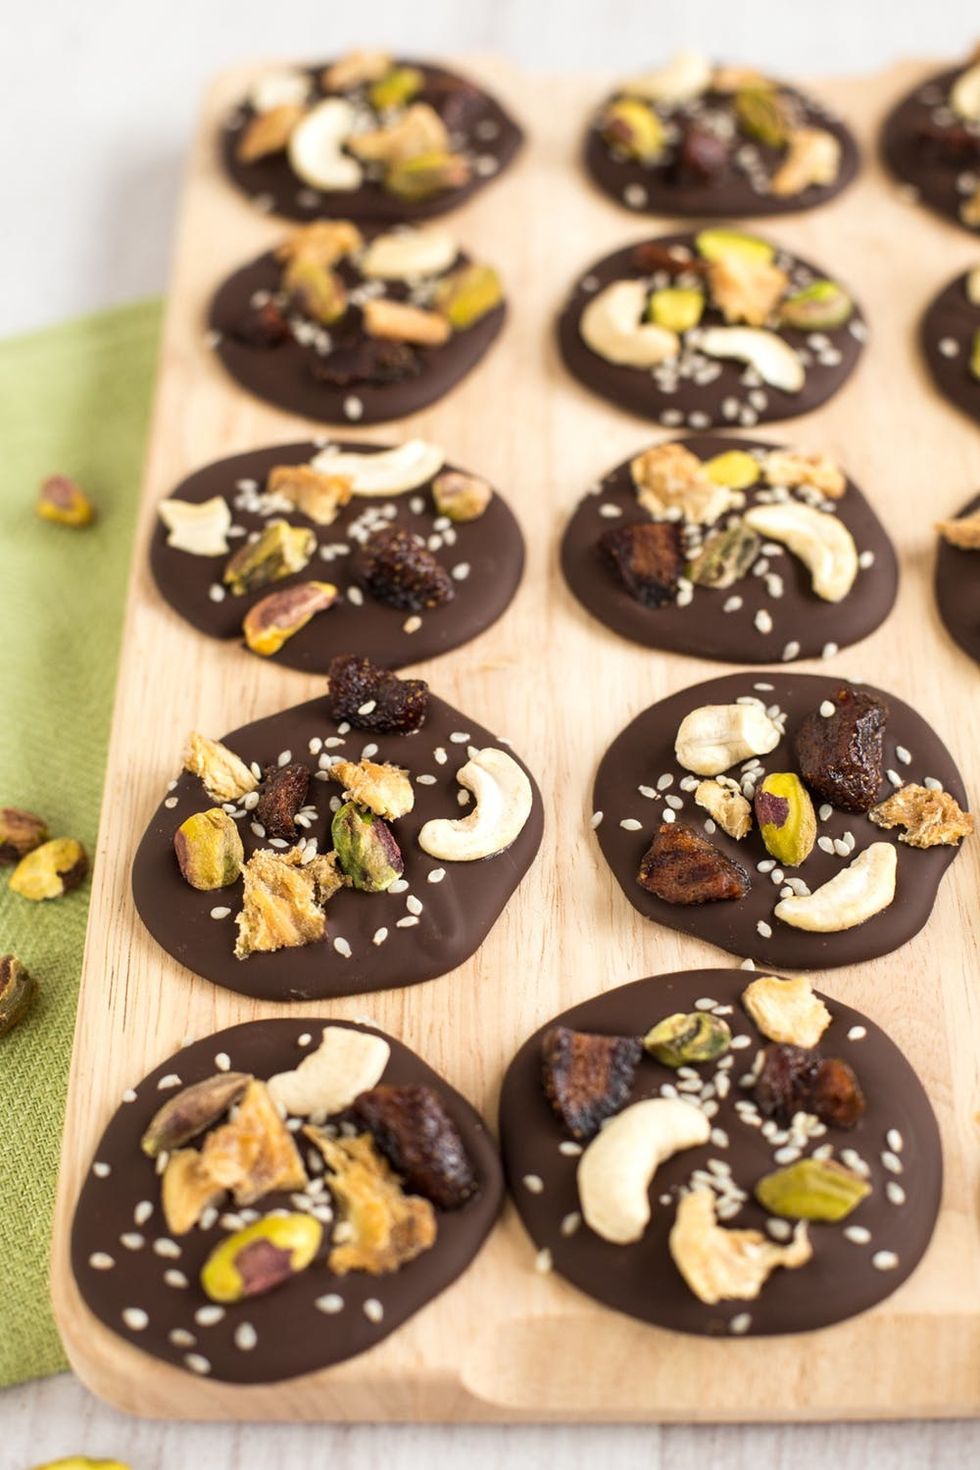
As you can see, all three of these healthy camping snacks can be made with just a few minutes of effort — there’s no excuse not to give them a go! They can also all be adapted depending on your favorite spices, herbs, nuts, etc. Why not try making several batches of each snack, with different flavor combinations?
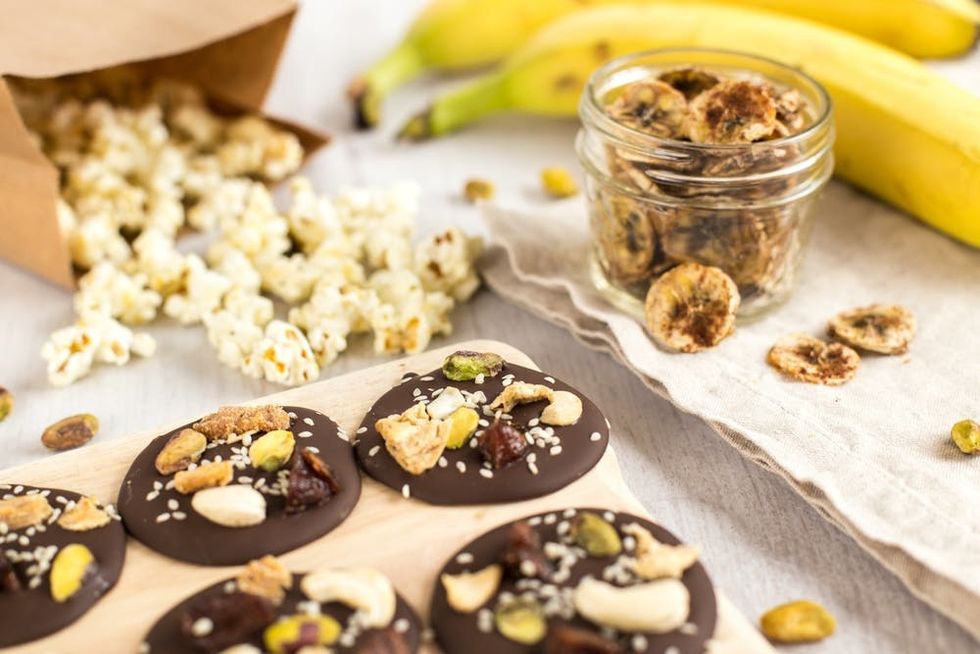
If you’re going camping this year, what kinds of snacks do you like to take along? Share your ideas on Twitter @BritandCo, and follow us on Pinterest for more recipe inspiration!


