Around these parts, we wear our hearts on our sleeves and on our shirts. Spice up your Valentine’s Day wardrobe by embellishing a basic top with a playful heart. We’ve got four varieties to share, including a sneaky one that shows up when you roll up your sleeve! Get it? You’ll literally be wearing a heart on your sleeve ;)
4 Ways to Wear Your Heart on Your Sleeve *and* Your Shirt!

Around these parts, we wear our hearts on our sleeves and on our shirts. Spice up your Valentine’s Day wardrobe by embellishing a basic top with a playful heart. We’ve got four varieties to share, including a sneaky one that shows up when you roll up your sleeve! Get it? You’ll literally be wearing a heart on your sleeve ;)
<br/>
 – plain shirts (t-shirts, sweatshirts, tanks, button-ups)
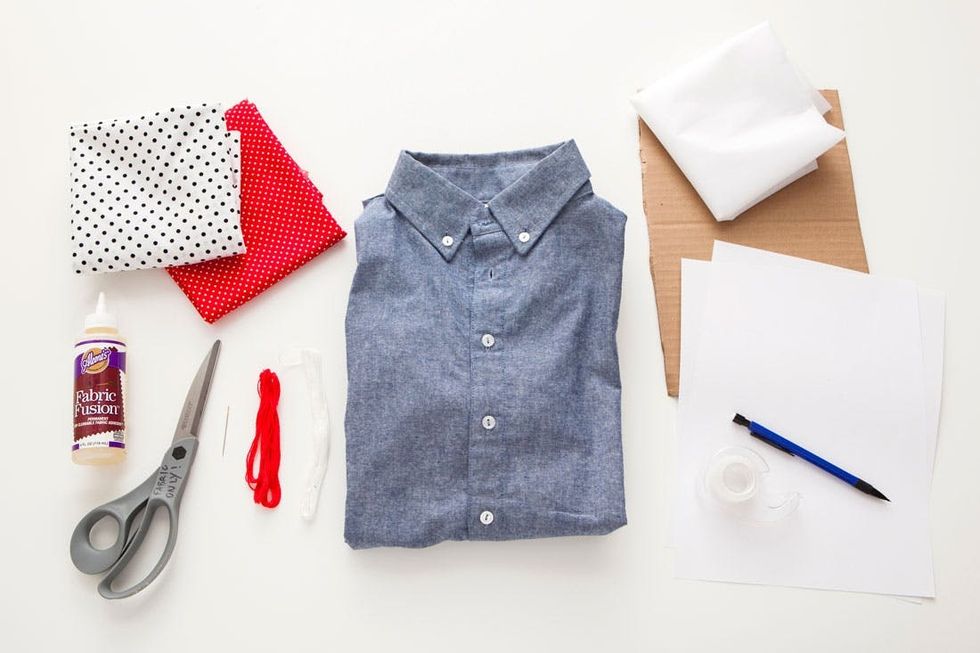
– fabric
– embroidery floss
– fusible web
– cardboard
– paper
Tools:
– fabric fusion
– fabric scissors
– embroidery needle
– pencil
– tape
Instructions:
1. Look at your shirt and decide how large the heart will be.
2. Draw a heart on your paper and cut it out – if it’s large, you’ll need to use two sheets of paper and tape them together.
3. Trace your heart onto the back of the fabric and then cut.
4. Do the same thing with the fusible web.
5. Iron the fusible web to the heart to make it stronger – be sure you don’t let your iron touch the side with glue or it will get real funky.
6. Whipstitch around the edges of your heart to make sure they don’t fray.
7. Place the cardboard inside the shirt where you will be adding the heart. This way the glue won’t seep through and bond the front of your shirt to the back.
8. Using fabric glue, adhere the heart to your shirt.
9. Let it dry for a few hours and don’t wash it for at least 48. Then, wear your heart out ;)
We grabbed a few super soft shirts from American Apparel and some great polka dot fabric from our local fabric store, Britex.
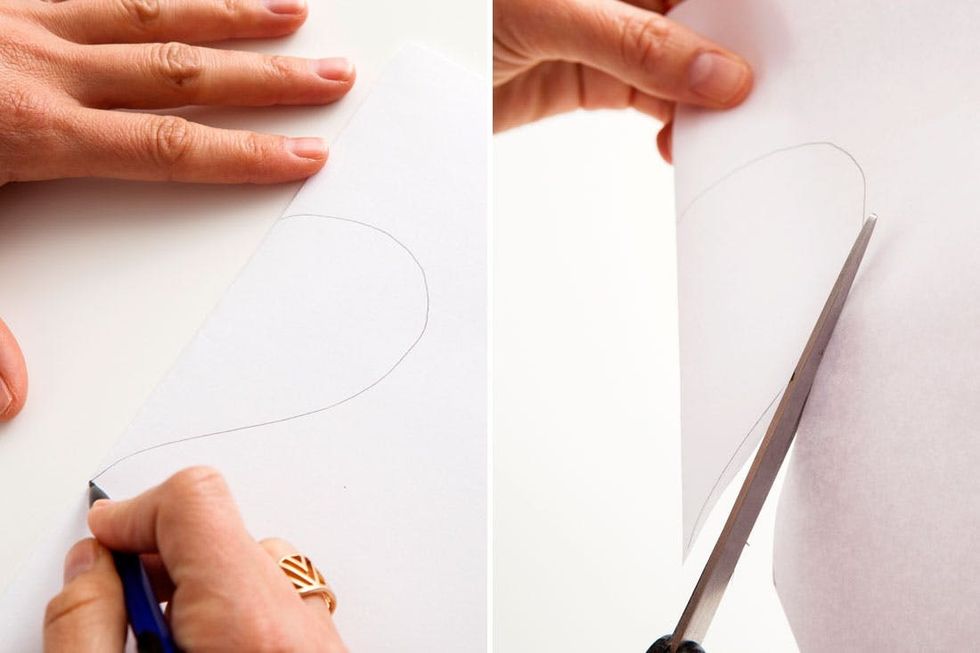
The first order of business is making a pattern. The easiest way to cut out a perfect heart is to fold your paper in half, draw half a heart along the seam, and then cut out your shape. When you unfold it, you’ll have yourself a heart.

We cut out a few different sizes since we made four different shirts.
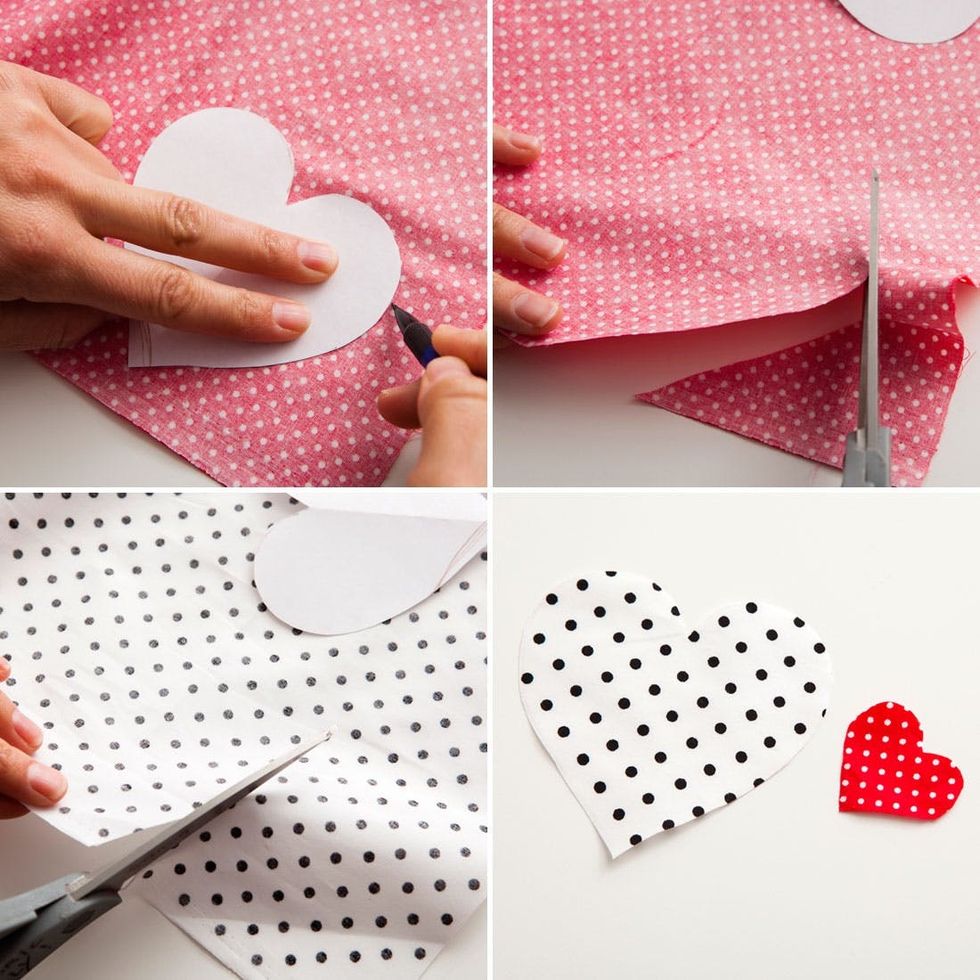
Use your new pattern to trace a heart on your fabric. Snip, snip, snip and you’ll have your fabric hearts ready to go.
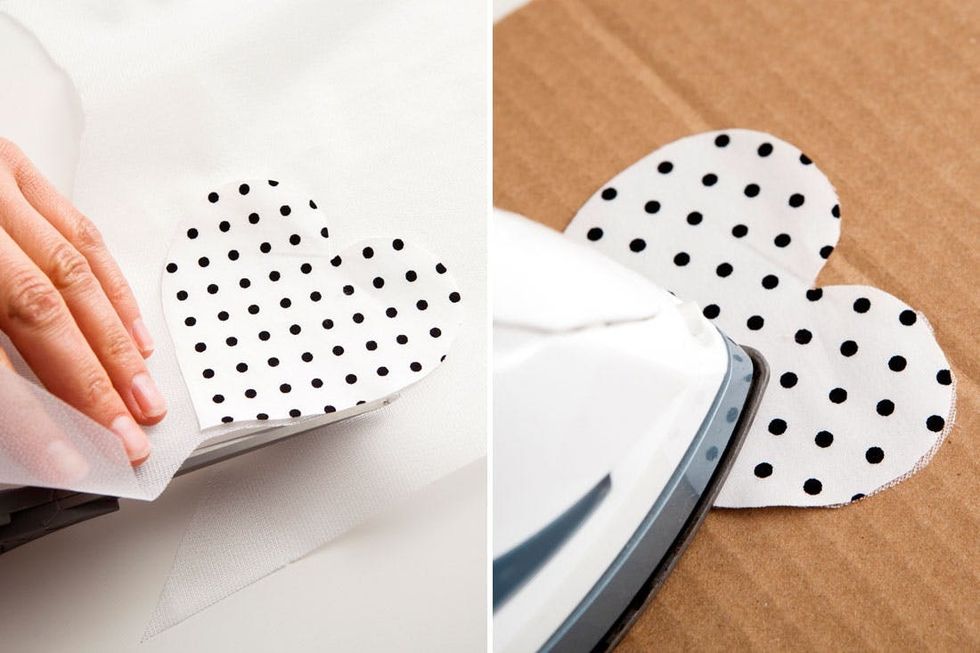
Repeat that process with the fusible web and iron it to the fabric. This will make your heart a little bit more sturdy (we’re not saying you need to harden your heart – you’re perfect just the way you are).
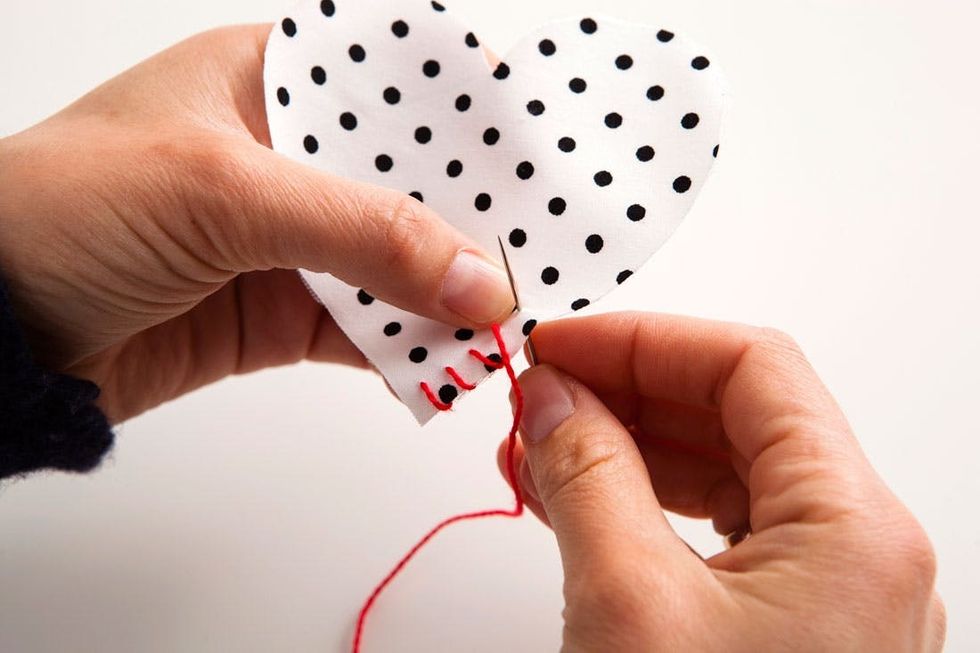
Now it’s time to whipstitch this baby. Using your embroidery thread, sew around the edges of the heart to make sure it doesn’t fray.
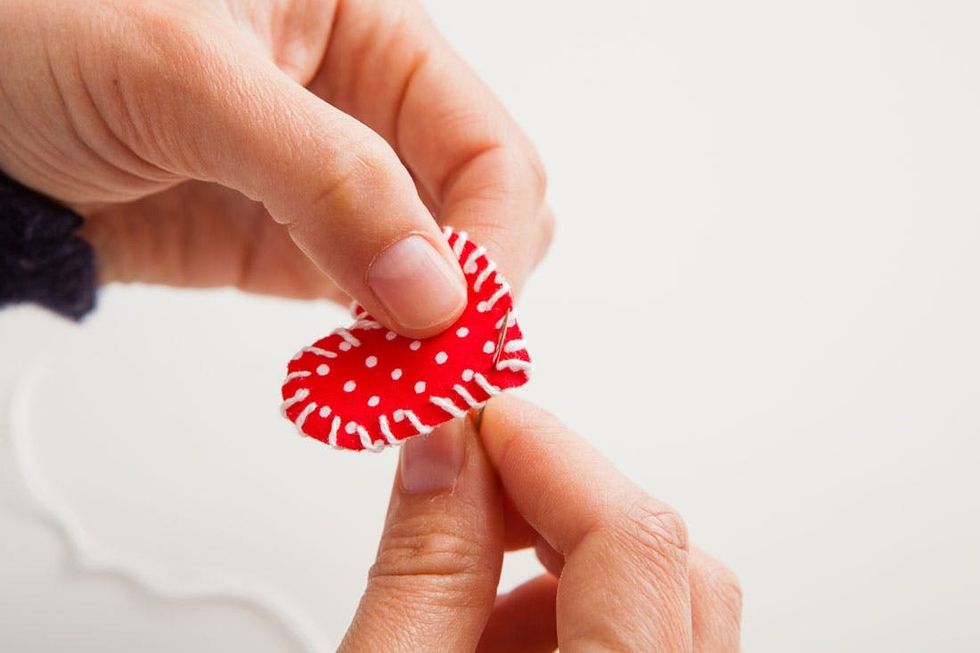
Keep going with as many hearts as you’re makin’.
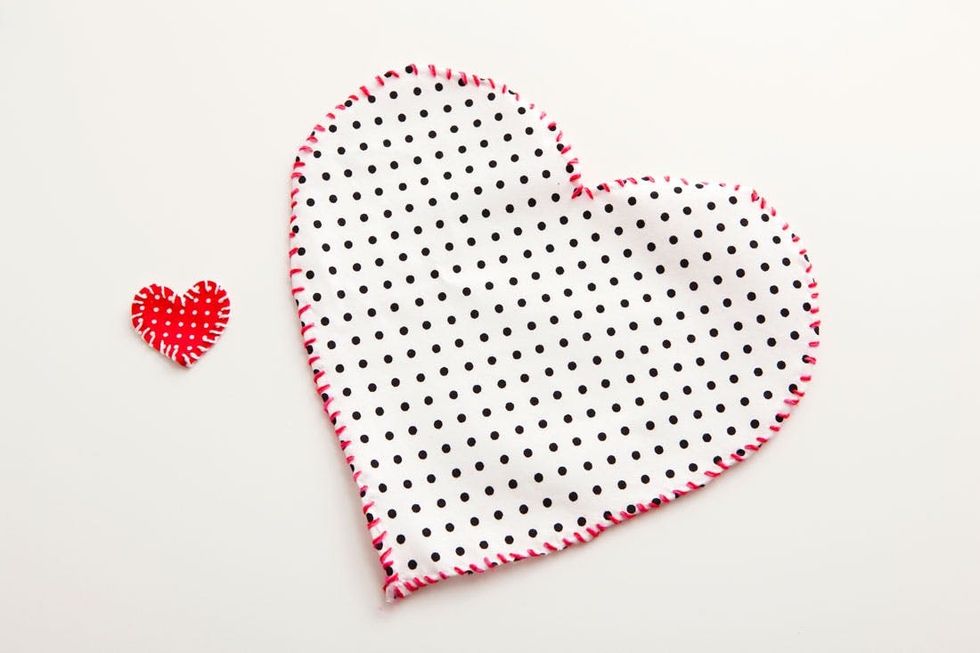
Once you’ve got your hearts all ready to go, it’s time to glue.
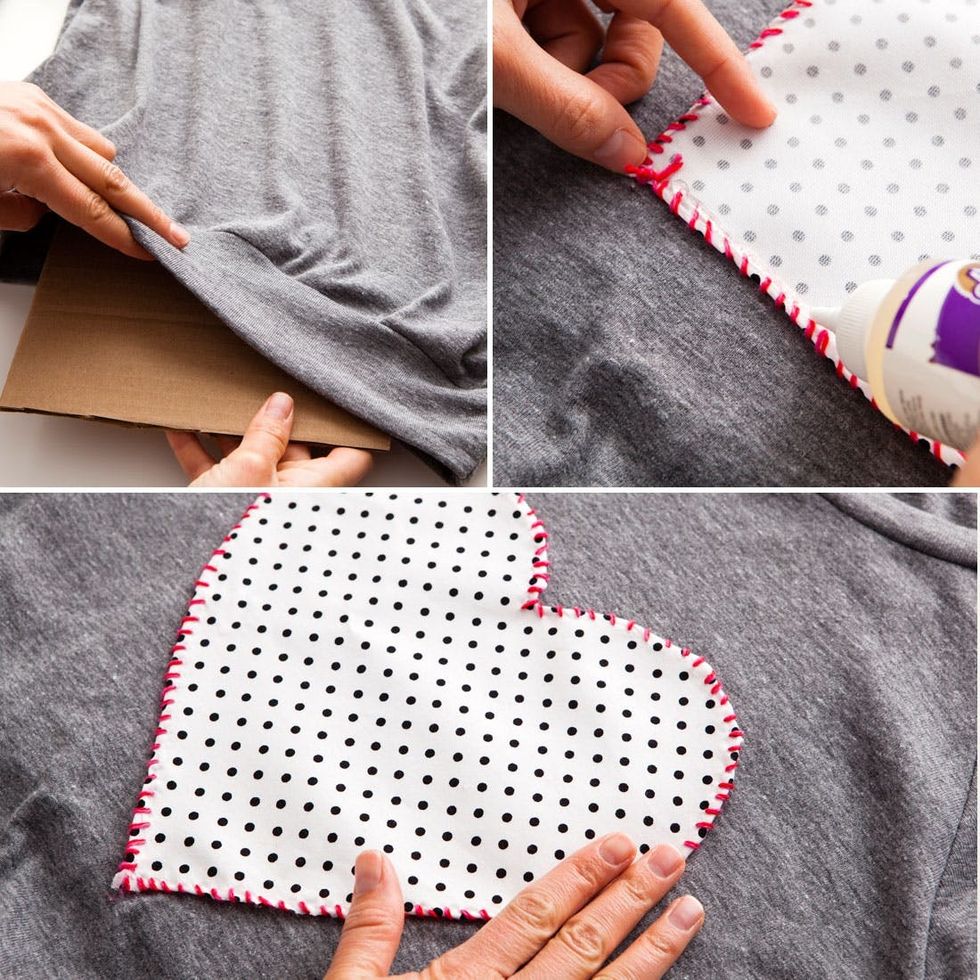
We put cardboard in the shirt to make sure we didn’t glue the shirt together. Dab a thin layer of fabric glue around the edge of the heart and then press it to your shirt.
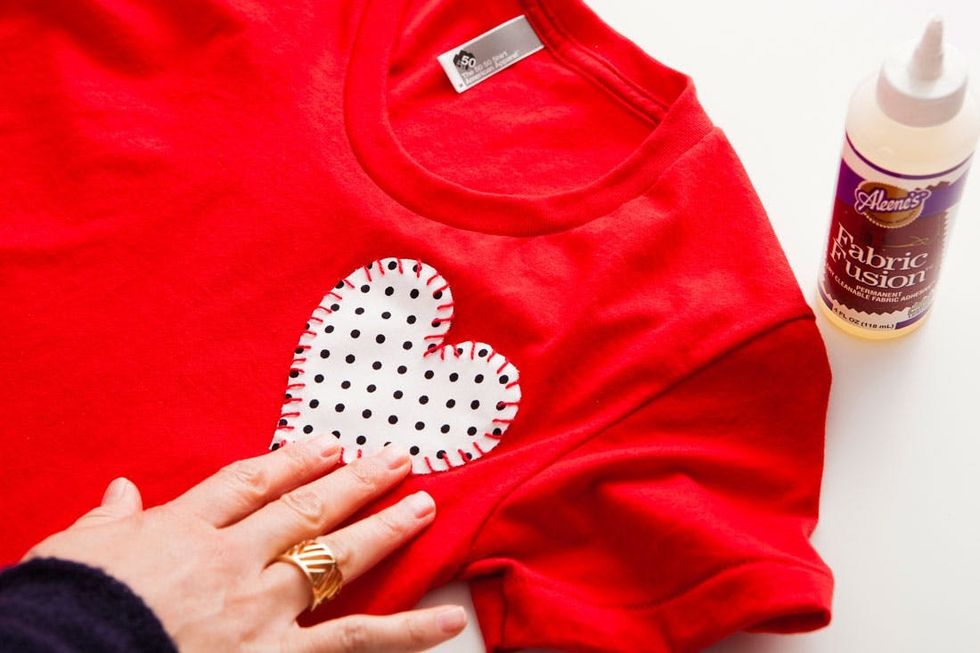
Repeat with as many shirts as you plan on making.
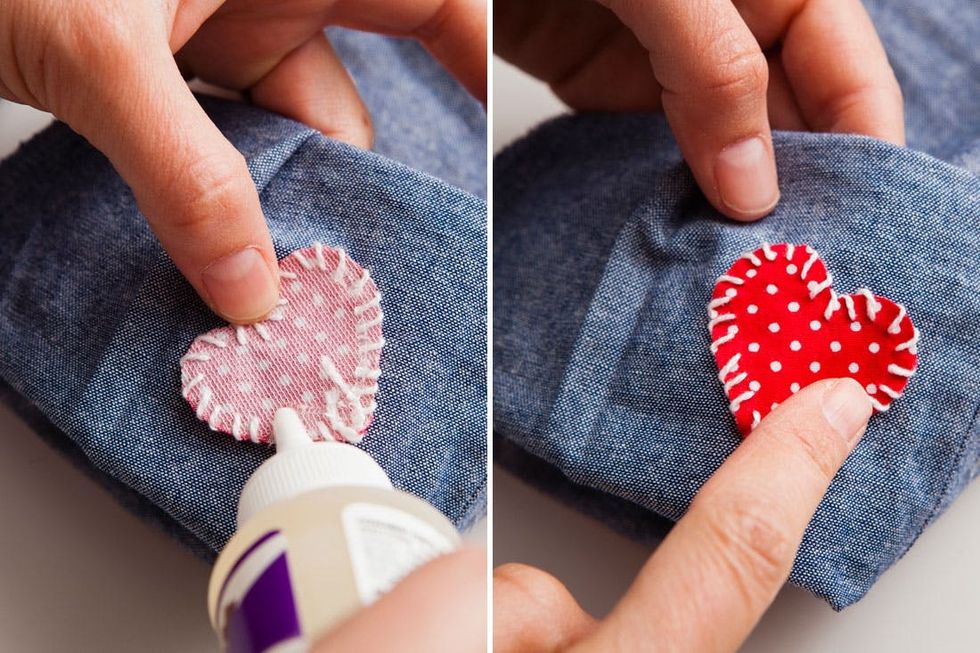
For the button-up, you’ll need to try the shirt on, roll up the sleeve and mark where the heart should go. It’s much easier to do when it’s on your body but this step isn’t totally necessary. You can eyeball it.
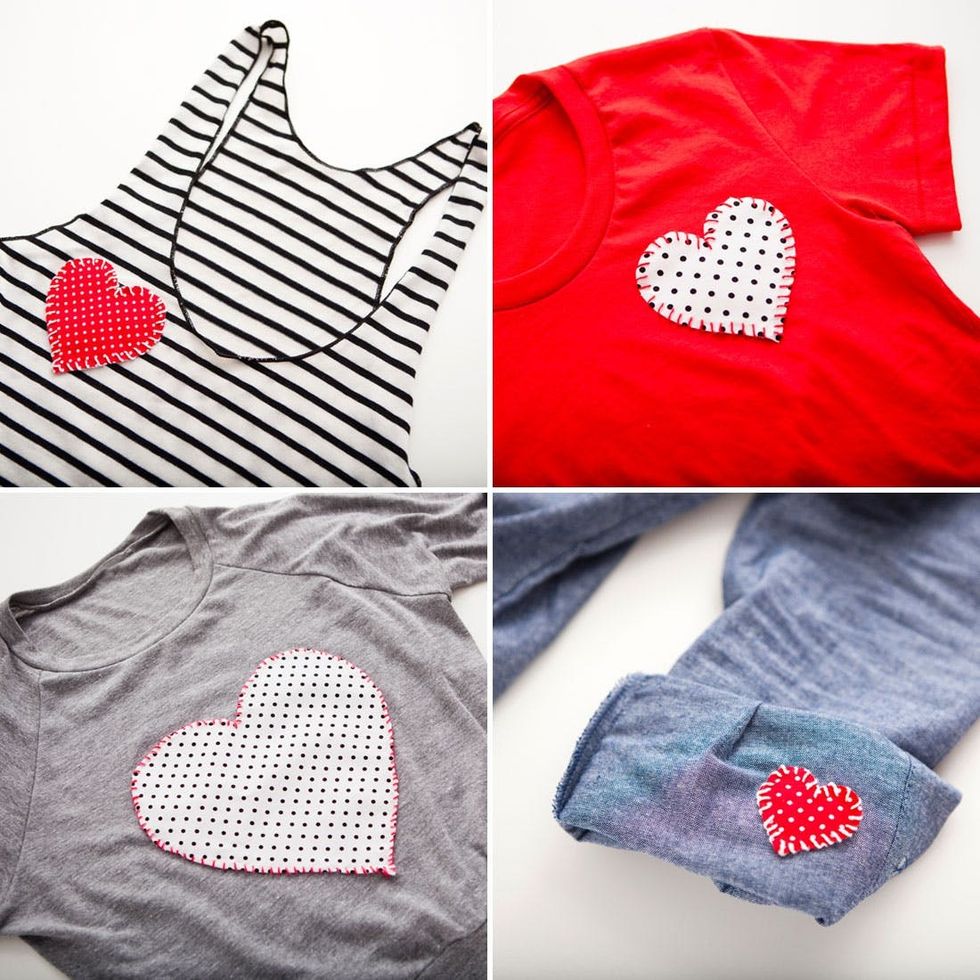
How cute are these?! Our hearts are full and we’re ready to spread the love. We heart these shirts and hope you do too!

What DIY Valentine’s projects are on your list this year? Talk to us in the comments below.


