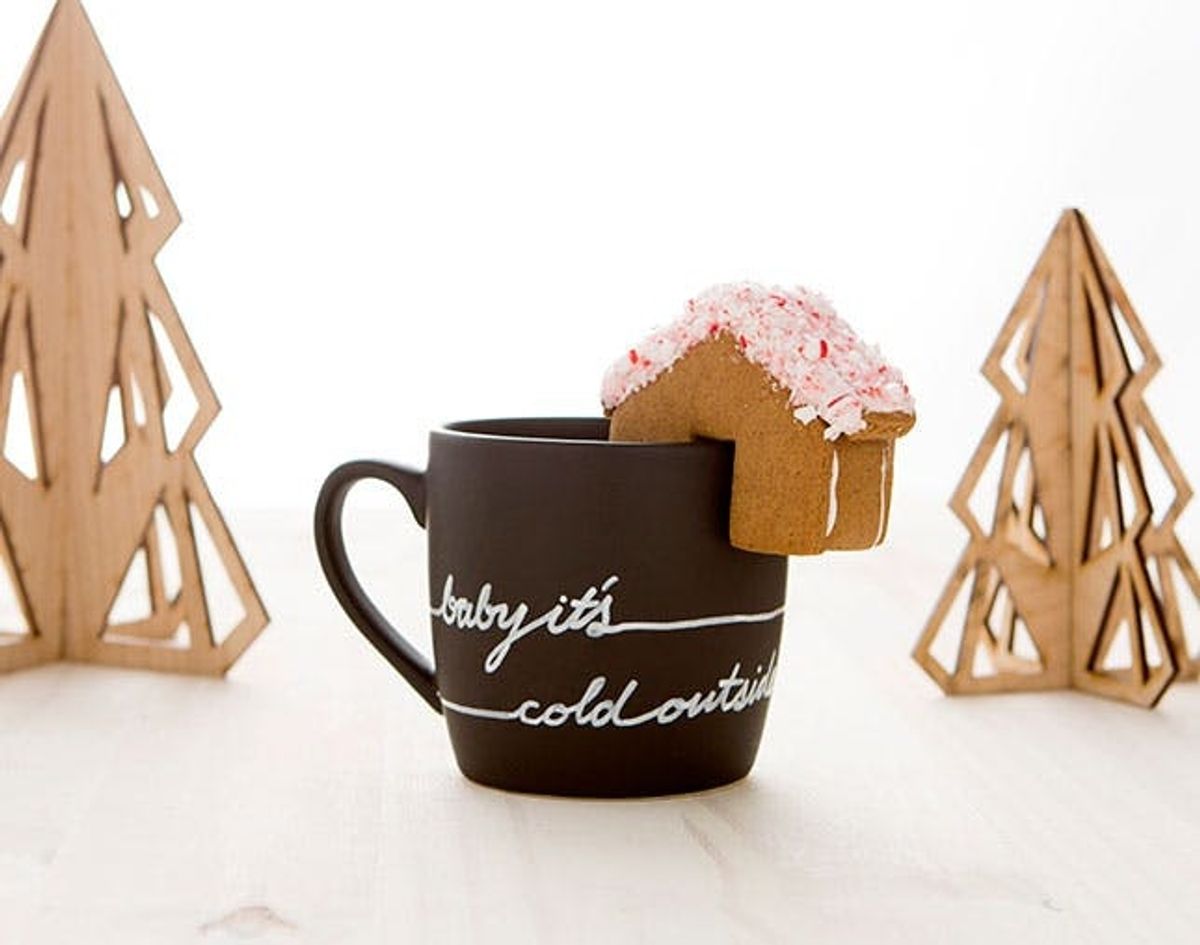
Customize your own mug AND build a gingerbread house to garnish it? Yes, please.
New in the Shop: Holiday Mug and Mini Gingerbread House Kit!


Baby it’s cold outside, so we’re getting cozy with a cuppa (Irish coffee anyone?) and these adorable mini gingerbread houses that perch on the top of your mug!
We teamed up with Not Martha to bring you this lovely holiday combo, neatly packaged into our Holiday Mug and Gingerbread House Kit! It’s yet another kit in our collection of Brit Kit Collabs, a collection we’re super excited to share with you.
What are Brit Kit Collabs? Glad you asked! We teamed up with eight of our favorite makers, bloggers and designers to create a brand new set of nine exclusive Brit Kits, just in time for the holidays. Head to the shop to check ’em all out, and follow along to learn how to create your own mug and gingerbread house set. You can get everything you need to create this project in our Not Martha Mug and Gingerbread House Kit for just $30 in the B+C Shop!
Learn more about Megan Reardon of Not Martha by checking out her maker profile right here. Now, let’s get making and baking!
Materials + Tools:
– ceramic mug (in red or black)
– white porcelain pen
– 3D printed cookie cutters
– gingerbread recipe card
Gingerbread Ingredients (not included):
– 3 cups flour
– 1/2 tsp baking soda
– 1/4 tsp baking powder
– 3/4 tsp salt
– 1 tbsp ginger
– 1 tbsp cinnamon
– 1 tsp cloves
– 1/2 cup butter
– 1/2 cup brown sugar
– 1 large egg
– 1/2 cup molasses
Royal Icing Ingredients (not included):
– 1 egg white
– 2 to 2 1/2 cups powdered sugar
Instructions:
1. Plan out your mug design on a piece of paper.
2. Draw on your design using the porcelain pen.
3. Let your design air dry overnight.
4. Bake the mug in the oven at 300ºF for 35 minutes and let cool.
5. Hand wash with a soft sponge or throw in the dishwasher in between uses.
6. Mix up your gingerbread ingredients.
7. Roll out your gingerbread dough with a rolling pin.
8. Cut out house pieces using the cookie cutters.
9. Bake the cookies at 350ºF for 10 – 12 min or until cookies are firm.
10. Mix together icing ingredients.
11. Assemble gingerbread houses with icing and let harden.
12. Decorate the top of your house and pop onto your drink!

Let’s get making and baking!

Start with the mug decorating half of this DIY. Plan out a few quick designs on a piece of paper before diving in with the paint pen.

Shake up that porcelain pen and press down on the tip repeatedly to get the paint going, and then start drawing your design onto your mug.

If you make a mistake, simply wipe it away with a wet paper towel and continue on with your design.

Here’s a few different designs we tried on for size — a snowy midnight scene, a cute scripty quote, a cozy woven pattern and a geometric mountain design.

Let your design air dry overnight, bake in the oven at 300ºF for 35 minutes to set your design and let cool. Hand wash your mug with a soft sponge (we don’t want no scrubs), or throw in the dishwasher in between uses.

Now for the baking half! Turn up the heat on that oven to 350ºF, mix together all the dry ingredients (flour through cloves) in a large bowl and set aside.

In a mixer fitted with a paddle attachment, beat butter and sugar until creamed. Add egg and molasses and beat on medium speed until mixture appears uniform in color and texture. Add flour mixture to butter mixture and beat on low speed until dough becomes crumbly and starts to form a ball. Divide dough in half; wrap one half in plastic wrap and place in the refrigerator.

Roll out the other half of the dough on a lightly floured surface to 1/8-inch thickness.

Use the 3D printed cookie cutters to cut two house pieces and three side/roof pieces per gingerbread house. Place cookies on a baking sheet and refrigerate for 30 minutes before baking. Then, bake for 10 to 12 minutes or until cookies are firm.

While these are baking, mix together the Royal Icing ingredients on low in a mixer fitted with a whisk attachment. Increase speed to high once powdered sugar is incorporated; beat until mixture is thick and glossy, but still thin enough to be piped. Add additional sugar or water to thicken or thin the icing.

Once the cookies are baked, cut one side/roof piece in half for each house — this halved piece will become the sides of the house. Note: If cookies cool before halving sides, dip a sharp knife in hot water and cut sides in half to reduce crumbs and breakage. Place icing in a plastic bag and snip off the corner to pipe onto your house pieces.

Start assembling your house using those small pieces you cut in half as the sides.

Add on the two roof pieces and fill the top edge with one last strip of icing to secure.

Decorate the roof with icing, sprinkles or crushed up peppermint and pop one on top of your drink!

How adorable is that? These make perfect party treats to wow your guests. This gingerbread recipe makes about 12 mini houses, so invite your friends over and sip away!


