Get ready to transform your backyard into the hangout spot of the summer.
6 Brilliant Home Hacks to Improve Your Outdoor Space
Hi, I'm Brit, the founder and CEO of Brit + Co. I'm a young mom of two, tech nerd and design-inclined lady who has a zillion hobbies and curious about... just about everything! My mission from the beginning has been to unlock women's creativity and courage to try new things so that they can find the path to their true passions.
Outdoor time is *so* important (especially for those wiggly, energized kiddos), and it’s high time you transform your space into the hangout spot of the summer. Yesterday, I went back on Good Morning America to share my favorite hacks to uplevel outdoor spaces. Watch the segment below and scroll on to learn more about each project!
TURN ANY PILLOW INTO AN OUTDOOR PILLOW
OK, this is one of my favorite DIY secrets. Fabric seal makes just about any textile weather-resistant. That means that the indoor pillow you have your eye on is just one or two coats of fabric seal away from being outdoor-friendly.

Materials + Tools:
- Fabric Seal
- Any pillow (Psst: the less porous the fabric, the better)
Instructions:
- Spray the fabric seal in a sweeping motion 6-8 inches away from the fabric. Cover fabric uniformly.
- Let dry for 2-6 hours.
- For extra protection, apply a second time.
DIY A CINDER BLOCK BAR
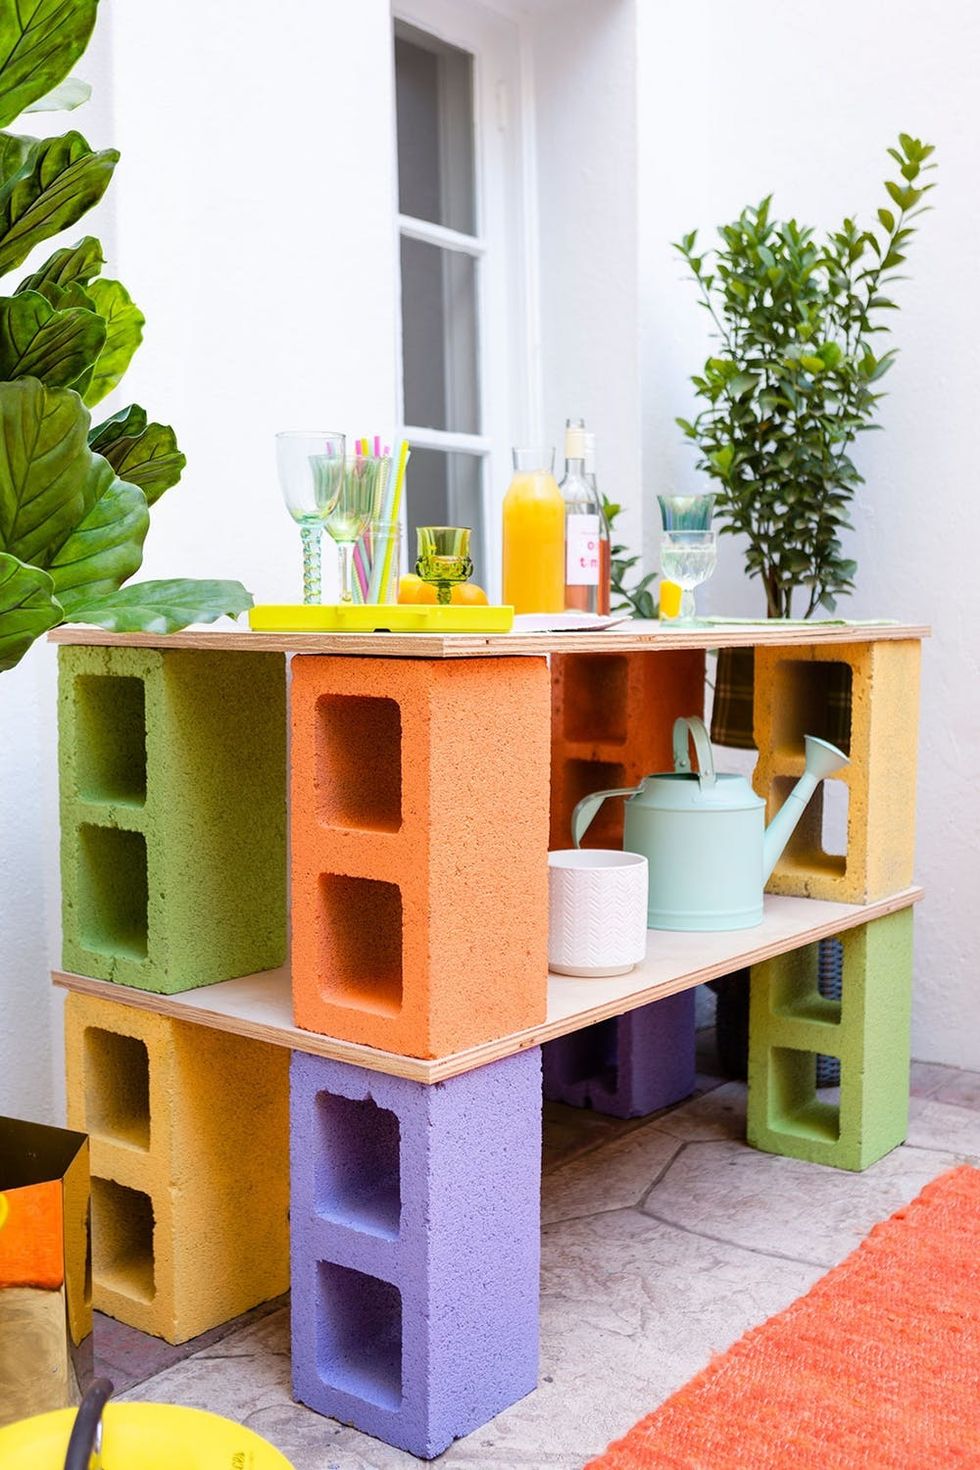
Outdoor furniture can cost a pretty penny — we know. Why not try a simple, affordable, and homemade cinder block bar instead? This baby can function as a bar cart, a grill prep surface, or a gardening station. There’s no glue or toolbox required, but you’ll need to do a bit of heavy lifting. Head to your local lumber yard and build this three-in-one piece for super cheap.
Materials + Tools:
- Cinder blocks
- Sturdy wood flats
- Colorful spray paint (optional)
Instructions:
- If you want to add some color to your bar, spray paint the cinder blocks with an array of fun colors. Let dry.
- Lay two or four cinder blocks as a base.
- Top with the wood flats.
- Lay the remaining cinder blocks directly above the first level of blocks.
- Top it off with the second wood surface.
Learn more about this project with our full tutorial.
HOMEMADE (AND KID-FRIENDLY) BUG REPELLENT
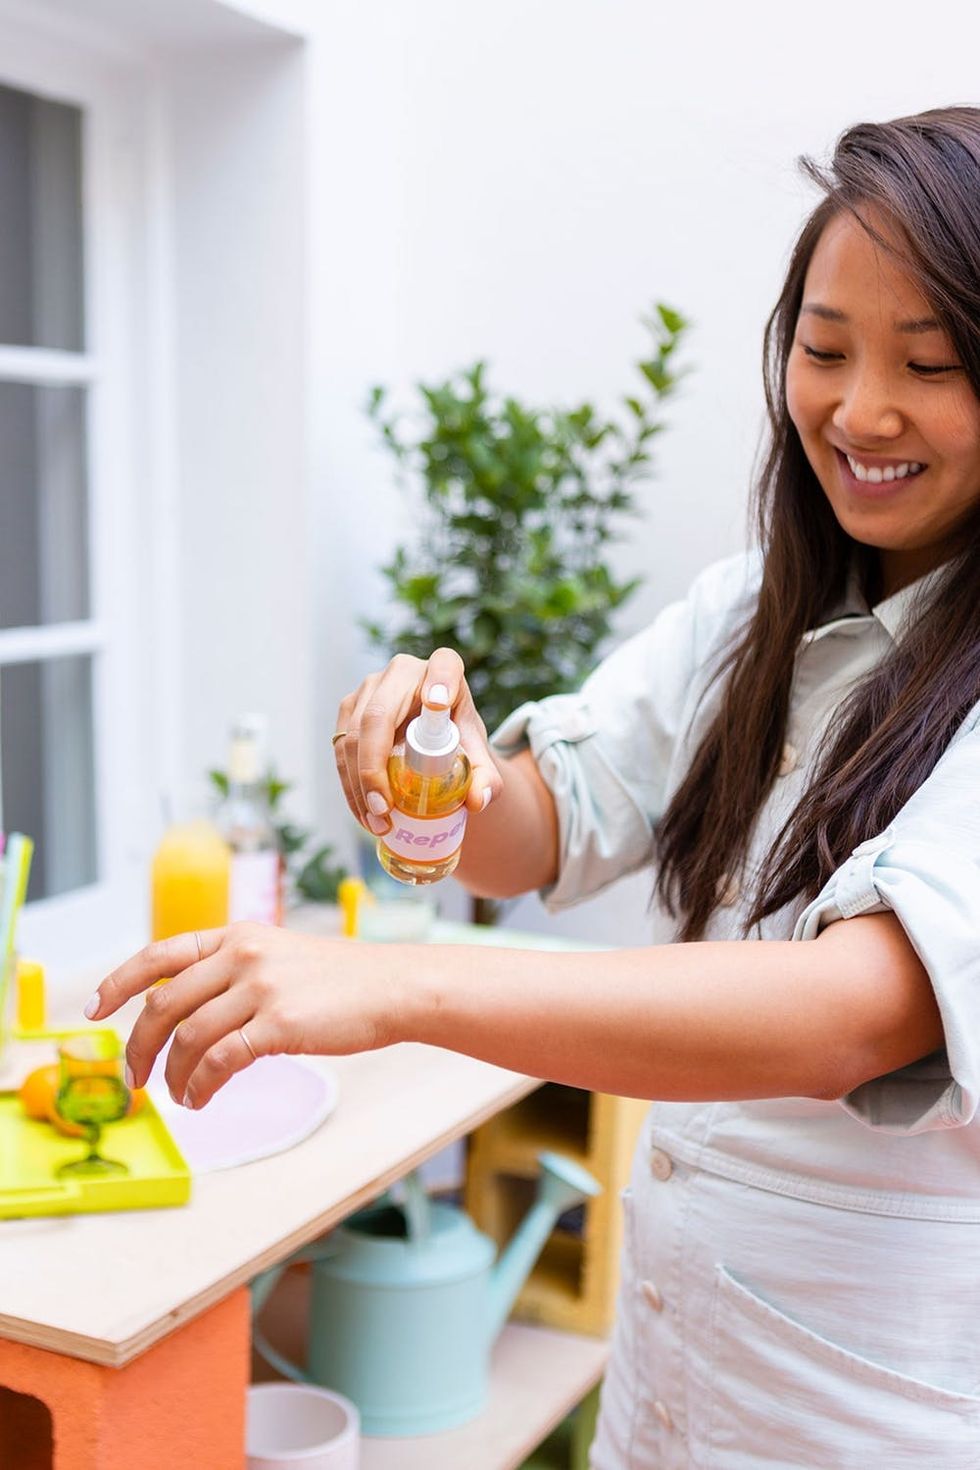
Keep pesky pests out of the picture with this easy, two-ingredient DIY bug repellent. The secret? Essential oils. I’ve rounded up my four go-to oils that are kid-friendly *and* keep bugs at bay.
Materials + Tools
- 24 drops (AKA ¼ teaspoon) of the essential oil of your choice:
- Lavender essential oil (mosquitoes, flies, and ticks)
- Lemon essential oil (repels mosquitoes, and ticks)
- Geranium essential oil (repels mosquitoes, flies, and ticks)
- Spearmint essential oil (repels mosquitoes, flies, and ticks)
- ~4 oz witch hazel
- Small spray bottle (~4 oz)
- Mini funnel
- Sticker labels
Instructions:
- Fill the bottle with about 4 oz of witch hazel.
- Top it off with 24 drops (AKA ¼ teaspoon) of one essential oil.
- Label it.
- Shake before use.
Bonus: Looking for a long-term solution to repelling bugs from your backyard? Keep mosquitoes, flies, and ticks out of your garden by planting lavender, geranium, or spearmint.
SIMPLE, NON-TOXIC WAYS TO CLEAN THE GRILL
Yep, we have *two* chemical-free ways to clean up that grimy grill. You just need a ball of tin foil or a leftover onion. Scroll on to learn more.
USING AN ONION
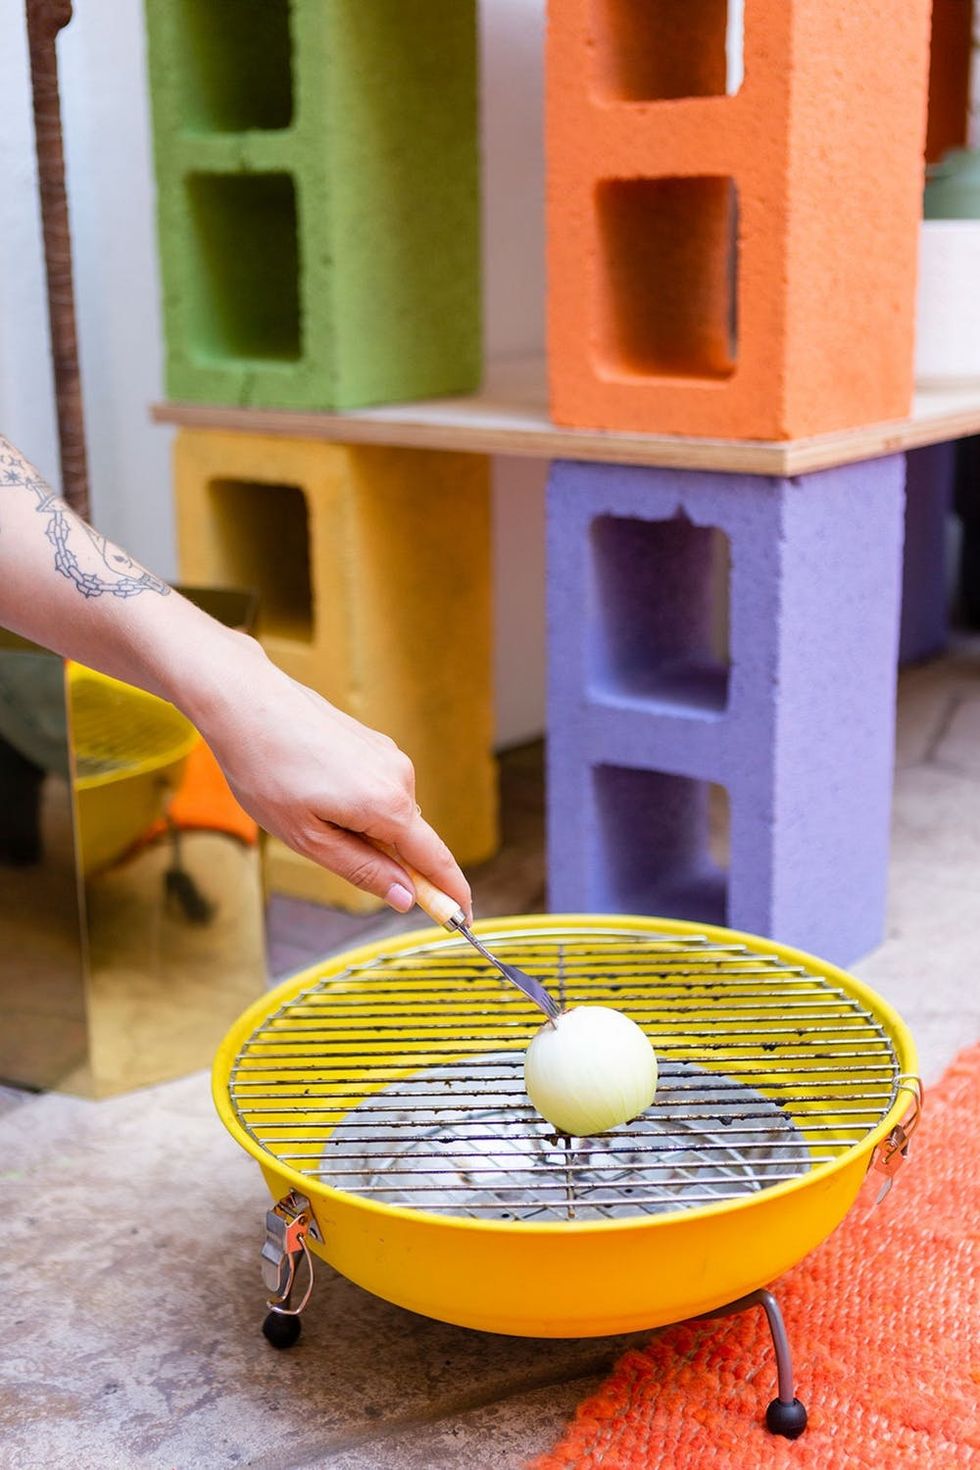
Materials:
- White onion
- Fork or tongs
Instructions:
- Slice a white onion to create an even surface, then place a fork in the back to make a handle. If the grill is very hot, we suggest using tongs in lieu of a fork.
- Rub the onion, cut side down, on the still-hot grill.
USING TIN FOIL
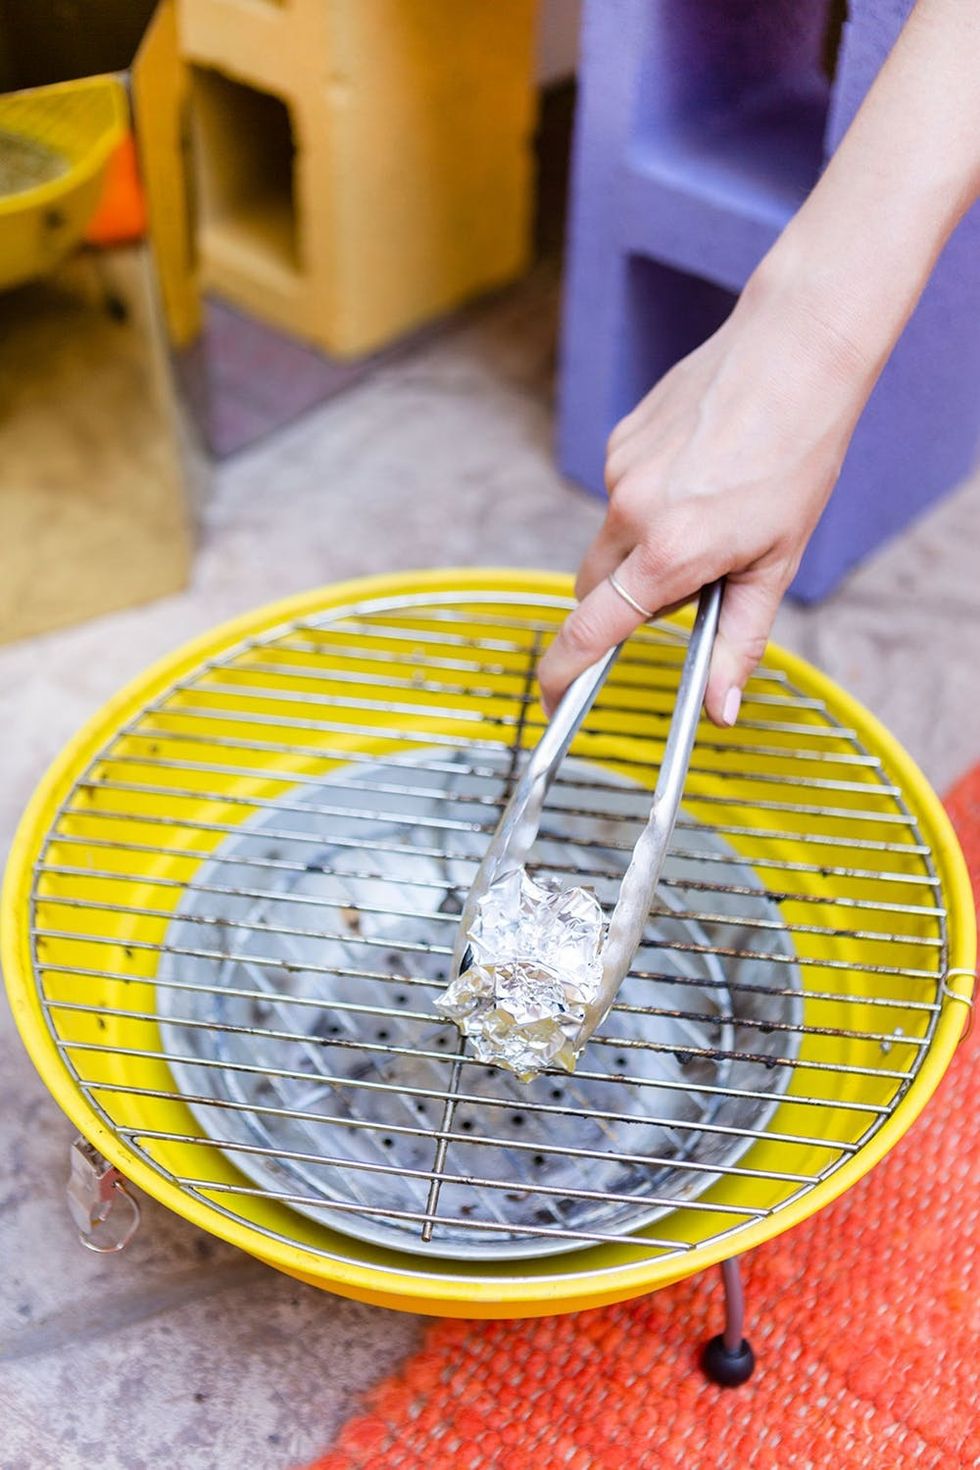
Materials:
- Tin foil
- Barbecue tongs
Instructions:
- Roll a bunch of tin foil into a ball.
- Hold the foil ball with your barbecue tongs, and scrape the still-hot grill grates.
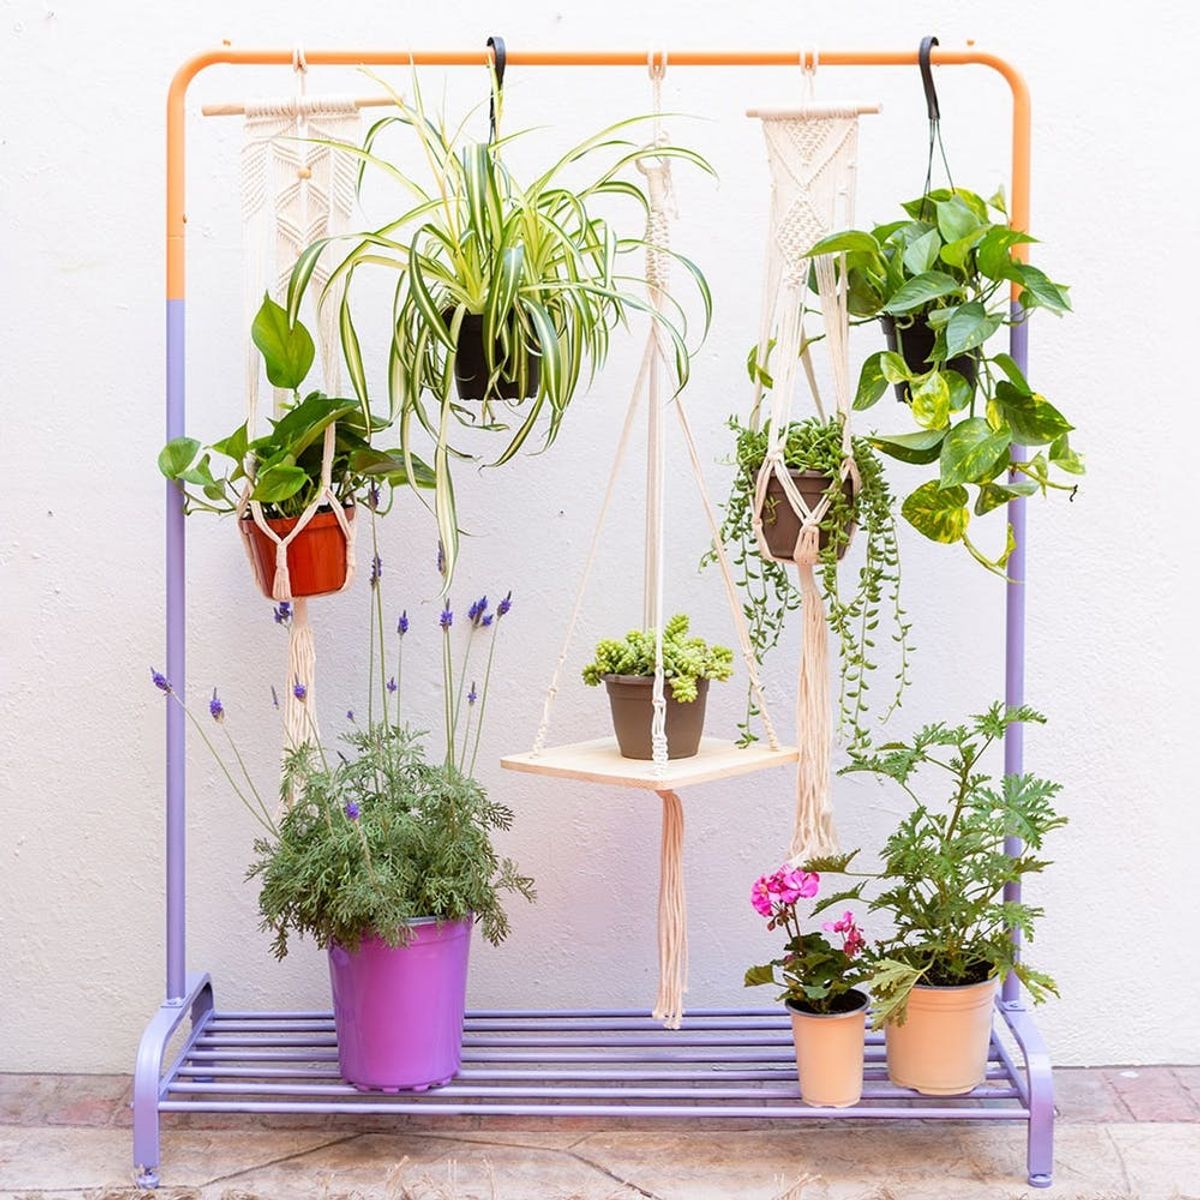
TURN A CLOTHING RACK INTO A HANGING PLANTER
You can make a vertical garden in no time with a clothing rack. It’s a brilliant solution for folks with limited outdoor space (I’m lookin’ at you, urban dwellers).
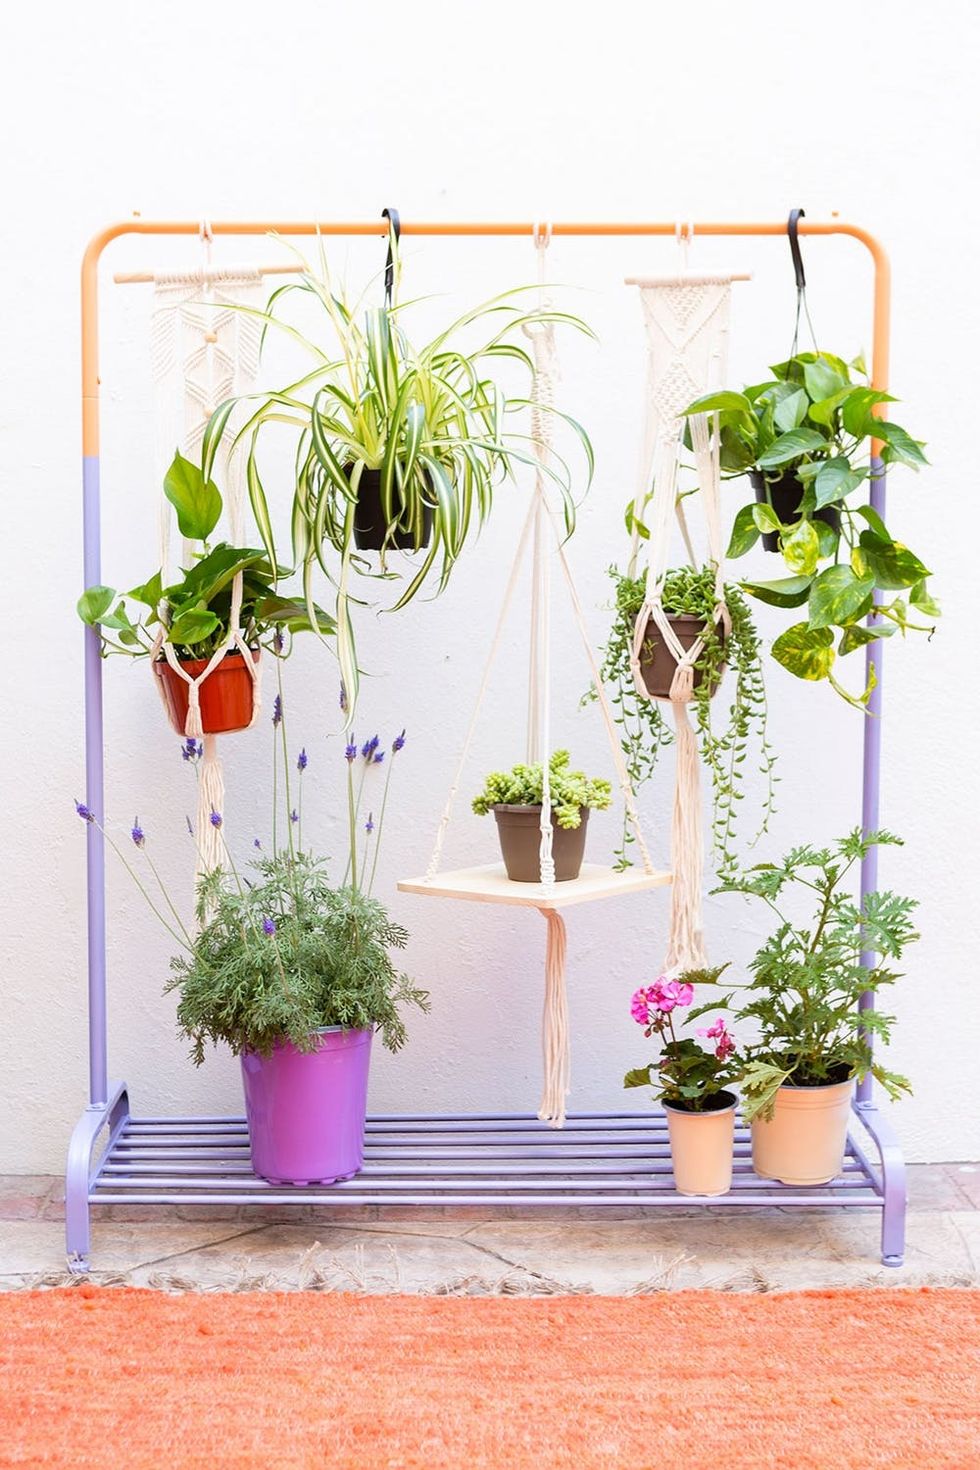
Materials:
- Clothing rack
- Rope
- Hanging macrame planters
- Potted plants
- Spray paint and painter’s tape (optional)
Instructions:
- If you want to add some color to the clothing rack, give it a few coats of spray paint. (Check out our full clothing rack planter tutorial to see how we achieved the color block finish.)
- Fasten your macrame planters to the rack using rope.
- Carefully insert the plants into the hangers.
You can find the full tutorial right over here.
POLISH WEATHERED WOOD WITH COCONUT OIL
Coconut oil does it again! Breathe new life into your old, weather-faded wood with this affordable, non-toxic, and food-safe alternative to wood polish.
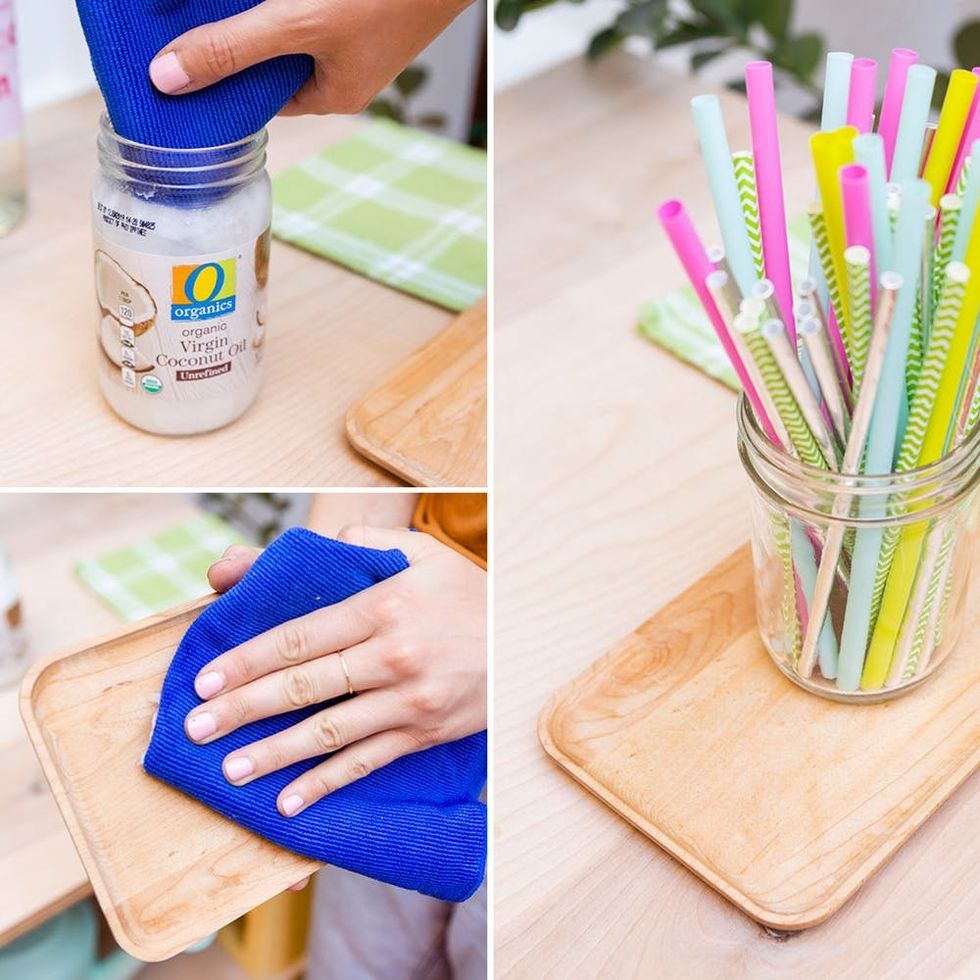
Materials:
Instructions:
- Rub coconut oil onto the wood surface with one microfiber cloth.
- Buff it with the other dry microfiber cloth.
- Let dry for 45 minutes.
- Optional: Seal the wood with furniture wax.
Psst: If your wood furniture is sealed with any sort of varnish, you’ll likely need to sand it off before applying the coconut oil.
What are your go-to tricks to uplevel your outdoor space? I want to hear ‘em! Share with us on Twitter or Instagram!
Production: Cassidy Miller + Maddie Bachelder
Photography: Brittany Griffin


