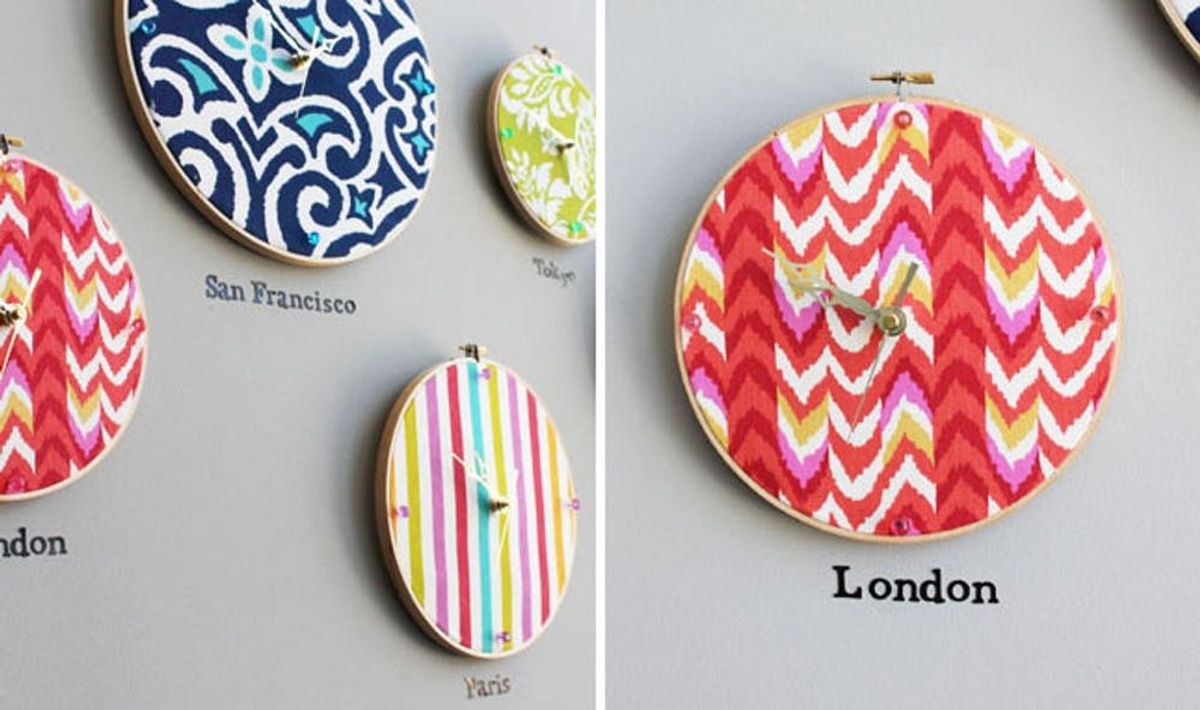
Hoop, There It Is! How to Turn an Embroidery Hoop into a Clock

If time is money, then it won’t take much to make these cheerful embroidery hoop clocks. This is a great project for a budding DIYer or, really, anyone who wants to make something that is beautiful yet fast, easy, and affordable. Be sure to add this one to your list of quick no-sew projects. Best of all, it’s another reason to rock out to our time-themed playlist. Time really is on your side.
Materials:
– 5 embroidery hoops
– 5 clock kits
– 5 pieces of fabric (about 1/2 yard per clock)
– scrap cardboard pieces
– 1 AA battery
– optional: decorative thumbtacks
Tools:
– ruler
– scissors
– pen
– exacto knife
– hot glue gun
– iron
For our set of clocks, we went with a bold combination of bright fabrics, all found in the outdoor fabrics section of our local JoAnn’s.
Loosen the screw at the top of your embroidery hoop to separate hoops. Lay the smaller hoop on your fabric and draw a circle about 2 inches larger than the hoop. Cut out the circle and then iron it to get out any wrinkles.
Place your fabric in between the two hoops, as if you’re about to embroider. Use scissors to trim off any excess fabric. Tighten the screw at the top to keep everything in place.
To create support for your clock kit, measure out two strips of cardboard that will fit into the back of the hoop creating an X-shape. Be sure that the cardboard is firmly wedged into your hoop. Use a ruler to mark the center, and then use an exacto knife to cut a hole through the cardboard (all the way through the fabric).
Now it’s time to add in your clock! Our steps work for the clock kit that we used, but each kit may be slightly different. Be sure to follow the instructions on whichever kit you use.
Use a pen to mark where your cardboard lines up on the inside of the hoop. Take the cardboard out of the hoop and press your clock kit through the center of the cardboard. Now place it through your fabric.
Line the cardboard back up with your marks and secure it in place with hot glue. Flip over, and push the fabric down around the center of clock so a little of the gold part is showing.
Follow the instructions on your clock kit to attach the hour hand and minute hand. In our case, we placed a washer over the center of the clock, then screwed on the dial fixing hex nut down on top of the washer. Add the hands, screw the minute nut in place, and top the whole thing off with the second hand.
If this all seems confusing, just follow the diagram on the back of the clock it; it’s very easy, we promise. Don’t forget to put in the battery!
Last thing to deal with is those pesky numbers! We didn’t like the look of the adhesive numbers that came with our clock kit so we substituted thumbtacks and marked where the 12, 3, 6, and 9 numbers would be. Simply press each thumbtack through and use needle nose pliers to secure on the other side.
We couldn’t decide which one we liked best so we decided to hang them all up! This is a great move for frequent travelers or folks who have friends and family living abroad.
Don’t all these clocks looks great together?


