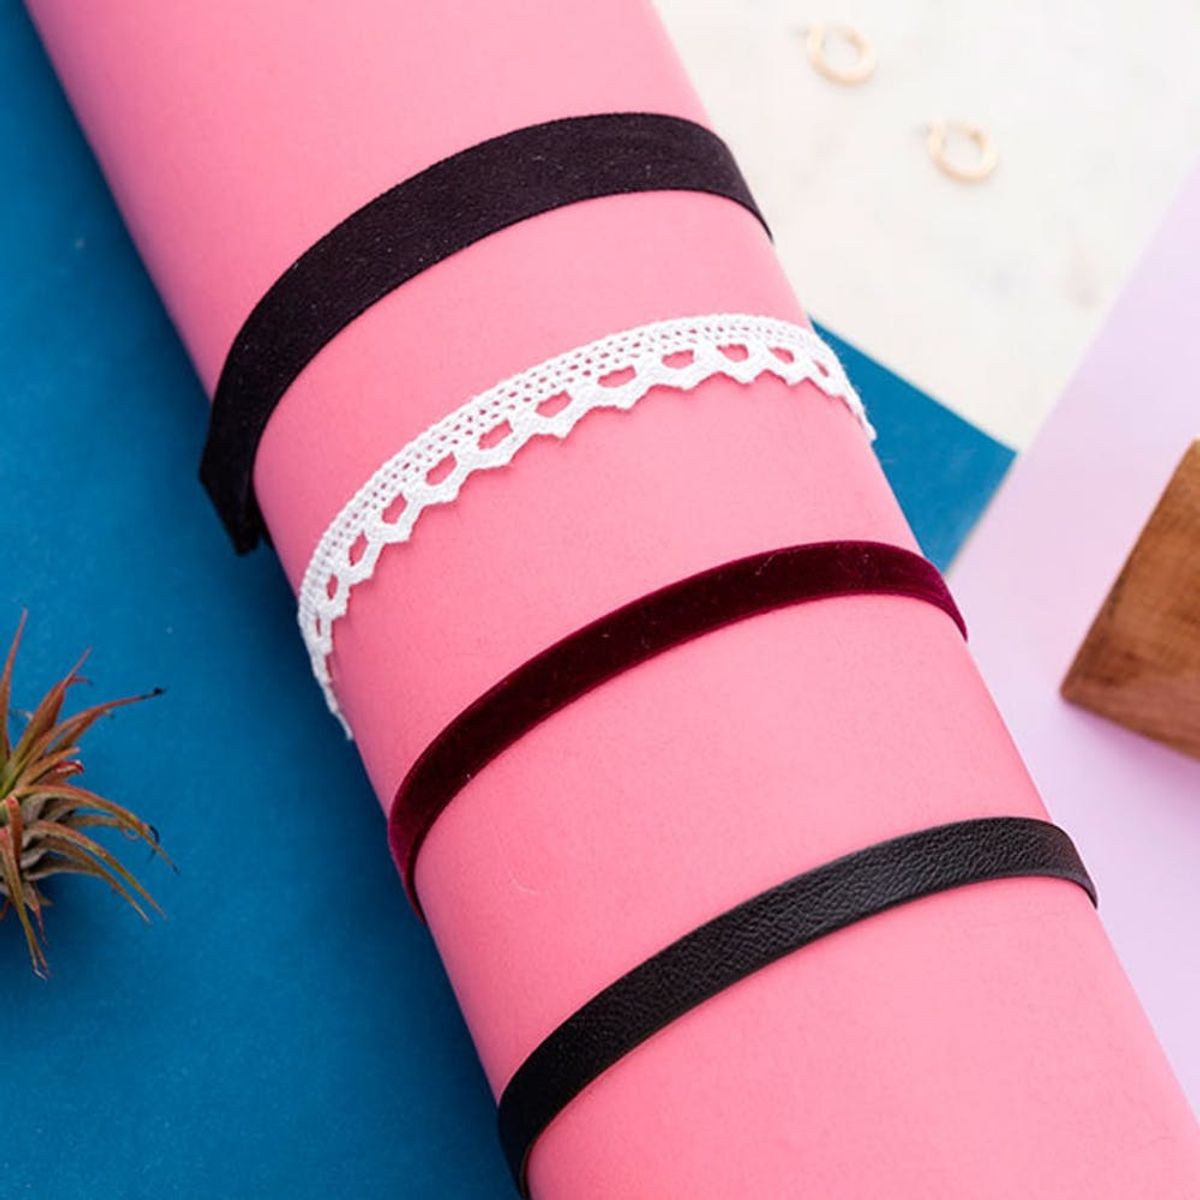
DIY this on-point ’90s-inspired accessory trend.
Here’s How to DIY and Style Pinterest’s Trendiest Accessory: The Choker

Get ready to channel and embrace your inner Rayanne from My So-Called Life, because chokers are this year’s hottest accessory trend on Pinterest. From leather to lace to velvet, we are seeing chokers making a major comeback. And we are super down. That’s why today we’ve got the easiest and most inexpensive DIY choker tutorial for you. Not sure you can pull off the look? YOU CAN! And we’re going to help you make it happen with styling tips from Pinterest’s in-house stylist Larkin Brown.
Want to watch the tutorial video? Beauty Editor Beth went live on Facebook with Larkin to go over the steps. Check it out here!
velvet chokers
 lace chokers up 191%. Leather chokers are up more than 300% year over year and suede chokers are being saved 17 times more than this time last year. People are playing with a lot of different types of chokers, from wrap chokers to dainty chains. One look that we’re seeing a lot of is the simple band in a variety of colors, widths, materials and textures. So without further ado, let’s make some chokers!

Materials and Tools:
Gather your materials and scroll down for the how-to.
- lace, leather, suede, velvet ribbon
- sticky-back Velcro
- snaps
- hot glue gun and glue sticks
- scissors
- tape measure

First measure your neck. Then add a couple inches. Cut your faux leather to that length.
Using Velcro and Faux Leather

Next, cut two small tabs of sticky-back Velcro. Peel off the backing to prepare your Velcro.

Add one tab of Velcro to the end of your faux leather, then measure around your neck to determine where the other piece should go. As they say, measure twice, cut once! Adhere the second piece of Velcro and trim the end.

Once again, use your neck measurement and add a couple extra inches. Cut your velvet to size. To avoid a frayed edge, add a drop of hot glue and fold over about a ½ inch of the velvet to make a hem.
Using Velvet and Snaps

Put a small drop of hot glue onto your snap, then adhere it to the hemmed edge. Measure the choker around your neck to determine the exact placement of your other snap. You want the choker to be tight enough to stay put on your neck, but not so tight that you risk it popping off or just feeling a bit restricting.

Again, create a hemmed edge and add the second snap. Make sure the snap is on the OPPOSITE SIDE of the velvet so that the snaps fit together. If you think there is a risk of fraying, try hitting the edge with some fabric glue or clear nail polish as a preventative measure.

Now make lots of chokers! Along with the faux leather and velvet, you can try a lacy crocheted ribbon for a more boho look or a faux suede. And gals, you can make dozens of these for no more than $10. All you need is a spool of ribbon and some snaps or Velcro!

One of the top Pinterest searches is around outfits. How do you style a choker? Our gal Larkin has some insight.
The thicker the choker, the more breathing room you want to show around it. Showing your clavicle is a-okay.
Styling Your Choker

For a less racy look, opt for a thinner choker styled with a crew neck or boat neck.

Try layering them with other necklaces. This works best with thinner chokers.

Have fun with it and wear what makes you feel GOOD! Just don’t go for a trend overload. Watch out for pairing them with off-the-shoulder or shoulder cut out tops.


