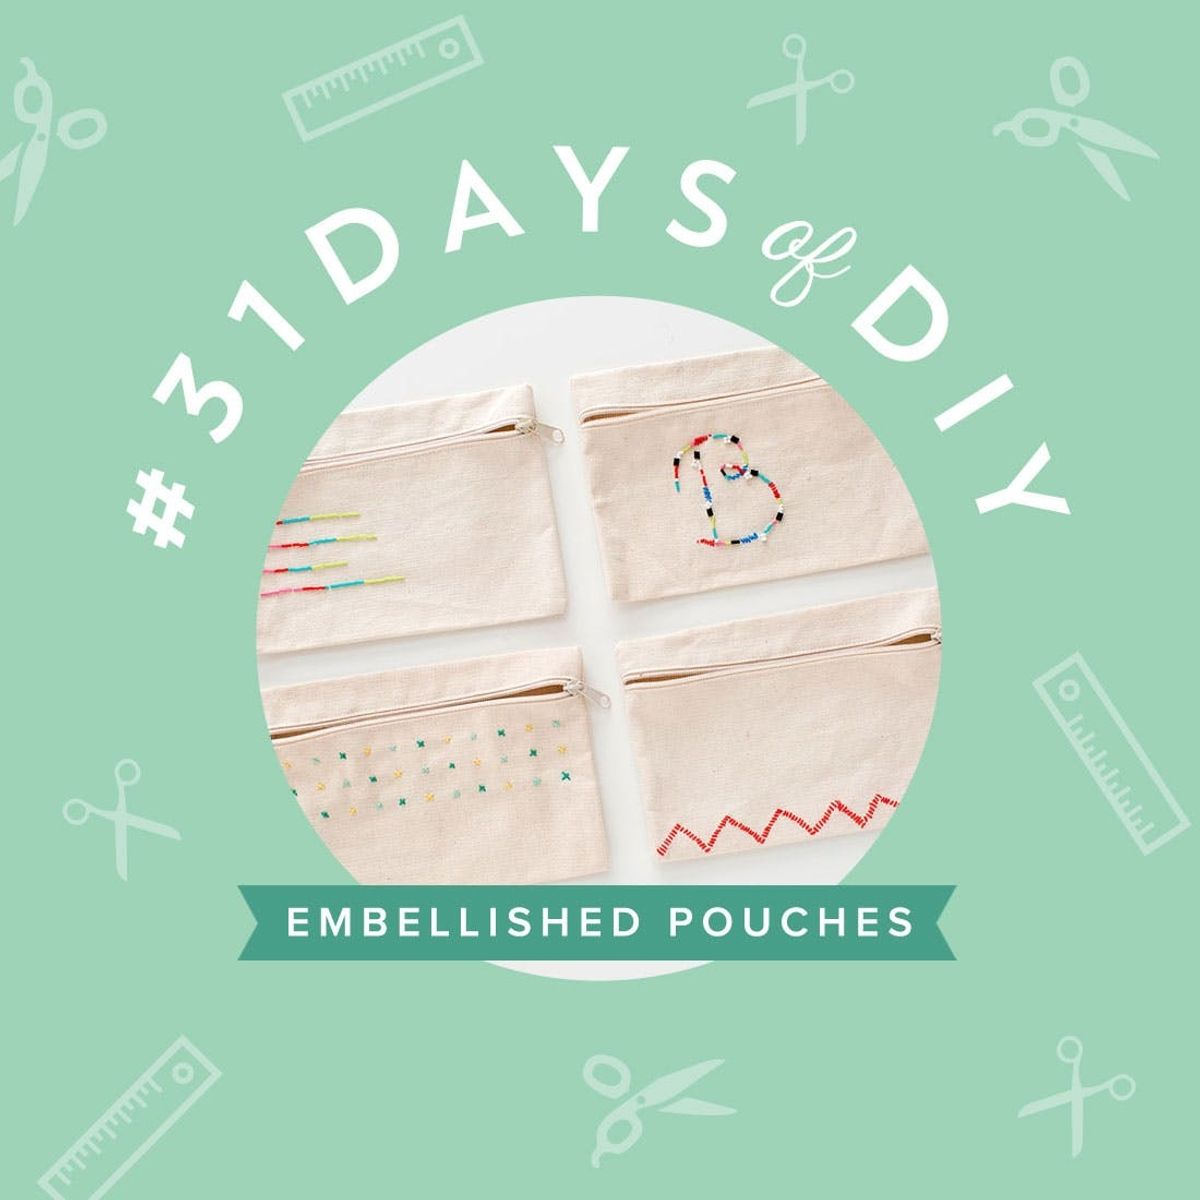
Looking for a brand new bag?
Organize All Your Stuff With DIY Embroidered + Beaded Pouches

If you’re like us, you love a good pouch. And you have about a million of them floating around your house, your purse and your travel bag. Why not add another? We don’t think you can ever have enough ;) For today’s #31DaysofDIY challenge, we’re using embroidery floss and beads to DIY our own gorgeous pouches which we will inevitably be filling with pens, nail polish, beauty supplies and other DIY tools.

No idea what #31DaysofDIY is? It’s a brand new tradition here at Brit + Co that’s all about kicking off the new year right. We’ve challenged ourselves to make or learn something new every single day for the month of January, and we’re inviting all of you along for the ride. From DIY basics like Sewing 101 to learning to design and laser cut our own stencils, we hope this month of making inspires you to get creative all year long.

Materials:
– canvas clutches
– embroidery floss
– seed beads (or any other beads you like)
– thread
Tools:
– scissors
– embroidery needle
– needle
Embroidered Pouch

Determine your pattern and color scheme. We went with a triangle pattern using a single color. There are many ways you can stitch with embroidery floss, but we went with a single stitch for this pouch.
Thread your needle and tie a knot in the end. Starting with the needle on the inside of the pouch, push it through the canvas where you’d like your first stitch. Pull it all the way through until the knot is taught against the canvas. Poke your needle through the top side about half a centimeter away. Then pull it through to create your stitch. Bring it through the inside again and repeat the process until you have one side of a triangle.

Stitch in the other direction to create the other side of the triangle. Continue embroidering your pouch until you get to the end. Tie a knot on the inside and trim the end of your embroidery floss.

Beaded Pouch

This pouch is actually much easier to make than it looks. As with the embroidered pouch, plan your design and pick out your beads first.
Thread your needle and tie a knot at the end. From the inside of the pouch, poke your needle through where you want your beads to start.

Add beads to the thread.

Then push the needle through the canvas where you would like the beads to end. At this point the beads are going to droop. This is a-okay. Press the needle back through the canvas alongside the beads a short distance from the end. Loop the needle over the beads and then push it through the canvas on the other side to hold the beads in place. You can play with this to create the curves and lines you desire. Continue to add loops over the beads with the thread. When your beads are staying in place, tie a knot in the thread on the inside of the pouch and trim the end.

We made a couple others to add to the collection.

We cross-stitched this cute pattern.

And beaded a monogram! This one has a few embroidered details as well.

This one is officially a manicure kit.

And we’ve got ourselves a new makeup bag.


