Listen up! This method isn’t messy and won’t turn your hands a bazillion different colors.
Yes, an Ice Tie Dye Method That Will Blow Your Mind

Go through your closet and grab every white garment you own, because this new tie dying technique is amazing! It's called ice tie dye, and those are the only two materials you need — ice and powdered dye. Simply sprinkle the powdered dye on top of the ice and wait for it to melt. The dye mixes as the ice melts and creates beautiful watercolor patterns on your garments. The best part? There is almost no mess! The dye collects in your container and is easy to discard. So go! Run around your house and find everything white — drapes, pillow cases, cut-up white tees and especially the “whites" in your closet that are not that white anymore.

How to Ice Dye? The materials you should use...
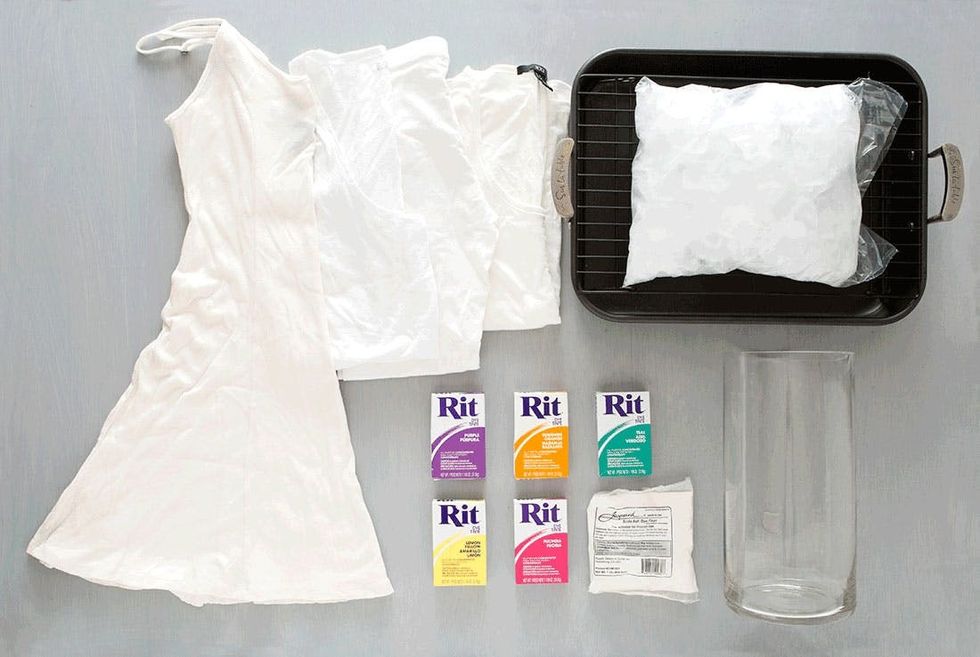
– white clothing
– soda ash
– powdered dye
– ice
Tools:
– cooling rack
– large pan
– large vase
These instructions on how to tie will help you dye with ice cubes:
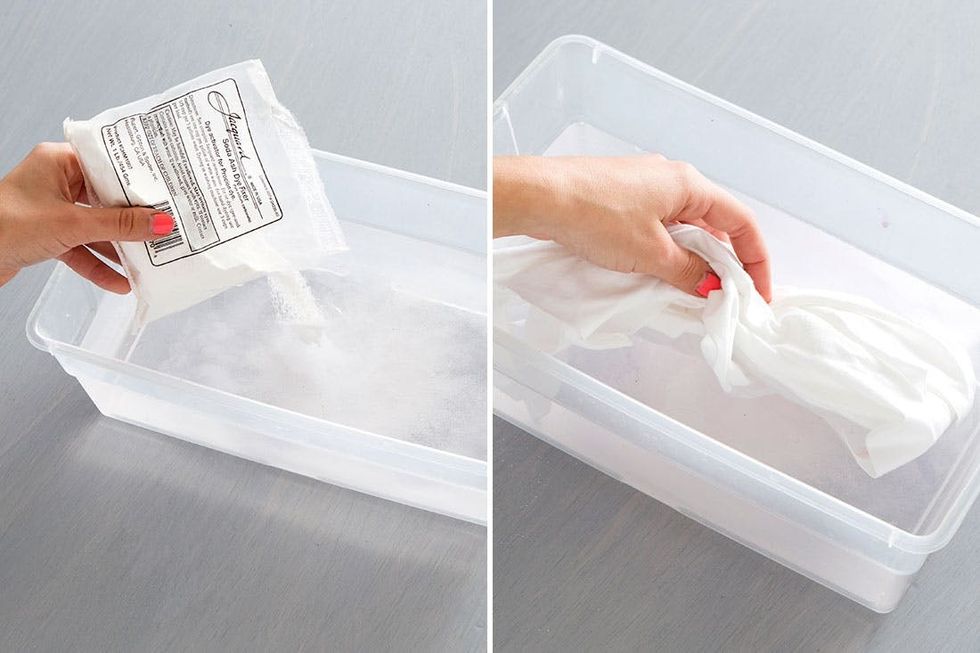
1. Prep your clothes by soaking them in soda ash. Rinse and let them dry.
2. Set the cooling rack inside the pan and lay your piece of clothing on top.
3. Cover the whole garment with ice and then sprinkle the ice with dye.
4. Wait for the ice to melt completely, wash out the extra dye and then let your garment dry.
To get the most vibrant colors that won’t fade, soak your garments in soda ash before dyeing. Be sure to follow the packet instructions.
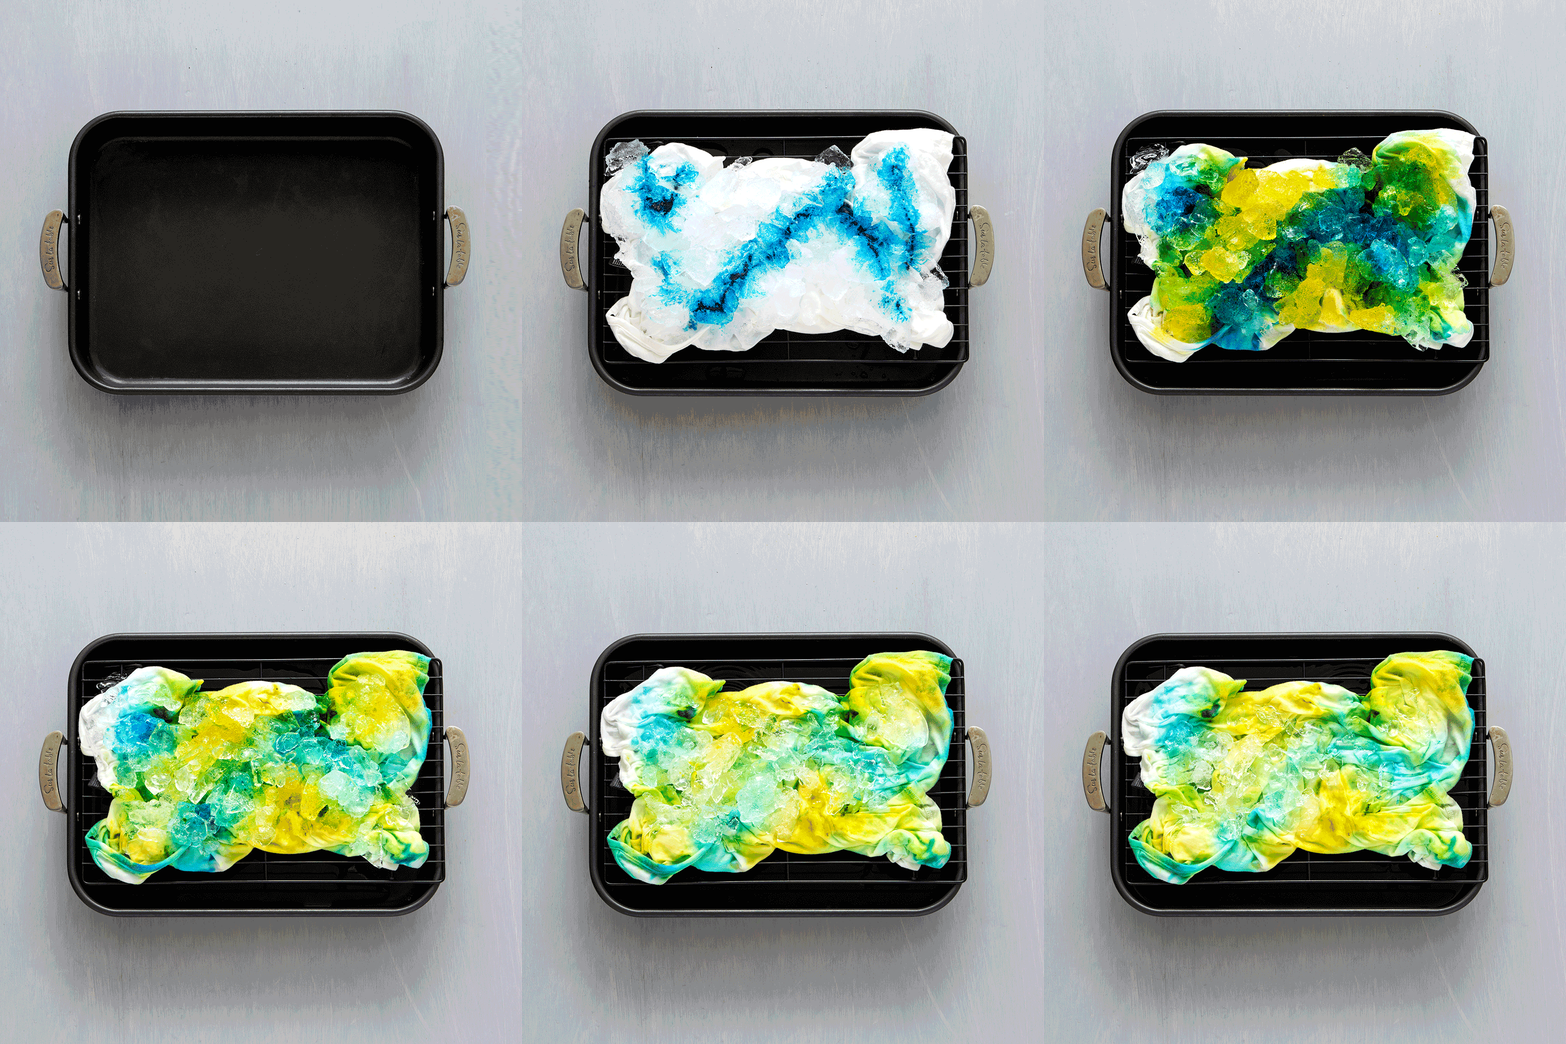
Set your cooling rack inside of a pan and lay your white garment on top. Don't worry about the way your fabric sits on the rack — it can be a messy pile. Cover it completely with ice and sprinkle dye on top. Let the ice melt completely, rinse, dry and wear!
See how cool this ice tie dye technique is!
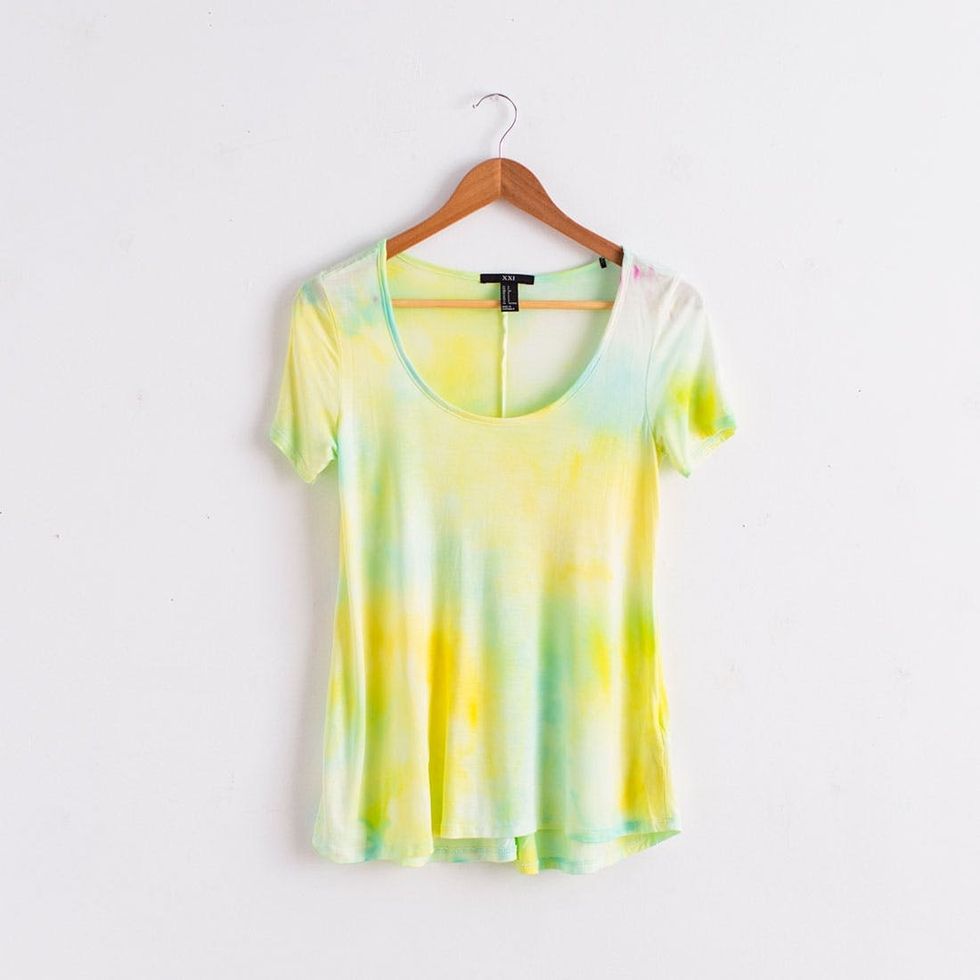
Presenting project #1! The ice dyeing effect gives this garment an amazing watercolor effect — it almost looks painted. We love the simple colors of this piece but decided to give the technique a few more runs with a different color palette.

We are IN LOVE! For this piece we sprinkled the colors in rows and let the ice do the mixing. We are obsessed with this watercolor sunset.
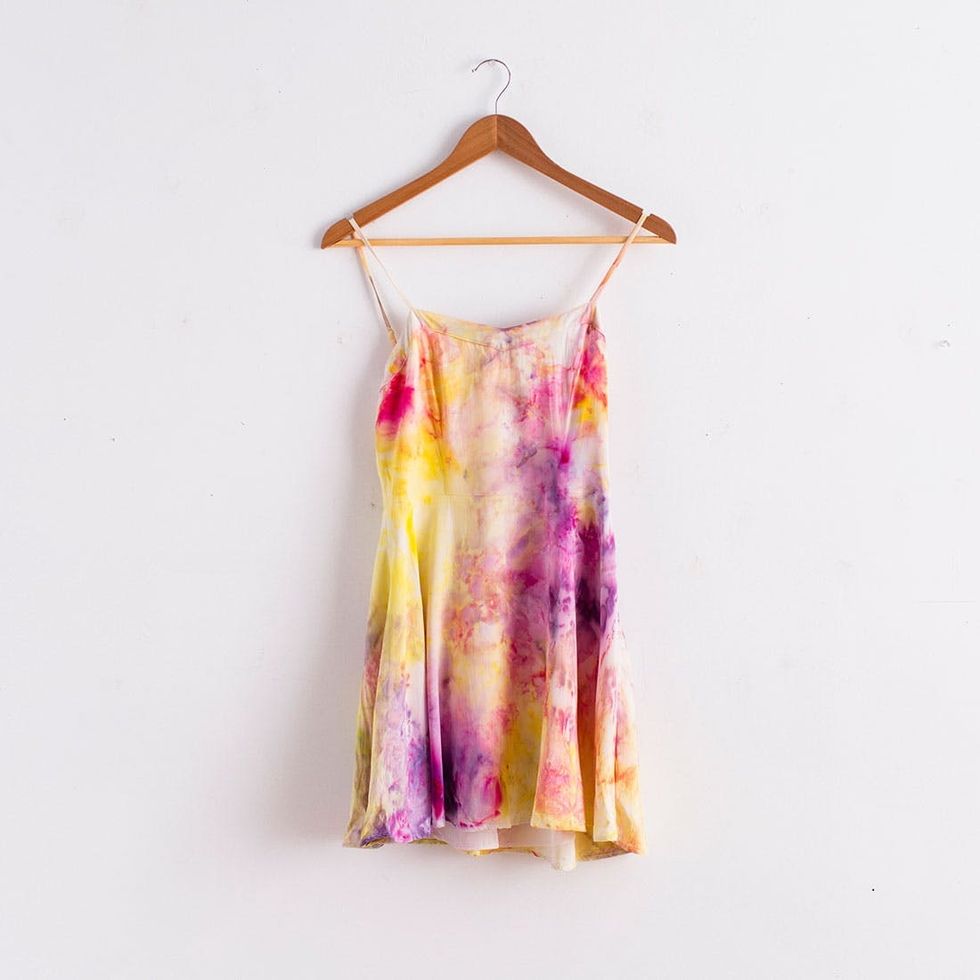
The last dress we tried was chiffon and we were amazed with the results. No one believed it was a DIY project. They thought for sure it was store bought! Doesn’t it look like a Chinese floral watercolor painting? So pretty.
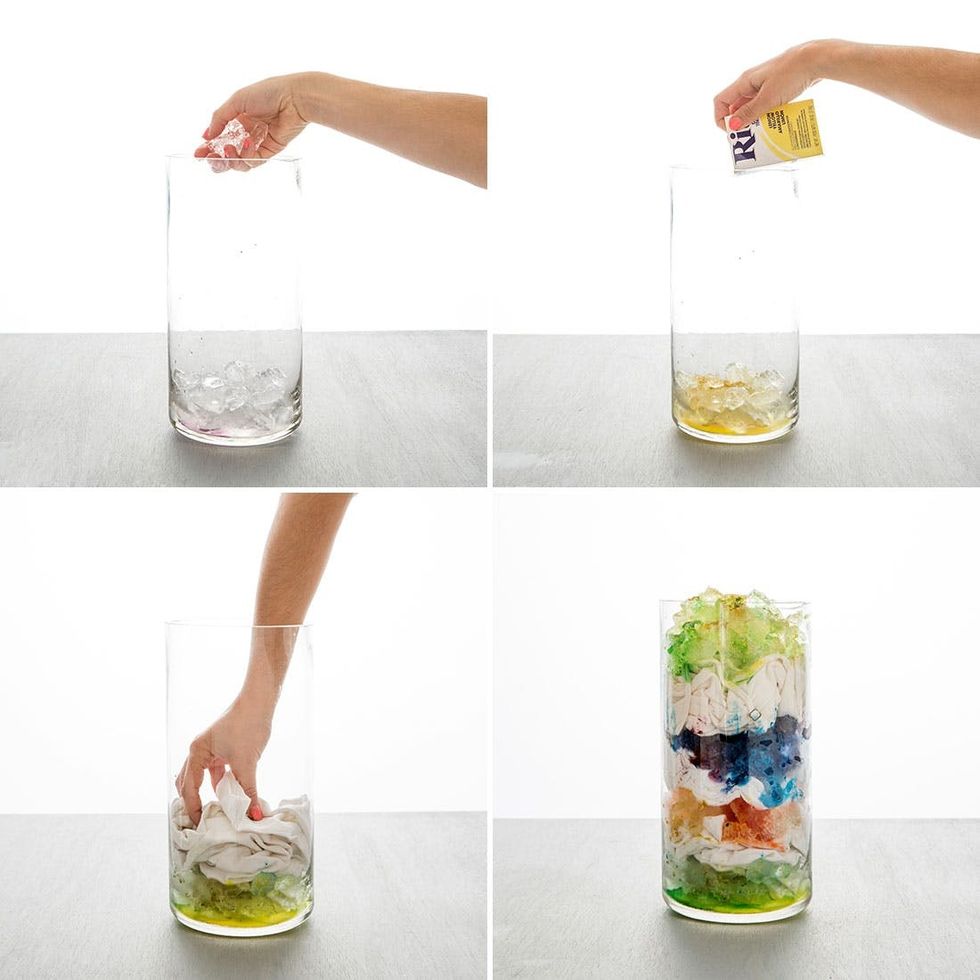
If you don’t own a cooling rack (the cookies just go from the baking tray into your mouth), we’ve got a second option for you — the ice dye parfait! Grab a large vase and layer ice, dye, garment, ice, dye, garment until you reach the top. Note: The top layer needs to be ice covered in dye.
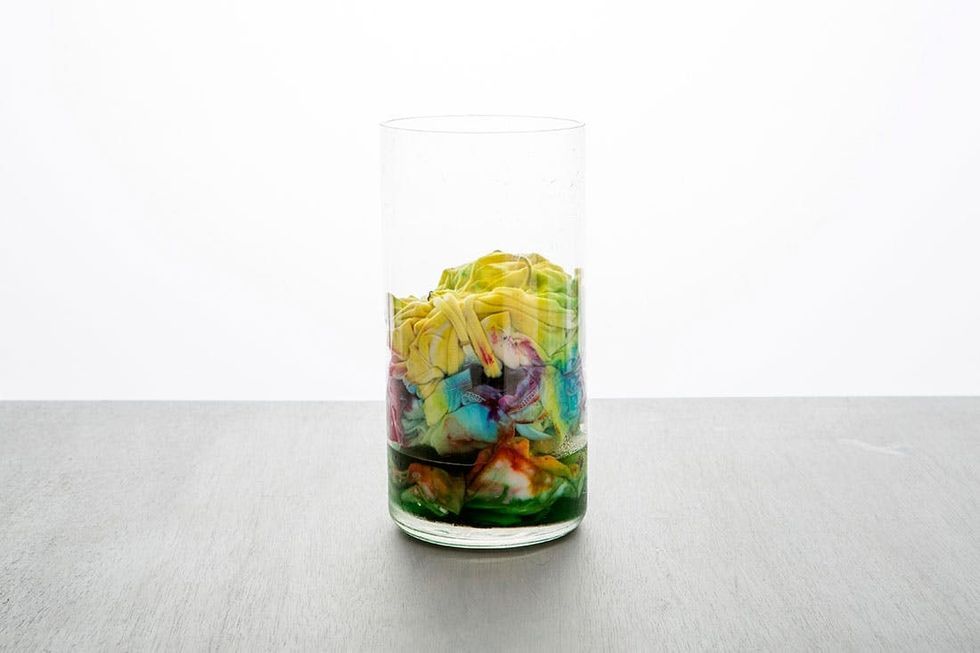
This takes time to melt. Leave it overnight, or if you are in a rush, place it in front of a space heater.
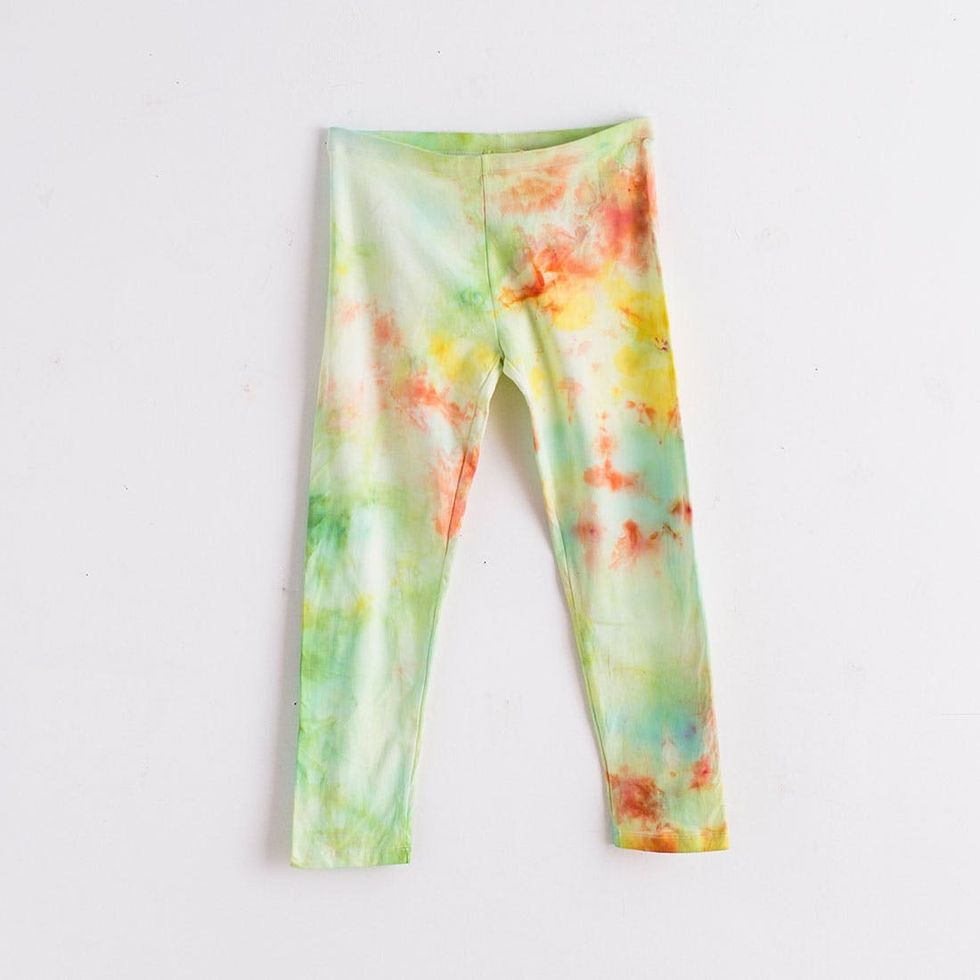
These leggings were on the bottom of the parfait. The ice on the bottom was yellow and green and the ice on top was yellow and orange. The layer on top had some blues that dripped down to create nice accent splotches.
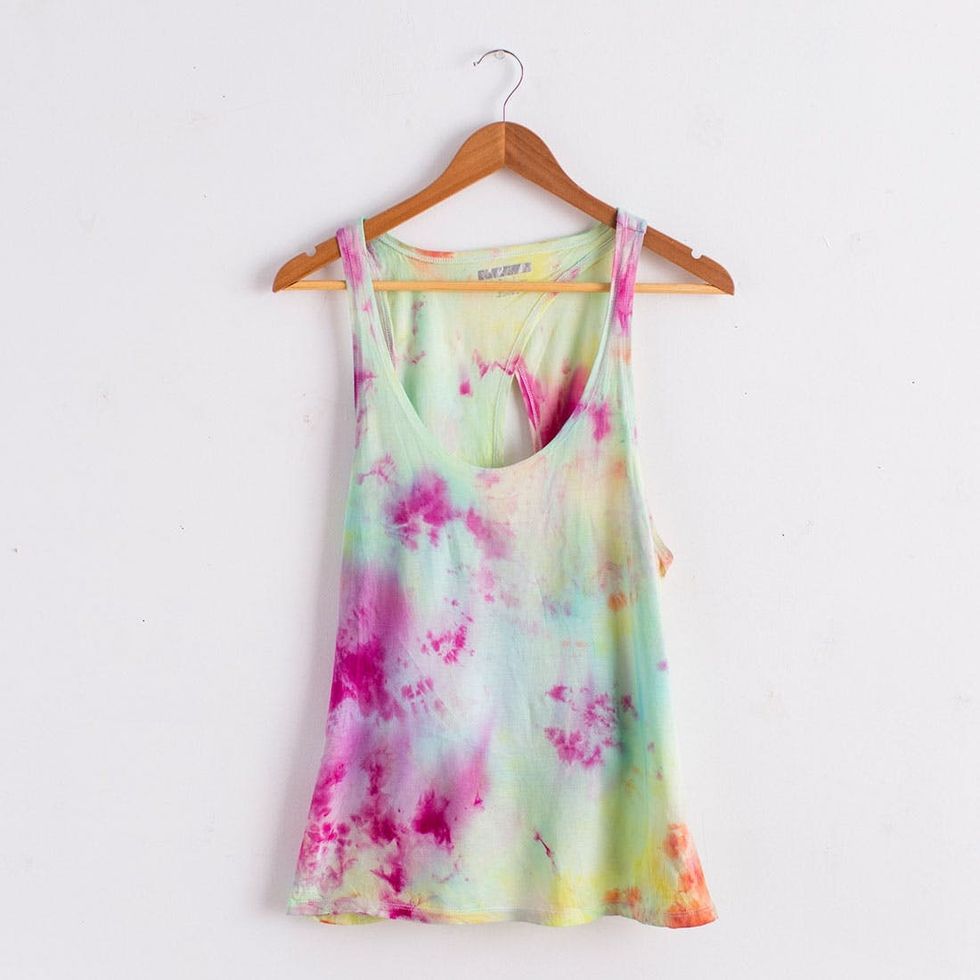
We think the middle layer of the parfait turned out the best. It was able to soak up all of the colors from every layer. Workout top FTW!

This dress was on top of the parfait covered mostly with yellow dye. It also picked up some blues and pinks from the layer below.

Tie dye, floral shorts and sunnies — a true sign that summer has arrived!
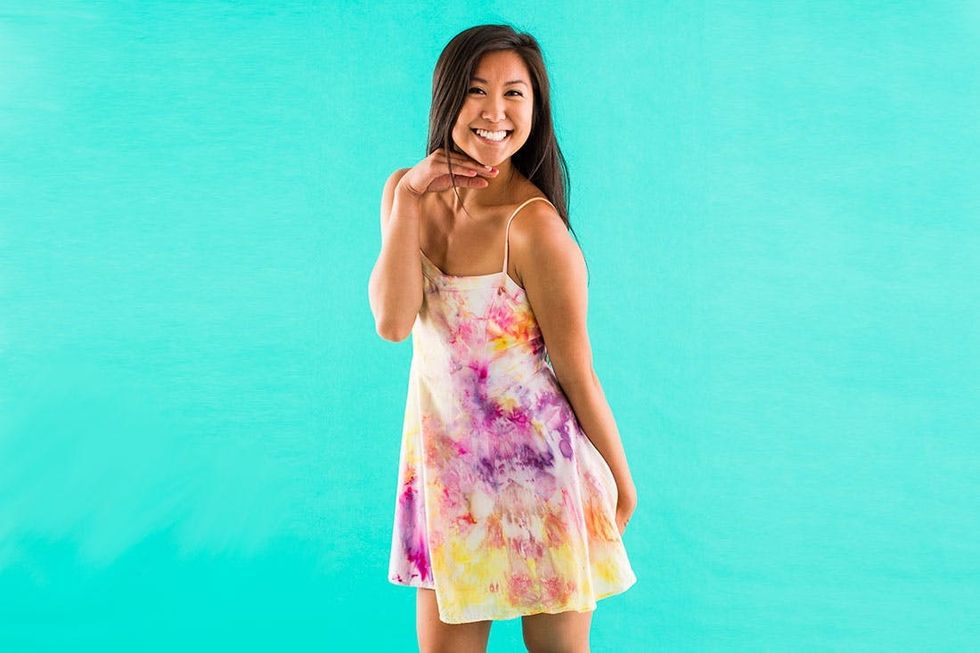
We still can’t get over this watercolor technique!

Our summer sundress is perfect for summer day parties, festivals, or lounging by the beach.
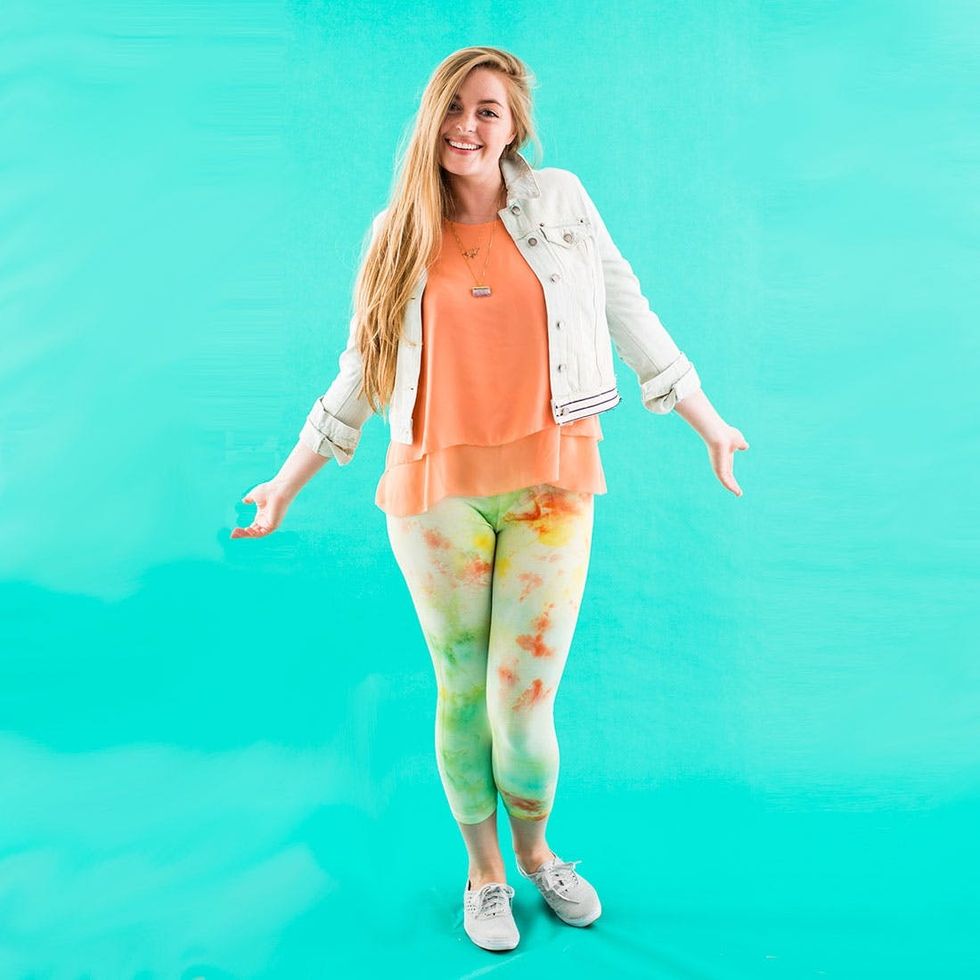
From yoga to errands to casual weekend attire, you need these leggings in your life.

This one brings us back to summer camp.
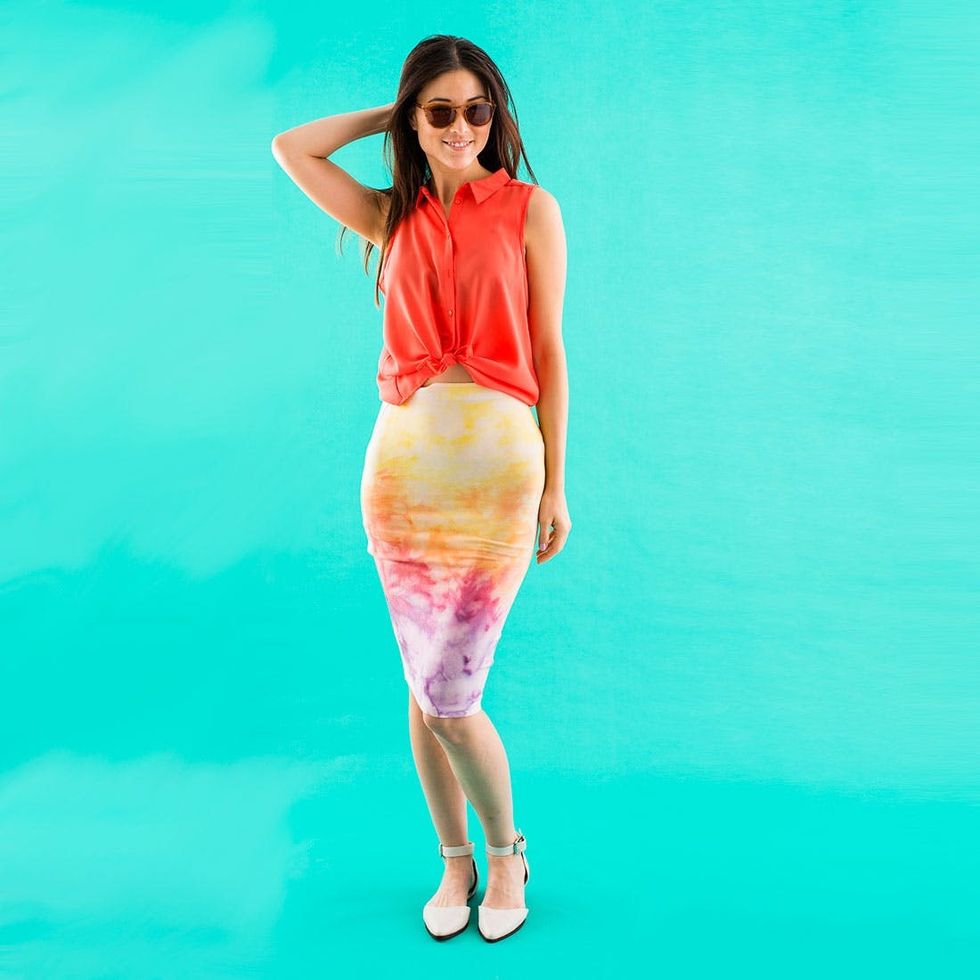
Tie dye can be ultra classy as well. Paired with a blouse, heads will turn!
We hope you had fun with the step by step guide to ice tie dye, follow us on Pinterest for more creative DIY intro or share your own guides on B+C Guides.


