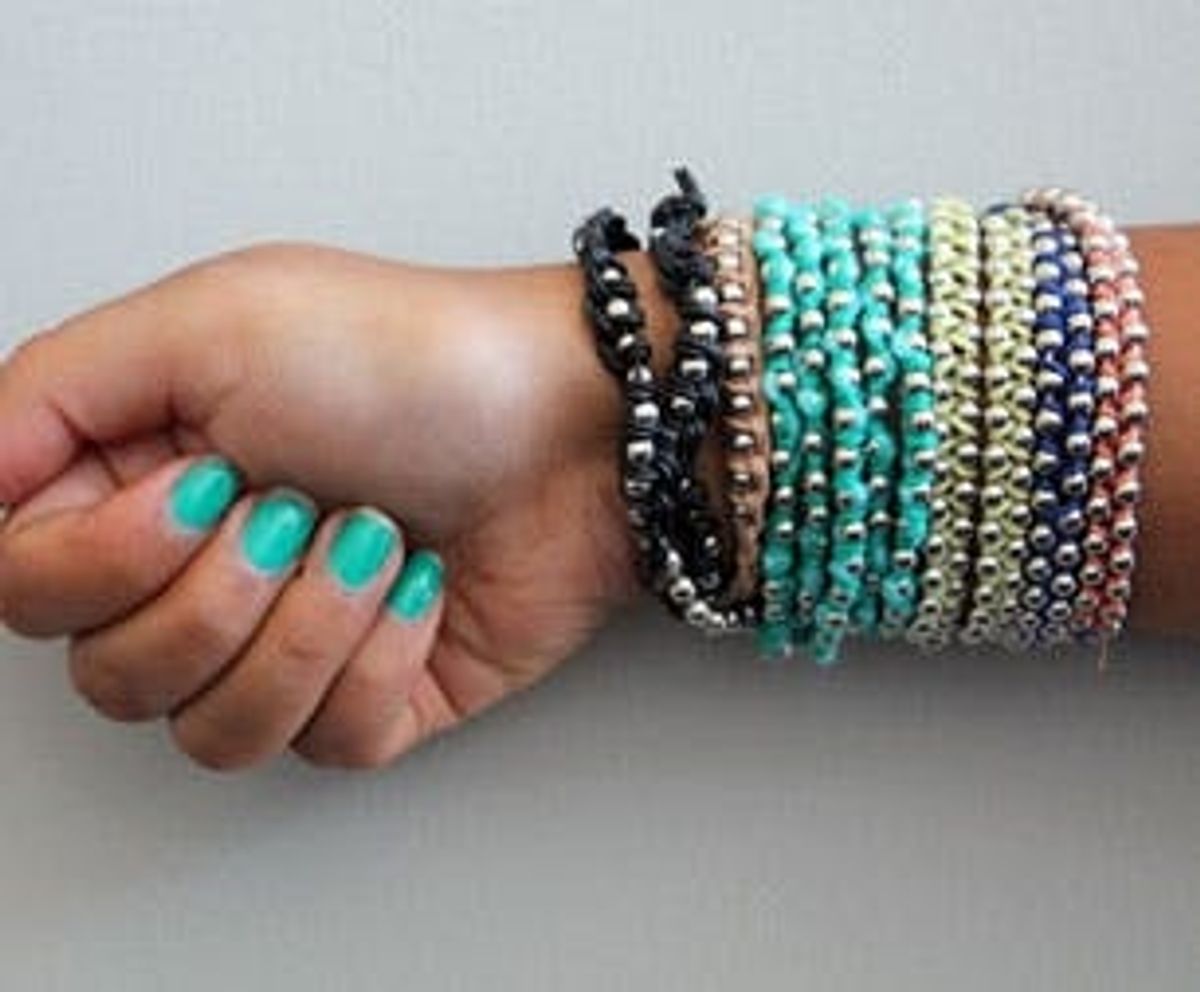
Wrap bracelets are all the rage right now, and friendship bracelets (or friendship cords!) are always a summer staple. While we love the intricate detailing of the gorgeously beaded wrap bracelets we've been seeing in boutiques both online and offline, we knew there had to be a quick and easy hack for getting the same […]
How to Make 3 Super Simple Wrap Bracelets


Wrap bracelets are all the rage right now, and friendship bracelets (or friendship cords!) are always a summer staple. While we love the intricate detailing of the gorgeously beaded wrap bracelets we've been seeing in boutiques both online and offline, we knew there had to be a quick and easy hack for getting the same look at home.
Thanks to silver ball chain found at any hardware store or craft store, becoming a wrap star is as easy as pie!

Materials:

– silver ball chain
– silver ball clasps
– embroidery floss
– scissors
– tape
– optional: leather lacing, yarn
For our first wrap bracelet, we used teal embroidery floss and light blue yarn. This one is definitely the easiest as it just involves a lot of wrapping. :)

Take a length of chain that suits you. We went with 6 wraps around the wrist. Cut a piece of yarn one and half times the length of the chain. For the embroidery floss we used almost one full spool, but it depends on your length.

Lay the chain next to the yarn and tie the embroidery floss around the two. Start wrapping the floss around the chain in between the silver balls and wrap it as thickly as you like.
We wrapped each section 3 or 4 times. Continue down the whole length of the chain, tie off on the end, and clasp!

We used yarn to give the bracelet a funky texture, additional color, and because it helped the embroidery floss stay in one place.

Next up, we used leather and got a little knotty. This same technique could be done using embroidery floss, hemp, or yarn.

Get your materials together. You'll want three lengths of leather that are the same. Two will be grouped together, and one will be on its own. Tie them to the top of the chain and tape to a hard surface.

Now to create the knots, which basically encase each silver ball on your chain. Take the pair of strings and create the shape of a four with the bottom part going underneath the chain and single string. Bring the pair back through the loop you've created and pull tight. This will create a little case for each silver ball.
Continue down until you're finished! Be sure not to pull the knot too tight, as it will try to join the previous knot you tied.

This one definitely gets a little twisty, sort of like those old school Chinese Staircase friendship bracelets or gimp, but it adds a nice twist to the wrap.

Lastly, we have the shoelace style method. This one looks trickier than it is, and is hard to photograph so read carefully.

Take two lengths of chain and place side by side. Tie a piece of embroidery floss to the top and tape down to a hard surface. Take the floss and bring it over the pair of chains. Then bring it through the middle of the two, over the second one, and behind again. It will create a zig zag pattern similar to lacing up a pair of sneaks. Please feel free to shoot us a note if you have additional questions about this one.

This one has a nice weight to it and doubles nicely as a necklace, especially if you tie a knot in the middle for a little DIY pendant action.

And there you have it! Three super simple wrap bracelets you can make with two super simple, affordable materials. Happy Wrapping!

If you've got any questions about the how-tos above or want to share your own wrap bracelet tutorial, leave us a note in the comments below or say hi on Twitter.


