Get Netflix ready with this adorable sleeping bag.
Make This Anthropologie Sleeping Bag for Your Next Sleepover
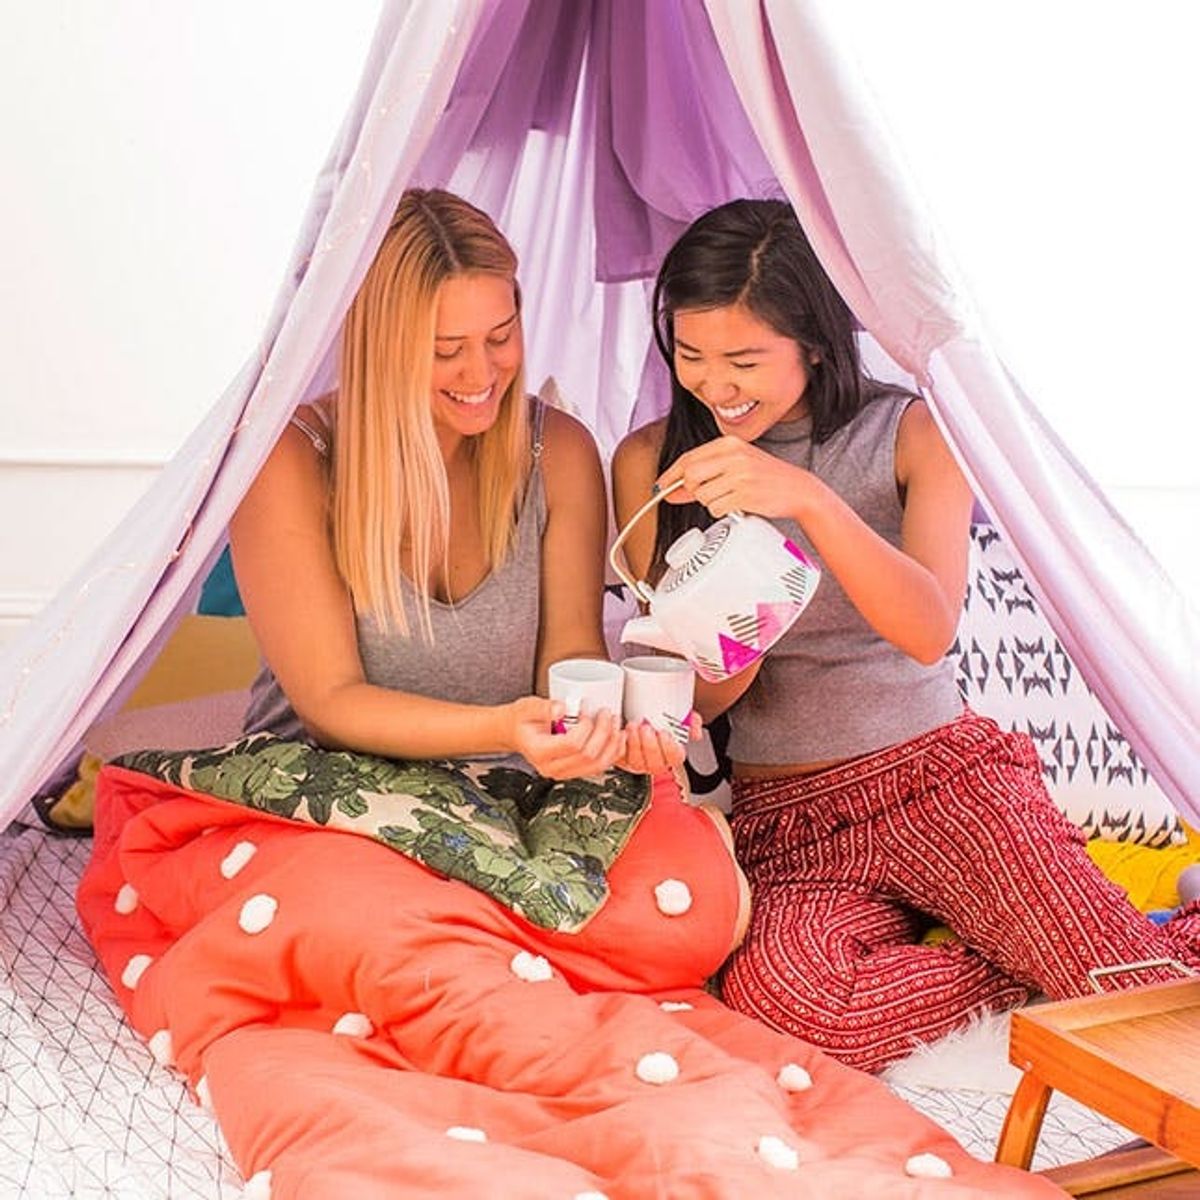
Here at Brit HQ there are a few things everyone agrees are awesome: Halloween, Ryan Gosling, Anthropologie and spending time with our friends (inside or out). We came across this Anthro sleeping bag a while back and have been keeping it on our pin board just drooling over the amazing pattern/pom-pom combination.
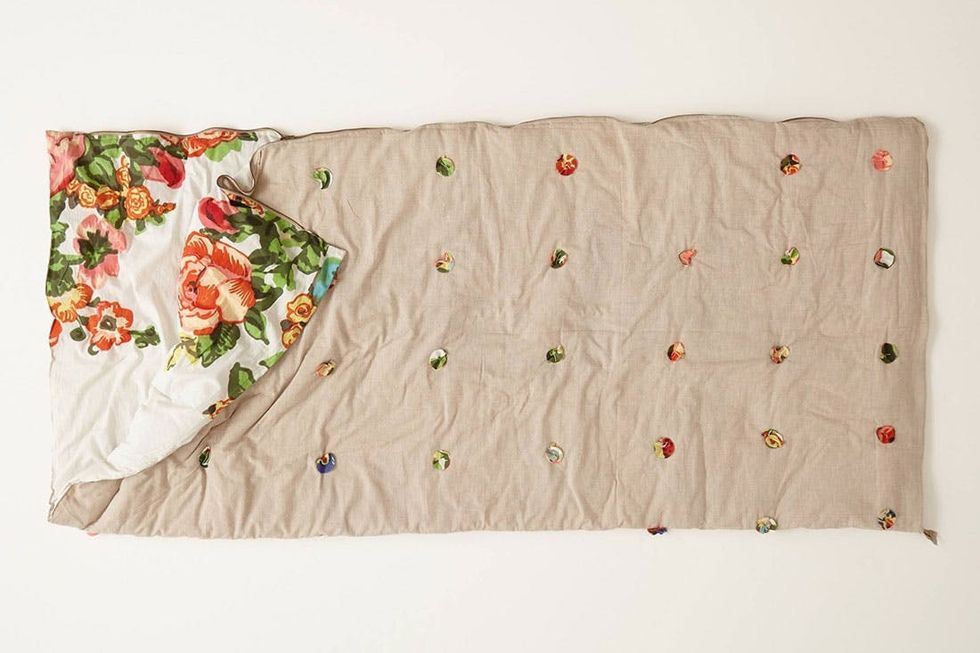
When we realized they were out of stock, and we no longer could buy it, we decided it was time for a DIY Copycat. We’ll be honest – it’s not a fast project (hand-stitching pom-poms cannot be rushed), but you will love the results. This sleeping bag is the perfect snuggle sack for a gal pal movie night or a cozy bed for your little kiddo’s first sleepover party.

Materials:

– 2 1/2 yards of solid jersey fabric (measuring 62 inches wide)
– 2 yards of patterned jersey fabric (measuring 62 inches wide)
– pom-poms
– batting
– long zipper (ask to purchase a zipper on a roll)
Tools:
– sewing machine
– scissors
– pen
– chalk
– needle + thread
– ruler
– pins
Instructions:
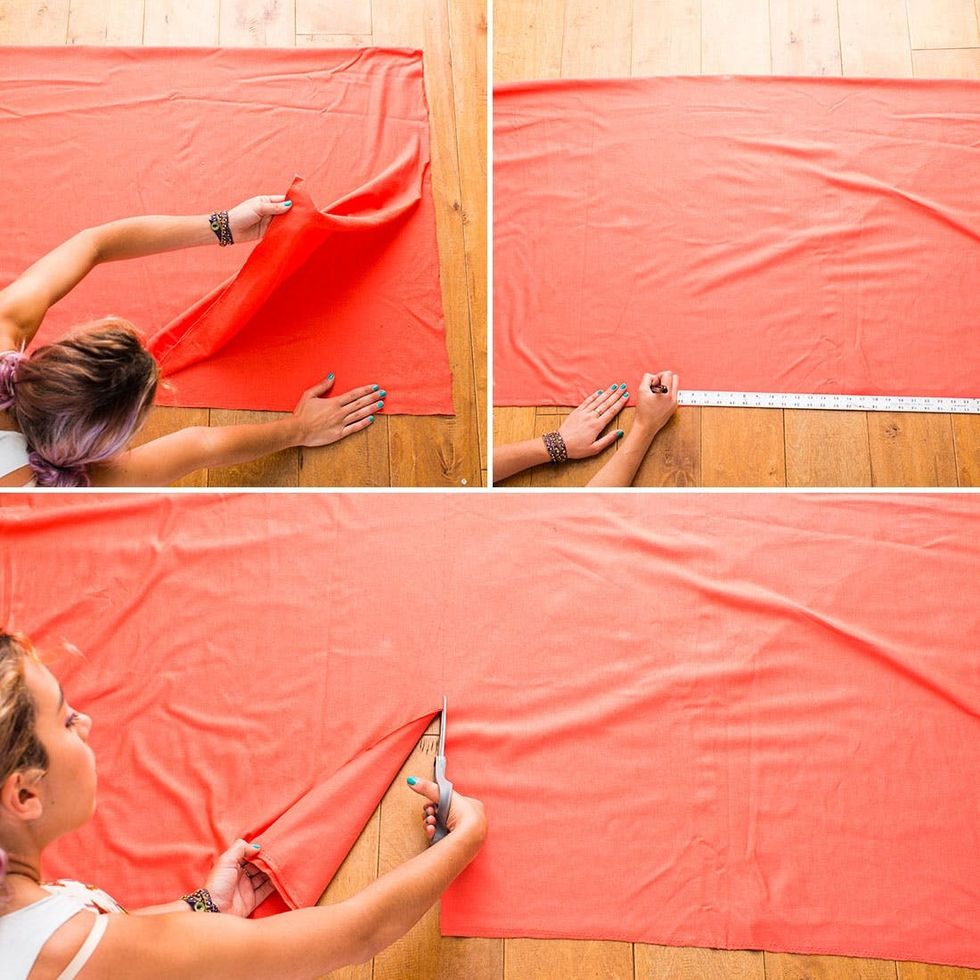
1. Determine the size of your sleeping bag. We made ours 5 x 6 feet. Cut your fabric to size.
2. Pin the plain and patterned fabric together, good sides facing inward, and then sew leaving a 3-foot opening so you can easily turn the sleeping bag right side out.
3. Cut the batting to the size of your sleeping bag, fold and slide it into the sleeping bag. Lay the batting as flat as possible so your sleeping bag doesn’t turn out lumpy.
4. Use a ruler and chalk to draw a seam that runs down the middle of the sleeping bag. Pin and then sew this seam – it will help give your sleeping bag a folding point and hold the batting in place. Then pin and sew the 3-foot opening that you used to stuff the batting.
5. Arrange your pom-poms on the front side of your sleeping bag, and hand stitch them in place. This will also help prevent the batting from bunching.
6. Cut two long rectangles of fabric to create your straps. Fold them lengthwise with the right side facing in, and then sew three sides. Turn your straps right side out and pin them to the bottom of the sleeping bag. Make sure they are positioned so they won’t interfere with the threads of the zipper.
7. Fold your sleeping bag in half, and pin the zipper in place. Then unzip and sew the zipper to the perimeter of the sleeping bag.
Clear a large space on your floor, because you are going to need to it properly measure and pin your fabric. The first step is deciding the length and width of your sleeping bag. Our fabric was five feet across, so we used this as our width and then made our length six feet. Fold your fabric in half and then cut to your desired size.
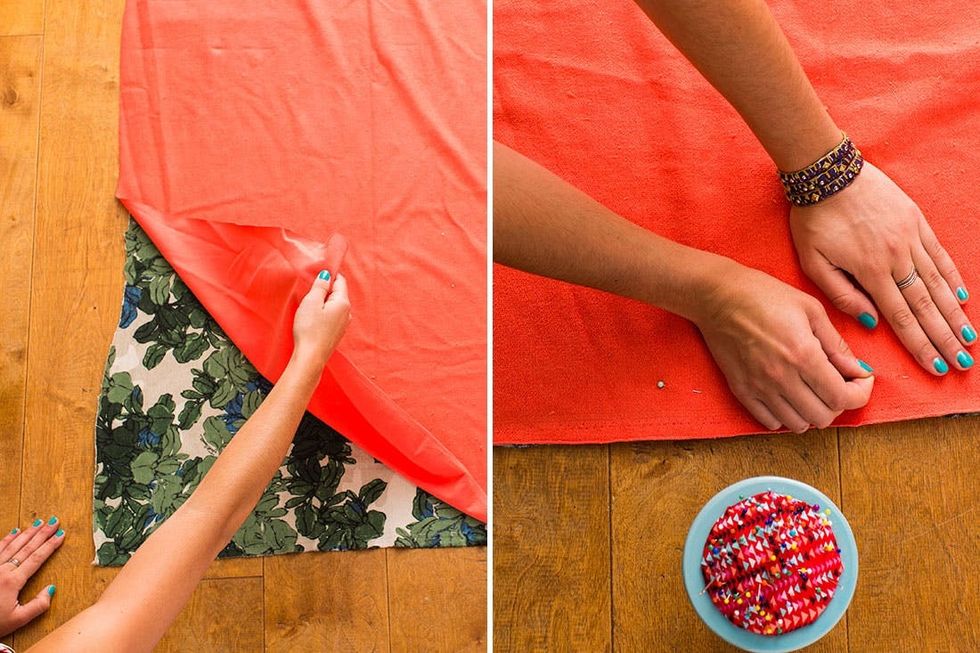
We chose a leafy pattern for the inside of our sleeping bag to give it a fun pop of pattern. Pin your plain and patterned fabric together with good sides facing inward.
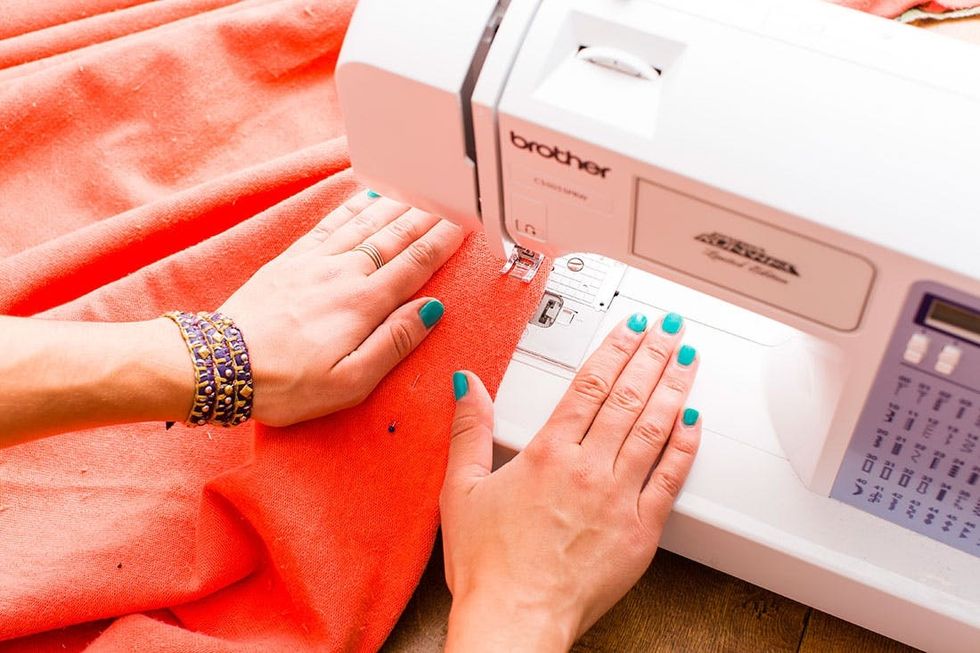
Sew around the perimeter of the sleeping bag, leaving about a two- to three-foot opening on one side. This is key in turning the sleeping bag right side out and adding the batting.
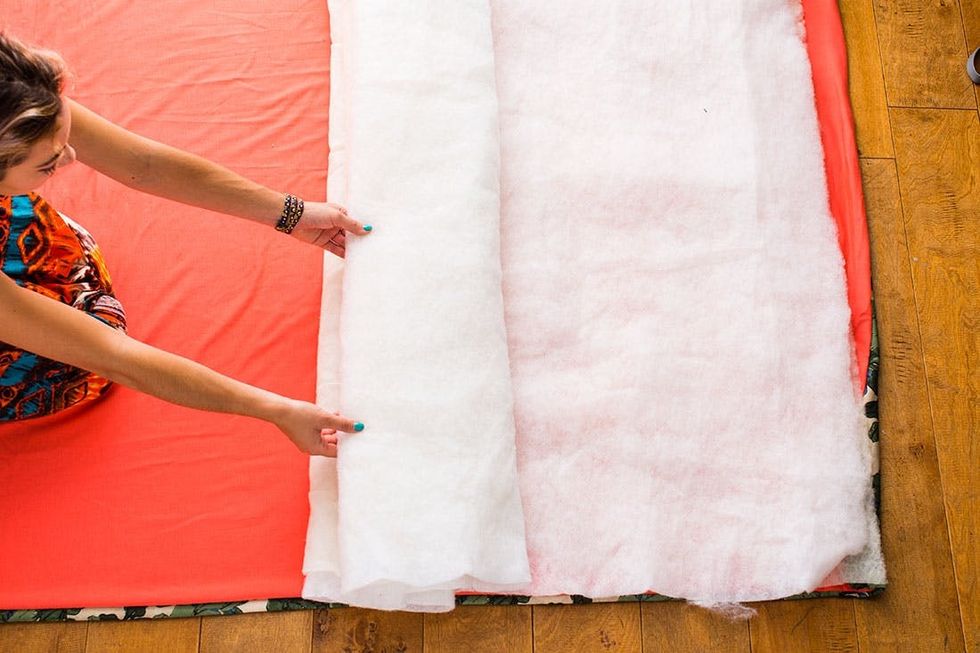
Turn the sleeping bag right side out and lay down your batting. Our batting was the same width as our sleeping bag, but if you need it to be wider, you can cut and sew some together. We used two layers of batting for extra warmth.

Our best advice is to take your time when adding the batting. At one point I crawled inside to make sure the batting was flat and reached the corners. Try folding the batting into an according fold, stuffing it inside and smoothing it out.
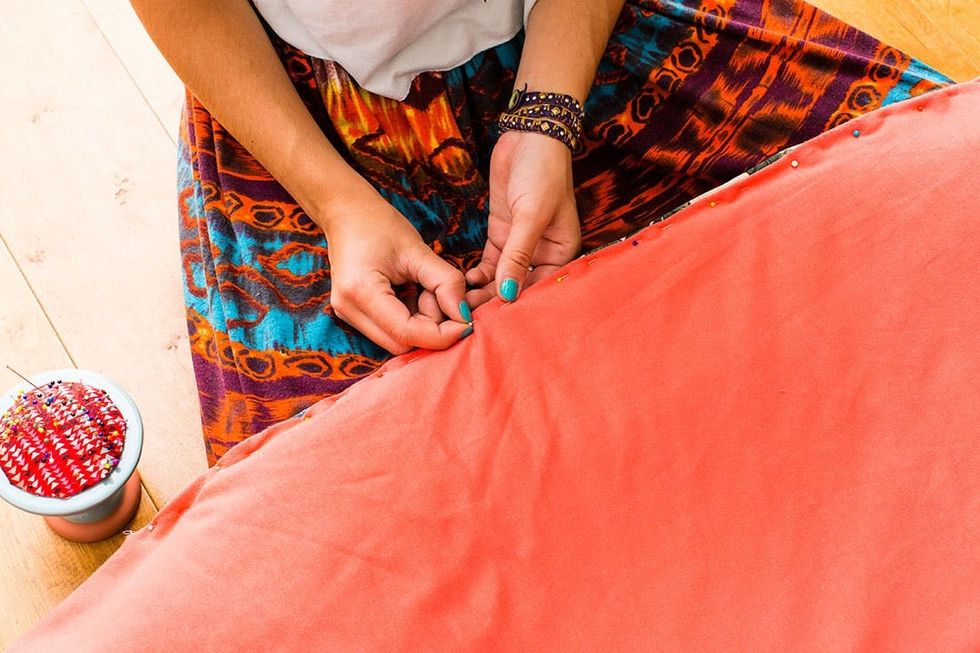
When pinning the opening closed, catch the batting in between the two pieces of fabric. Once sewed, the batting will be held in place and won’t bunch up so much.
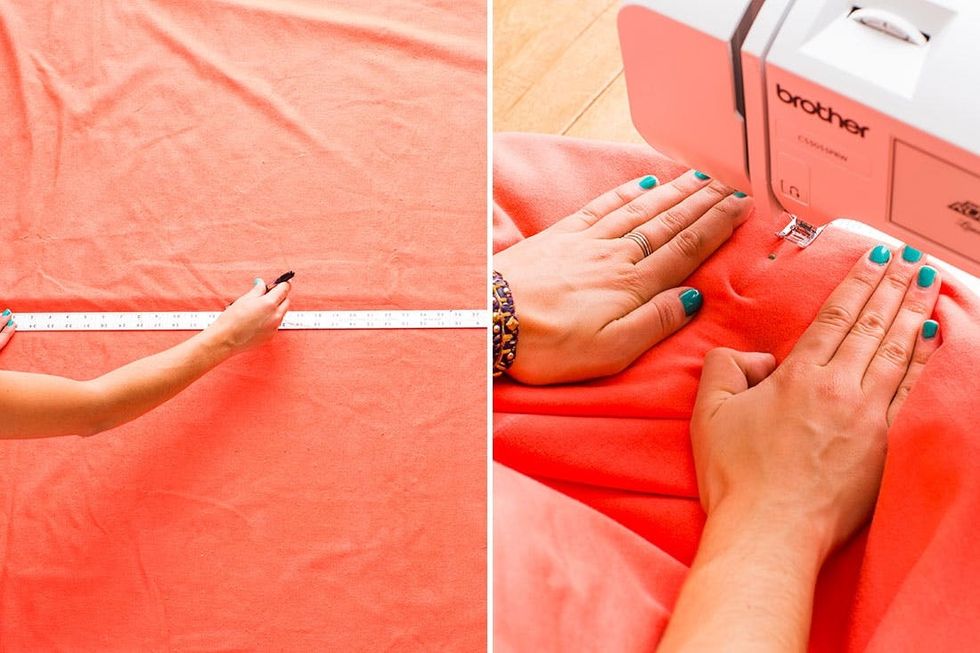
With your ruler, measure and mark a seam down the center of the sleeping bag. This seam will help hold the batting in place and give your sleeping bag a nice folding point. We recommend marking this line with a light pen or a piece of chalk since it will show on the outside of the sleeping bag. Pin this line and sew. Pro Tip: Sew slowly. The sleeping bag will most likely get bunched up underneath the presser foot.
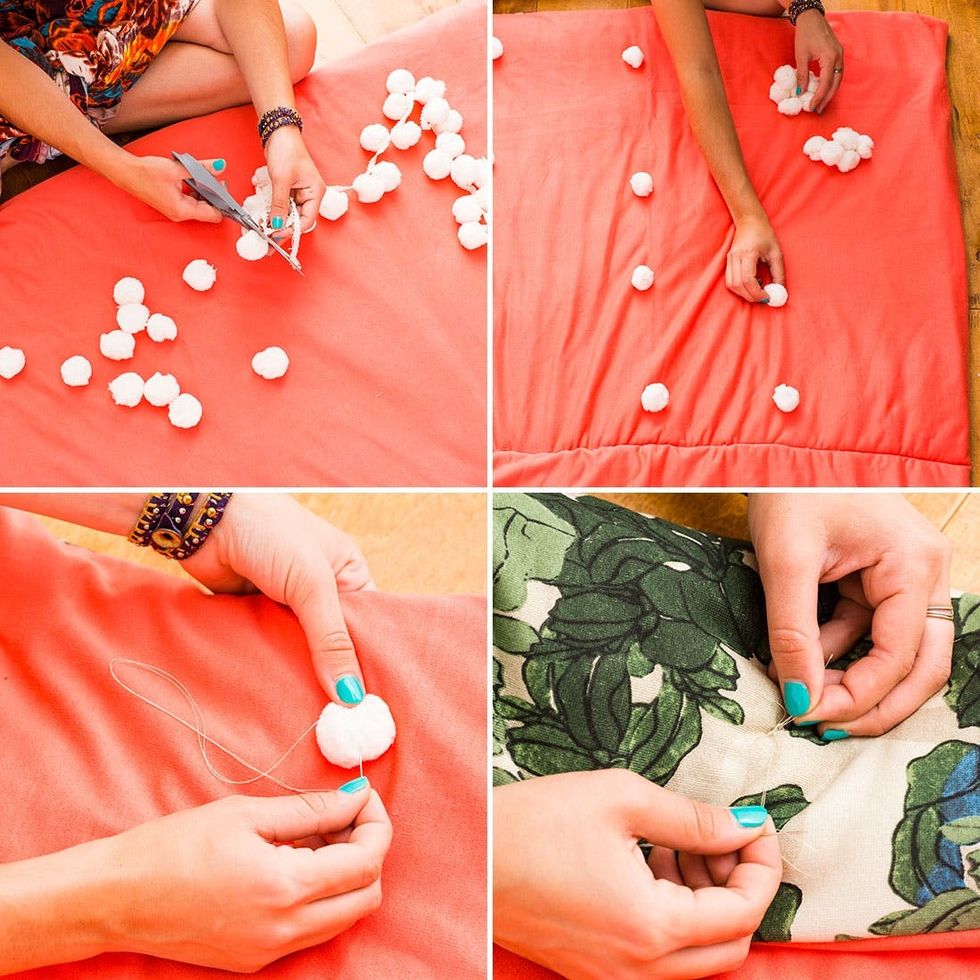
Turn up the cute factor with tons of large pom-poms. We hand stitched them to the sleeping bag in rows of four. The more pom-poms, the better the batting will stay in place.

For a massive project like this one, you need to purchase a zipper off the roll. This means they will cut the zipper to the exact measurement you need, just as they would if you were buying trim. You have to add the zipper head and clamp the beginning and end of the zipper so the head doesn’t come off. Pin the sides of the zipper to the designated side of the sleeping bag.
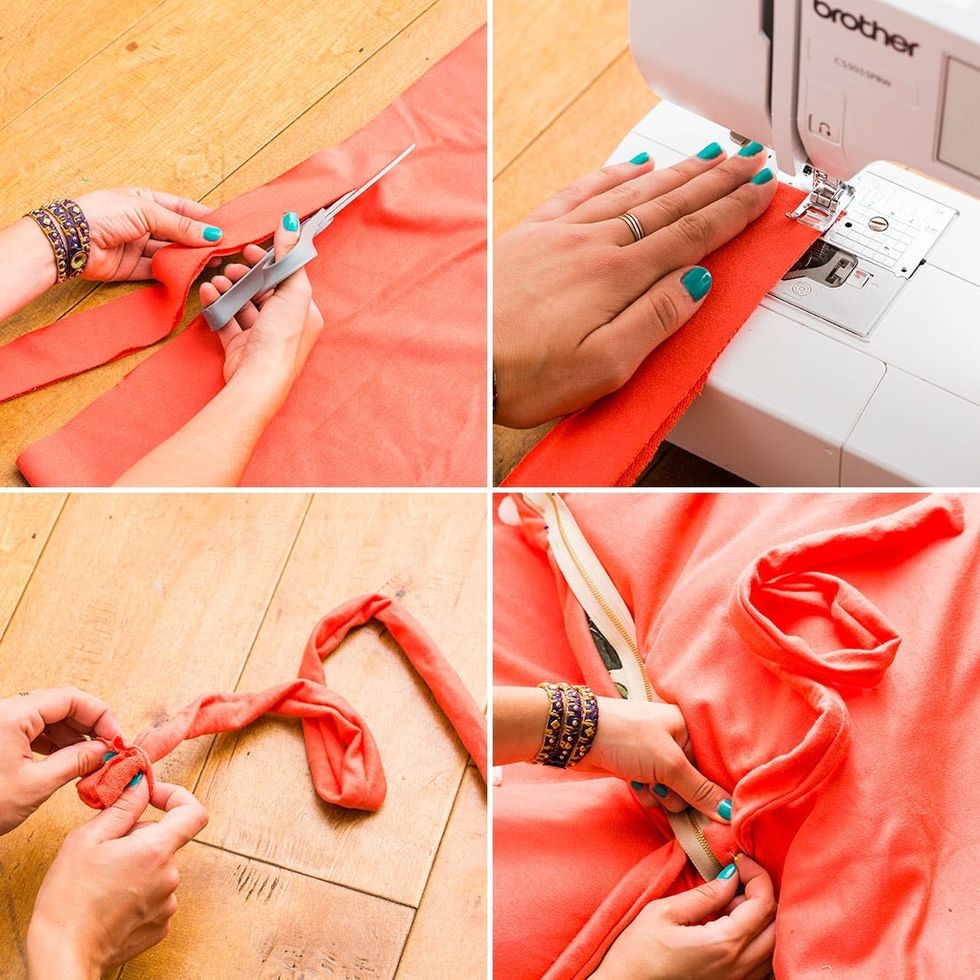
Before you sew on the zipper, cut two strips of extra fabric for the straps. Fold them lengthwise with the right side facing in, and then sew three sides. Turn your straps right side out and pin them to the bottom of the sleeping bag. Make sure they are positioned so they won’t interfere with the threads of the zipper. These will function as the ties to keep the sleeping bag rolled up.

Once pinned in place, unzip the zipper and take your time sewing the zipper onto the perimeter of the sleeping bag.
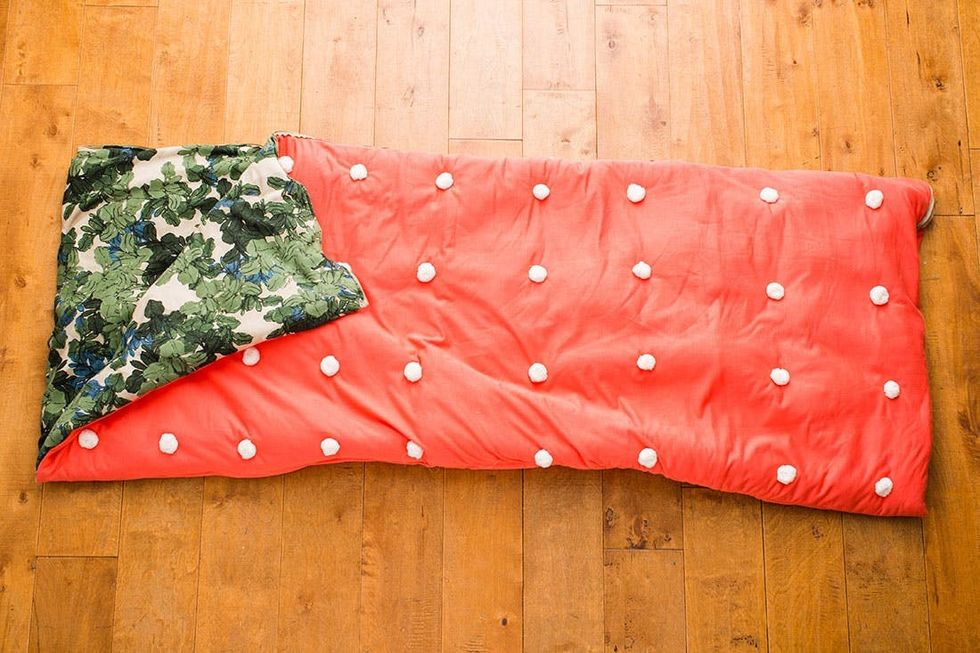
Congrats! You have made your very own sleeping bag. Time to find a good movie and get cozy.

Fold it in a half and roll it up to bring to a friend’s house or store in between sleepovers.
and Marisa were so ready to jump into this cozy fort. Don’t forget tons of
 and tasty beverages!
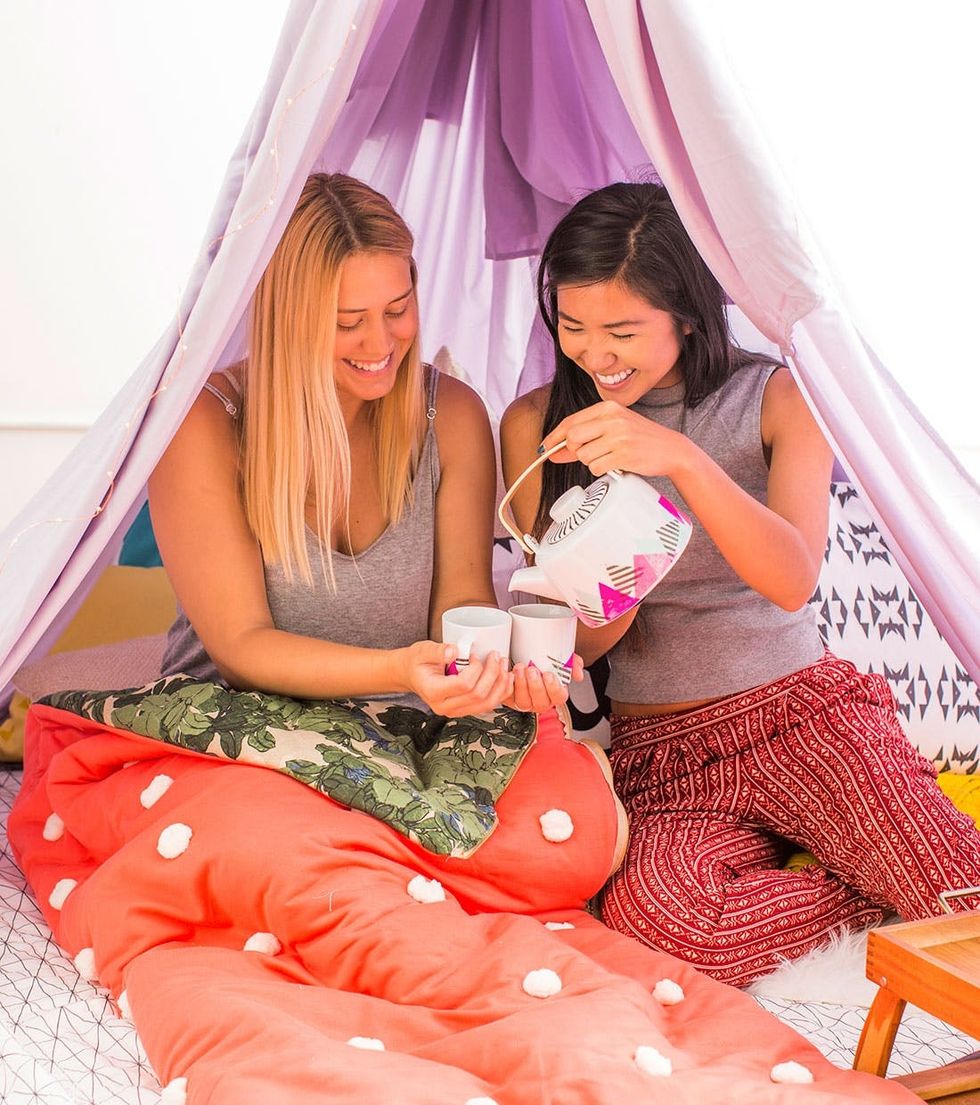
Where would you go with this beautiful sleeping bag? A weekend of glamping? Share your thoughts with us in the comments below!


