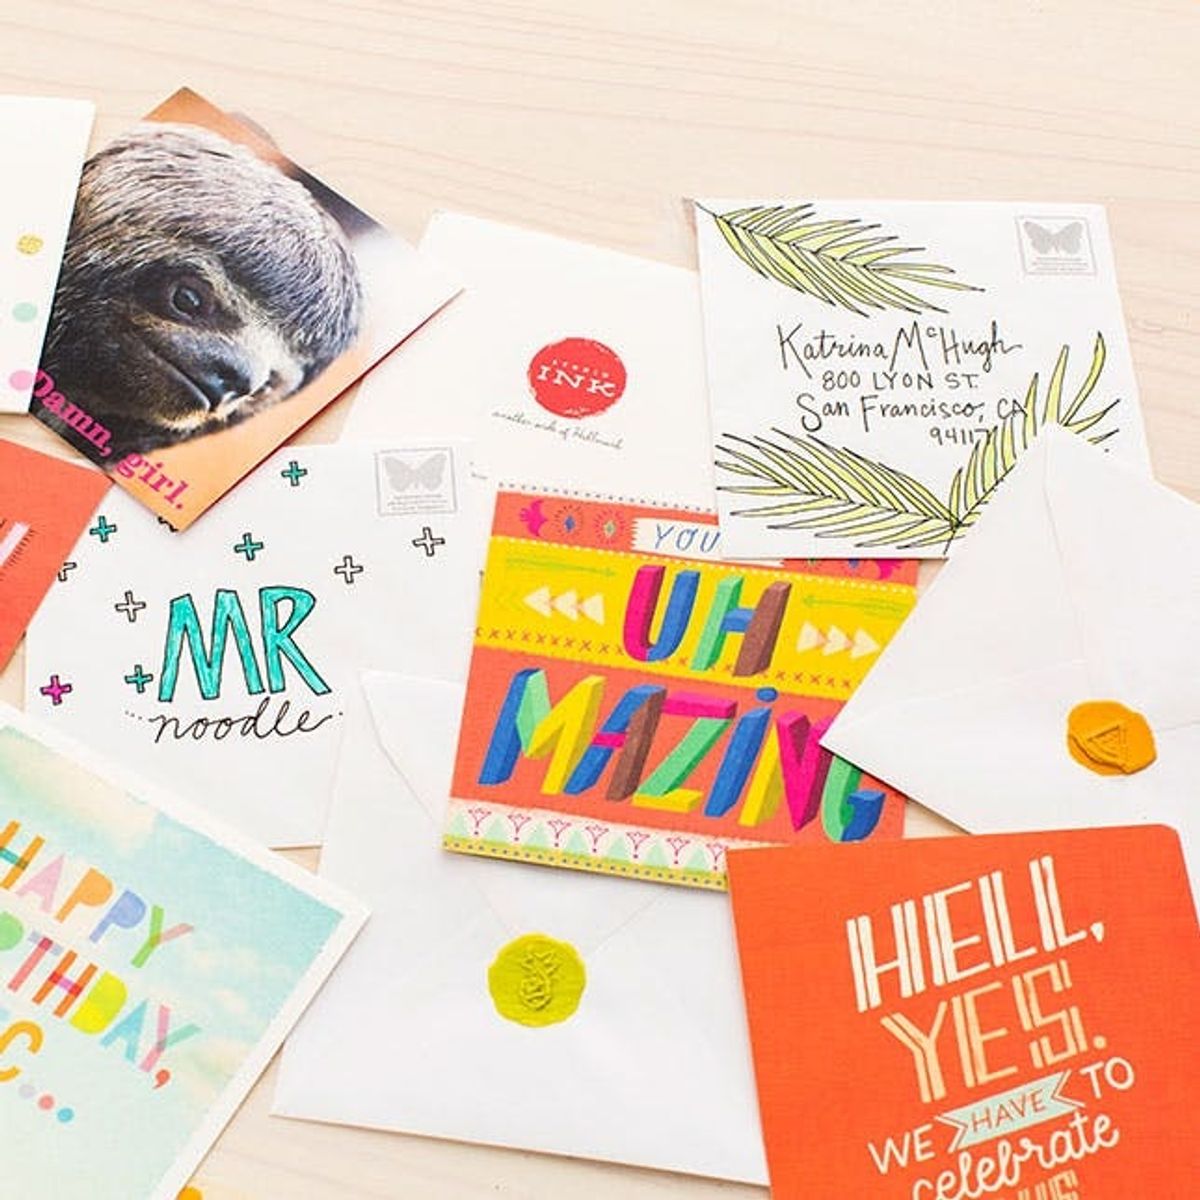
Snail mail is the best kind of mail.
These Custom Wax Seals Will Seal the Deal (aka Your Snail Mail)

These days it’s rare to get anything in the mail other than credit card offers or bills, so receiving a letter, especially one with handmade elements, is like Christmas morning. Today we’re teaming up with Hallmark to show you how to make DIY wax seals so that you can send your favorite people some special, hand-written notes sealed with love. Read on for the tutorial.

Materials:

– wood dowel piece
– creme wax or sealer
– vegetable oil
Tools:
– crayons
– pencil
– wood-burning tool
– hot glue gun
– X-ACTO knife
– paint brush
Wax Seal Stamp

There are many ways to make a wax seal stamp. You can use a charm, a ring or an actual customized seal stamp. Alternatively, you can make your own design using a wood-burning tool. You know how we love our custom designs :)
First decide on the design you want to make. Draw it out on the end of your wood dowel piece. We recommend avoiding complicated designs since the wood-burning tool tip is not super fine. You can also use a stencil if you have a particular font or graphic you want to create. Heat up your wood-burning tool, and trace the design you created pressing evenly as you move the tool along the lines. If you are new to the wood-burning tool, practice on some scrap wood to play with pressure. Once you get the hang of it, move over to your stamp. After you finish burning your design, add a layer of creme wax or sealer using a paint brush. Let the sealer soak into the pores of the wood and dry.

Back in the day, wax seals were burned by candle flame. You’d hold your wax stick close to the flame until it dripped onto your envelope. Though this method is simple as pie, we thought we’d step it up and use a crayon in a hot glue gun. Such a great hack!
Remove the label from your crayon. Then shave the crayon until it fits into the hot glue gun. Warm up your gun, and use the trigger to apply the wax to your envelope. Pro tip: Push the crayon into the gun gently or it will spray out the sides of the gun.
Wax Seal

Allow the wax to set slightly, dip your seal stamp in vegetable oil, wipe the oil off the sides and press it down in the middle of the wax. Again, we recommend practicing a few times on scrap paper so you get the hang of it.

Sealed with a slice of pizza :)

Of course we had to make a pineapple too!

Add some fun lettering and designs to the front of your envelope and then pop it in the mailbox!

Pen pals are the best pals.

What custom wax seal stamp will you make? Share your vision in the comments below, and as always, show us your projects using the hashtags #iamcreative and #britstagram.


