Go boho on your home.
Your Friends Will Never Believe You Made This Gorg Wind Chime for $20

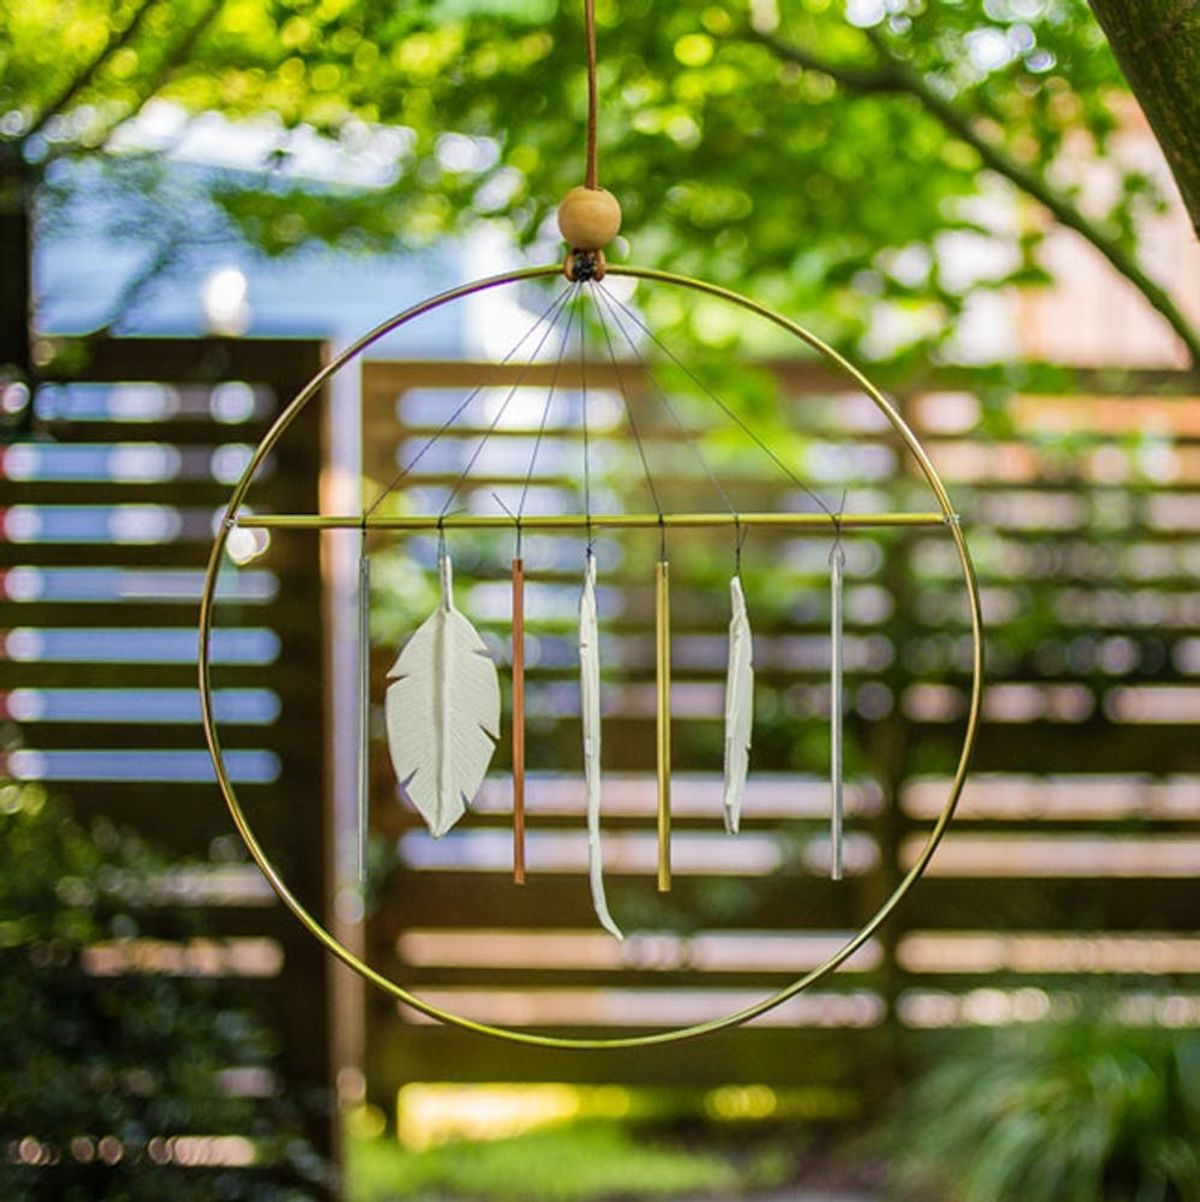
Nothing quite sets the mood for a leisurely summer afternoon than the sweet, delicate sound of a wind chime. In pursuit of perfecting our own tranquil outdoor space, we drew inspiration from these gorgeous designer aura chimes from L & G Studio. We love their modern take and use of mixed materials, so we decided to roll up our sleeves and make a budget-friendly DIY version. For a mere $20, you can put your own personal spin on this simple chime and pocket the savings for summertime fun!
Materials:
— 4 5-inch assorted metal tubes
— 12-inch brass embroidery hoop
— 10 3/4-inch brass tube
— Sculpey oven-bake clay
— 1/2-millimeter black stretch jewelry cord
— florist wire
— 20 inches leather cord
— wood bead
— wide copper tube bead
Tools:
— Dremel
— 1.02-millimeter drill bit
— wire cutters
— scissors
— glue
— rolling pin
— sculpting tools
Instructions:
1. To make the clay feathers, roll the clay into a 1/8-inch sheet. Using a sculpting tool, cut out a feather shape. Then roll a thin tube and attach to the feather shape. Cut out notches from the sides, then use a needle or toothpick to etch lines on the feather. Make a hole at the top and repeat for a total of three feathers. Bake according to the directions on the clay packaging.
2. With a 1.02-millimeter drill bit and a Dremel, drill holes 1/4 inch from the top of each 5-inch metal tube.
3. Using floral wire, attach the 10 3/4-inch brass tube across the inside of the brass ring.
4. Arrange the 5-inch metal tubes and clay feathers by alternating one after the other. With a generous cut of jewelry cord, attach the center piece by first winding it around the center of the horizontal tube, then up and around the top of the brass ring. Knot it in place.
5. Repeat for each of the remaining pieces, working your way out from the center piece and keeping them evenly spaced.
6. Once all pieces are attached, trim the top group of wires and glue in place.
7. With a 20-inch piece of leather cord, make a lark’s head knot at the top of the ring.
8. Thread the wood bead, then thread the brass tube bead. Loop the end of the cord back into the bead and glue if necessary. You’re done!
We opted for clay feathers, but you could always mimic the original wind chime and make abstract shapes, too.
To make the clay feathers, roll the clay into a 1/8-inch sheet. Using a sculpting tool, cut out a feather shape. Then roll a thin tube and attach to the feather shape. Cut out notches from the sides, then use a needle or toothpick to etch lines on the feather. Make a hole at the top and repeat for a total of three feathers. Bake according to the directions on the clay packaging.
With a 1.02 millimeter drill bit and a Dremel, drill holes 1/4-inch from the top of each 5-inch metal tube. Using floral wire, attach the 10 3/4-inch brass tube across the inside of the brass ring.
Arrange the 5-inch metal tubes and clay feathers by alternating one after the other. With a generous cut of jewelry cord, attach the center piece by first winding it around the center of the horizontal tube, then up and around the top of the brass ring. Knot it in place.
Repeat for each of the remaining pieces, working your way out from the center piece and keeping them evenly spaced.
Once all pieces are attached, trim the top group of wires and glue in place. With a 20-inch piece of leather cord, make a lark’s head knot at the top of the ring. Thread the wood bead through the leather.
Next, thread the brass tube bead. Loop the end of the cord back into the bead and glue if necessary.
That’s it! With a few simple materials and about an hour you can create a one-of-a-kind chime of your very own!
Now all you need is a tall glass of iced tea and a good book to fully enjoy the soothing sounds of your new wind chime.
What do you think of this wallet-friendly DIY hack? Will you be making it yourself? Tell us in the comments below!


