A simply DIY project to display your favorite funky patches.
How to Make a DIY Patch Blanket in Under an Hour
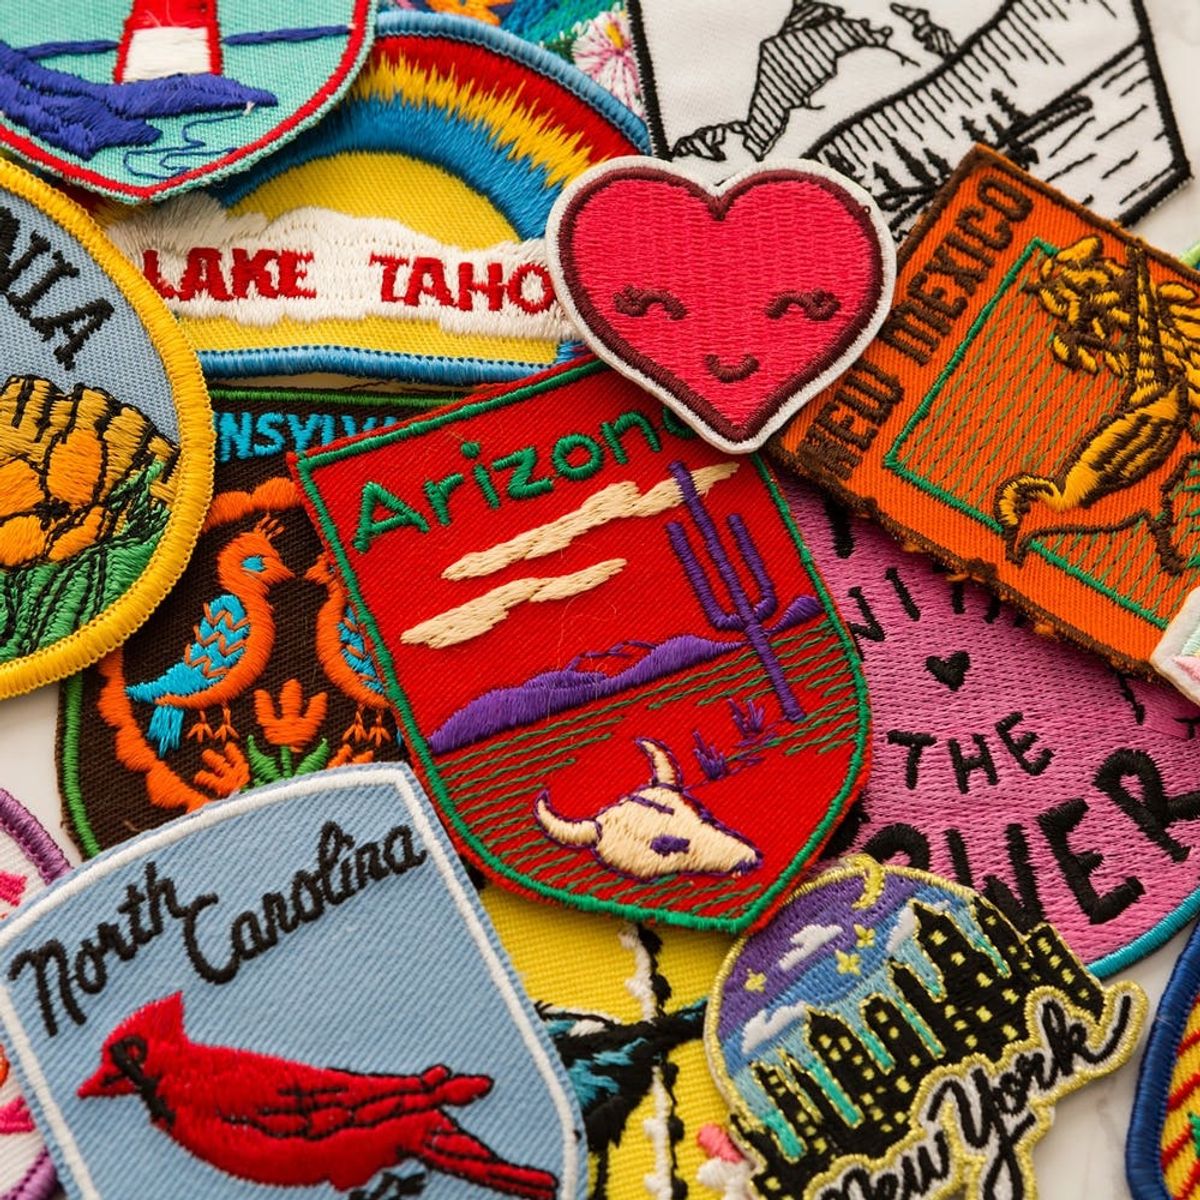
Love the look of embroidered patches but have no idea what to do with them? SAME. A denim jacket or backpack can only house so many. Enter the simplest DIY project ever: a patch blanket. Whether you’re collecting patches of places you’ve been, of empowering feminist messages, or of quirky puns, this is an easy way to create something eye-catching and funky in under an hour. Make it for yourself, make it for your boo, bestie, or, in my case, your babe.
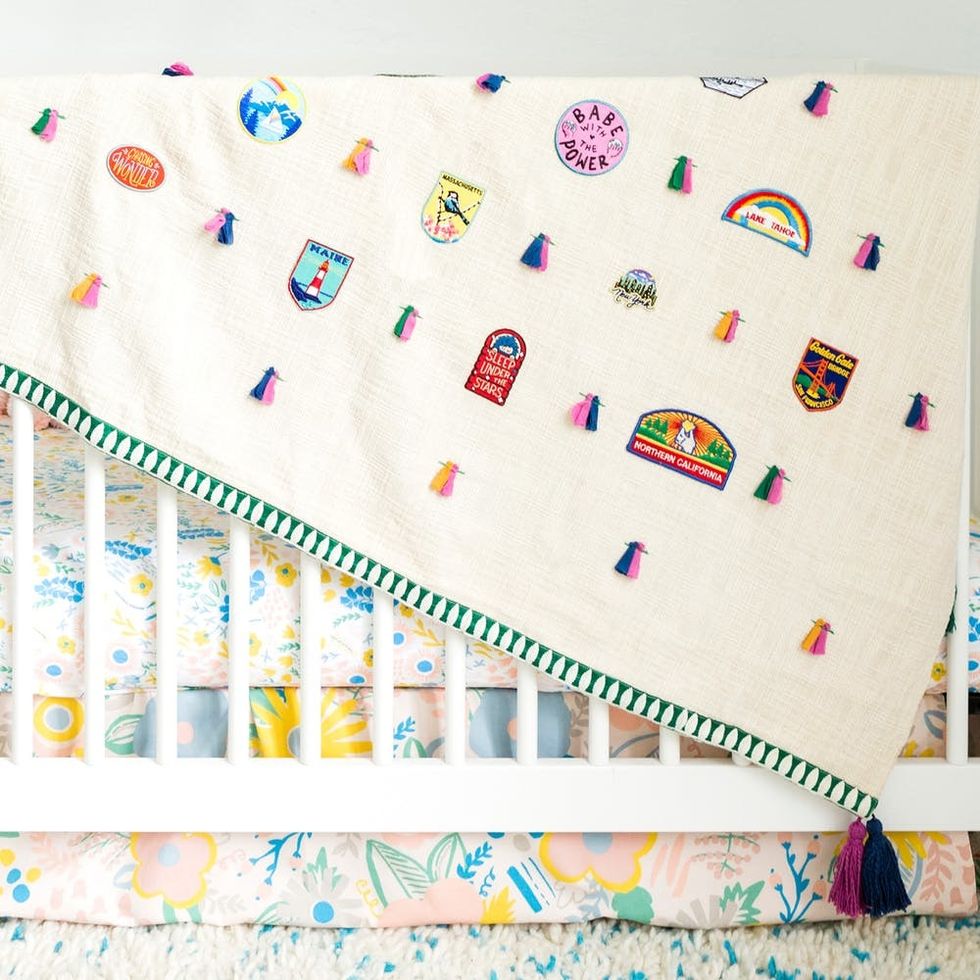
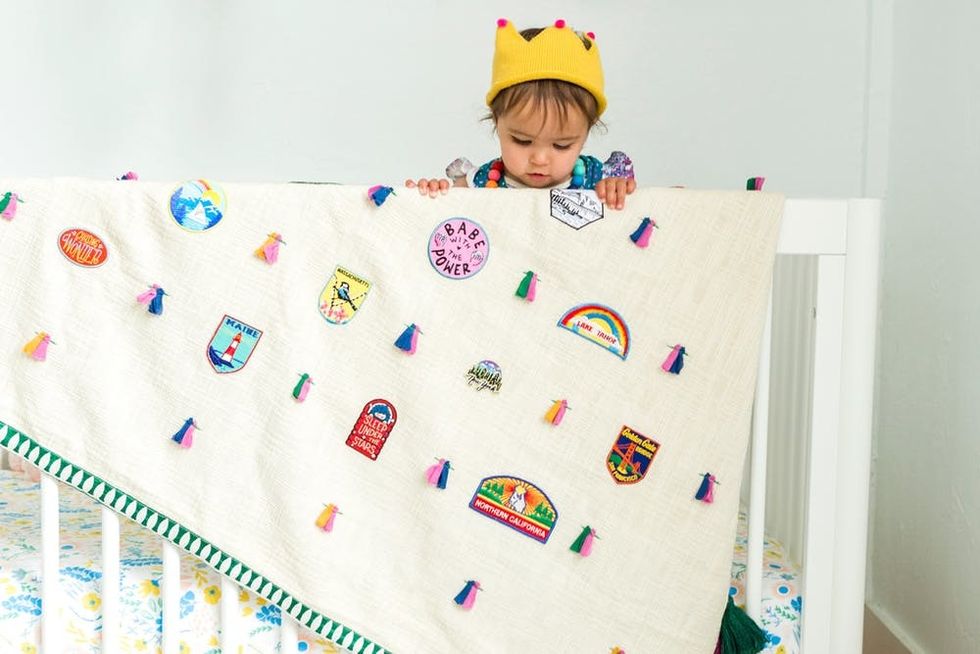
Anjelika Temple here, Chief Creative Officer and Founding Partner at Brit + Co, and mom to babygirl Anokhi, who is now one! For Anokhi’s birthday, I knew I wanted to make something that could become a keepsake for her over the years rather than something she’d only enjoy as a baby. And of course, I’m also a new mom and don’t have a ton of free time to get as crafty as I might like. My husband David and I have always loved traveling and have made a point to keep that up with our daughter in tow, so I decided to make Anokhi a blanket adorned with patches of all the places she’s been in her first year. I should probably put the word “make” in quotes because, newsflash, I bought a blanket and simply added patches to it. Yep. Hack to the max, but unlike about a dozen other DIY projects, I actually completed this on time and in a matter of minutes!
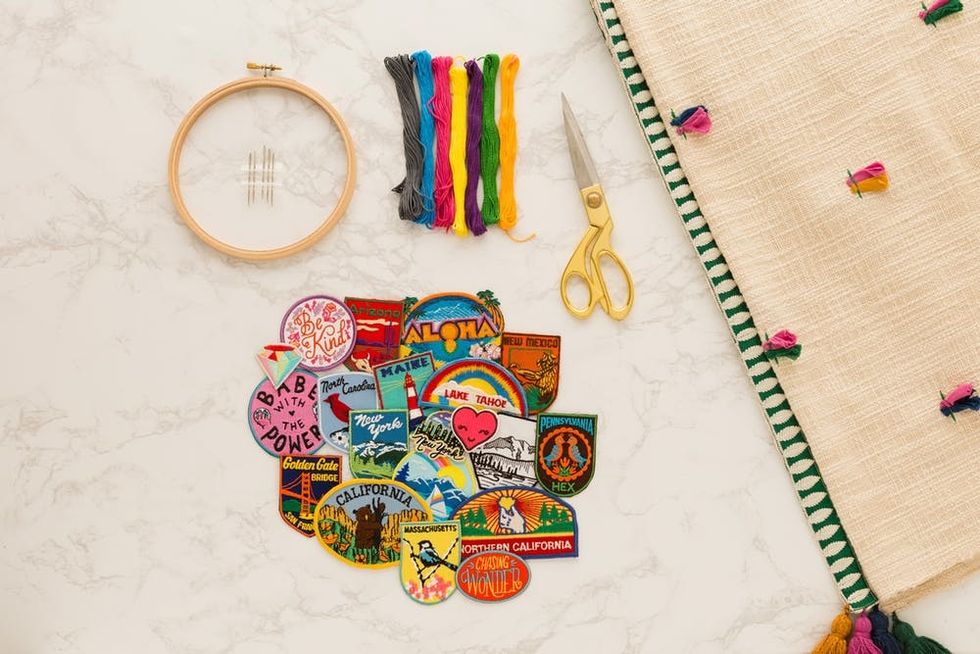
Materials and Tools:
- blanket
- iron
- fabric glue
- patches!
- embroidery hoop, needles + floss (optional)
Instructions:
- Iron your blanket. Lay your patches out in a design that suits you.
- Follow the instructions on your patch for how to adhere. For traditional iron-on, it’s best to iron the part of your blanket that that patch is going onto, then place the patch on the freshly warmed spot. Place a piece of thin cotton over the patch, and then hold your iron over the patch for about 15 seconds. Flip the blanket over and iron on the back of the patch as well. Let cool, then repeat if need be.
- If patches don’t have the iron-on adhesive (many of mine were vintage, so no longer had the adhesive), use fabric glue.
- For added color and durability, you can embroider around the edges of each patch to keep them secure.
- Keep adding to it over the years!
I found this blanket at Anthropologie, and it couldn’t have been more perfect. If you have the time and drive, you can absolutely make a blanket very similar to this one. I knew I wanted a piece that could be a picnic blanket, wall hanging, tablecloth, or good old fashioned blanket, and popped on over to Anthro en route to the fabric store and instantly saved myself a ton of sewing time.
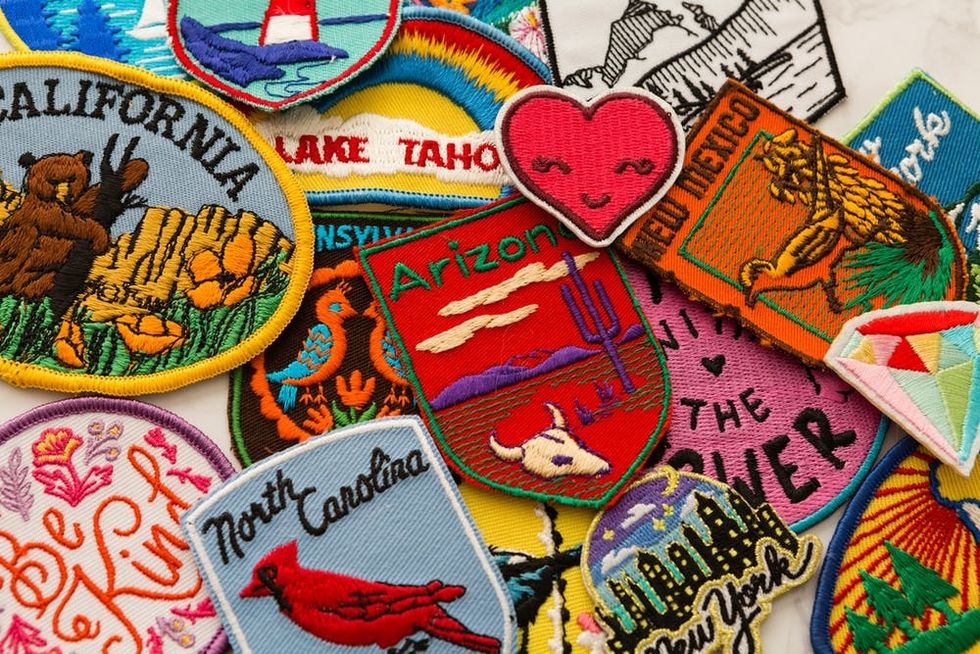
For the patches, let’s be real: I’m not a mom genius who thought of this idea before Anokhi was born. I came up with it about two months ago, so I scoured the internet for vintage patches from all the places we’ve been. I hit up Etsy and eBay and found some really unique pieces. Of course, not everywhere we’ve been has an aesthetically pleasing patch to represent it, so I got creative with how to include some of our weekend trips. For example, I found a sweet “Sleeping Under the Stars” patch for our first family camping trip when Anokhi was five weeks old. I also found this “The Beach Belongs to Everyone” patch to stand in for weekends spent at Stinson Beach and Cayucos. Pro tip: The Etsy seller Heyday Roadtrip has patches from pretty much everywhere in the States, so it’s a good place to start.
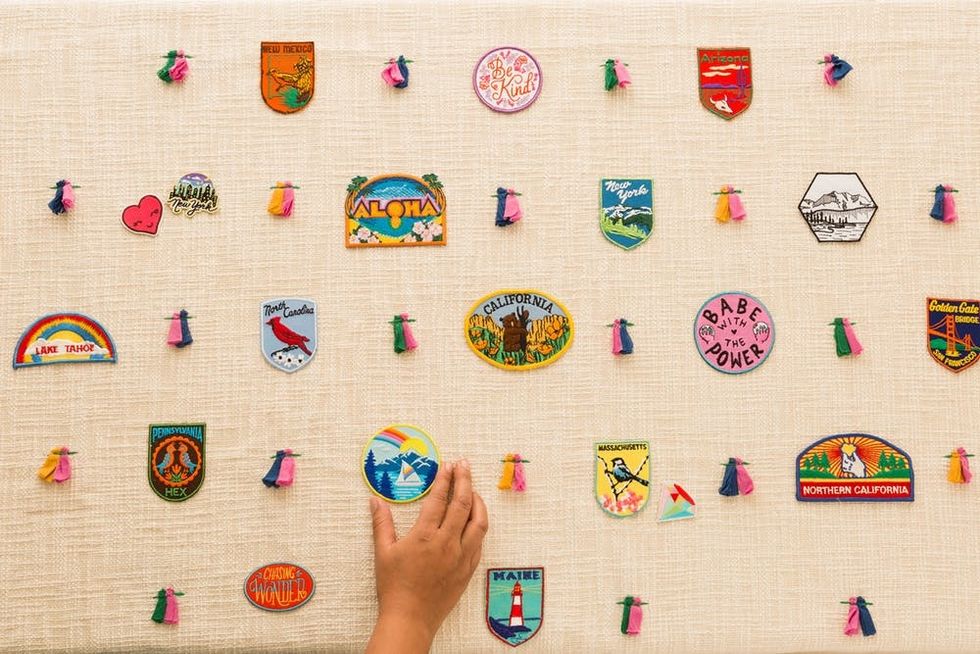
Iron your blanket. Lay your patches out in a design that suits you.

Follow the instructions on your patch for how to adhere. For traditional iron-on, it’s best to iron the part of your blanket that that patch is going onto, then place the patch on the freshly warmed spot. Place a piece of thin cotton over the patch, and then hold your iron over the patch for about 15 seconds. Flip the blanket over and iron on the back of the patch as well. Let cool, then repeat if need be. If patches don’t have the iron-on adhesive (many of mine were vintage, so no longer had the adhesive), use fabric glue!
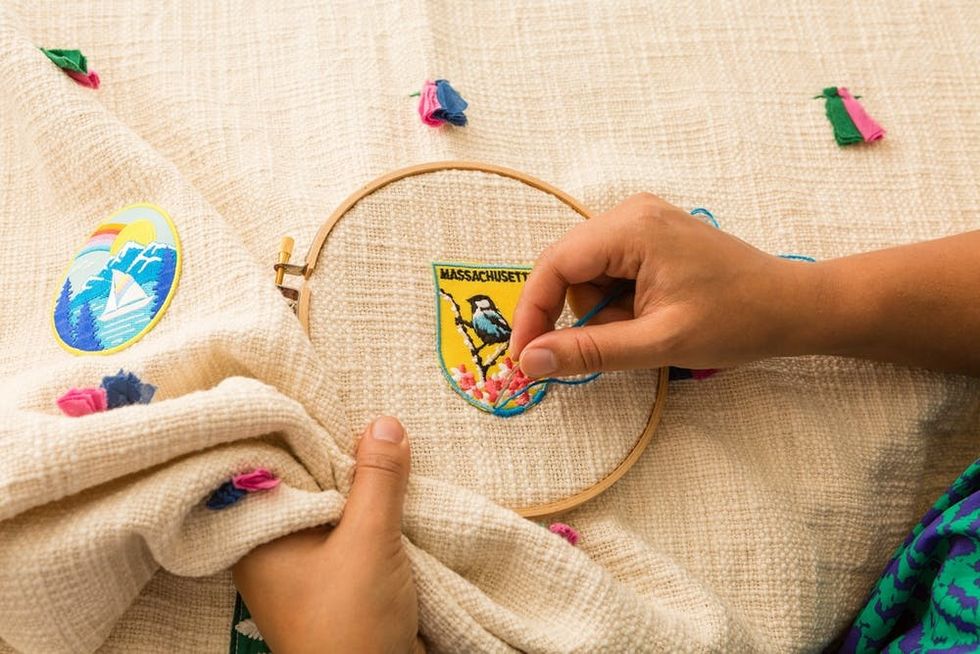
For bold DIY’ers who love labor-intensive crafts, you can embroider around the edges of each patch to keep them secure. In some imaginary world I plan on doing this over the next few months, but in reality I’ll probably just try to finish the one patch that I started ;)
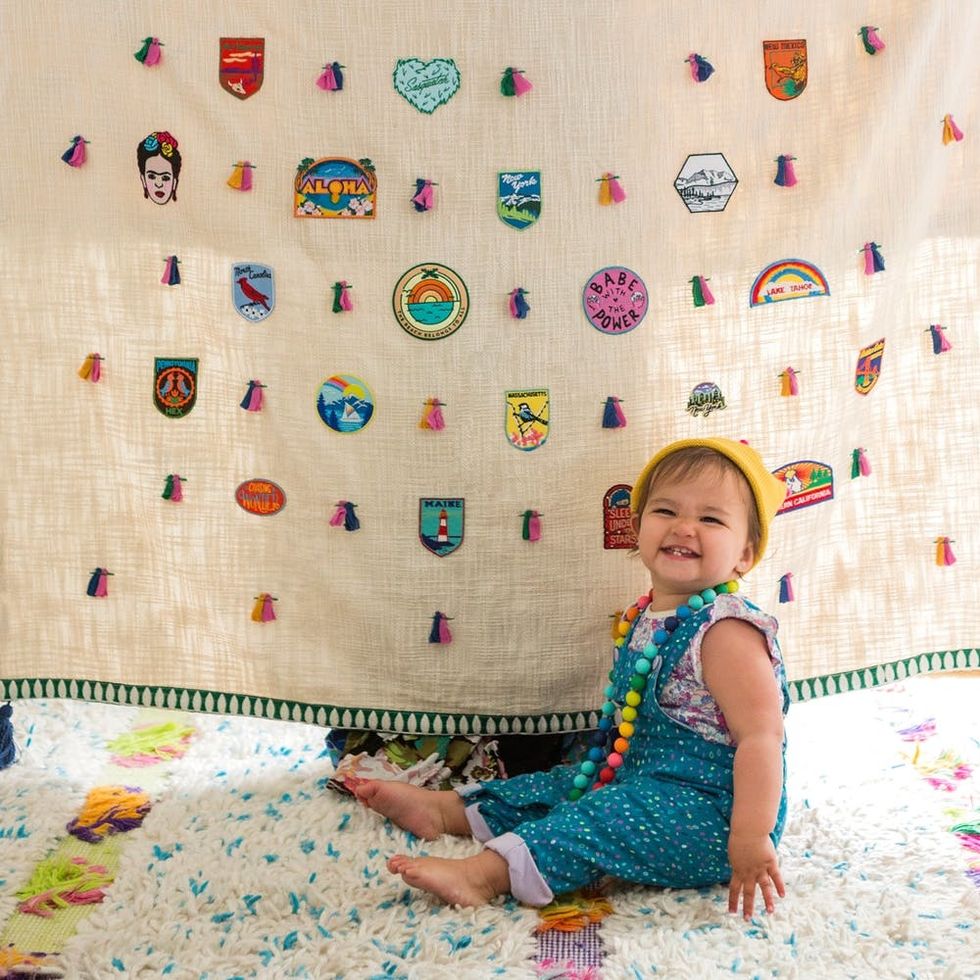
Give it to your little!
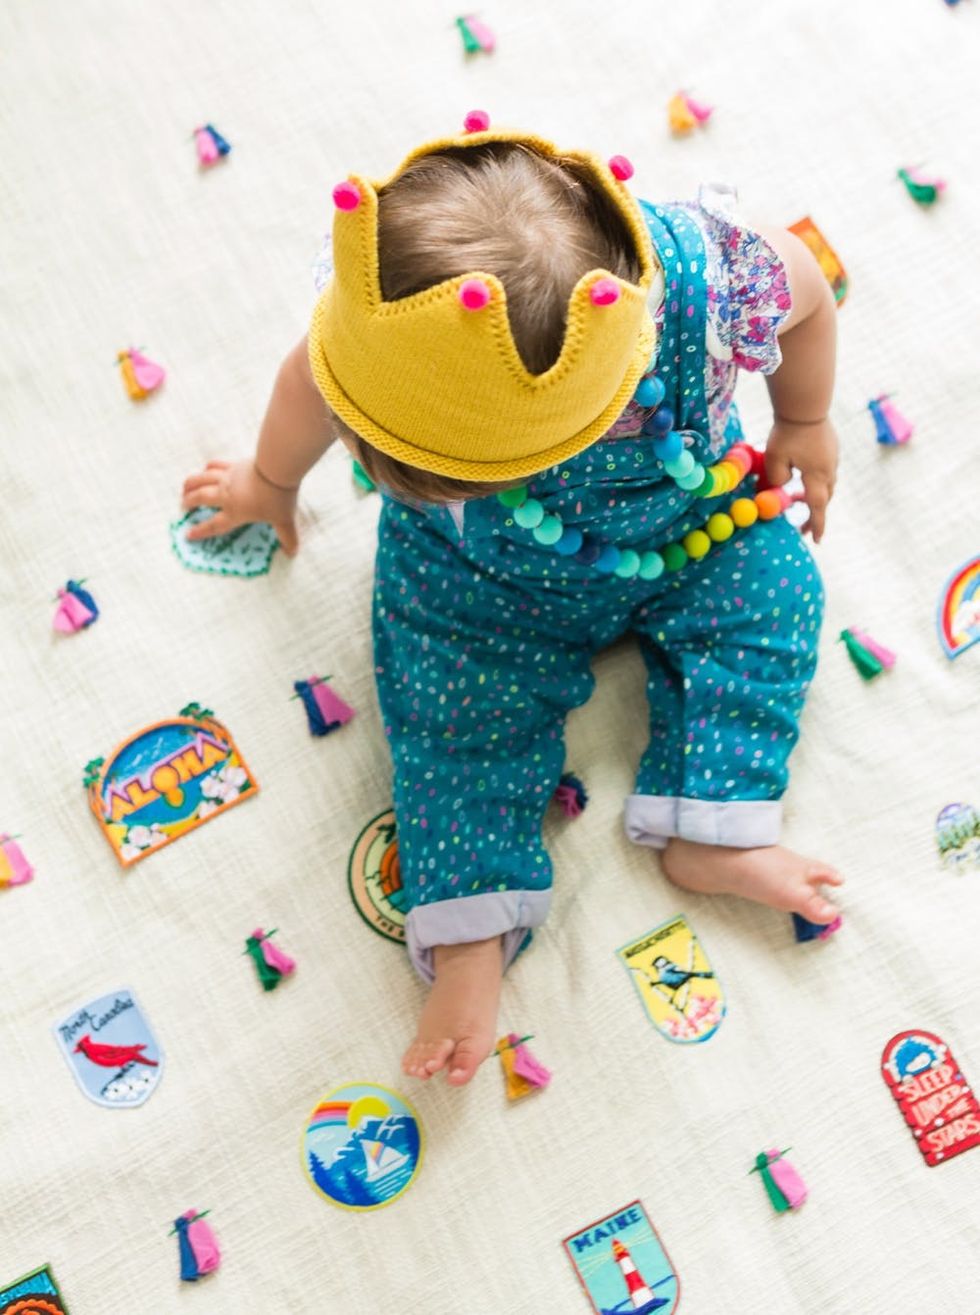
Anokhi loved all the different patch textures and the tassels on the blanket.
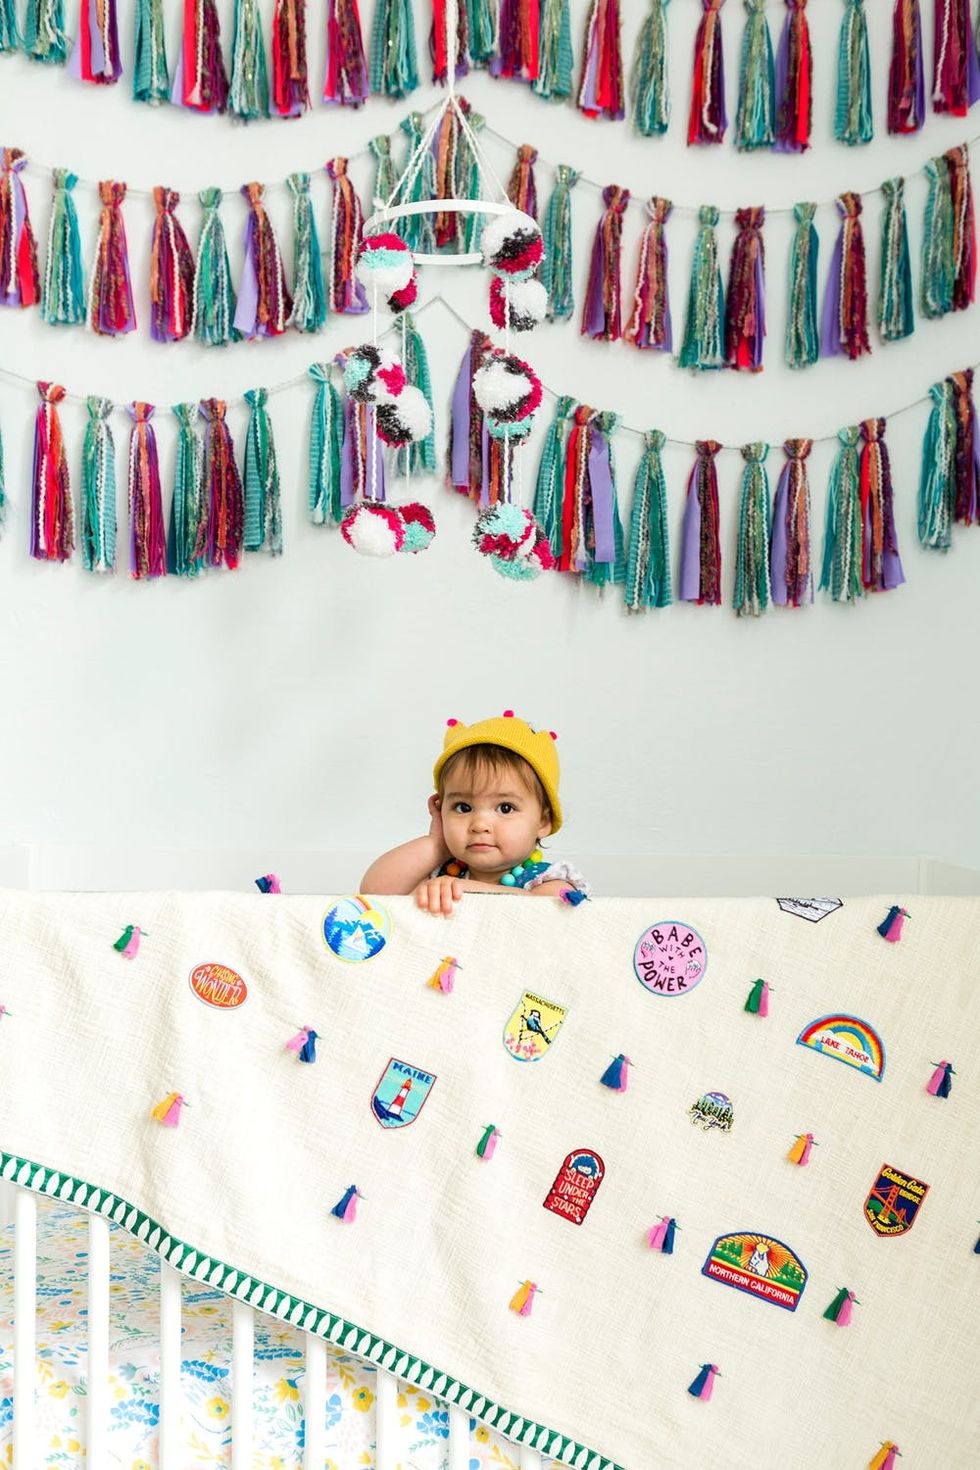
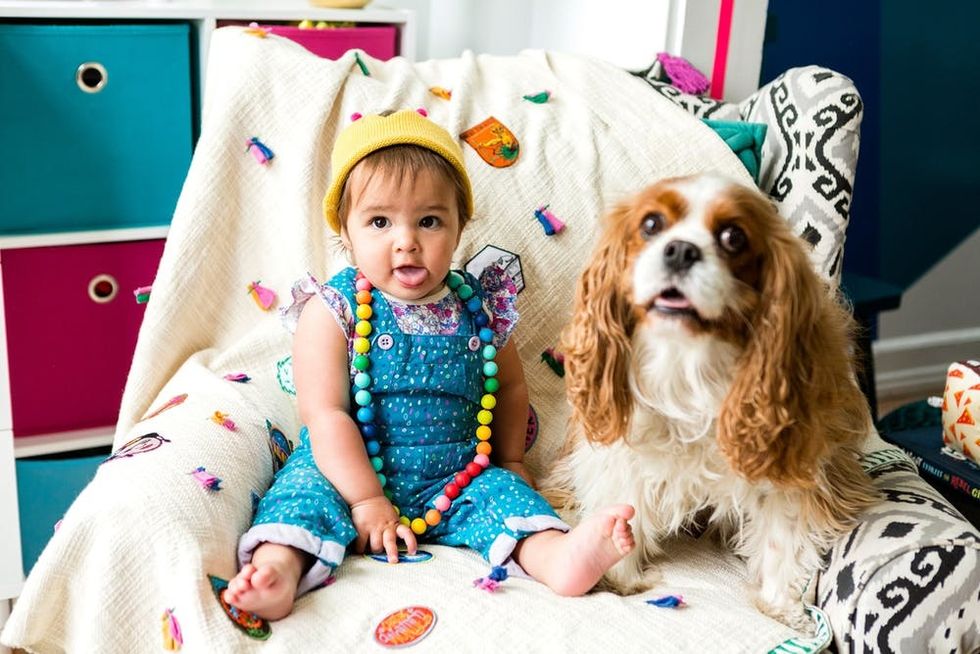
Both creatures approve.
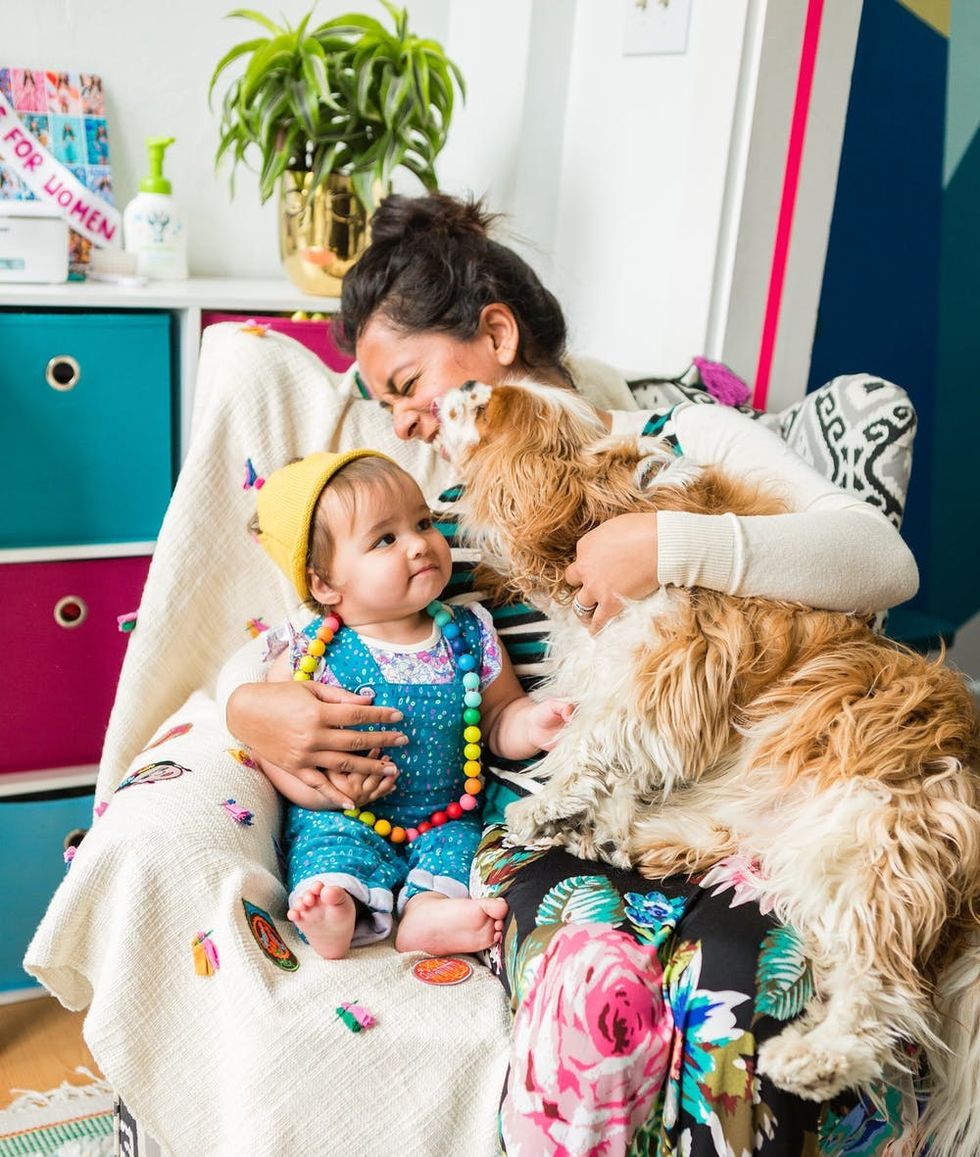
This would make a great gift for your kid (obvs!), your significant other, or anyone you love to travel with. If you make something inspired by this, share it with me @anjelikatemple.
What other creative ideas have you made or seen for your little one’s milestones? Share your projects and inspiration with us @BritandCo.
Photography: Brittany Griffin


